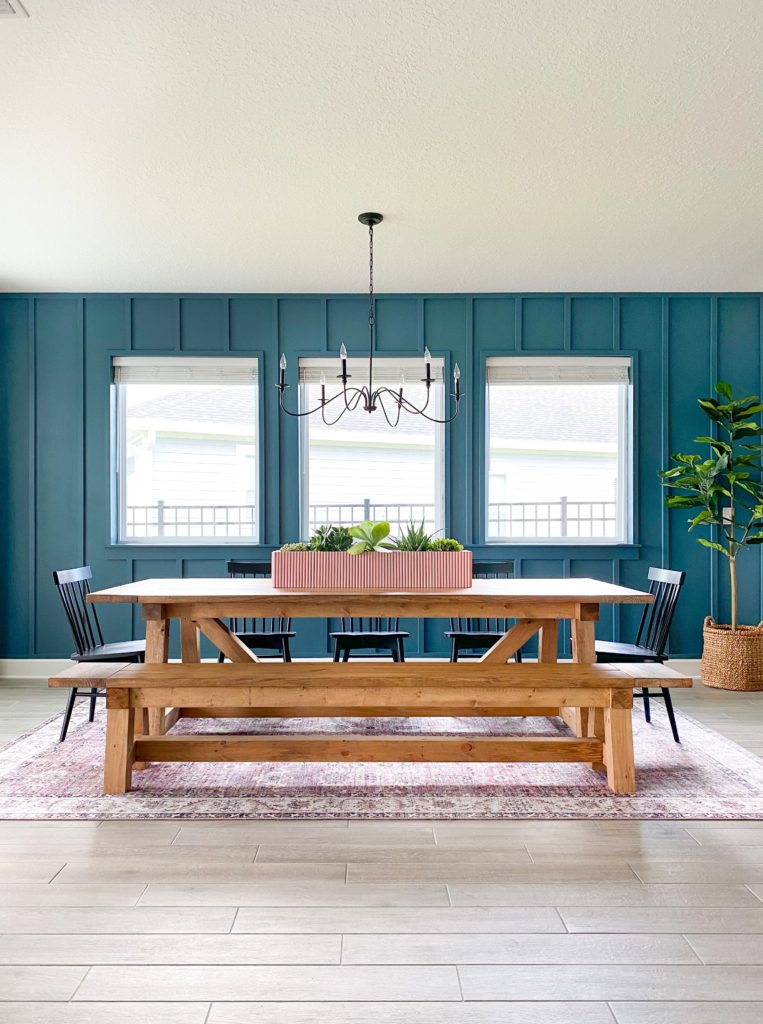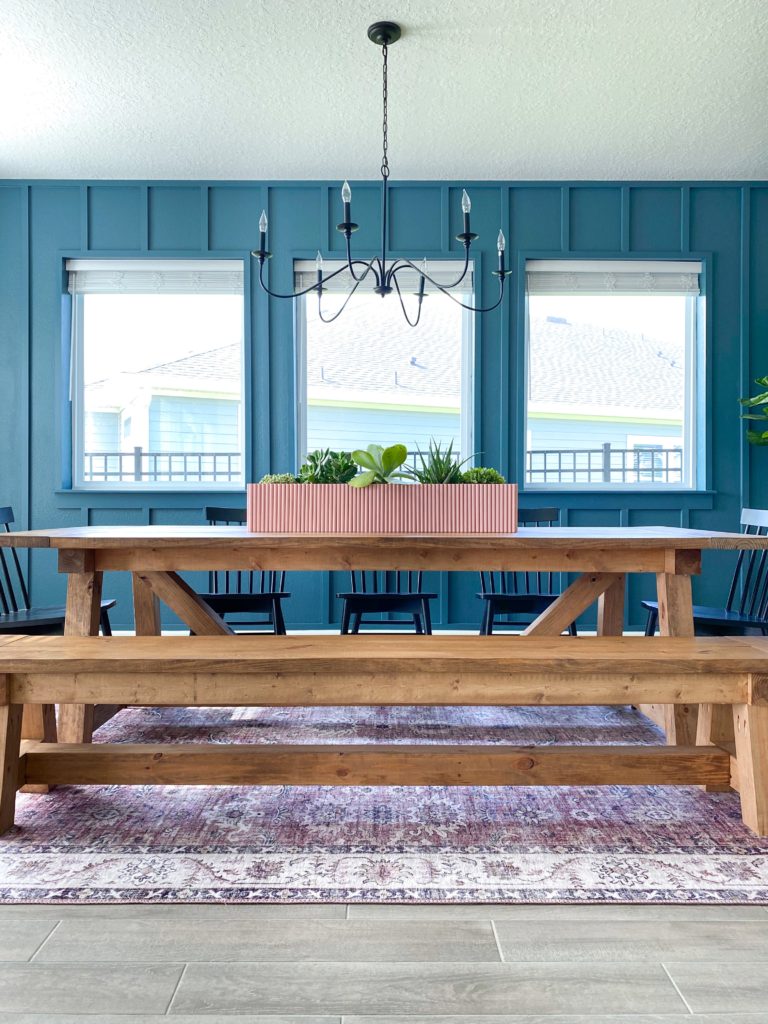
Sharing a before and after of this colorful modern dining room makeover I completed for one of my best friends. Bold colors are definitely out of my comfort zone, but I think this is the perfect balance and I’m so excited about how it turned out! Keep scrolling for project steps and tricks.
To see the entire process in detail, click HERE for the highlight.
THE BEFORE:

Before the makeover, I completed this dining table and planter. To see the process for these two projects, click HERE!

Step 1: Remove the Baseboards and Trim
Accent walls and trim always work better when you remove the baseboards, so I do this on pretty much every project first thing. I chose to replace the builder trim with 1×4 primed pine.

I also removed the trim under the windows so the new trim I put in is all flush.

Step 2: Add Window Trim
First, I cut 1x2s for the trim with my miter saw.

This is a super simple window trim solution and I used my favorite nailer.

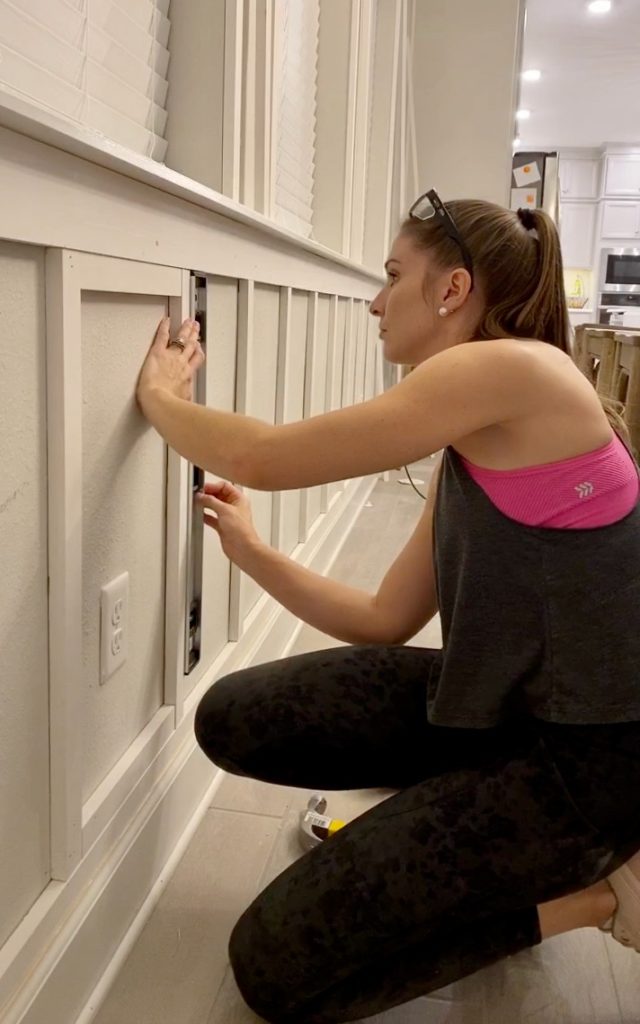
Step 3: Wall Design
The night before this step, I glued and clamped 1x2s together for the long spans on the wall. I measured the wall for every board, wrote it down, and cut them all at once to simplify the process.

I recommend sanding each piece and cutting scraps to use as spacers so it makes the process quicker. Spacer, level, nail, repeat.

Step 4: Caulk and Wood Fill
First, sand all the joints. Then use wood filler. Sand again and then caulk. The wood filler should be used on the front-facing seams and caulk should be used everywhere else.

Step 5: Paint
The wall color we decided to go with is called Tempe Star by Sherwin Williams. I chose to paint the window and sockets too.

Step 6: Extra Details
The builder-grade light was replaced with this black chandelier.

These small curtains were also added. I have a super simple and affordable curtain hack you can read about HERE! I do it for so many rooms I makeover and it’s a DIY project for $40!

THE AFTER: Colorful Modern Dining Room Makeover


Your point of view caught my eye and was very interesting. Thanks. I have a question for you.