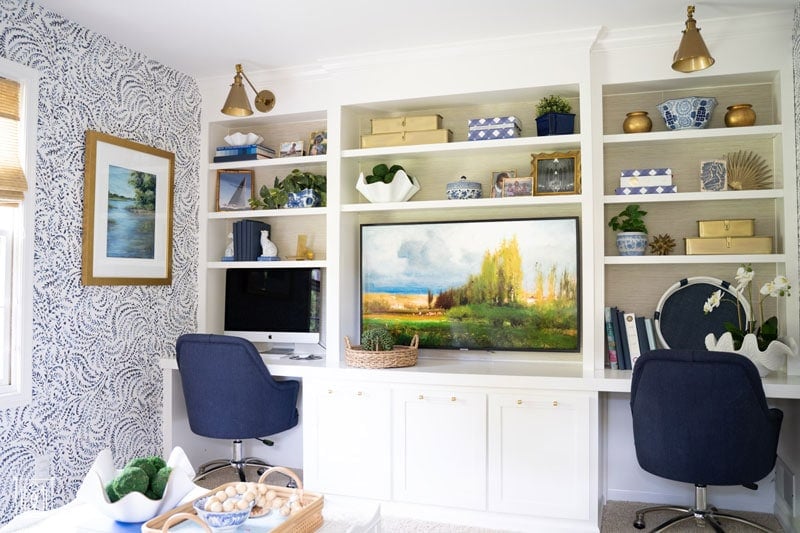
Office Makeover: For the longest time, I’ve have felt like a hypocrite.
I blog about how to create a beautiful home and preach that yet any room can be reworked–no matter the budget. I talk about how much paint colors and decor can affect your moods, and all the time I worked in the darkest and ugliest room in our house…my home office!
DIY HOME OFFICE MAKEOVER
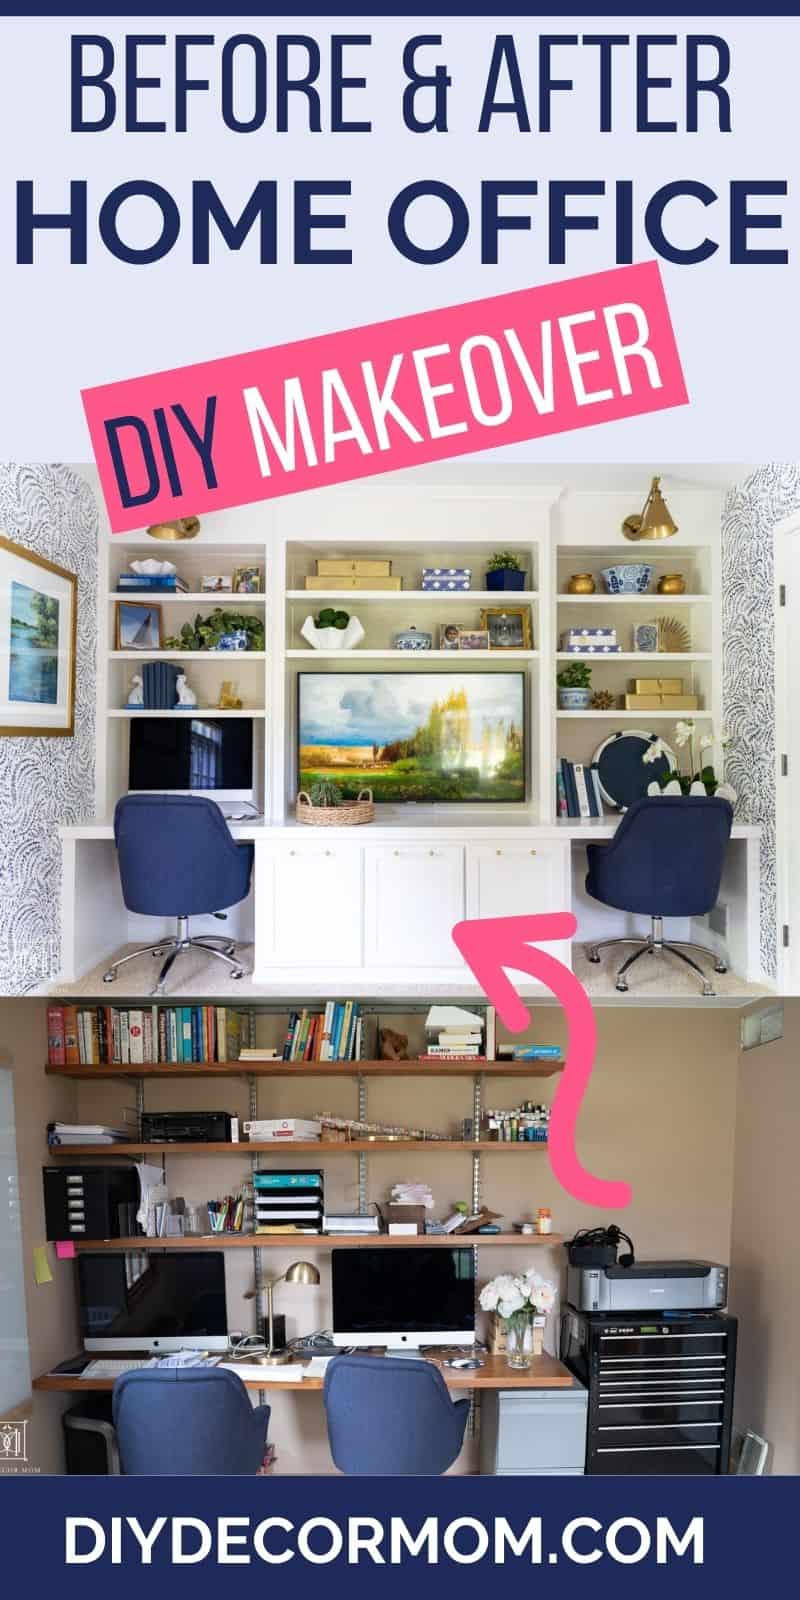
Well, once COVID hit, and we were home nonstop (and my husband was working from home too) we decided it was high time to make our office into a room we actually wanted to spend time in!
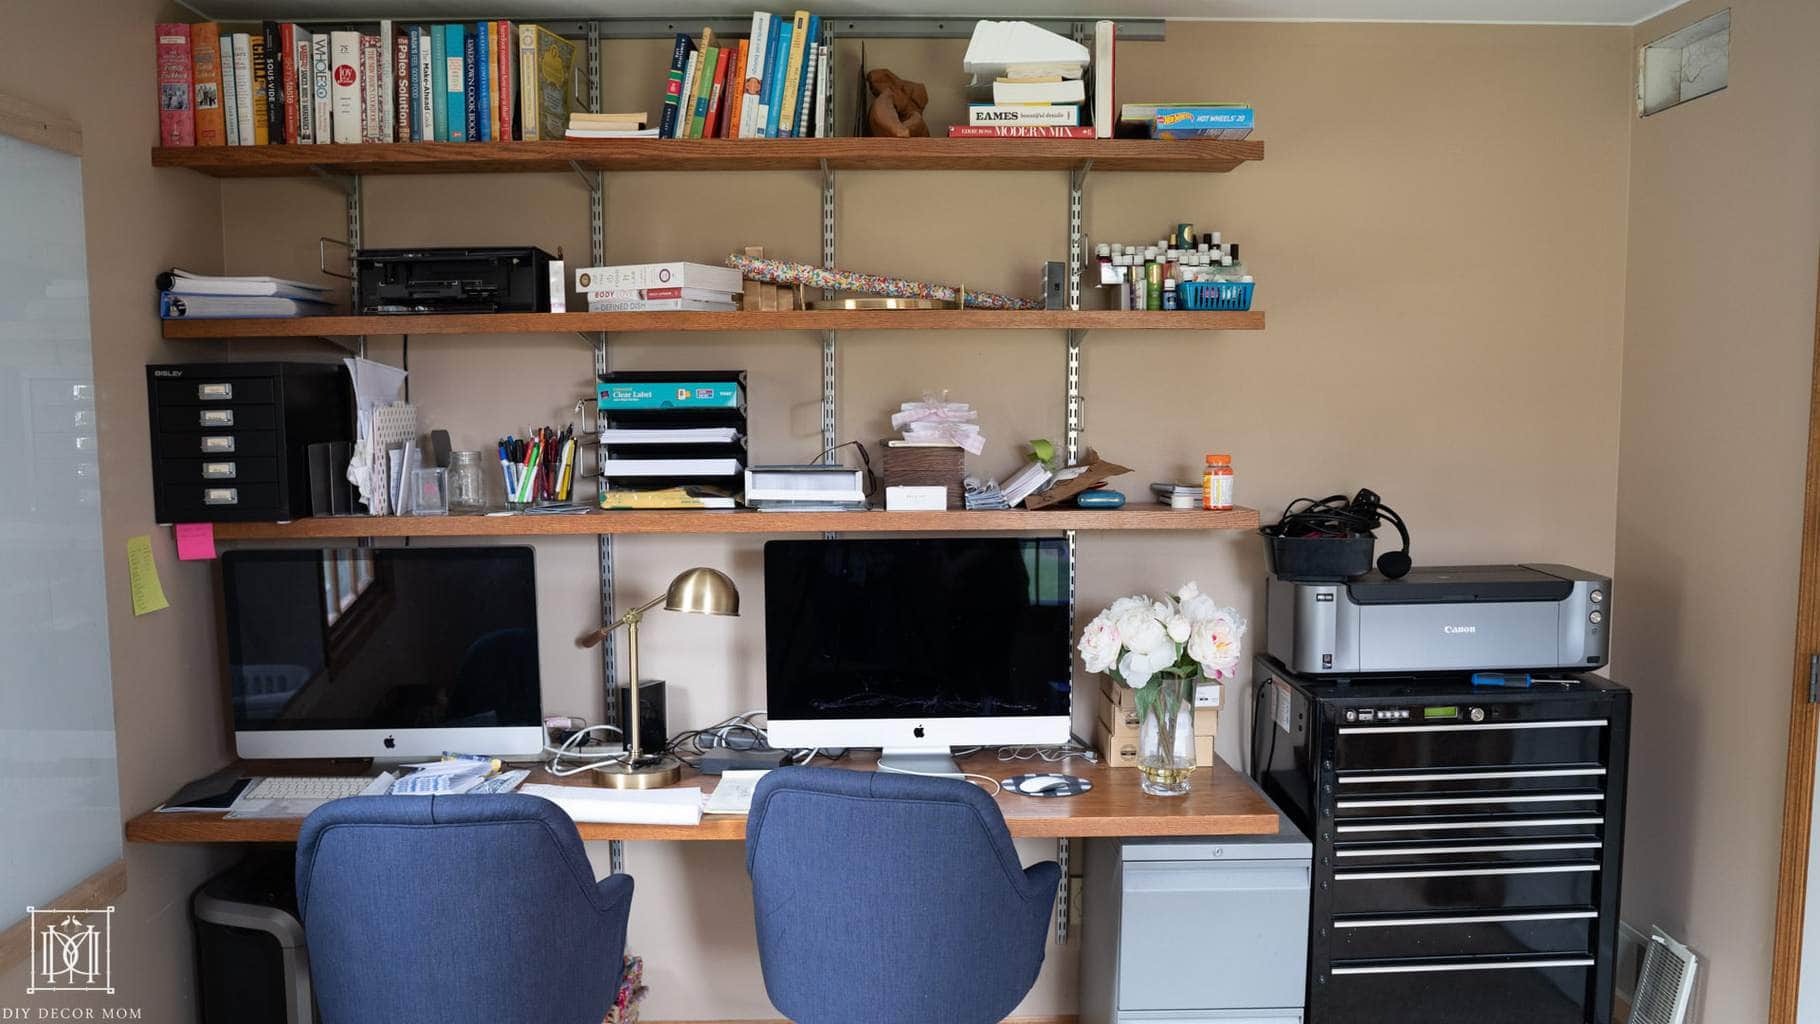
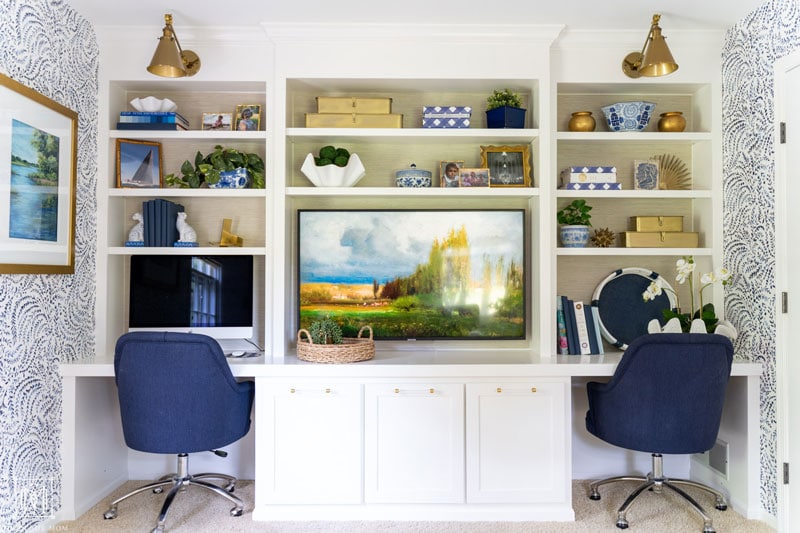
And here’s the after!

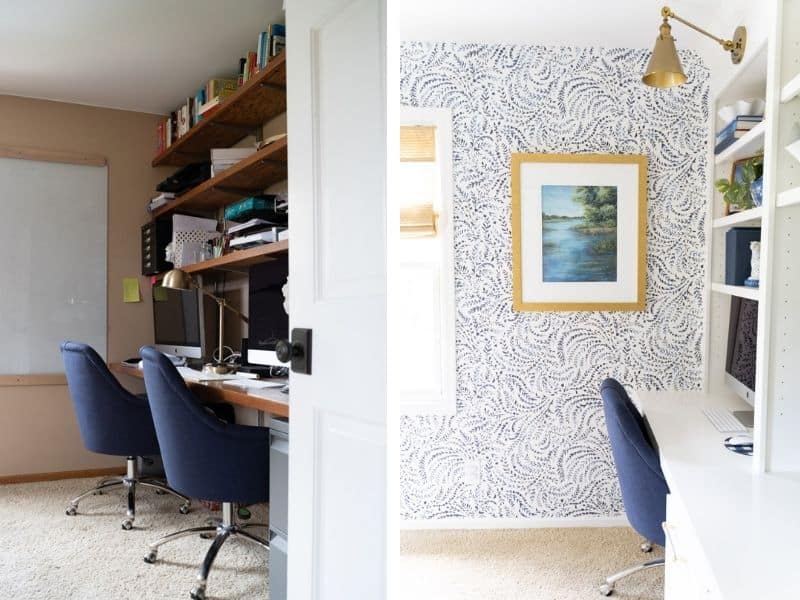
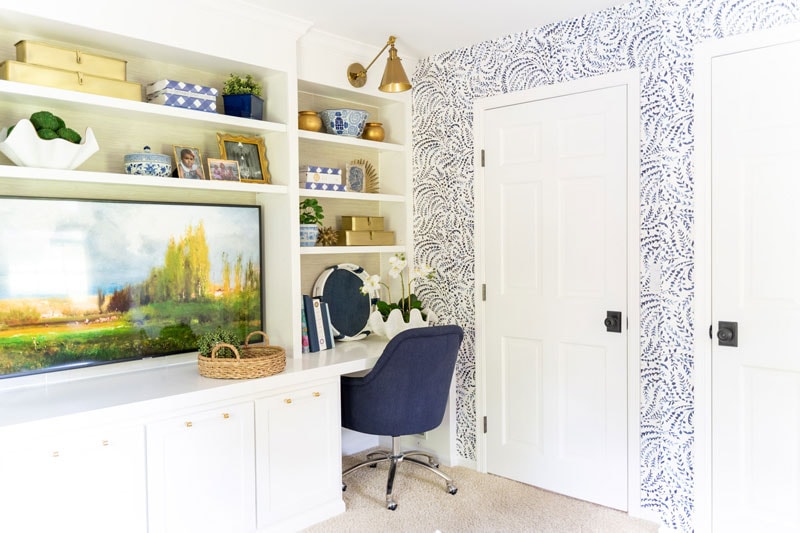
Would you believe it if I told you we DIYed everything and it only cost us $2,700 to do the entire room! While $2,700 isn’t anything to sneeze at (it is a sizeable amount of money;) it is a pretty good budget for a complete room makeover that includes 1K worth of lumber and $400 in wallpaper,) and all new lighting! We added a few accessories; but mostly, we used things that we already owned or bought inexpensive accent pieces! This DIY home office makeover is a fantastic example of how you can stretch a budget with a little creativity!
*affiliate links have been used at no cost to you see my disclosure policy here
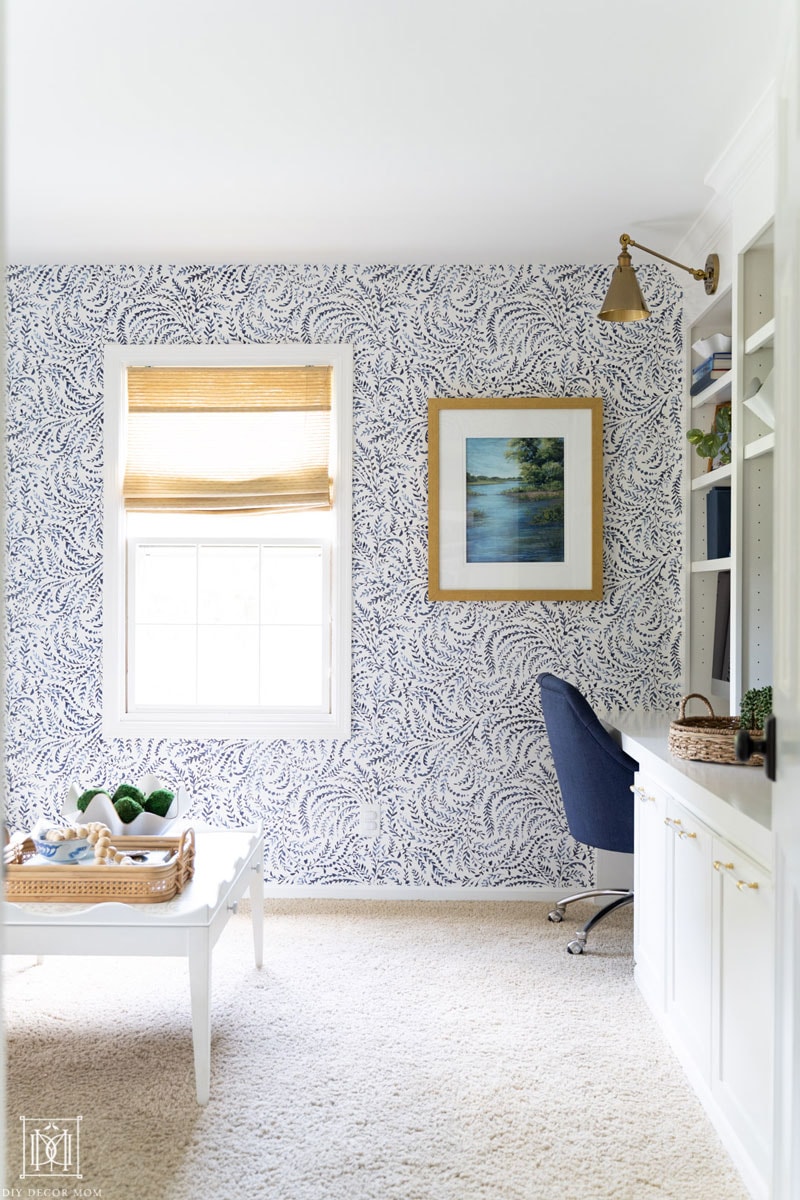
What we did (more detailed tutorials will follow):
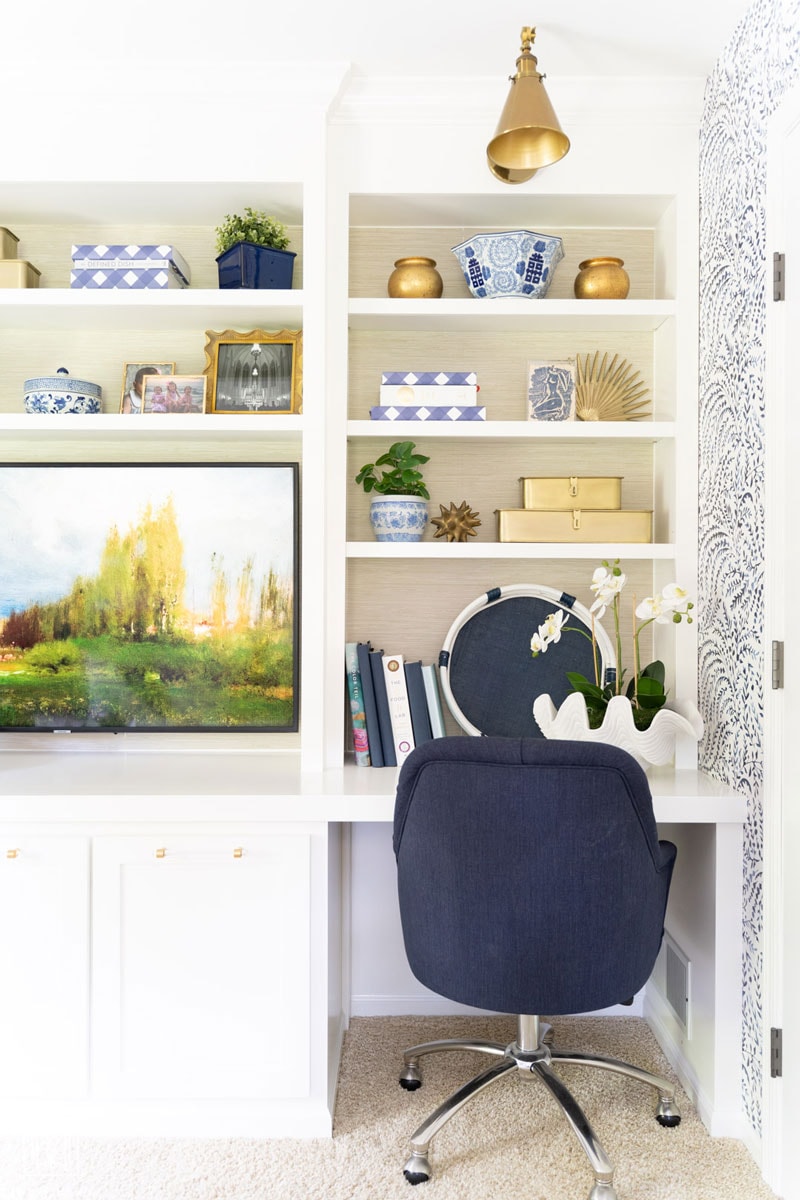
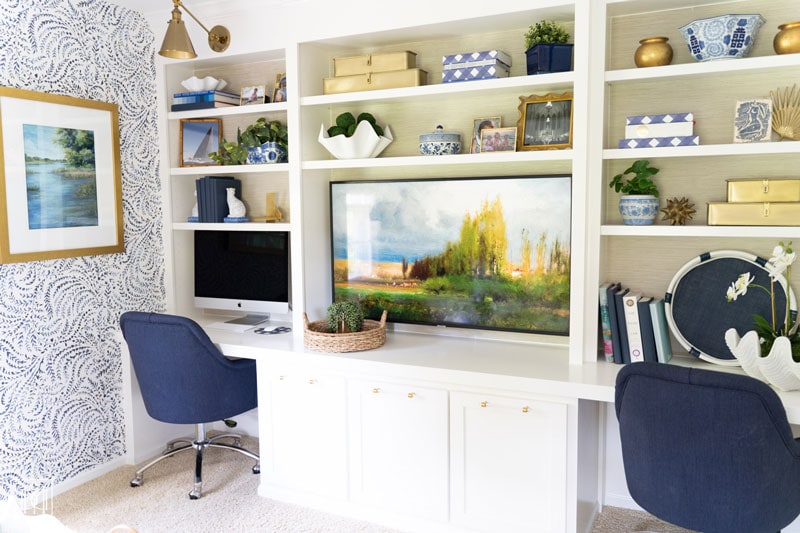
- DIY built-in cabinets and bookshelves
- DIY faux grasscloth wallpaper
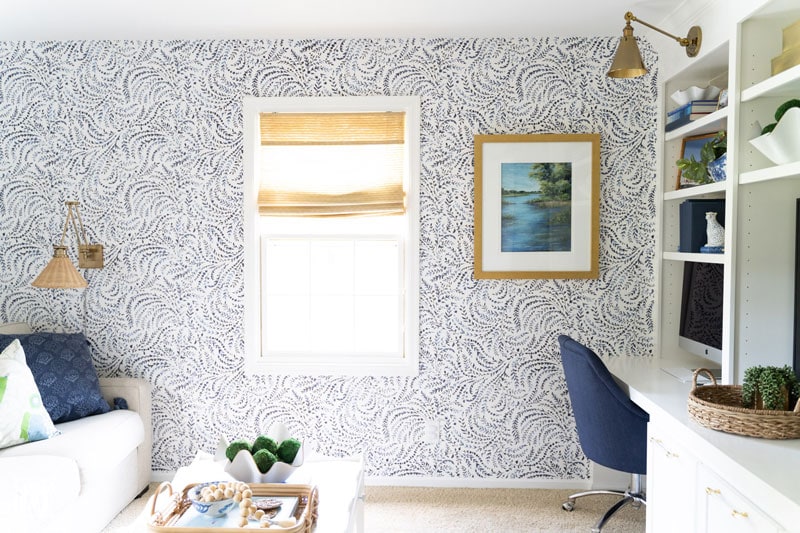
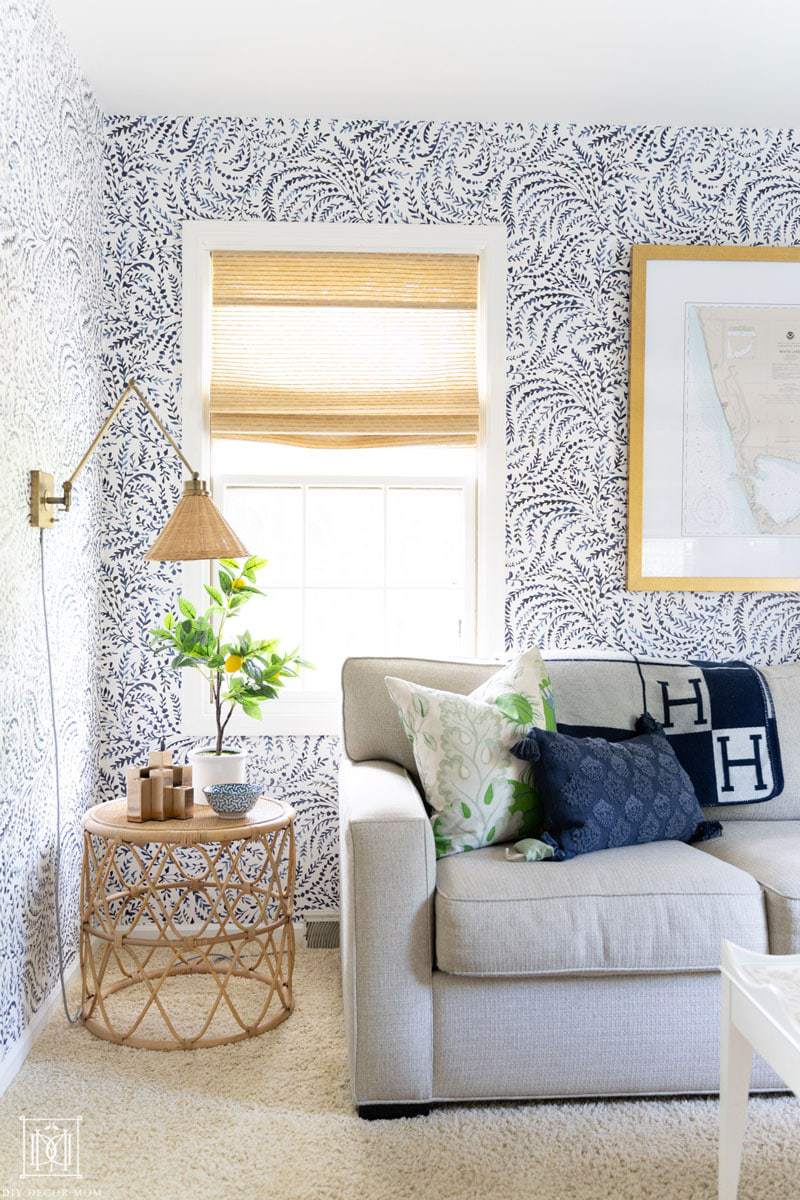
- Installed blue and white wallpaper on three walls
- Added light fixtures x 4
- Painted windows, doors, and trim
- DIYed a Frame TV background
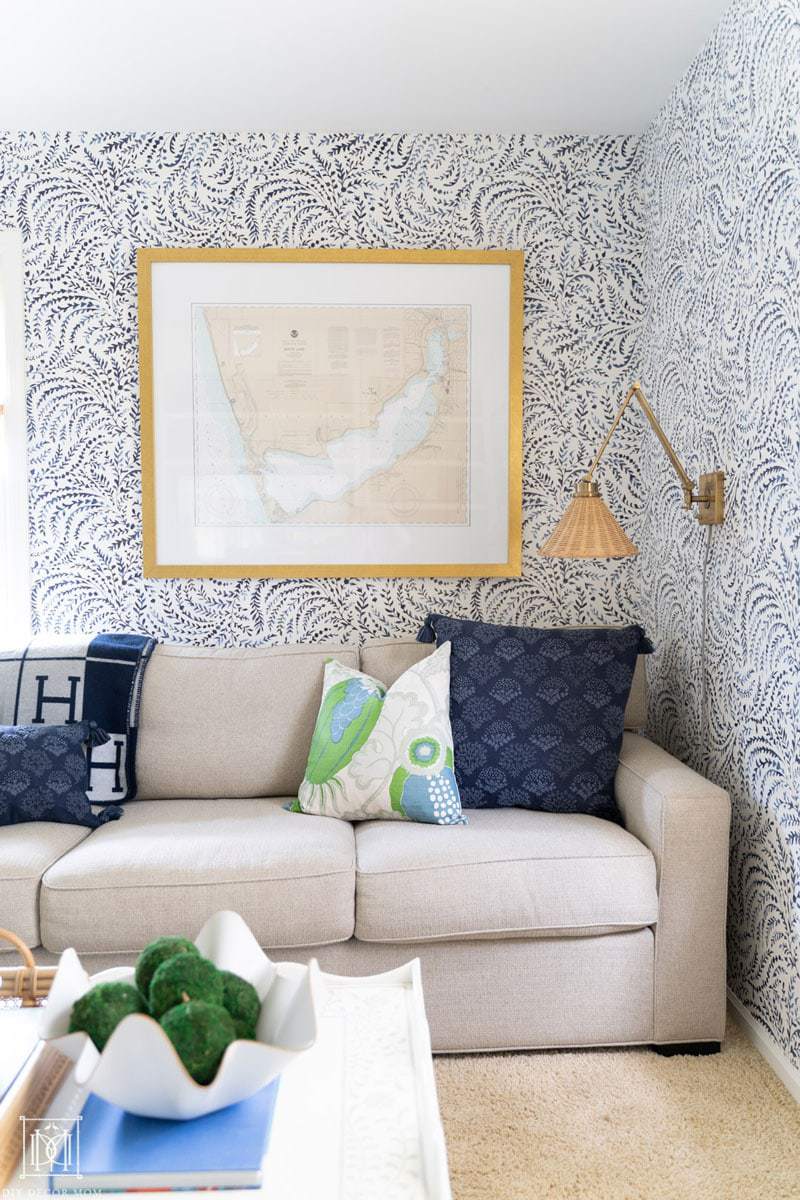
- Made DIY nautical artwork for a bargain
- Added bamboo blinds
Things we skipped:
We consciously skipped replacing the couch with an expensive sectional that we would have loved and replacing the wall-to-wall carpeting. By skipping these two improvements, we saved roughly $4,500. The sectional we were looking at was $3,495 (it was a queen bed pull-out) and the quote for ripping out our existing carpet and replacing it was anywhere from $852-1,022. Hardwood would have cost even more.
I mention these things because I know that not everyone has an unlimited budget. I had also received some questions about it on Instagram and wanted to share our reasoning. When we set out to make this DIY home office, we knew we wanted to stick to a budget.
Many DIY influencers kind of gloss over how much projects really cost. So when someone asks, I like to give them a reasonable idea of what that might cost and why we opted to forego it.
Down the line, we might replace our couch and install new the carpet (the cabinets are removable and are just built on top of the carpet), so we have the flexibility to do that if we choose. But for right now, it works great!
DIY HOME OFFICE SOURCE LIST
You all know I love a good deal (heck, I even started an Instagram account (@preppysavings) just on finding good dupes! And this room is no exception. It is a great example of how you can save money and make a gorgeous room on a budget!
Below, I’ve outlined all the pieces I would have loved to include in the room, and shared our “budget friendly” picks. Just for grins, I added it all up and WOW! You won’t believe the difference!
SPLURGE VS. STEAL
(I used the steal version in every case and noted “owned” where we previously owned the piece)
Coffee table ($125)- owned- no longer available
Craigslist couch ($250)- owned
DIY orchid with clam shell ($89.99) using these orchids, this moss, and HomeGoods clam
Custom built-ins (est. $3,500)
DIY designer pillows x2 ($192)- bought 1 yard of fabric
Office chairs x2 ($74.99) -owned on sale
Splurge Total: $19,262 wowza!
Steal Total: $3,962 ($2,711 actual spend)
What We Use the Room For:
While we set out to make our home office function better as a home office, we also wanted to add some usability to the room. Previously, the other half of the room was just used to store my Peloton and UPS boxes. It ended up being the “just throw the box in there” junk room of our house.
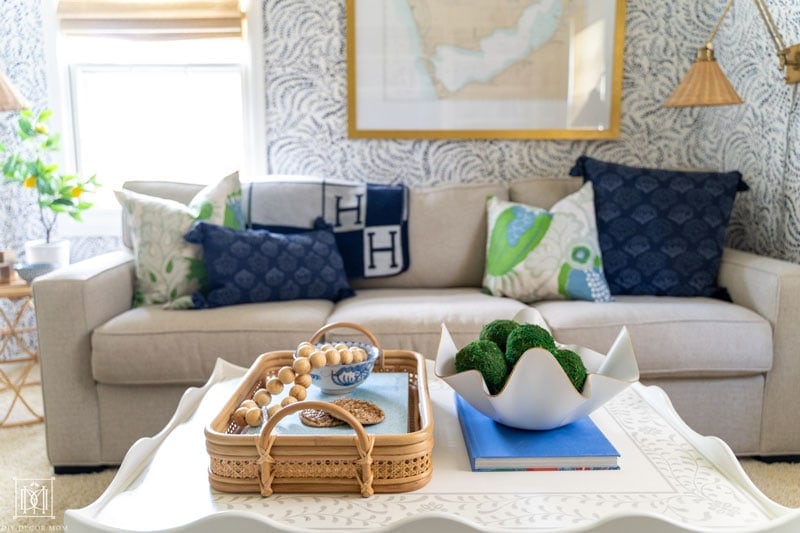
While we have a beautiful living room already, and a family room, we have never had a cozy space to watch TV as a family (other than the theater in the basement which isn’t great when you have a one year old who won’t sit still.) We wanted to create another cozy living space someone could either curl up and watch a movie or read a book (and not be in the middle of the house.)
With six of us at home all day, we needed another room where someone could work quietly and close the door. So we decided to make it a combo office/ den. We use it all the time now!
Overall Design Scheme for DIY Home Office:
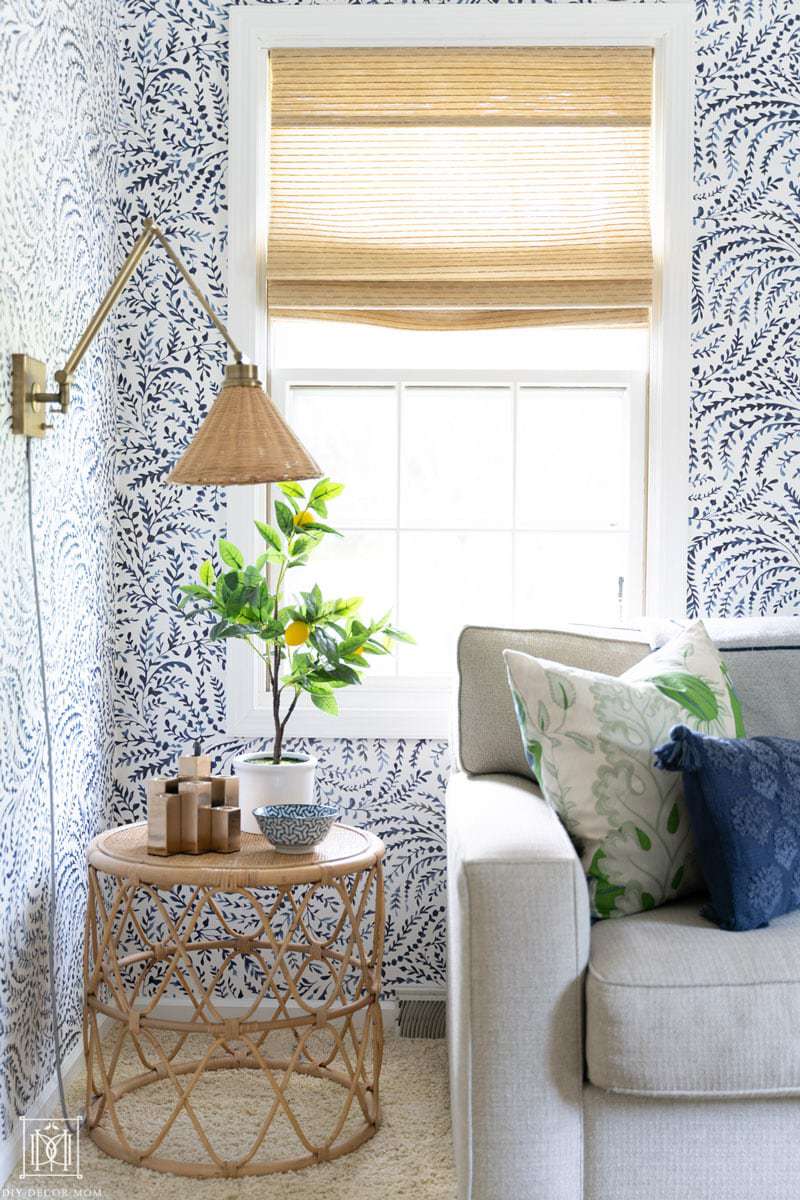
The office is directly off our mudroom, our first-floor bathroom, and our garage entry. It is in a darker side of the house, so we wanted something light and bright on the walls; but, we also wanted something that would feel cozy, so we settled on the beautiful blue and white wallpaper.
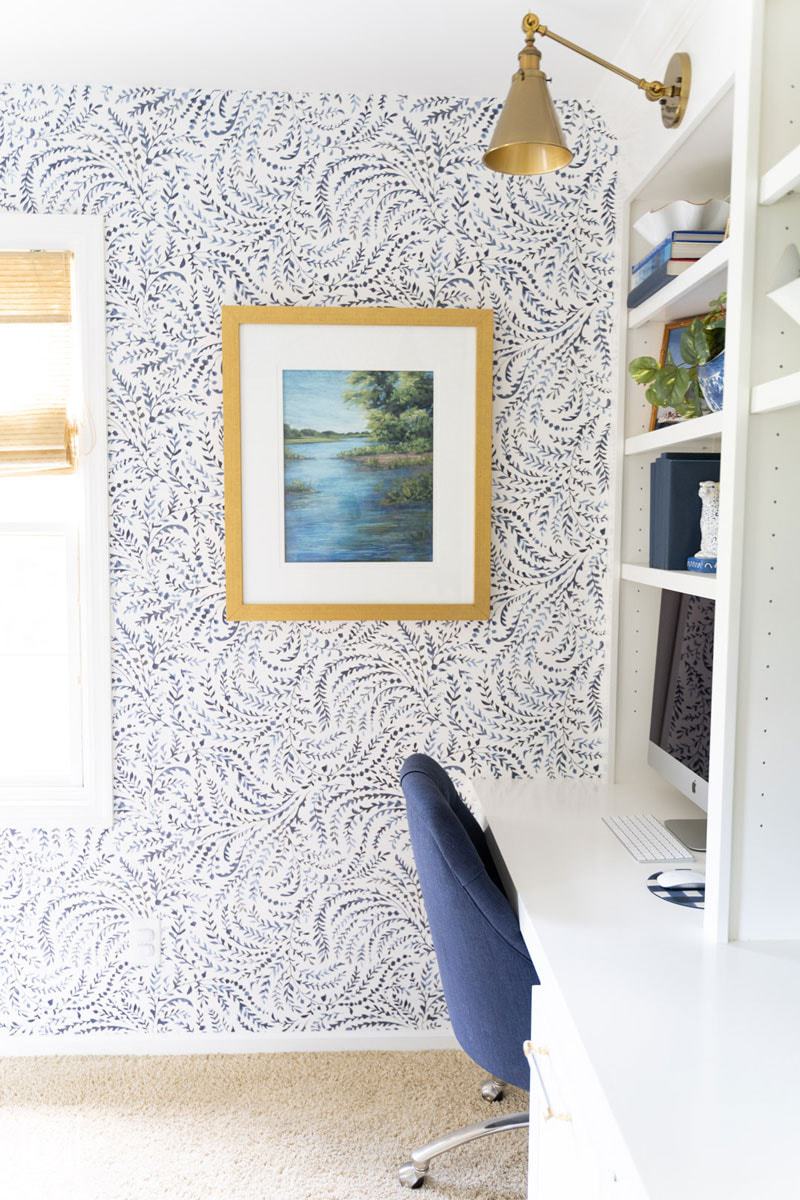
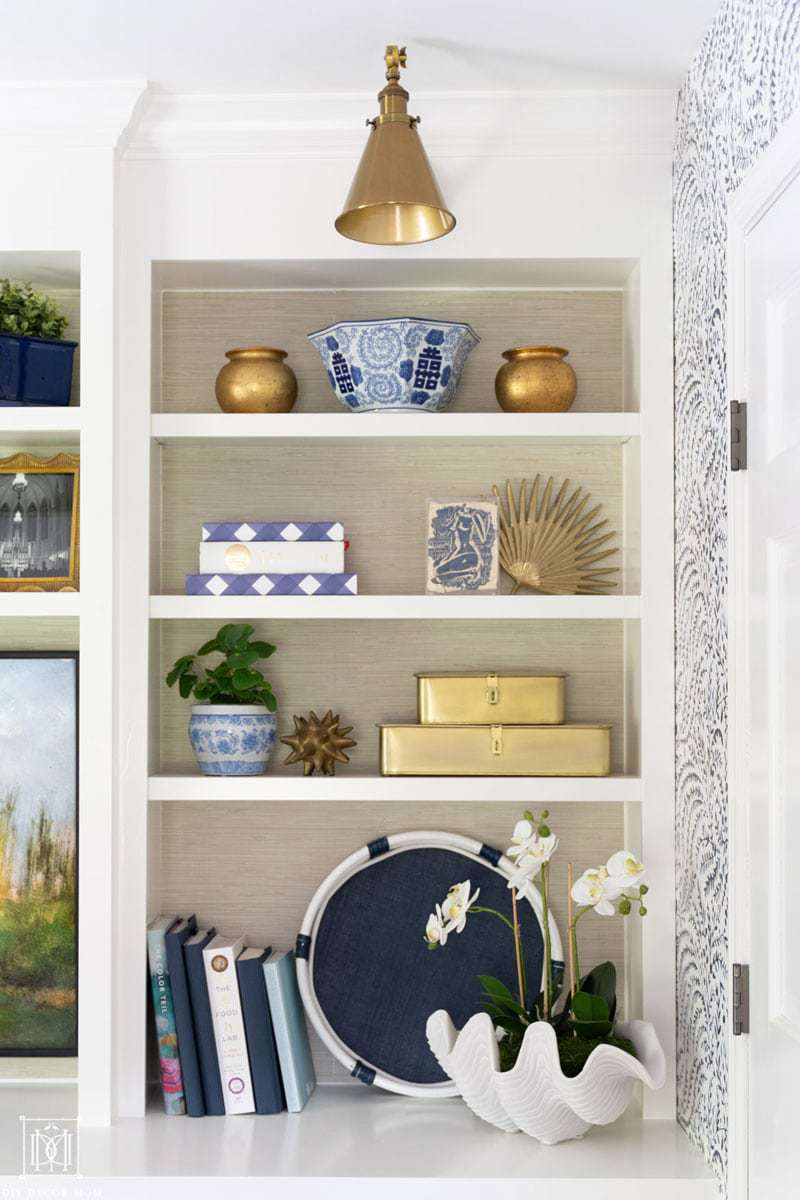
It ties in beautifully with the white built-in shelves and the faux grasscloth gives the white built-ins depth and warmth by adding the texture.

Sailing is a huge part of our family life, so we were excited to have a room that had a slight nautical nod to it. I included a picture of my grandfather’s boat which I spent many hours on growing up, and a nautical chart (map) of where my parents’ beach cottage is.
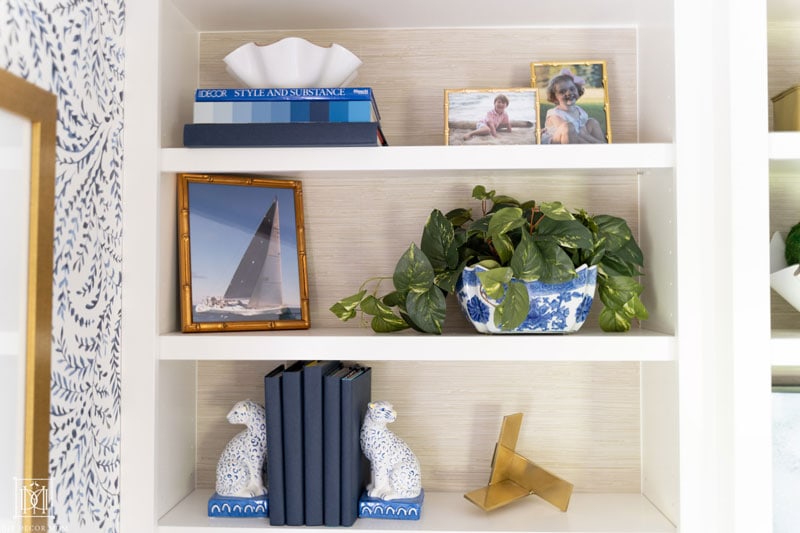
I grew up spending my summers sailing on that lake in small boats, and then racing big boats with my grandfather on Lake Michigan. Sailing is also how my husband and I met! So it’s nice to reference that in the decor of our house without being overtly nautical.
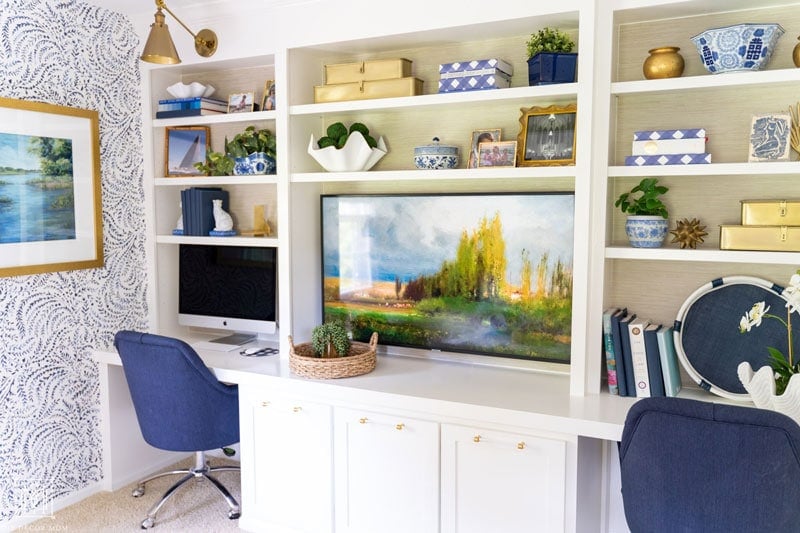
The built-ins in between the two work stations house the DVD player, the printer, and the kids iPads and kindles (and their charging station.) We added these great look for less acrylic pulls to add a little touch of glamour to them and I am in love!
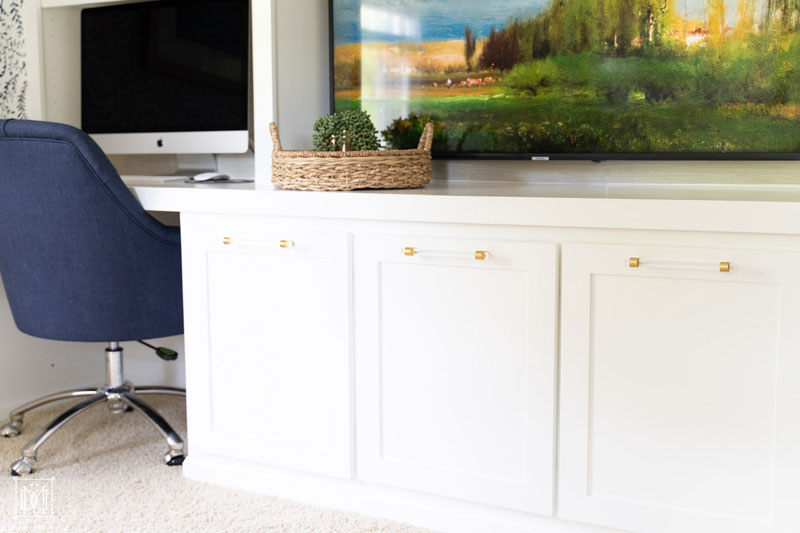
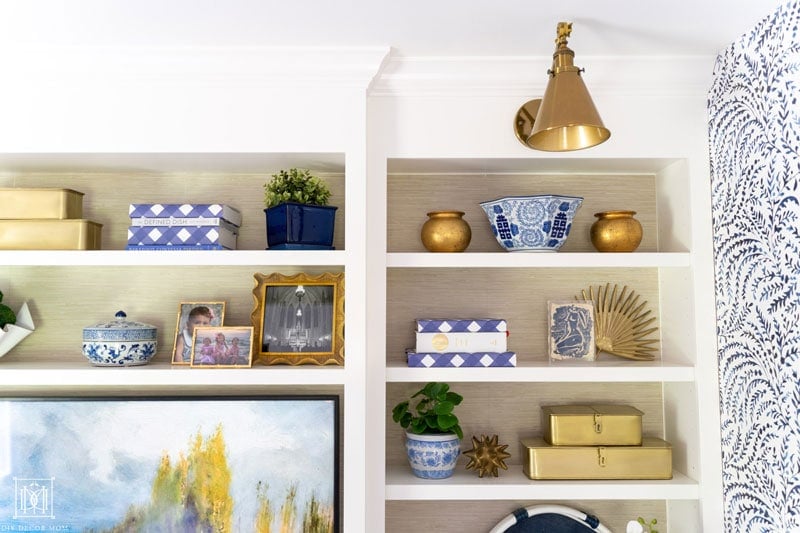
Overall, we couldn’t be happier with how our DIY home office turned out! We use it every day now and actually want to be in the room (what a thought 😉
And as far as all the books–most of them are just wrapped in parchment paper or Sweet Caroline Designs’ buffalo check wrapping paper! I couldn’t let go of these old books we had (most of them are cookbooks;) but, they didn’t fit with my colors. This way they look pretty, and we can always grab them if we need them (newsflash: we don’t!)
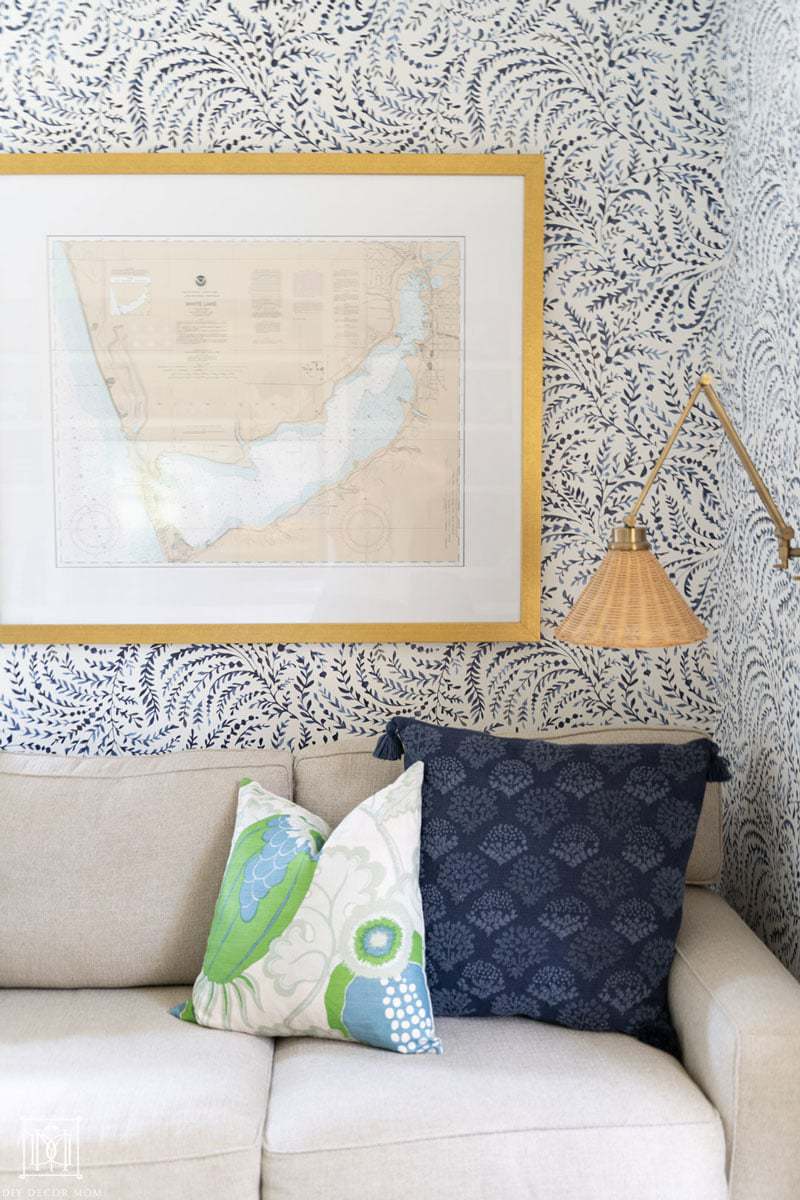
Oh, and as far as the wicker lights shown above, we would have loved to hardwire them into the wall but it is an exterior wall and we didn’t want to tear the wall apart. So, my husband retrofitted it with some plug adapters he ordered off Amazon. Now they each have their own switch and we can turn them on and off as we like (which is really nice when watching a movie late at night!)
