

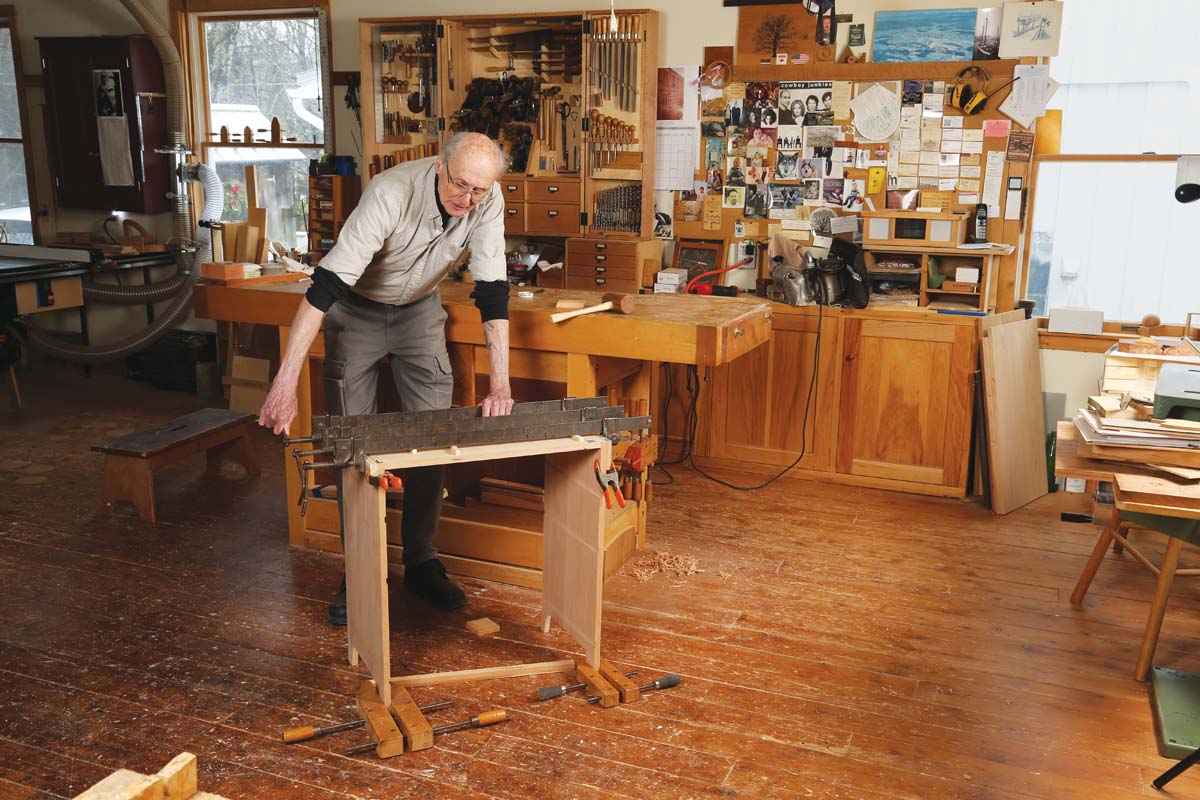
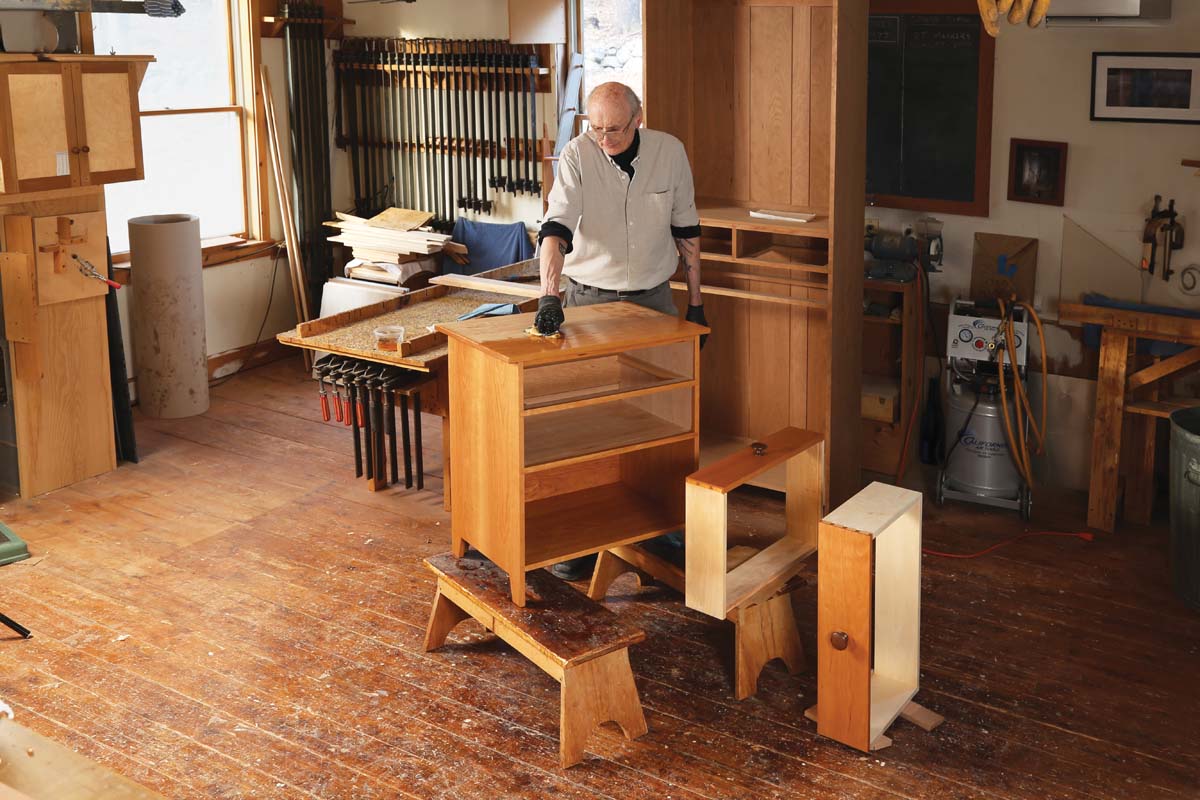
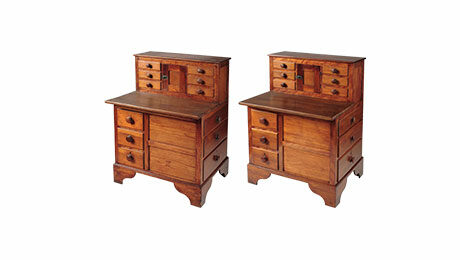
The original version of this pine side chest was made in the Mt. Lebanon Shaker community, probably in the mid to late 19th century. It’s a small, easy-to-build piece, just right for next to the couch, next to the bed, or in the hall. Looking at the photo, the construction seems fairly straightforward: nails, dadoes, and dovetailed drawers. However, as with any piece re-created only from a photo, it’s a guessing game choosing between what is known, what is visible, and current best practices. I made this version out of cherry, using my usual construction techniques. Though it’s not in keeping with the original Shaker design, I decided to make the piece even more useful by adding a shelf under the drawers. Perfect for that stack of books in your reading queue.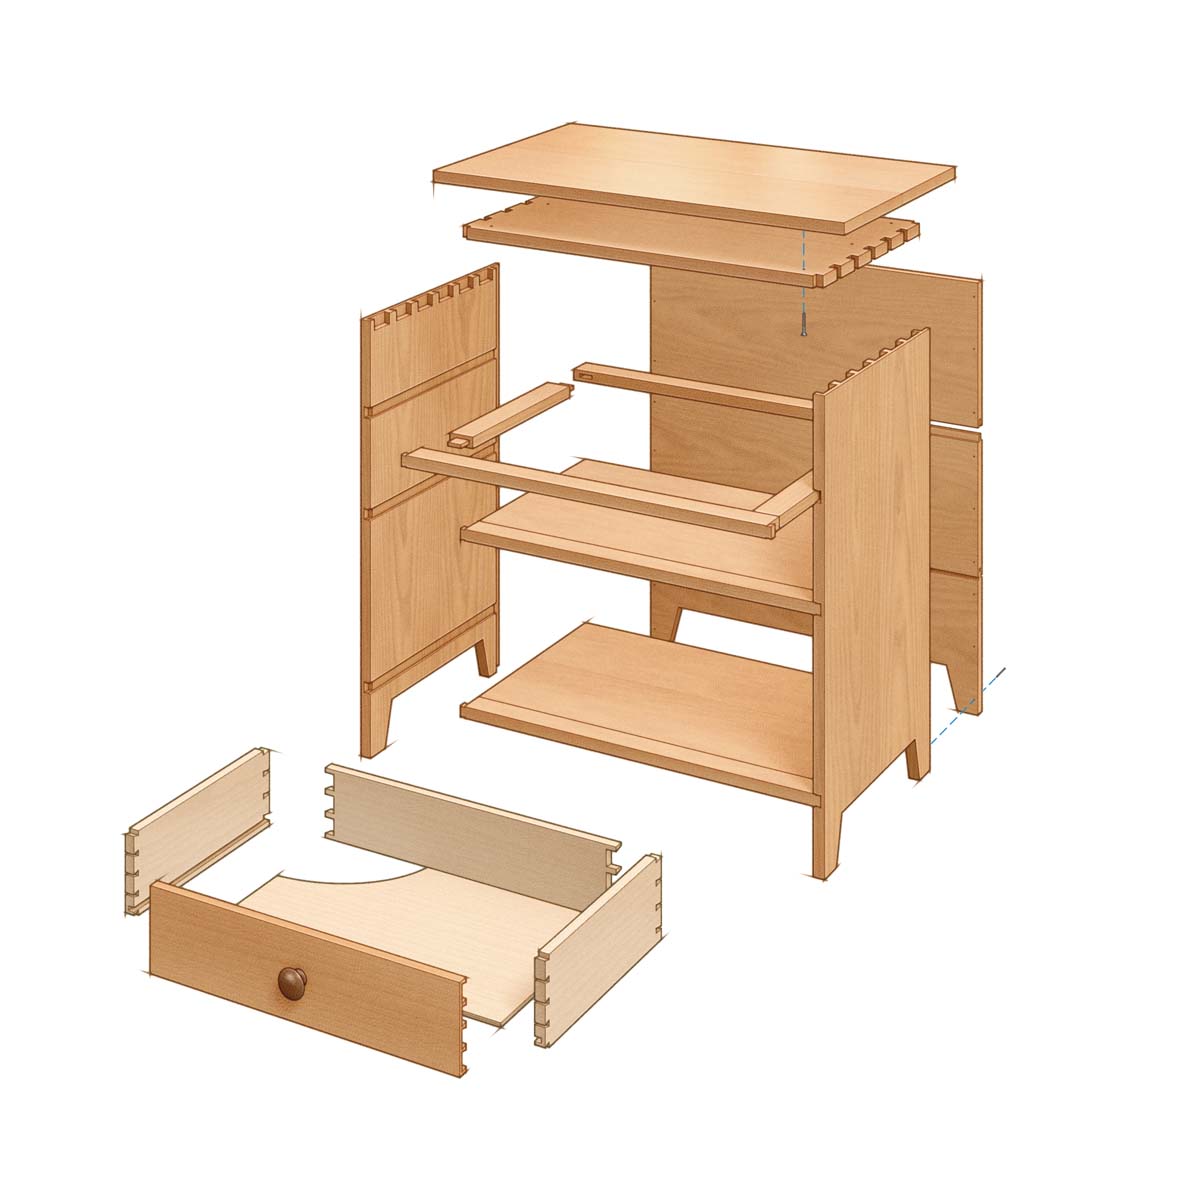
Side panels
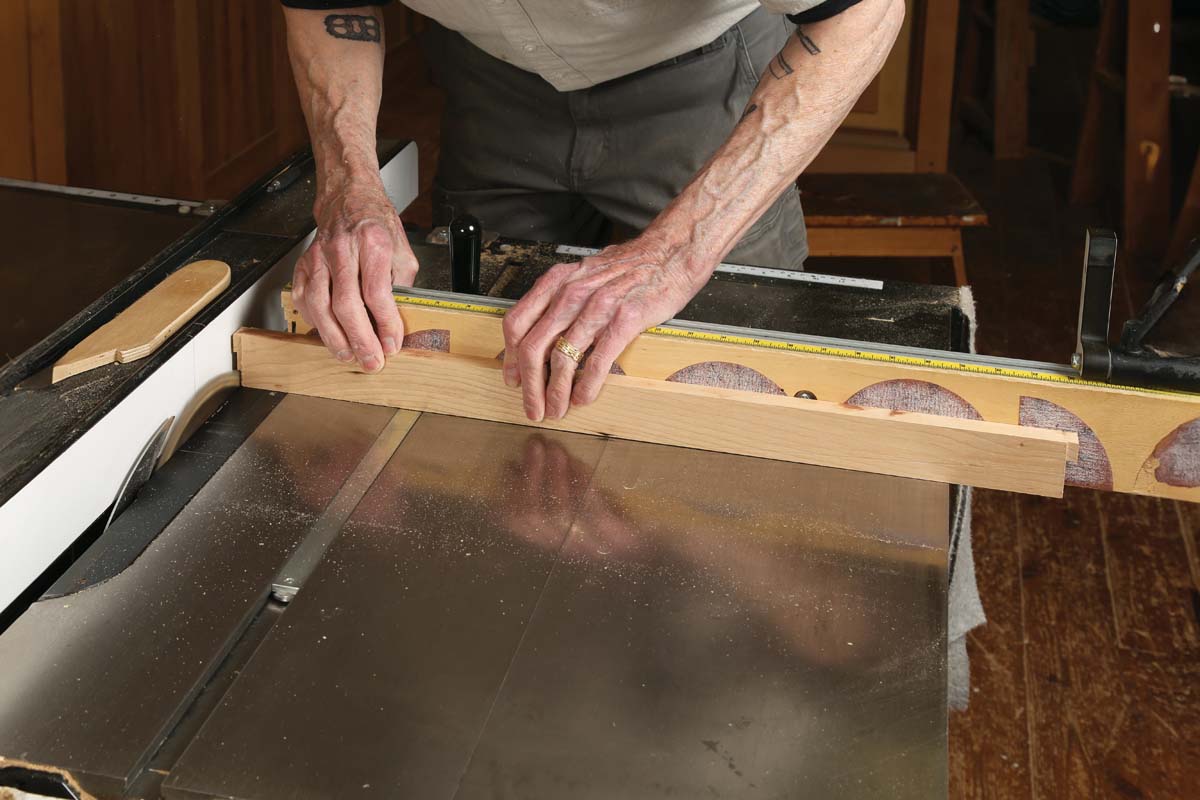
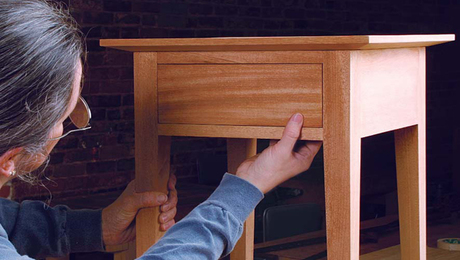
The side panels are where the action is in this piece. They have integral legs cut into the bottoms, they hold all the joinery for the case, and they are nice wide panels that show off the grain you choose.
 |
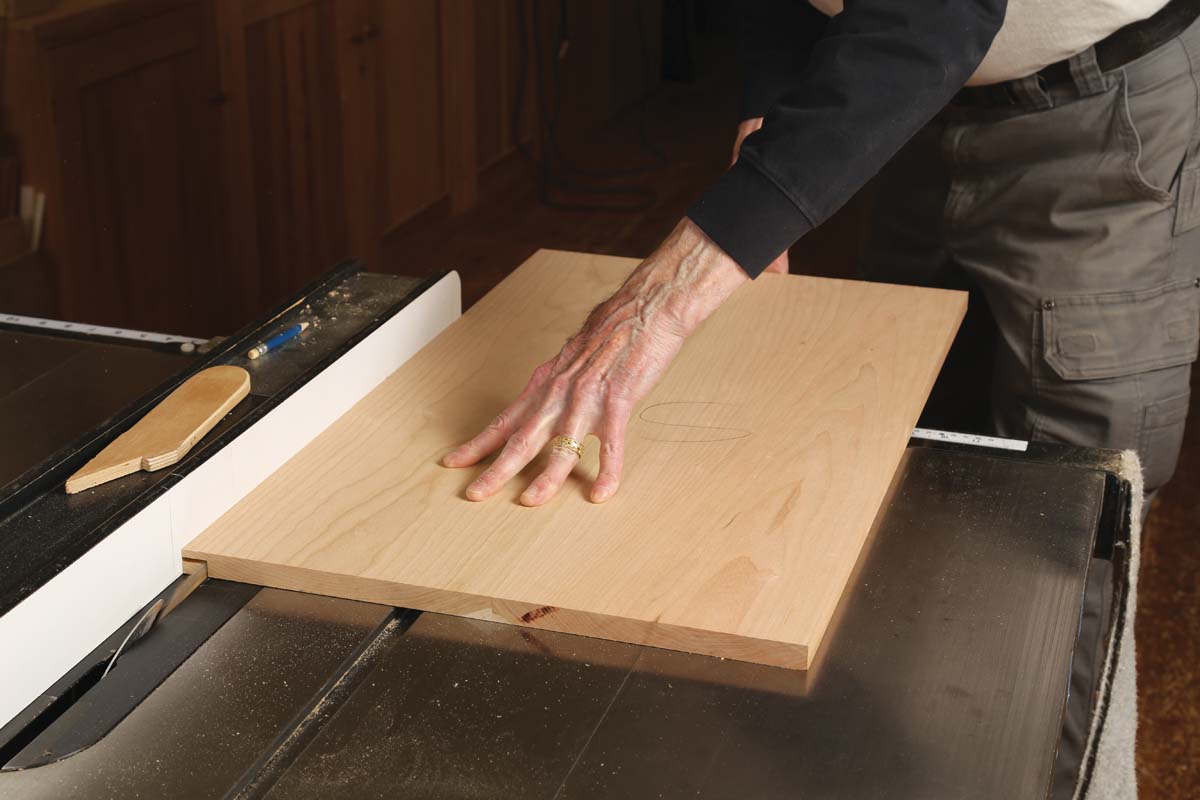 |
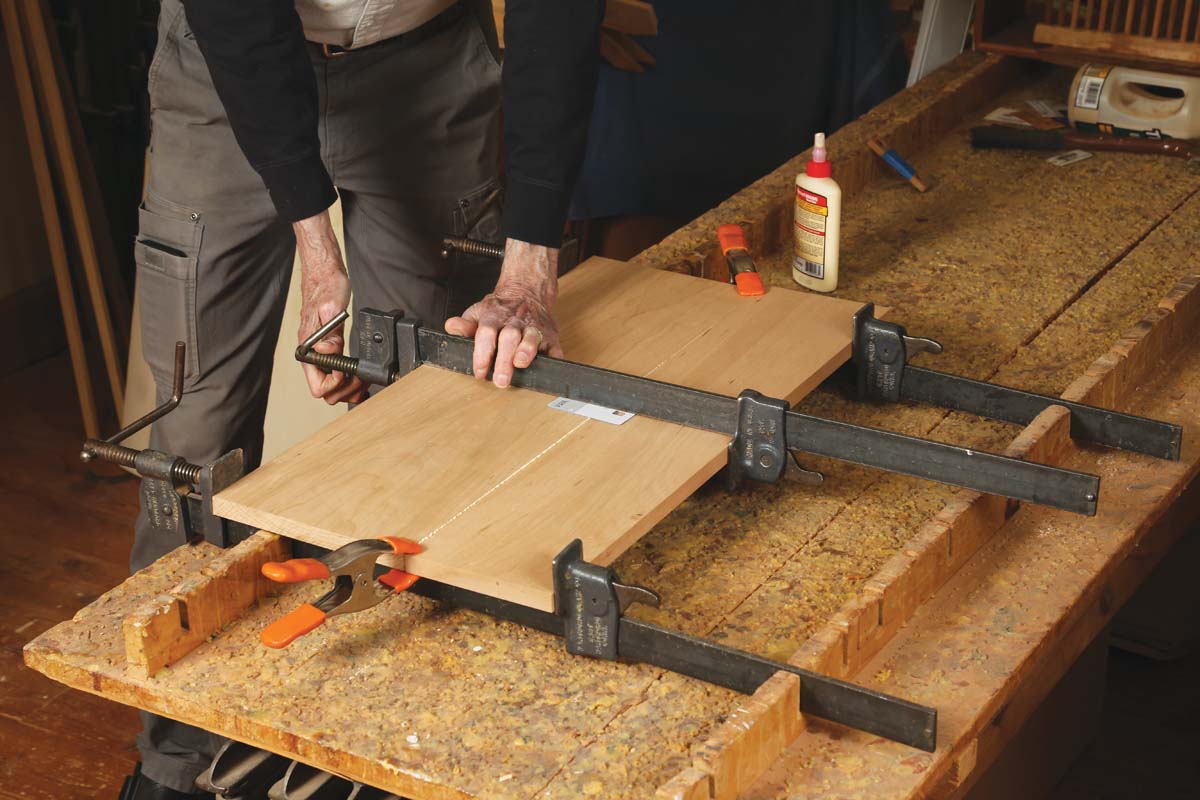
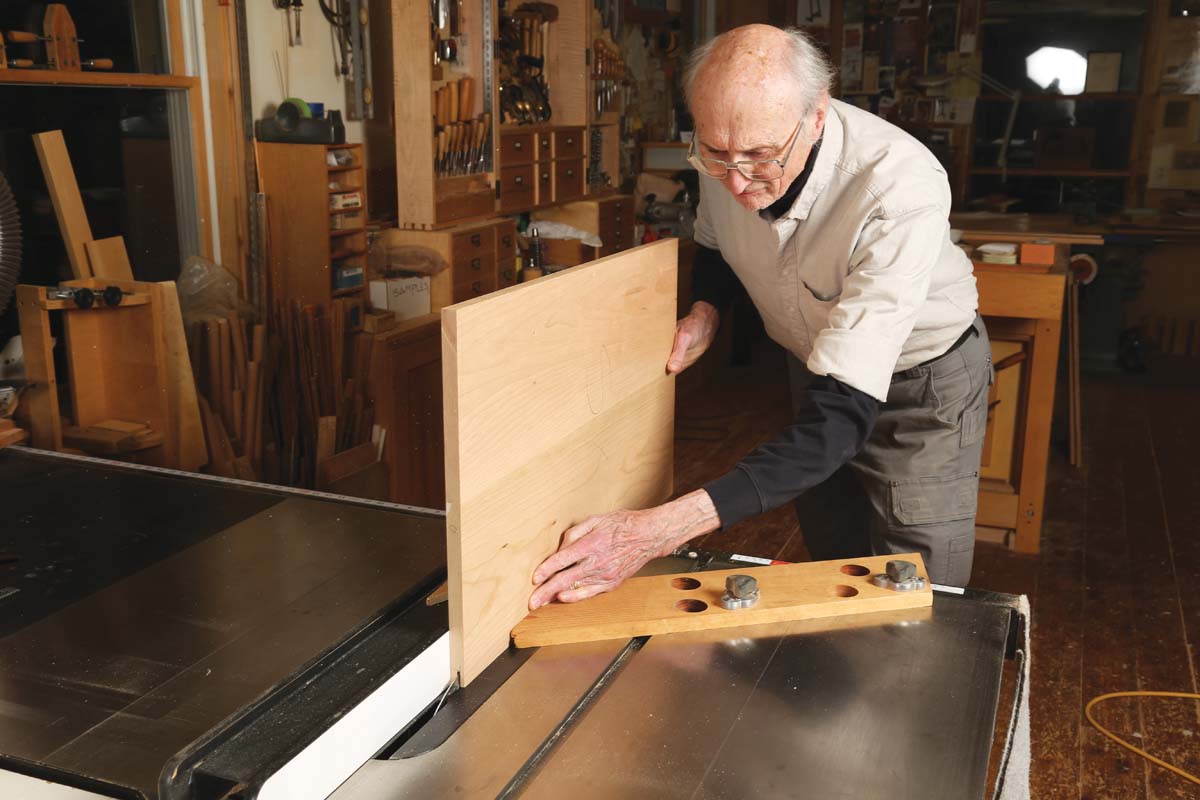
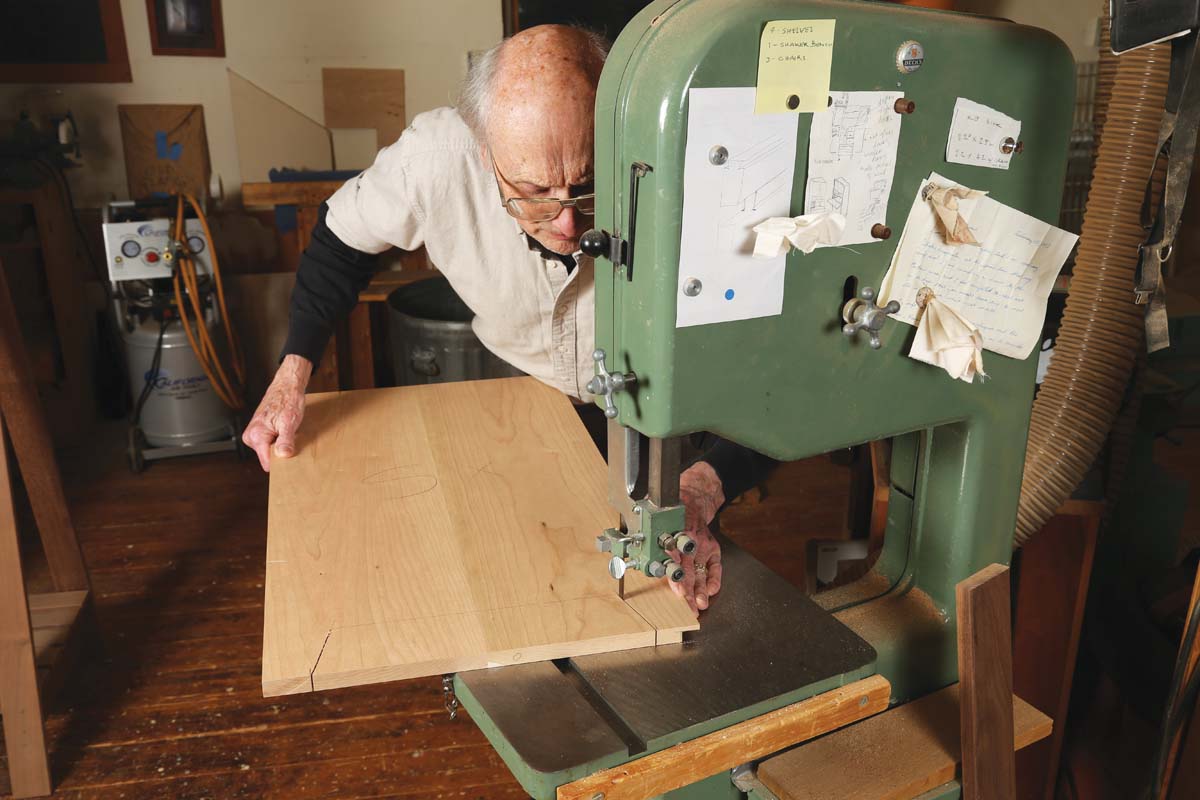
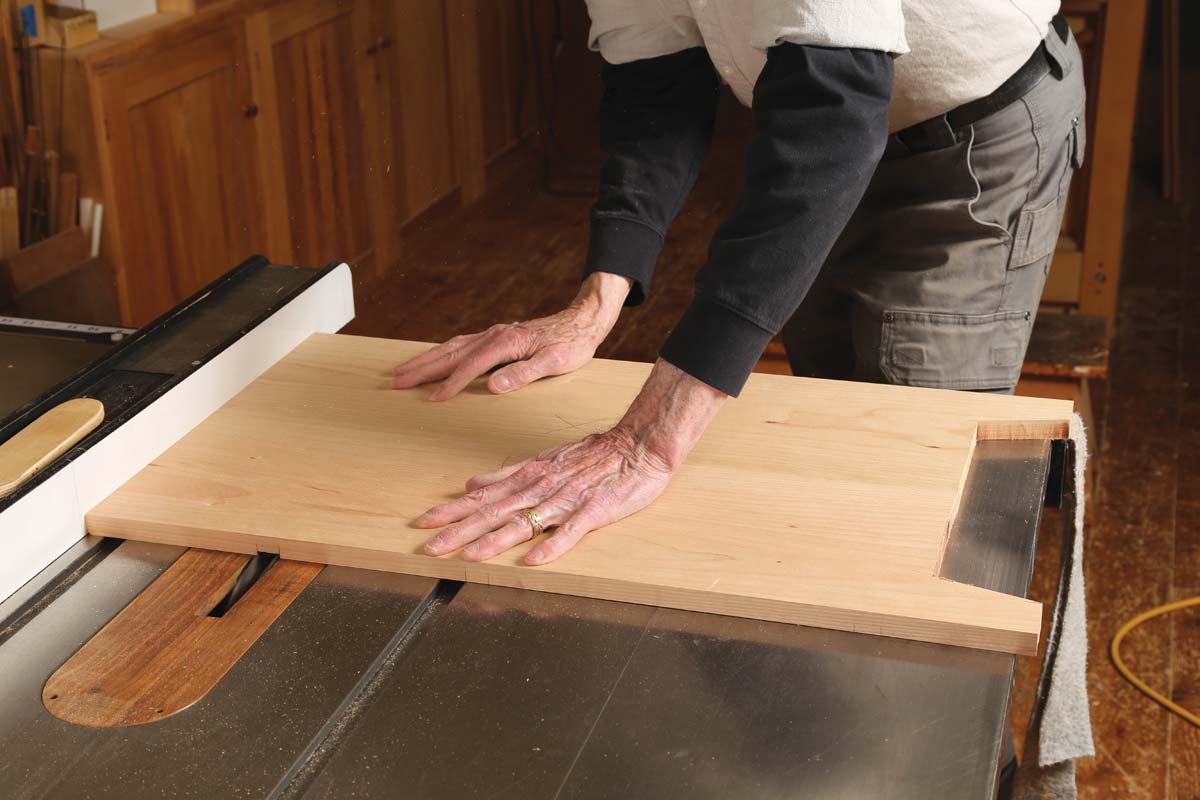
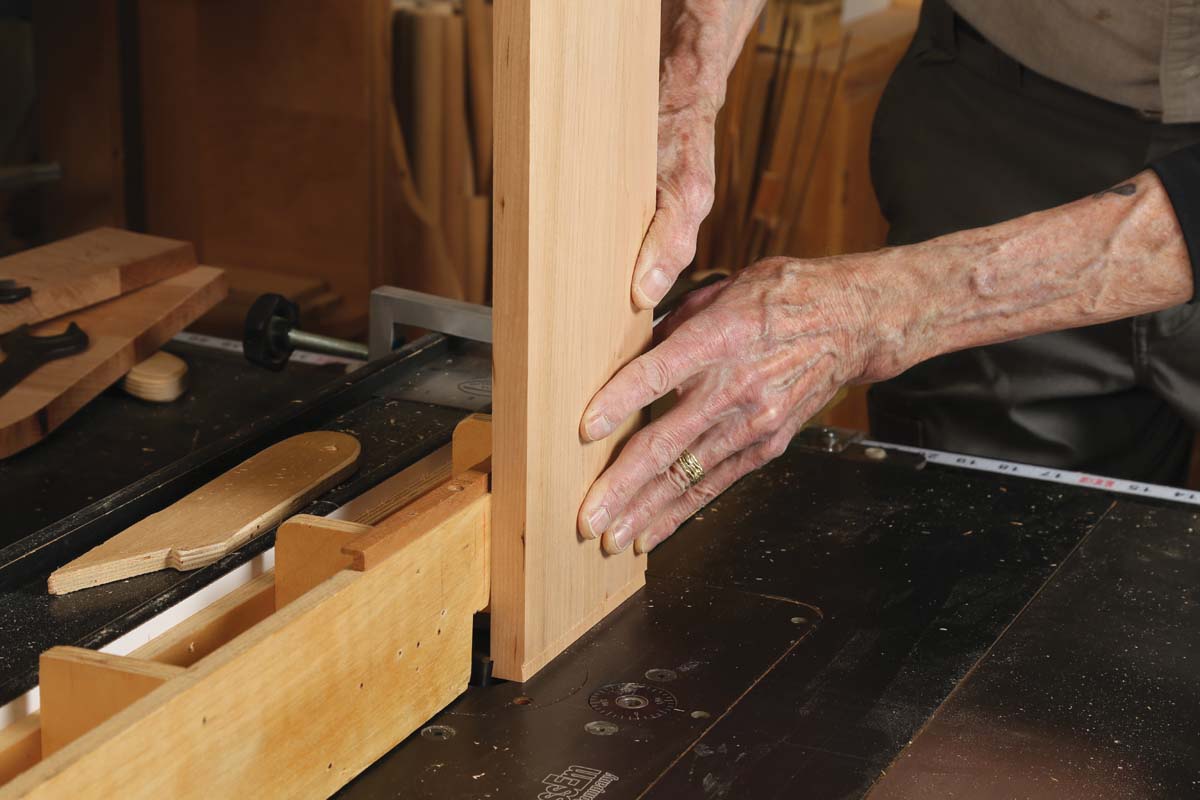
The top, sub-top, shelf, and side panels are each edge-glued from two boards. After gluing them up—matching grain as best I could—I cut them to size. To cut the rabbets in the sides for the back, I made a vertical and a horizontal pass over the table saw. A router, dado blade, or even a rabbet plane will also work. Then I made the cutout at the bottom of the side to create the legs, laying out the angles with a bevel gauge and cutting on the bandsaw. Next, I routed the three dadoes across each case side for the drawer dividers and the shelf.
I used half-blind dovetails to connect the sides to the subtop and give the case maximum strength and stability.
 |
 |
Drawers and case
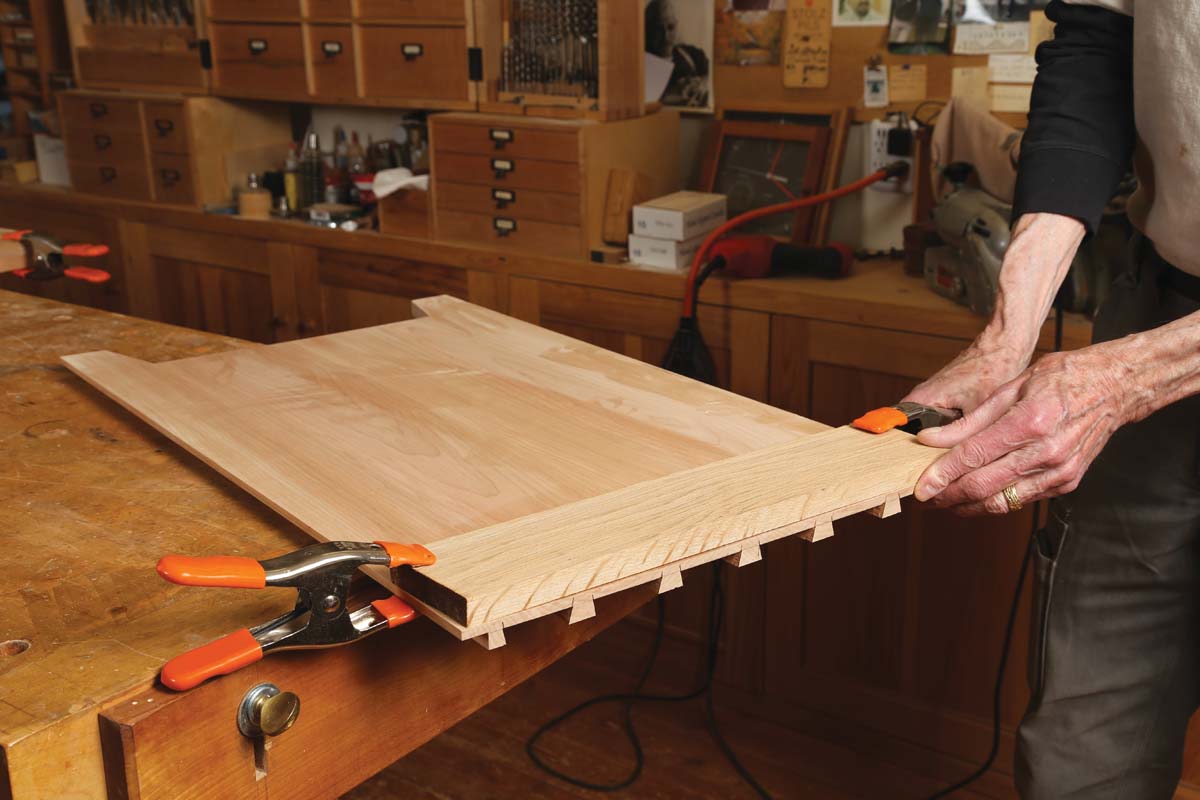
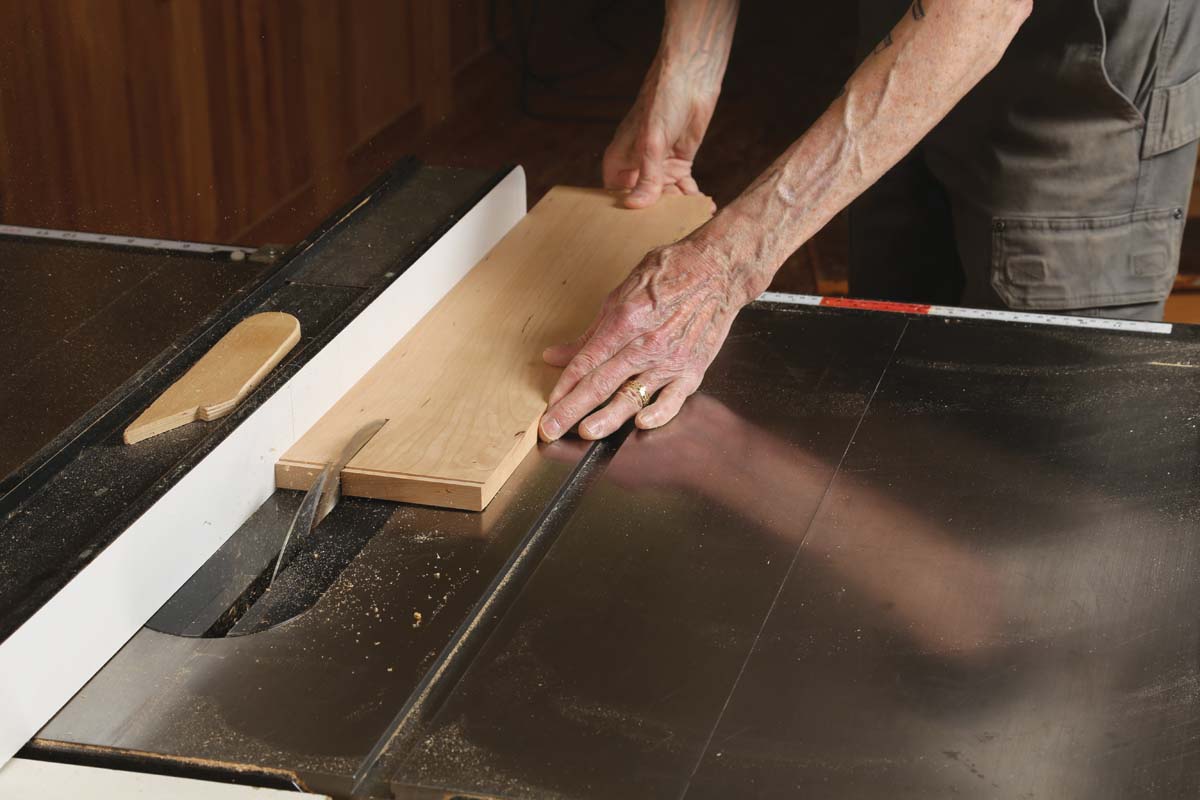
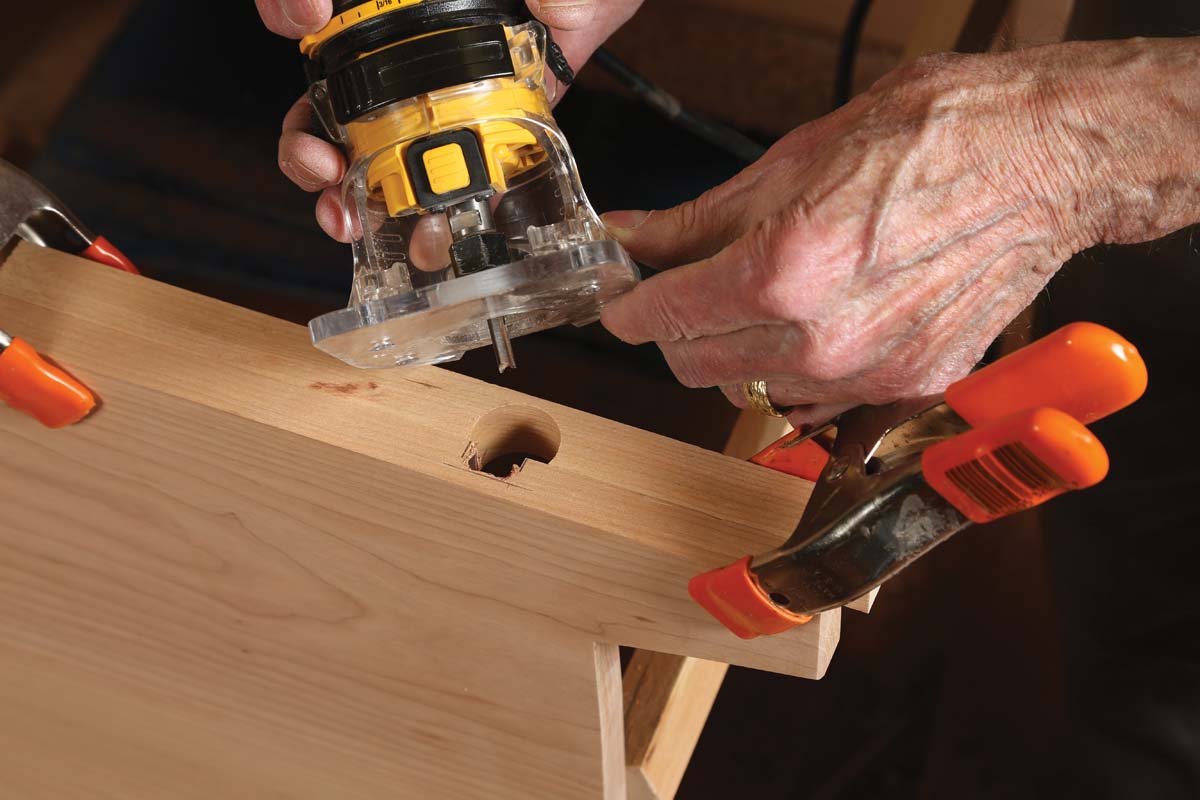
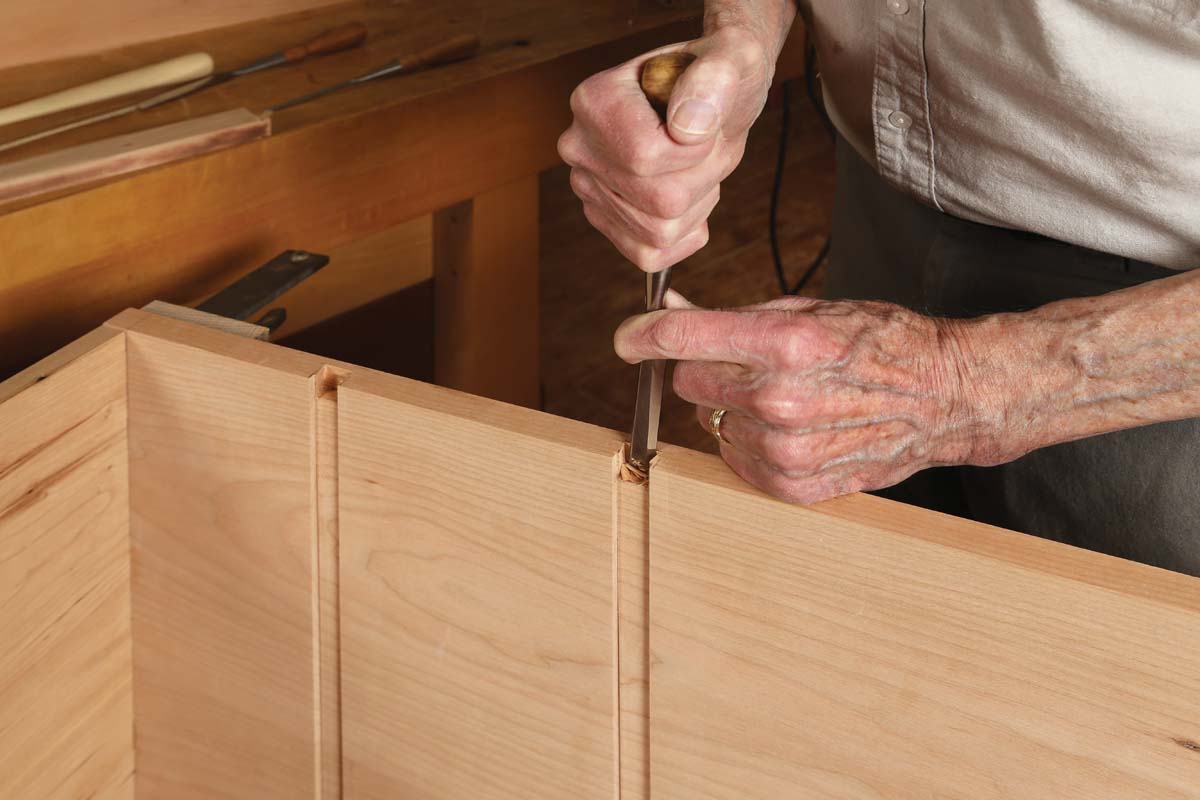
The upper and lower drawer dividers and the shelf are set in dadoes, and at the front edge all three have shallow dovetails that lock them to the case sides. I made the dovetailed portions of them by dovetailing the ends of a wide blank, which I ripped apart into three narrow strips, adding one to the front of each member.
|
|
|
|
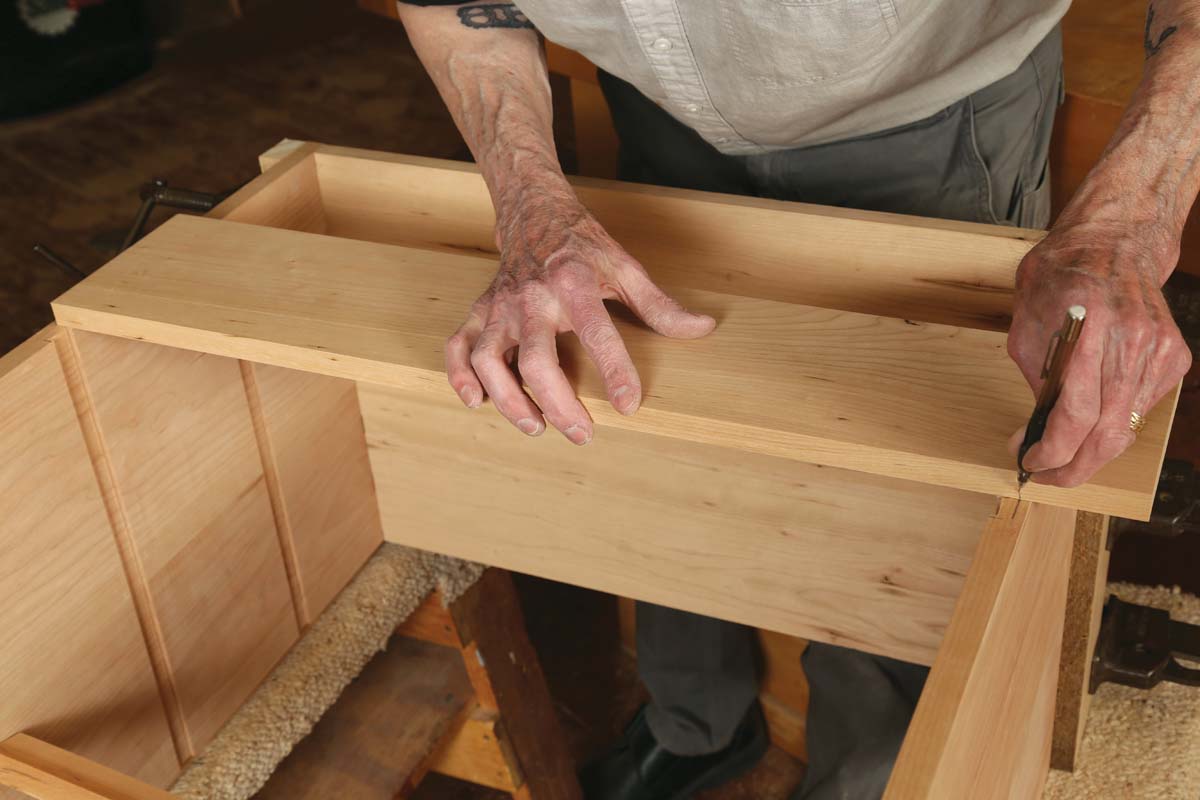
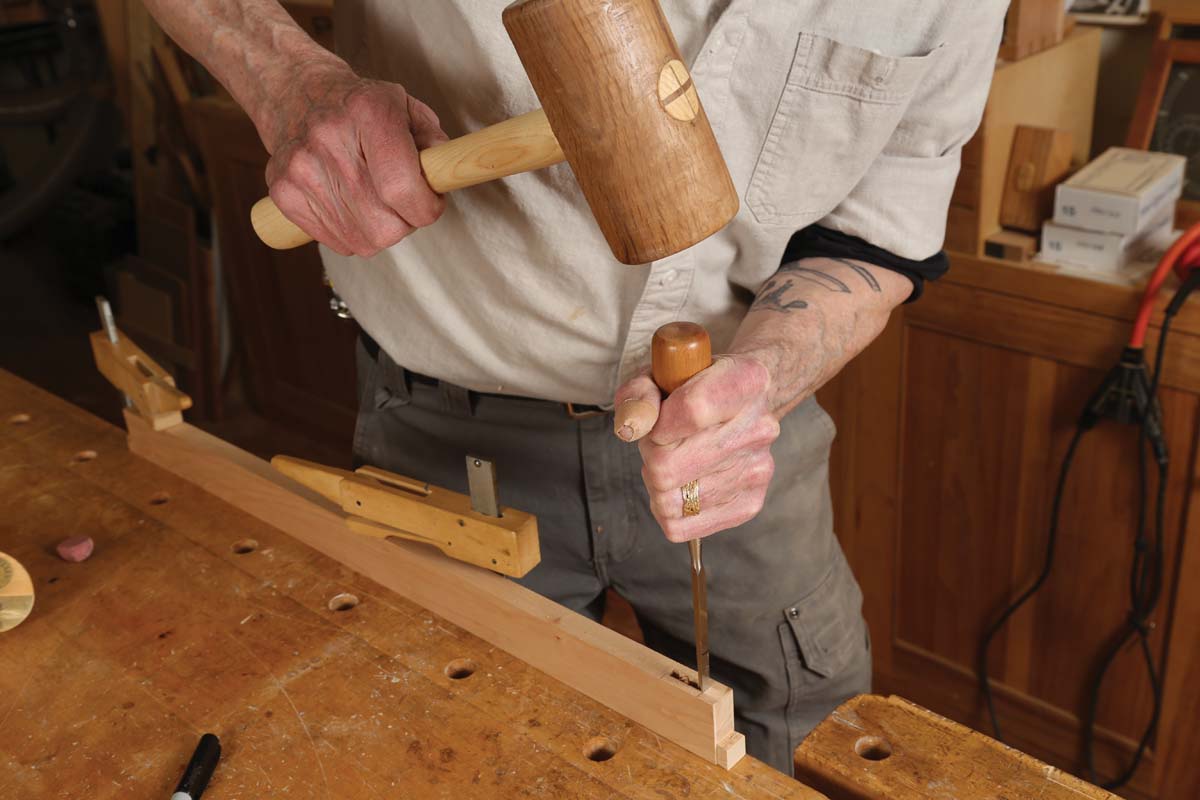
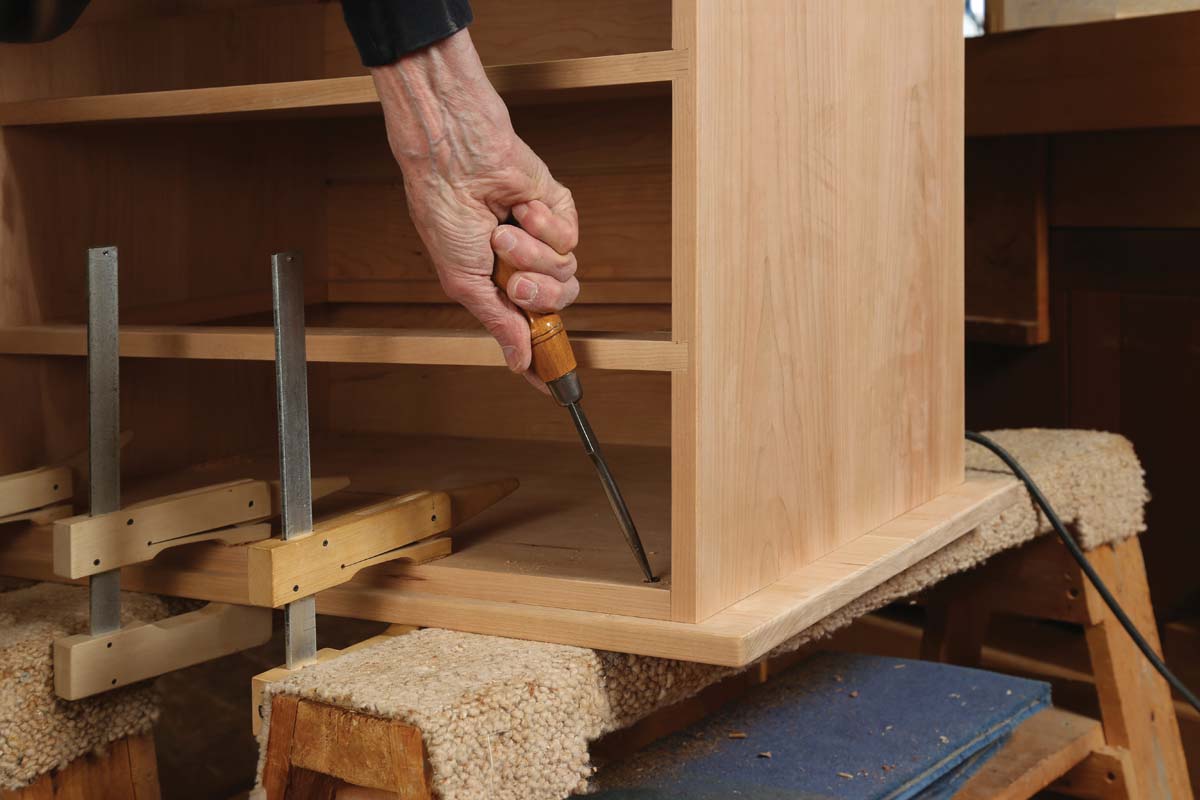
| The divider beneath the lower drawer is a solid panel like the shelf. For both of them, I made a solid panel and glued a dovetailed strip to the front. After sliding the panel into the dadoes I traced around the dovetails. Then I removed the panel and cut the sockets to house the dovetails. | 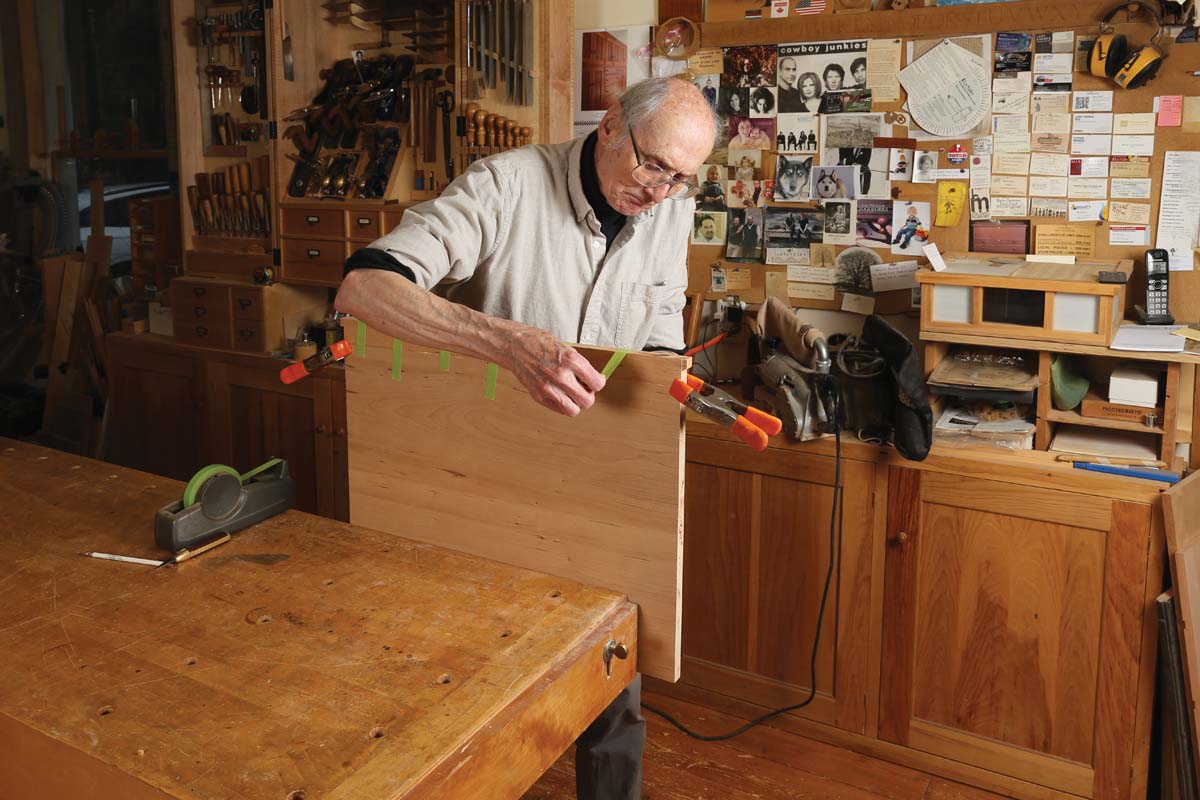 |
 |
 |
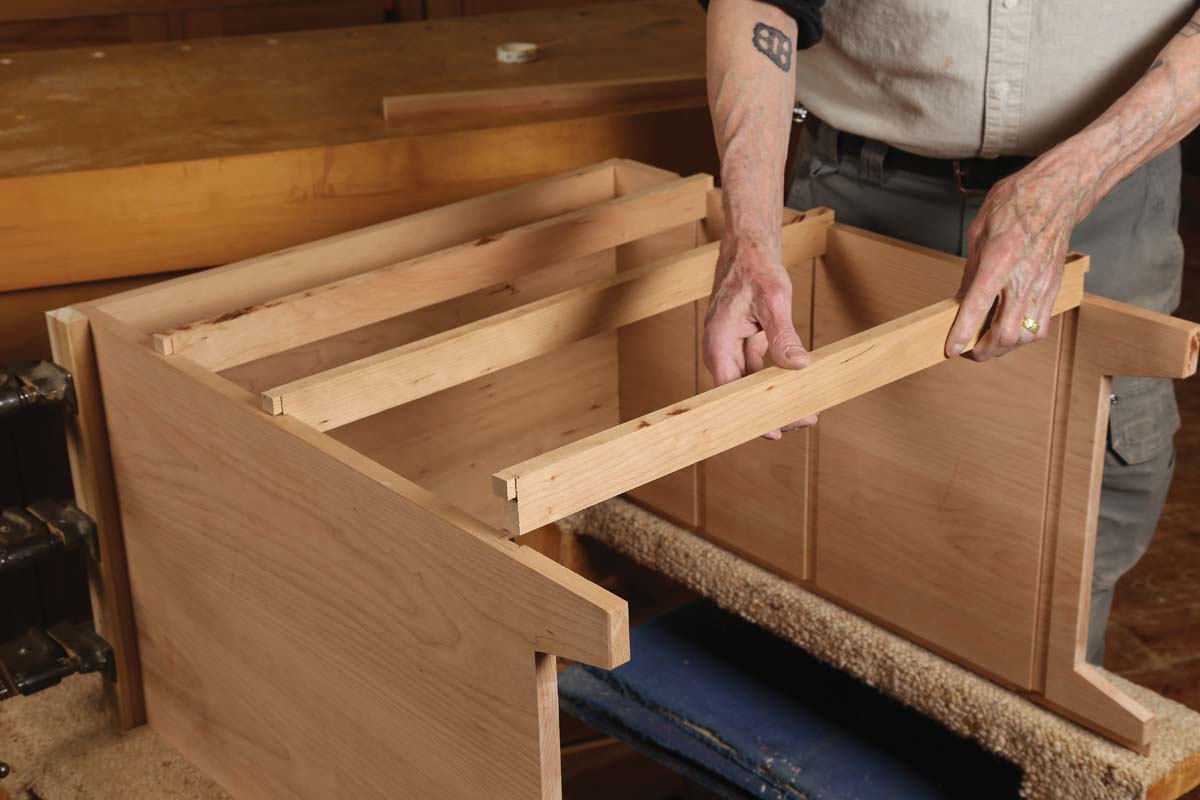
The divider between the two drawers is an open web frame; its front rail is one of the dovetailed strips. The frame is mortised and tenoned on all four corners but I used glue in the front only. This allows for wood movement on the sides of the case, as the non-glued tenons are able to telescope in and out, depending on the seasons.
 |
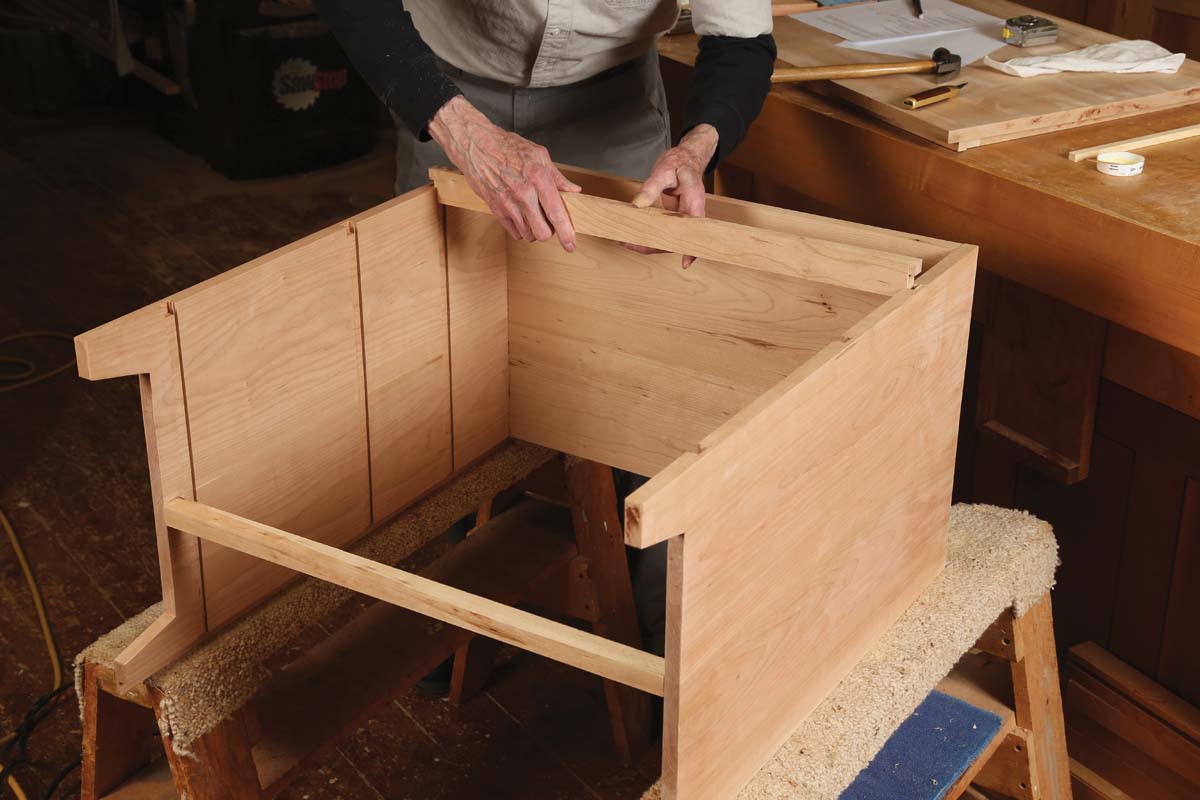 |
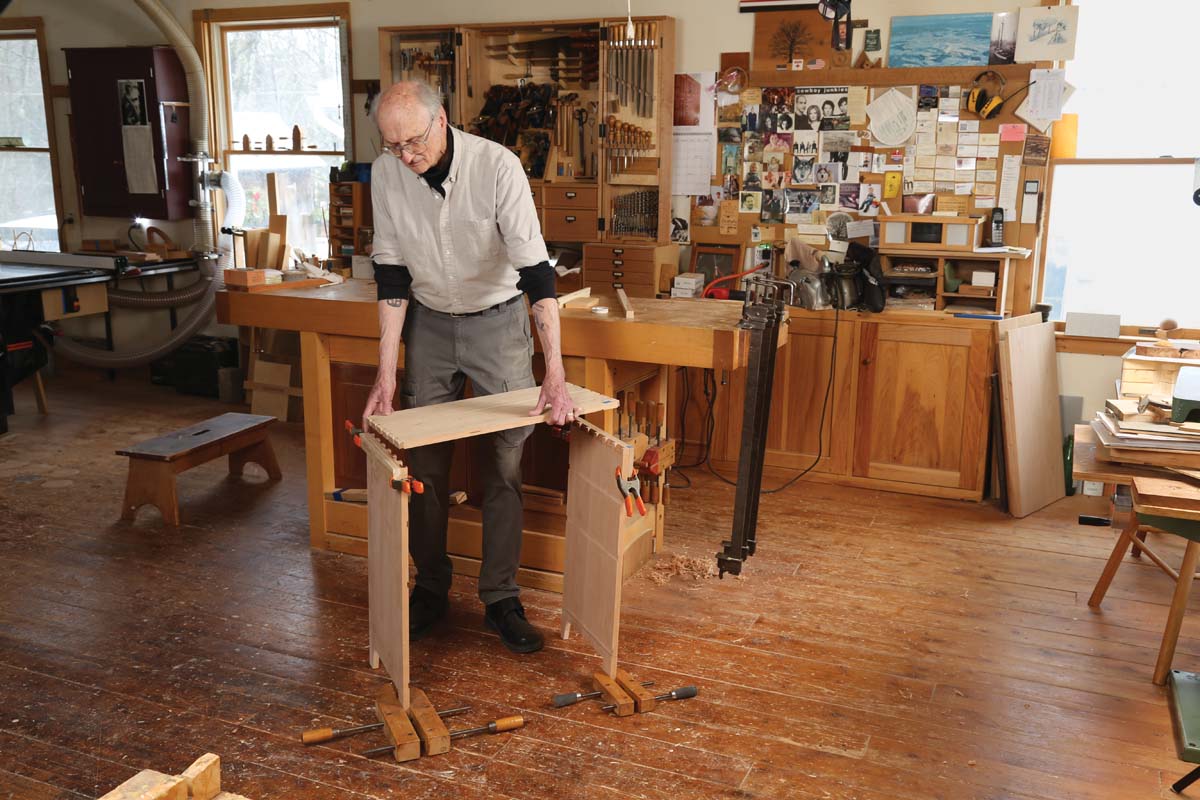
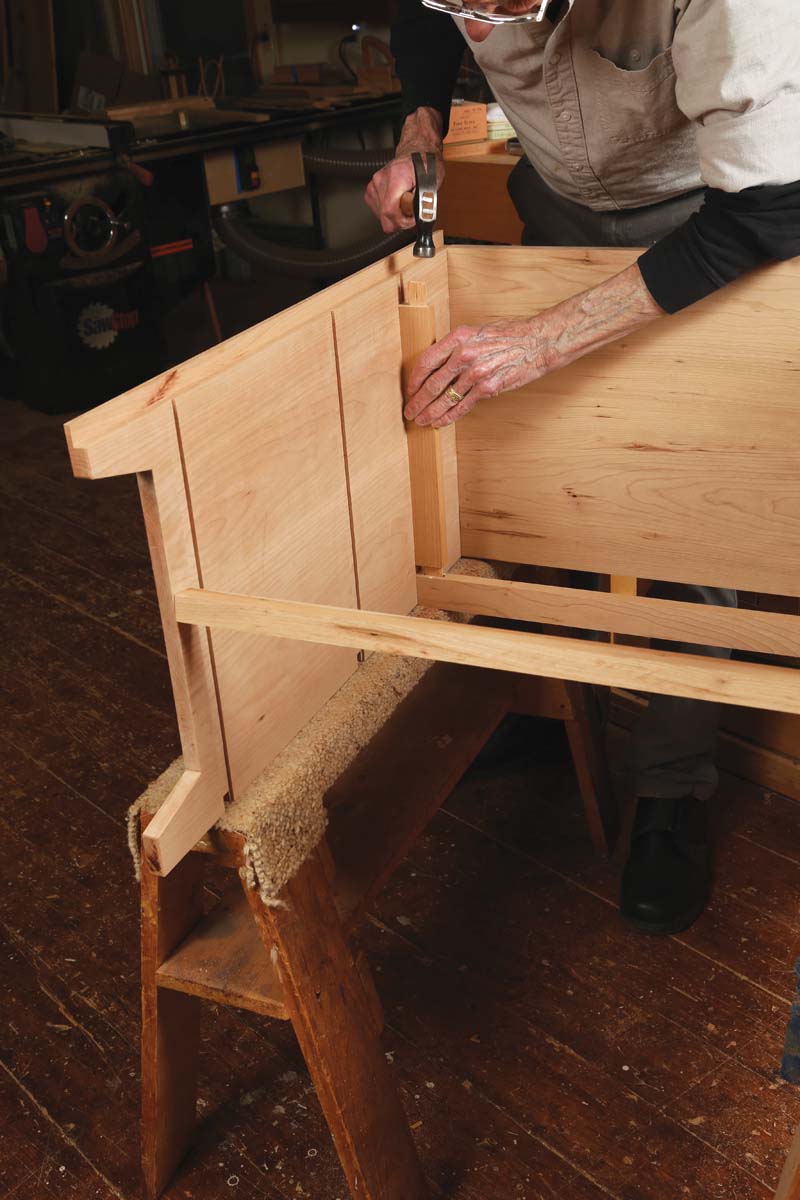
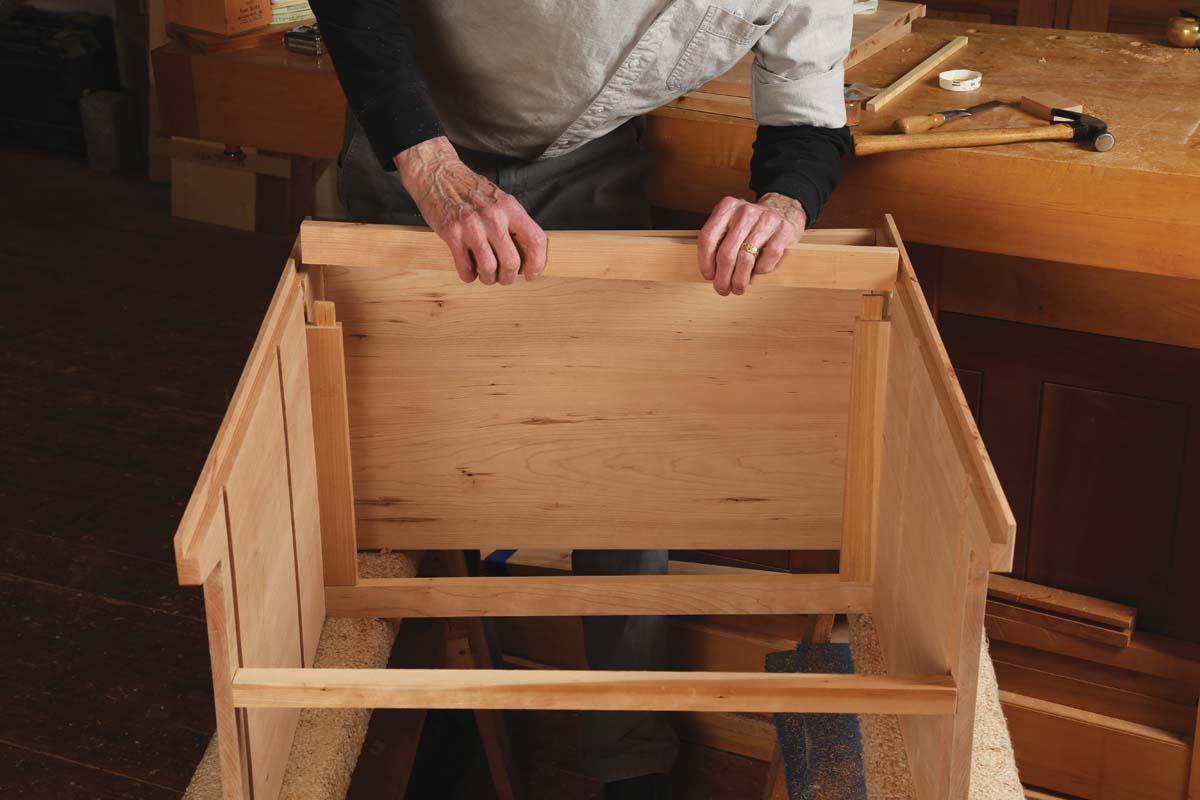
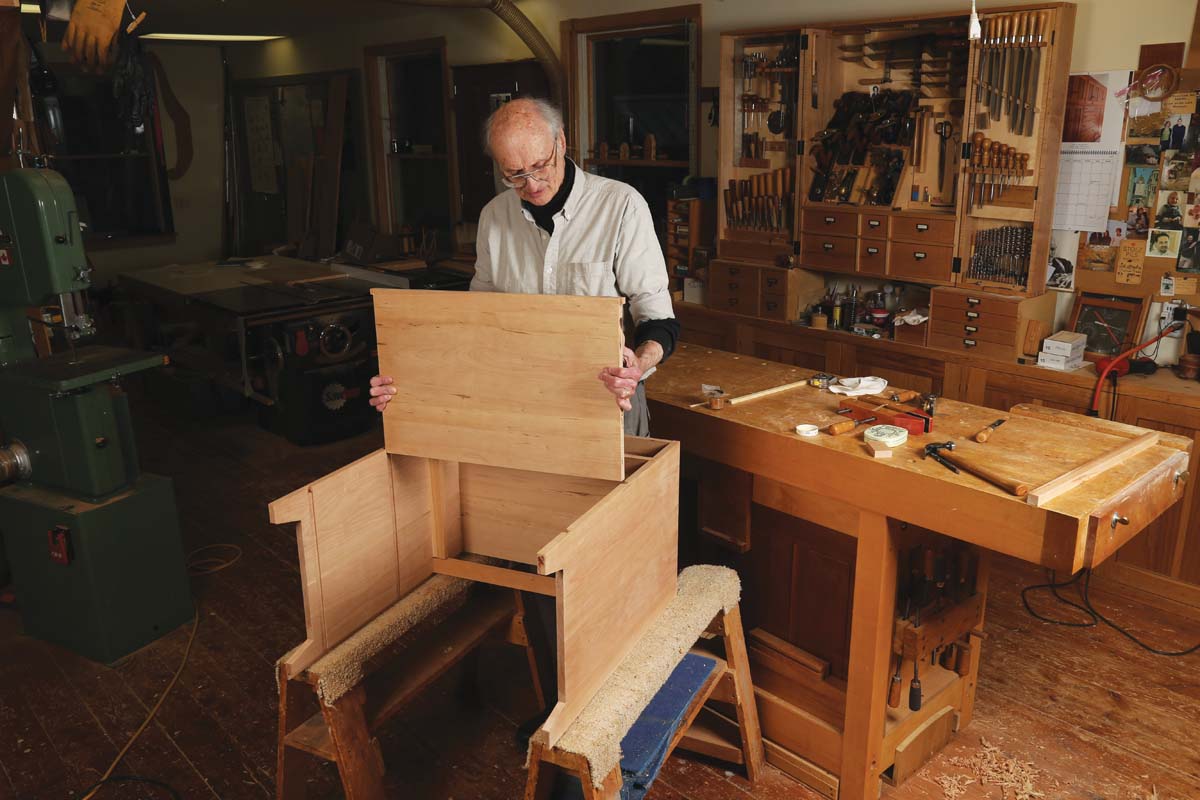
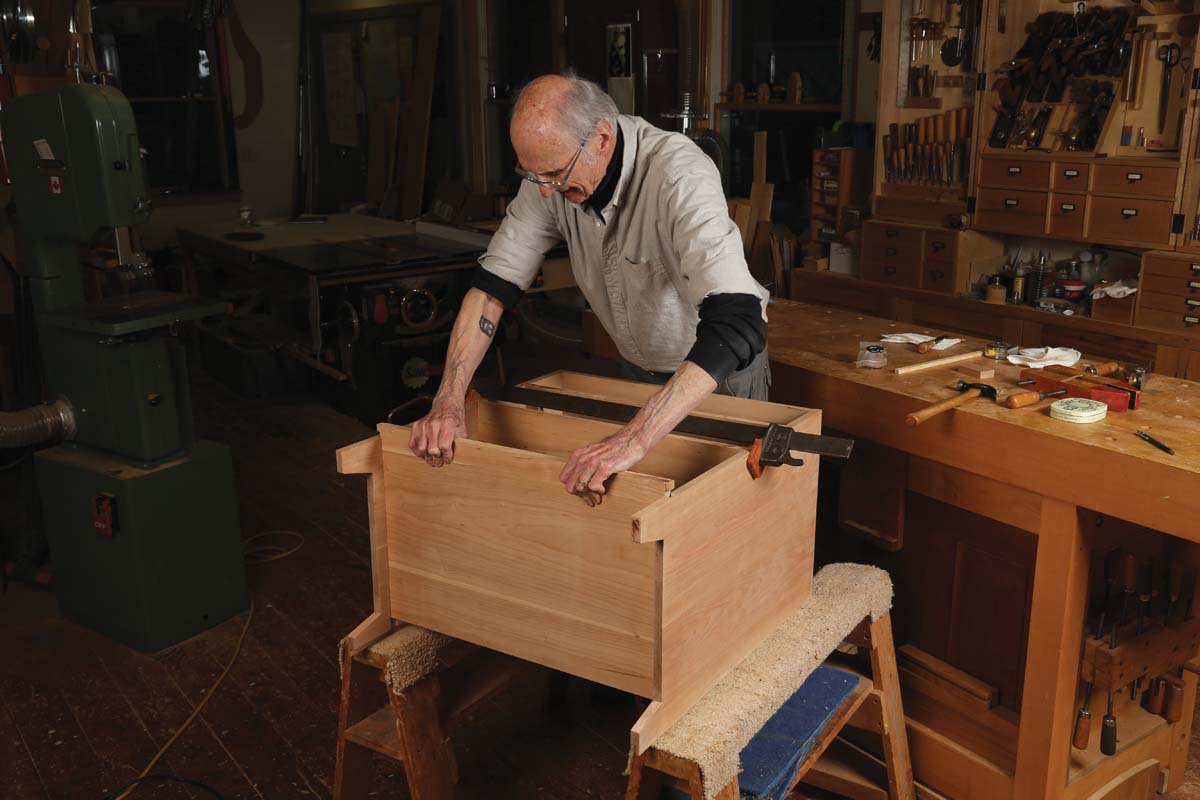
Assemble the case from the top down. The half-blind subtop gets glued to the sides first, followed by the web frame, the solid divider beneath the drawers, and the shelf. I made sure the case was square, and then sanded the sides.
 |
 |
Add the back and top it off

I used horizontal tongue-and-grooved boards for the back, like the original. The bottom board was cut out to match the sides. The top board was glued to the subtop, while the other boards were nailed into the back rabbets.
I cut the case top to size, eased its edges, and attached it with screws through the subtop. Both drawers were dovetailed and set flush with the face. My version has walnut knobs, like the original, for just a hint of authenticity. I finished the piece in oil, my usual.
Sign up for eletters today and get the latest techniques and how-to from Fine Woodworking, plus special offers.
Download FREE PDF
when you enter your email address below.
