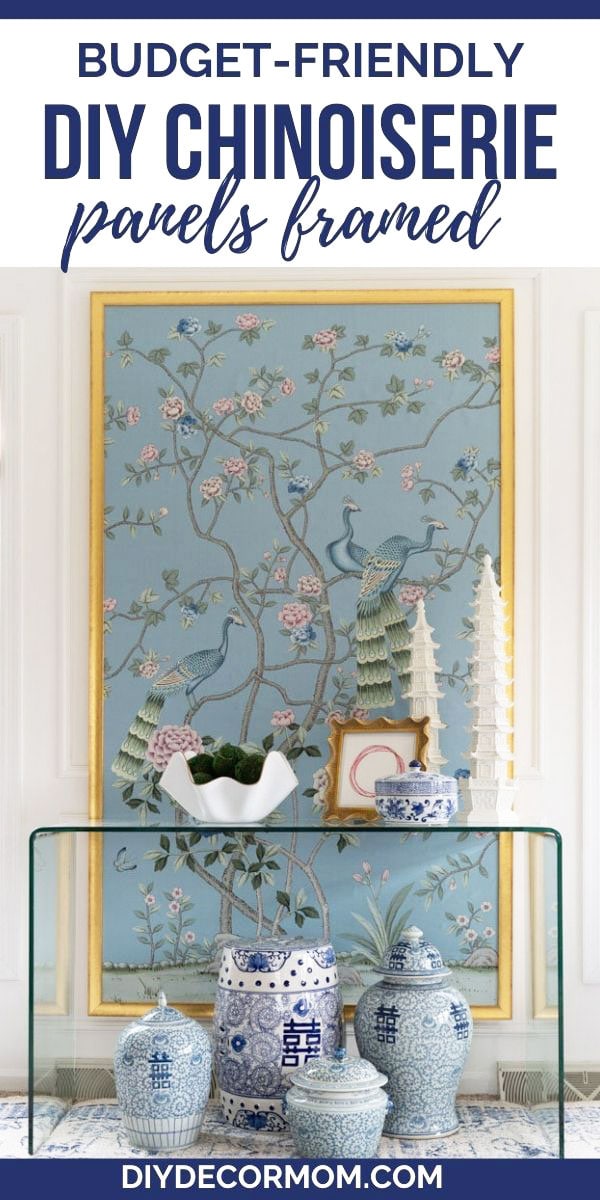
DIY Chinoiserie Panel: Looking for an affordable way to frame your chinoiserie panels? We wanted an oversized Chinoiserie panel but it was going to be so expensive to have framed–so we DIYed it! See all the options we looked into, how we framed our oversized panel, and what materials and tools you’ll need to make your own!
DIY FRAMED CHINOISERIE PANEL

Chinoiserie panels have long been popular–they are timeless for a reason! I’ve always wanted Chinoiserie panels for my own home but for the longest time they were out of my price range. Finally, there are affordable chinoiserie panels that anyone can buy (or DIY!)
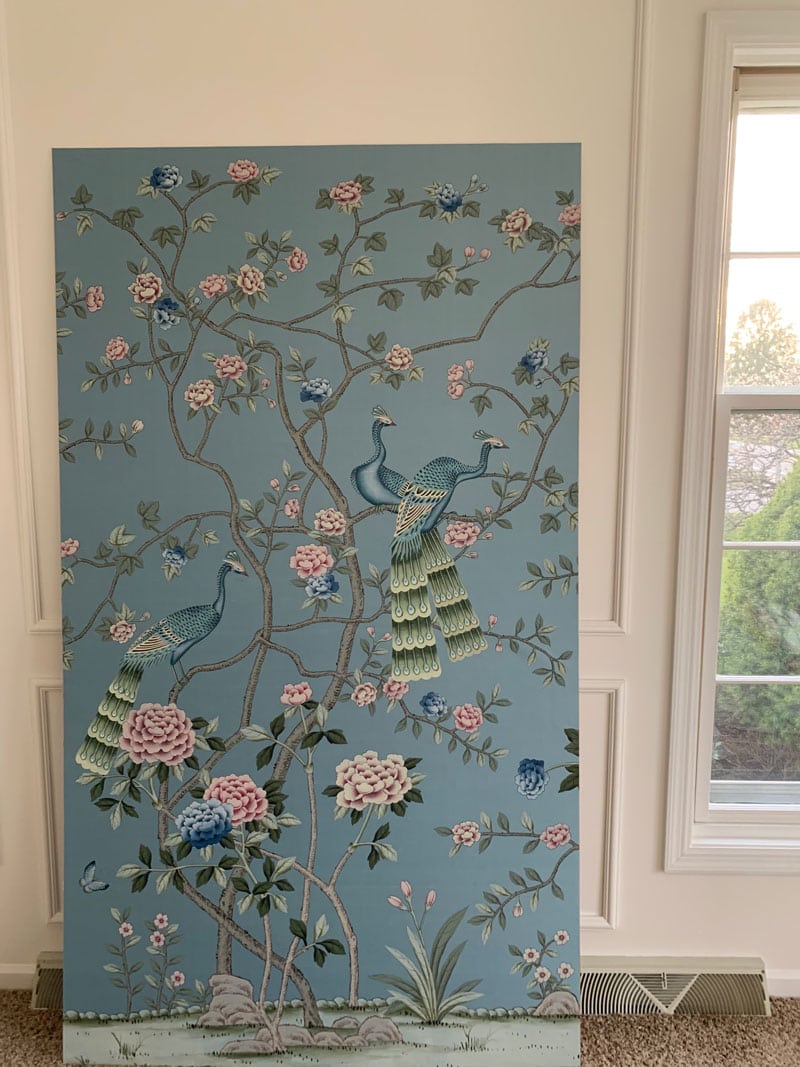
After purchasing our chinoiserie panel (a hand-painted custom piece we picked out from here), we knew we wanted to frame it. One option would be to adhere it to the wall and frame it in picture molding–but, given how much I rearrange things, I knew that framing it would be a safer long-term bet!
Related: Grandmillennial Living Room Makeover
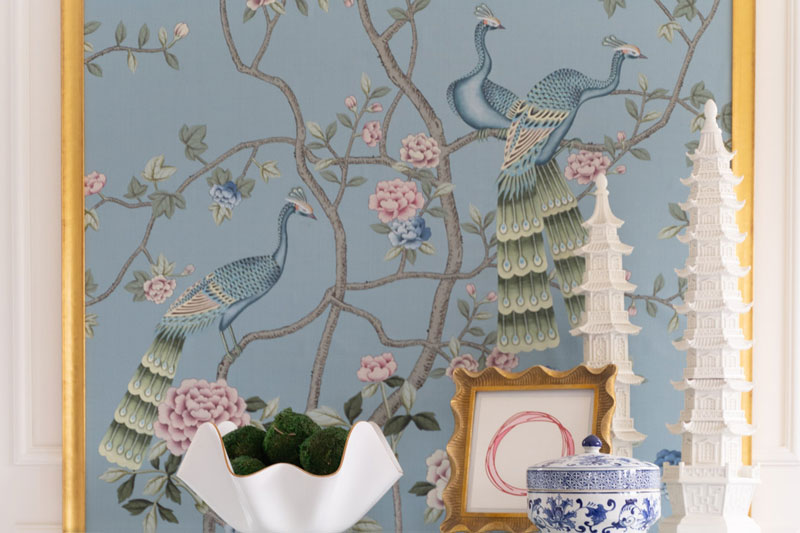
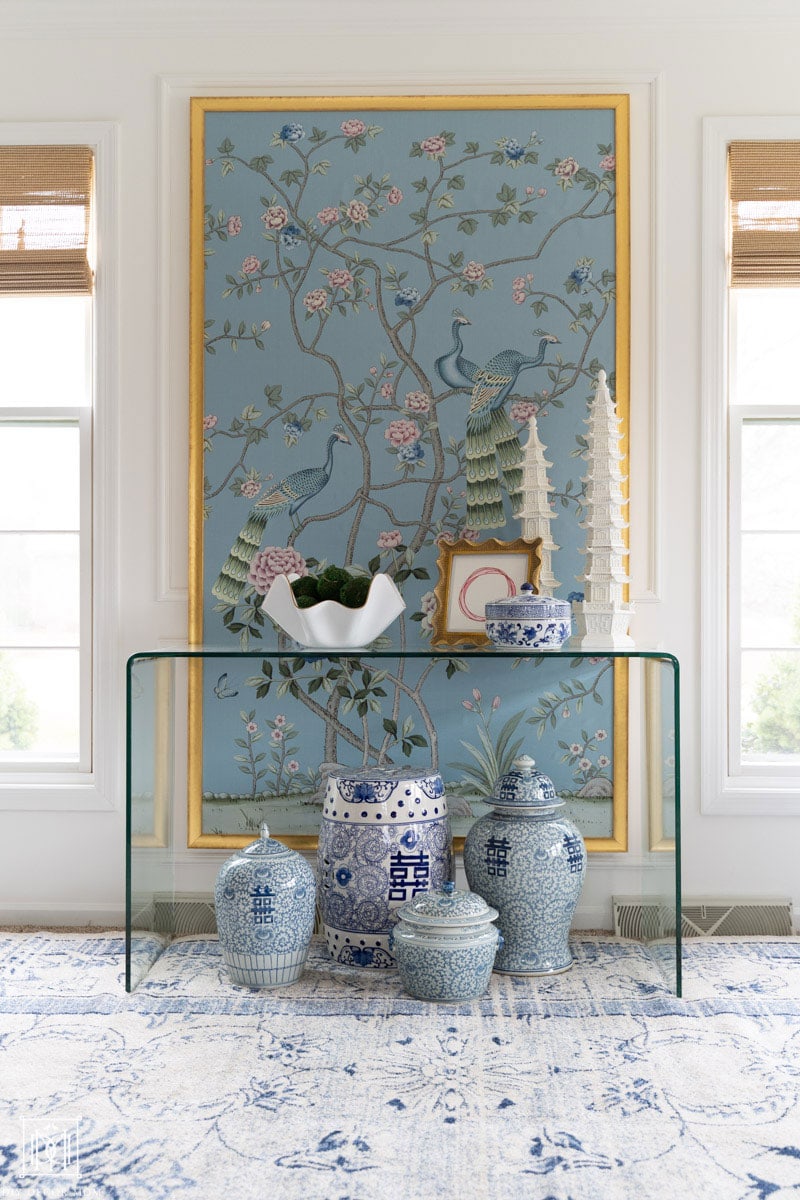
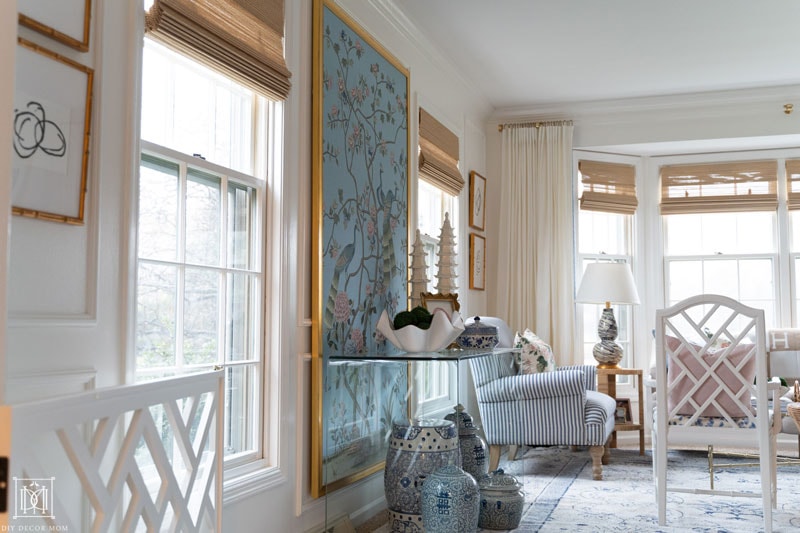
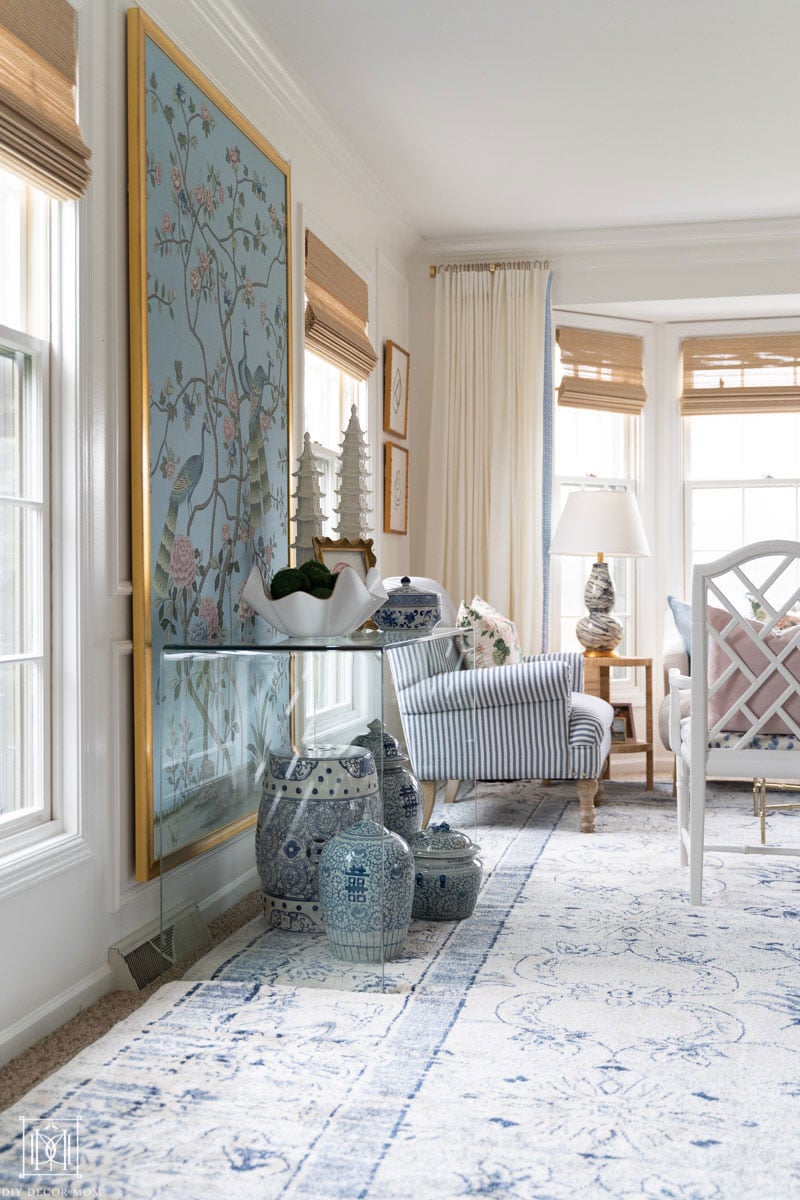
But, the only problem was that to get it professionally framed was going to be hundreds if not a thousand dollars for a panel this large (40″ x 78″). So we did what we always do…we DIYed it! Traditionally, many chinoiserie panels are framed in faux bamboo frames; but, given the bamboo frames on either side of the frame that we bought a couple of years ago–I wanted something that wouldn’t compete. Ultimately, we ended up going with a gold variation frame with several different tones of gold in it so it would coordinate with the bamboo frames on either side of the windows; but, not compete.
*This post contains affiliate links at no cost to you. See my complete disclosure policy here.
FRAMING PRICE POINTS AND OPTIONS
Before we decided to make our own DIY Chinoiserie Panel and Frame it, I did quite a bit of research on how much it would cost to frame. Here’s what I found:
- PictureFrames.com $408.50 for the frame only ($145 for the frame but over $250 in shipping fees). We have ordered from them before and weren’t blown away. One of our frames came damaged and it took a long time to process. You stil need to mount it and provide the backboard.
- Framebridge.com: too big to be framed (40″ max or so). They also aren’t very flexible–you have to mail the artwork to them. Lastly, I didn’t want to put acrylic over the panel because I didn’t want a glare on it.
- Hobby Lobby: didn’t get a quote but estimated $300-400 range (they will mount it for you) so this is an affordable option
- AmericanFrame.com: too tall (can’t make them over 52″)
- Framing4Yourself.com: will go up to 60″ height and most affordable ($125 + $30 shipping) Again, this was too short for our panel (I wanted it larger than our windows.) You still have to mount it yourself and provide the backing.
- Local framer option (what we went with:) Under $200. We purchased our frame direct from a wholesaler so it was quite cheap. But you could easily go to a local framing store and ask for their frame only price. That way, you skip the shipping charges and most of the labor, and only pay a mark up for materials (similar to online prices.) We used Evald Moulding in Wisconsin because they delivered to our area. We found them by googling our city and “frame wholesale.”
HOW TO FRAME A CHINOISERIE PANEL
MATERIALS:
1. SELECT CHINOISERIE PANEL SIZE
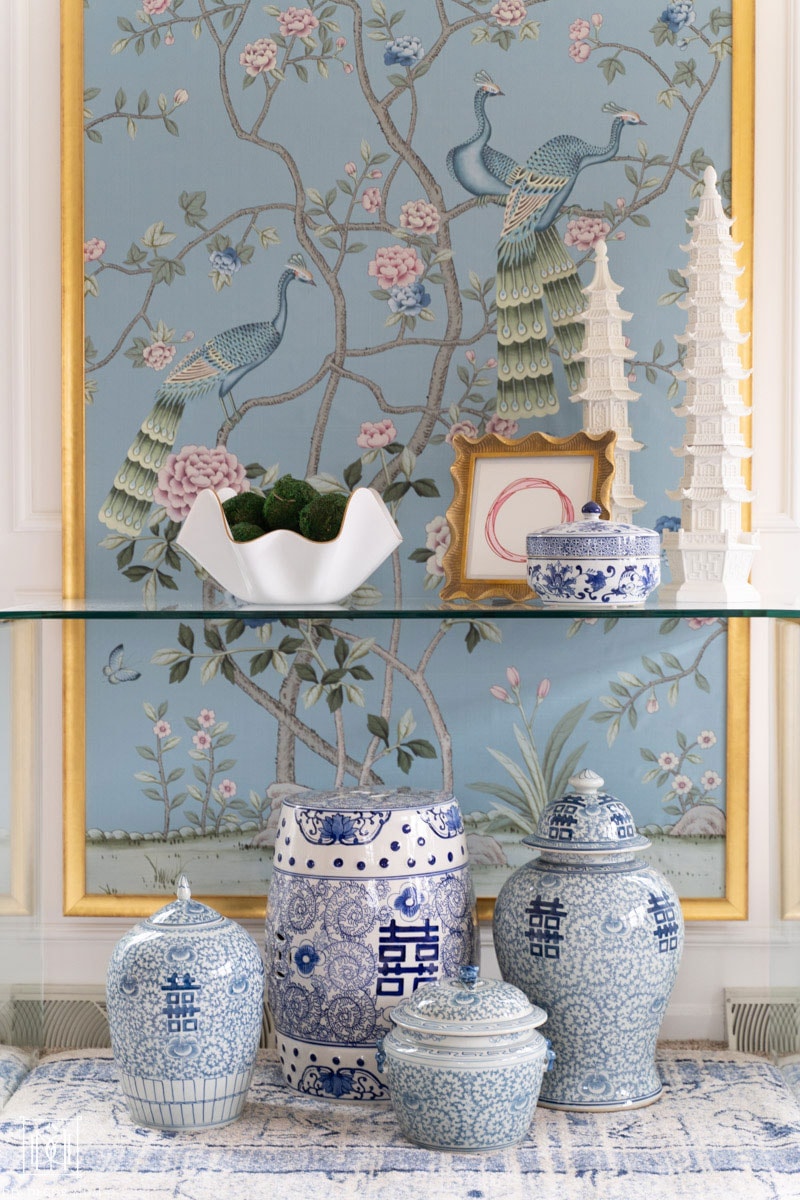
The first step is to decide how big you want the final print to be. You can buy chinoiserie prints that are pre-made in which case you just chose the size that best fits your space. In our case, we had specific dimensions we wanted ours to be so we ordered a custom size print. The print we ordered was 40″ x 78″, but we made a last-minute decision at the end to make it a little shorter after we added the picture molding. Our final art dimensions were 40″ x 74.” You can specify the color background, the pattern, and at the chinoiserie print shop here. Shipping for our large print was around $40-50 and it arrived in about six weeks (which is a pretty good turnaround for a custom handpainted piece shipped from China.)

2. ORDER THE FRAME (AND HOW TO SAVE MONEY)
The next step is to order the frame. When ordering a frame you generally specify the exact outer dimensions of the artwork you are framing. In our case, this was 40″ x 74″. The frame shop will then cut the frame to fit the art plus just a little extra for clearance so the art will fit in the frame easily.
We ordered our frame “Chopped and Routed” and then assembled it ourselves. “Chopped” is a framing industry term that means the 45 degree mitered corners are already cut to our final dimensions. “Routed” means the corners are also pre-cut for small plastic inserts that hold the corners together perfectly as the glue dries.
Since our frame was HUGE it would have cost a fortune to have an assembled frame shipped to us so it was a big cost-savings to assemble the frame ourselves. If you’re not feeling up to assembling the frame yourself a local frame shop should be able to sell you an assembled frame.
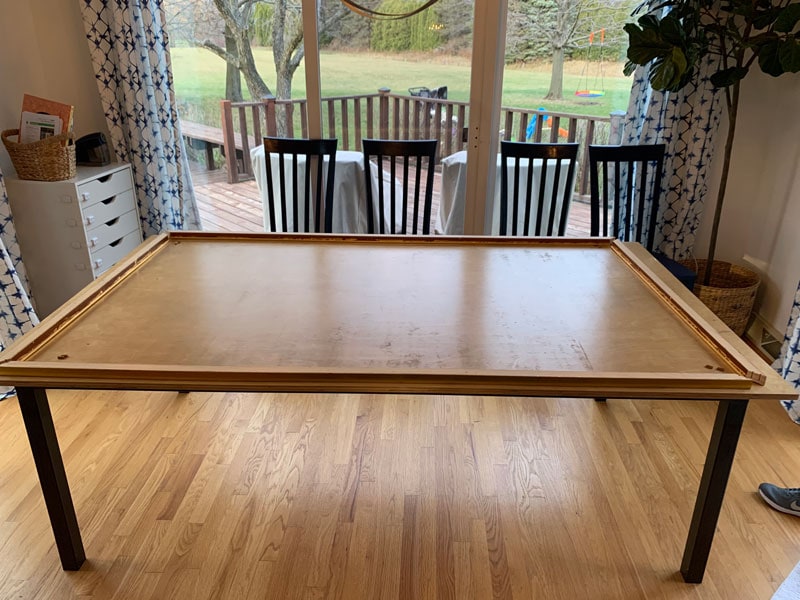
3. HOW TO ASSEMBLE A CHOPPED-AND-ROUTED FRAME
Assembling a chopped-and-routed frame is surprisingly easy. We cleared off our dining room table – but any flat surface that is large enough will work fine. Working one miter at a time, we applied wood glue to the inside faces of the mitered corners, pressed the miter together, and pushed in the inserts. Make sure the inserts are seated completely – we needed to use the back of a dinner knife to press hard enough. After all four corners were glued and had the inserts pressed in, we then simply let the frame dry overnight then installed hooks on the backside for hanging.
4. BACKER BOARD
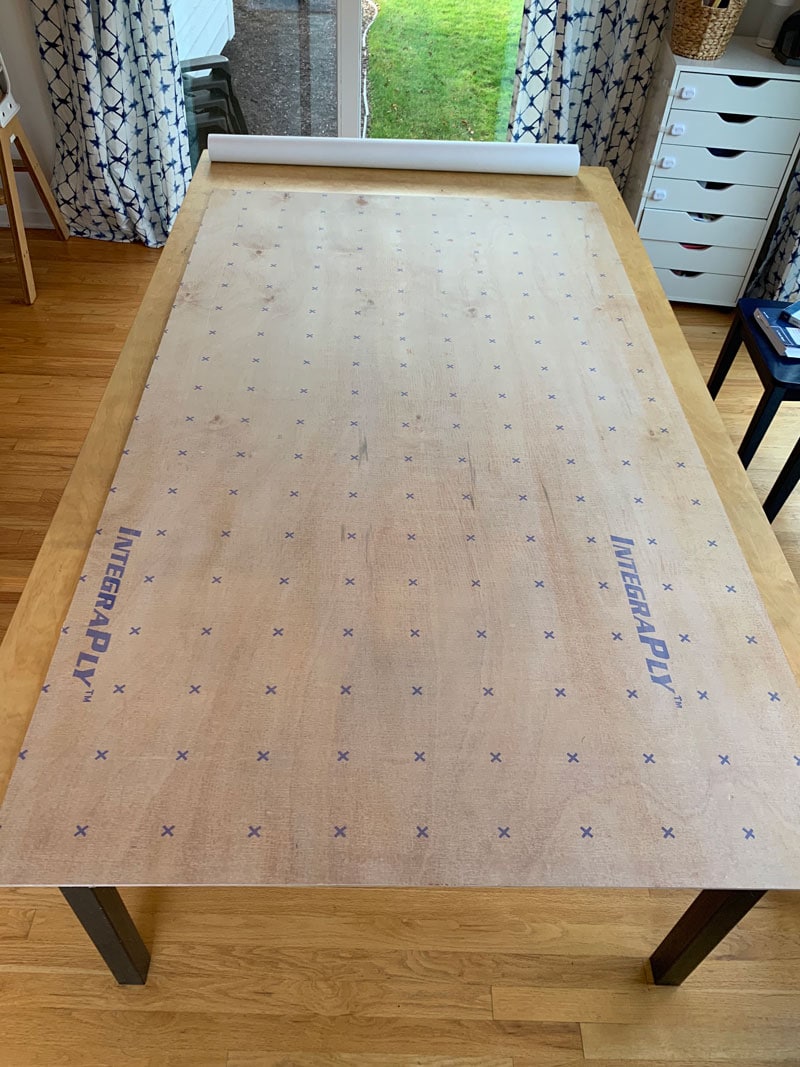
Next, you need a backer board that you will mount your print to. Often art is mounted to foam board, but since our print was so huge we decided to use a sheet of thin plywood as our backer board. This is a little more structural than foam board and should stay nice and flat for many years.
We opted for a sheet of ¼” “underlayment” plywood from the home center. Most home centers will cut sheets of plywood for you for a small charge, and it will save you the hassle and make it a little easier to transport home. We just used a circular saw and a straight edge.
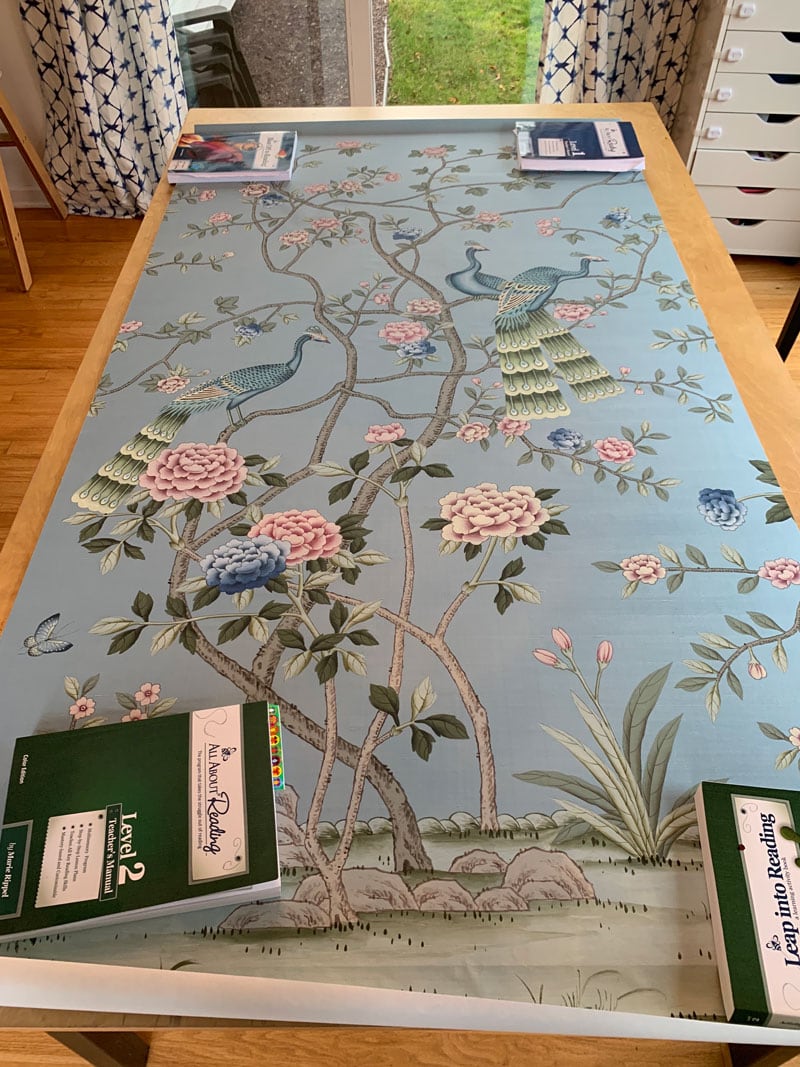
HANDY TIP: Your chinoiserie panel will come rolled up tightly in a tube. A day or two before you think you’ll be ready to mount your print, it’s a good idea to lay your print out flat and weigh it down so it’s a little less likely to roll-up as you’re mounting it. We didn’t do this and it was still OK but we both thought the mounting would have gone a little smoother if it had less of a tendency to roll up as we were laying it down. So if you have the time and a flat surface big enough it’s probably a good idea.
HANDY TIP: The last step before mounting your print seems silly but to us was one of the most important – practice. Seriously. Do a couple of dry runs where both people who will be mounting the print go through the motions you use will once the spray-glue has been applied – but you don’t have the pressure of messing up the print you spent all that money on and waited for weeks to arrive. We did two or three takes and fine-tuned the steps we would take and had a solid plan for what we’d do once the pressure was on.
5. SPRAY MOUNTING PRINT TO BACKER BOARD
Finally, it was time for the moment of truth – spray-mounting the DIY Chinoiserie panel to the backer board. We were honestly a bit nervous about this step because we had never done it before and didn’t know exactly how it would turn out.
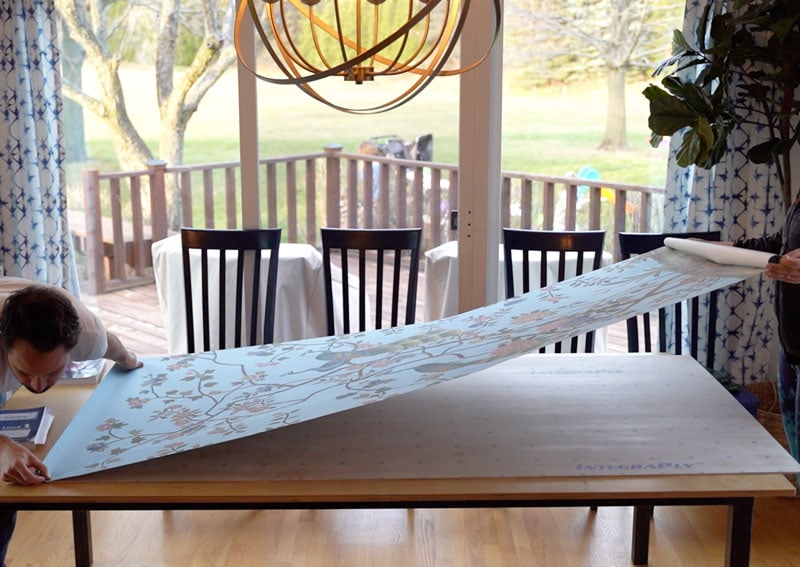
First, we sprayed an even coat of spray-adhesive to the backer board. We did this out in the garage because that stuff stinks and makes a mess. We then carried the board into the dining room table and gave it a minute or two for the glue to tack-up. We started at the top – just like we practiced. One of us aligned the top edge as carefully as possible while the other held the bottom end of the print high and clear of the glue.
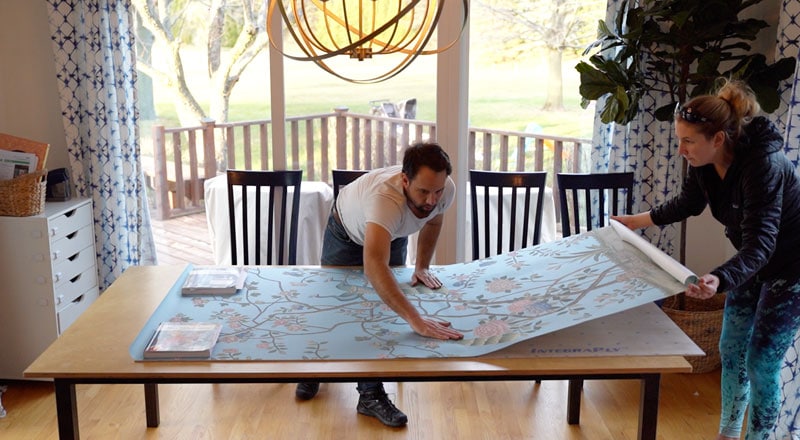
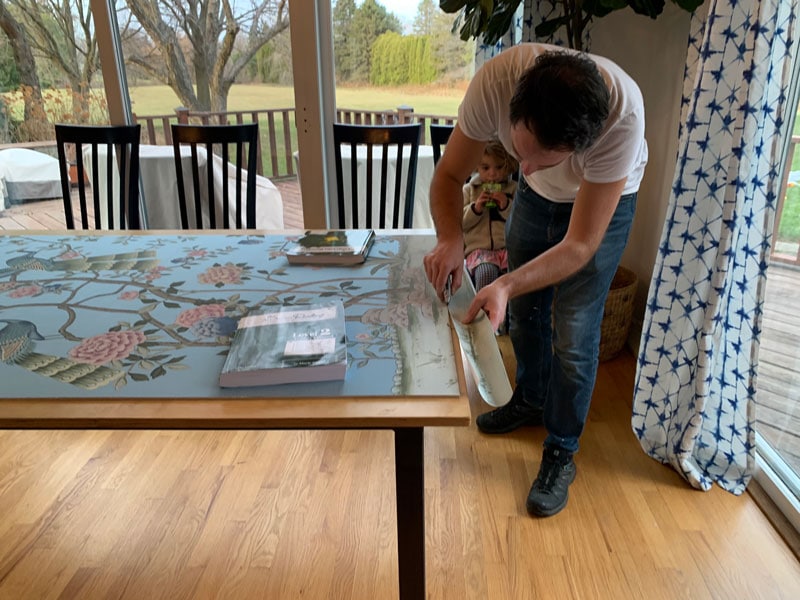
We actually got about the first foot of the panel adhered when we noticed we weren’t perfectly straight on the backer board – so we carefully peeled the print back off and tried again. The second time was a charm and we carefully continued smoothing out the print carefully to make sure there were no bubbles or wrinkles. Phew! After the print adhered, we trimmed the top and bottom edges flush with the backer board with a utility knife.
To secure the print and backer board to the frame we used framing points and a dual point driver. This is an awesome tool to invest in because honestly being able to frame your own art is a HUGE money saver. If you don’t want to buy one, you could probably use small finish nails carefully driven into the picture frame to serve the same purpose.
6. HANG CHINOISERIE PANEL ON WALL
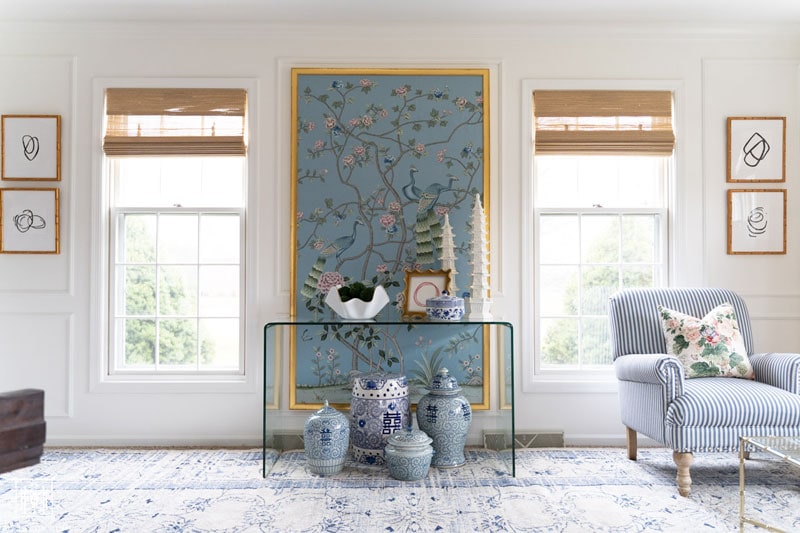
Finally, we got to hang the print on the wall. We used one d-ring hanger on each vertical leg of the frame. A good rule of thumb is to place the d-ring hangers about ⅓ the way down the leg of the frame. To attach to the wall we like these drywall anchors. It’s a good idea to check the wall with a stud finder to make sure you’re not trying to put an anchor into a place with a stud – if you have a stud you’re in luck you can just use a drywall screw.
To make sure the two screws are level our trusty laser level. Once we got this tool we don’t know how we lived without it before! If you don’t want to put a hole in the wall as big as these anchors leave, we have had great luck over the years with picture hanging “hooks”. We have seen these called Hercules Hooks, Monkey Hooks, or Super Hooks picture hanger (but they are all generally the same) and are great because they are super strong and leave a pretty tiny hole in the wall that’s easy to patch down the road.