
In my previous entry, I discussed techniques for removing nails from reclaimed wood. Today, it’s time to tackle screws, which present their unique challenges.
Removing screws is straightforward when the head is intact and the threads aren’t rusted inside the wood. However, this is often not the case with reclaimed wood. Over time, screws rust as they react to moisture and acidity in the wood fibers, damaging both the screw head and the threads, making extraction more difficult.
A common problem is that the wood grips the threads tightly, making it hard to unscrew without stripping the head. Even with a perfectly intact screw head, the torque required to turn a rusted screw often results in the driver bit “drilling” into the screw head, stripping it beyond recovery.
At this point, any attempts to pry the screw out may damage the wood or even decapitate the screw head, leaving the shank embedded—a much tougher situation to resolve. In cases like this, I rely on specialized extraction tools: left-hand drill bits and screw extractors (usually conical helix-shaped).
Step-by-Step: Tackling a Stripped Screw
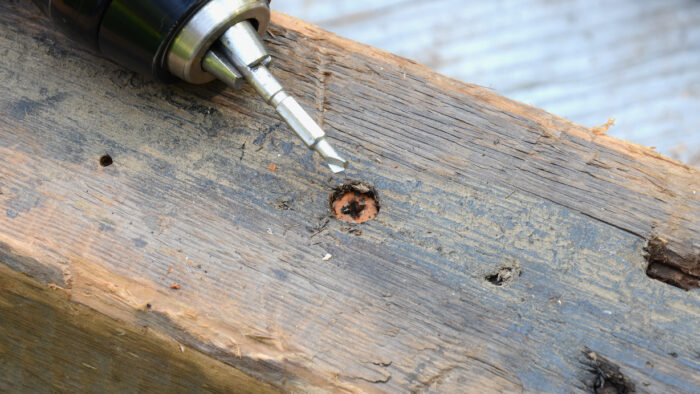
Let’s assume you’re trying to remove a Phillips head screw from reclaimed wood but the driver bit has stripped the cross slot, making it impossible to grip. In this situation, you can start with a left-hand drill bit. Select a bit that’s small enough—typically under half the diameter of the screw head—to avoid completely destroying the head while still leaving enough material for a screw extractor to grab later.
Drill slowly and carefully into the screw head. The reverse action of the left-hand bit may grab onto the screw and pull it out. Make sure your drill is set to spin counterclockwise to match the reverse threading of the bit.
When the Left-Hand Bit Isn’t Enough
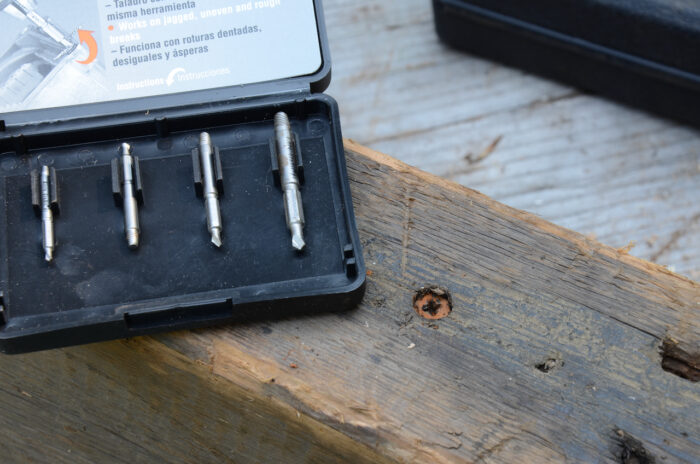
If the left-hand drill bit doesn’t extract the screw and only creates a pilot hole in the head, it’s time to bring in a screw extractor. Choose an extractor that fits the hole you’ve just drilled, and embed it into the screw head. Using a tap wrench or a drill, turn the extractor counterclockwise. The tapered design will bite into the metal, increasing grip as you twist, and in most cases this will be enough to remove the stubborn screw.
Types of Screw-Extraction Tools
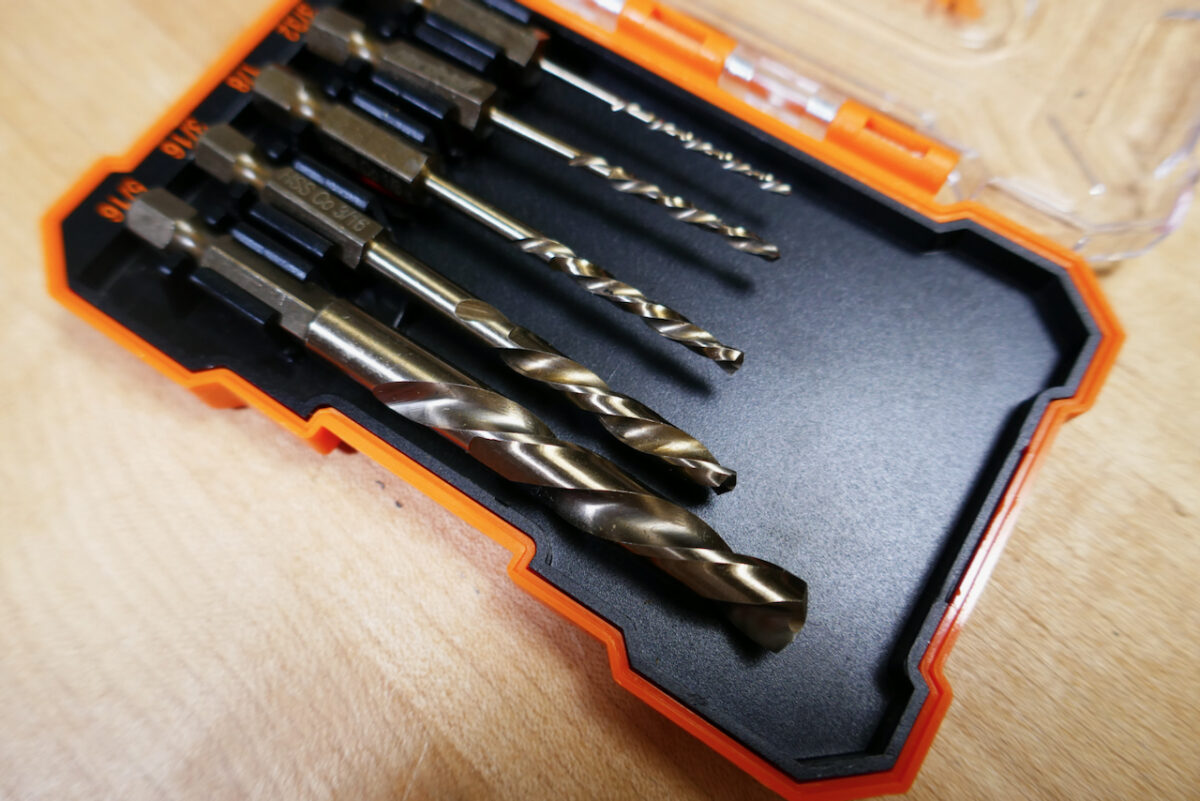
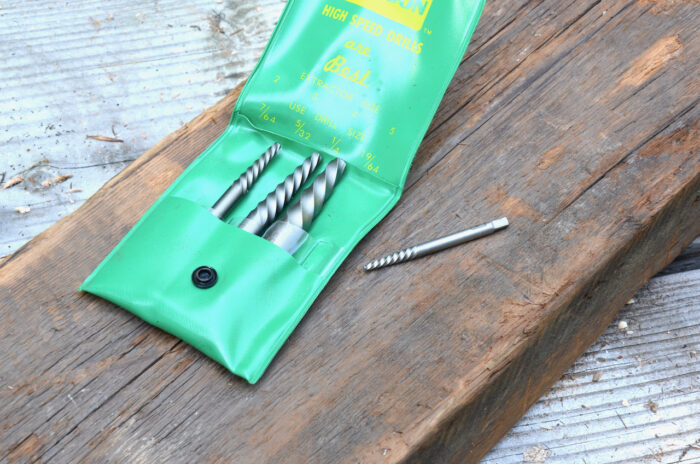
There are different types of extraction kits. Some sets come with separate left-hand drill bits and screw extractors designed to work in tandem, while others are combination tools with a drill bit on one end and an extractor on the other. I prefer the combination tools for smaller screws, while the individual sets are better suited for larger fasteners like lag bolts.
Pro Tips
One thing to watch for is hardened screws (like drywall screws), which can be tough on drill bits. This is especially true when working with hardened steel screws, which can place extra stress on the bit. Even though left-hand bits are just as strong as regular ones, drilling through hard steel may still cause breakage. To prevent this, I recommend adding a drop of oil to lubricate the screw head before drilling. This reduces friction, prolongs the life of the drill bit, and makes the job smoother.
The left-hand drill-and-extractor set isn’t just for reclaimed wood
If you’re restoring furniture or dealing with stripped screw heads in general woodworking, this method is a vital skill to have. Whether it’s a stripped head on a cabinet hinge or a deeply embedded screw in an antique piece, knowing how to use these tools will come in handy at some point.
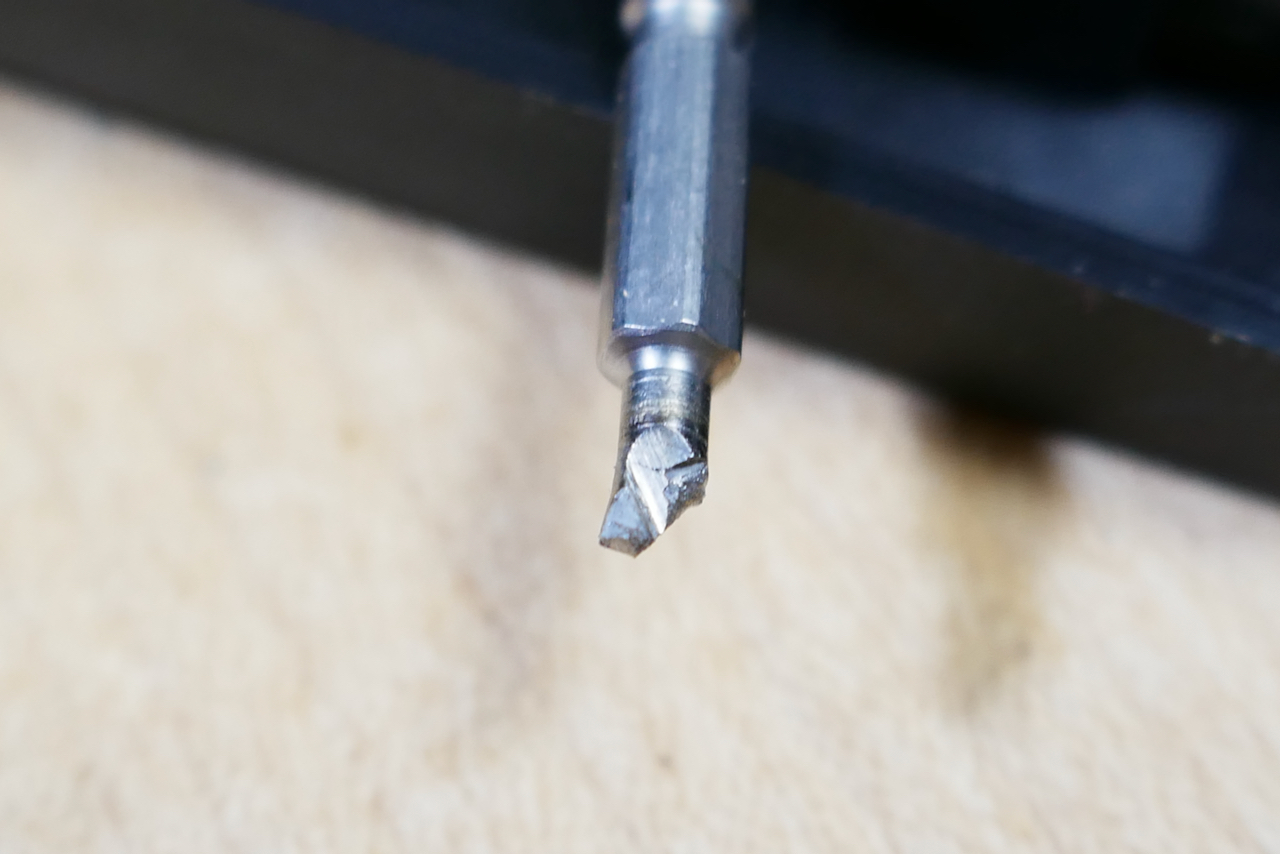
Drilling, then extracting a mild-steel screw
However, some extraction attempts may not go as planned, even with the right tools and proper care. If the screw head snaps off or the extractor fails to gain purchase, you’re left with a bigger challenge—the embedded shank. In these cases, more-advanced techniques are needed.
What’s Next
Next time, I’ll dive into methods for dealing with completely broken-off screw heads, as well as solutions for deeply embedded nails or other obstructions that require removal along with the surrounding wood.


Fine Woodworking Recommended Products
DeWalt 735X Planer
At high speed, the planer works fast and leaves a smooth surface. But the slower, finish speed produces an almost glass-smooth surface. Knife changes are easy.

AnchorSeal Log and Lumber End-Grain Sealer
Good for both sealing the end grain of freshly cut logs and boards, this wax prevents end-grain checking and saves material
Ridgid R4331 Planer
Priced nearly $300 less than the DeWalt 735X, the Ridgid R4331 is an excellent value. Its three-knife cutterhead left wonderfully clean surfaces on plainsawn white oak and white pine. It did not perform nearly as well on curly maple as the 735X.
Sign up for eletters today and get the latest techniques and how-to from Fine Woodworking, plus special offers.