We purchased a plain and boring wooden playhouse. I added some DIY touches to take it to the next level and now it’s the cutest thing in our backyard!
Earlier this summer, Finn told me he made a purchase without consulting me. My ears immediately perked up. We usually consult one another before buying something big and anything for the house is usually my domain. He said that he bought a kid’s playhouse for the backyard. I looked at what he bought and was relieved it was pretty cute! Plus, I knew our kids would love it.
He insisted on putting it together himself and it took him a whole weekend to do it. It came with detailed instructions, so it wasn’t difficult, just time-consuming. Once it was done, I was eager to get my hands on it because I knew I could take this generic playhouse to the next level with some DIY touches.
7 Ways To Upgrade A Generic Children’s Playhouse

As you can see, this backyard playhouse was just a big white box – along with a bit of chalk that my kids used on it. It was just asking for a little creativity and love!

I ended up adding paint (lots of it!), accessories, and even a wood floor to take this little house to the next level. I’m confident you could use any of these tips on any kids’ clubhouse to completely customize it for them. No matter your skill level, these playhouse ideas will add life to your child’s playhouse.
Supplies I Used For My DIY Playhouse

Here’s my supply list for this project.
1. Paint The Entire House

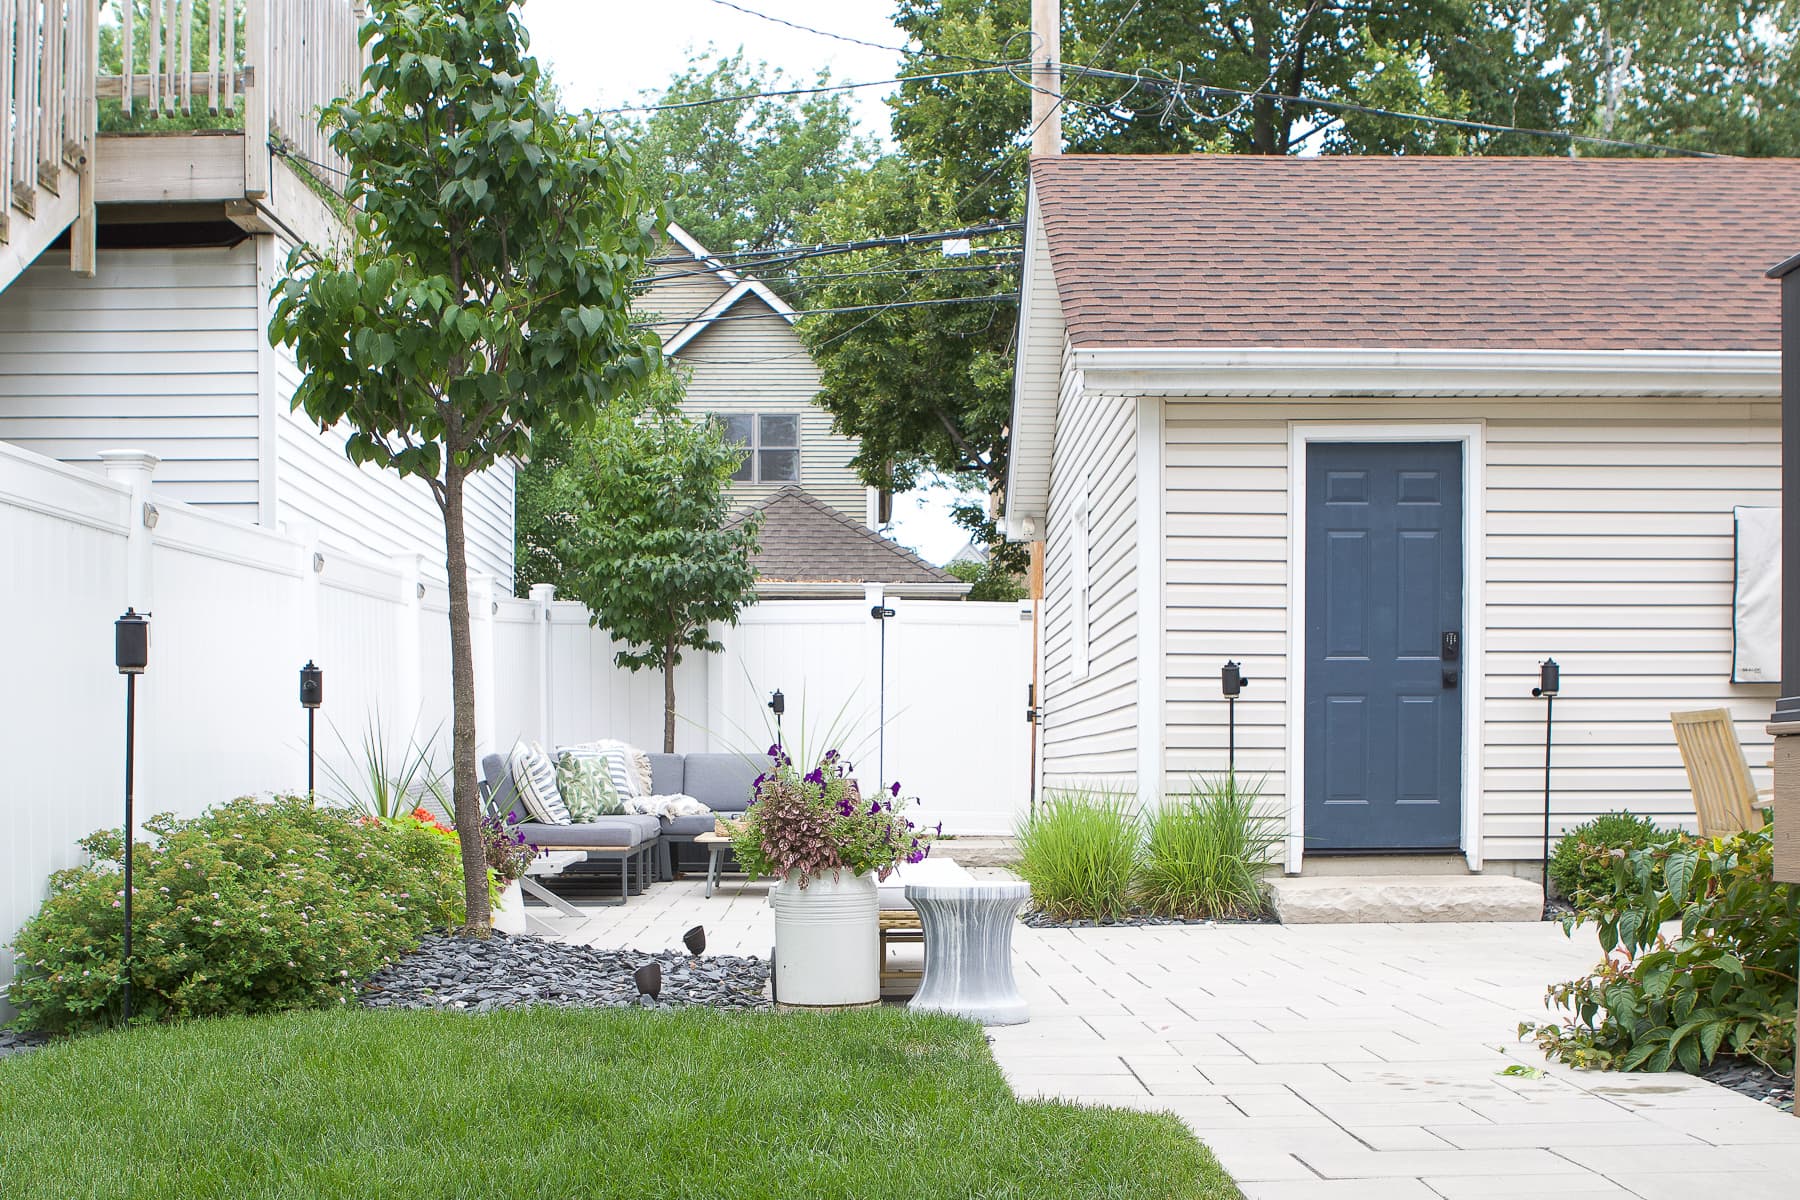
Paint is a great way to add life to just about anything and I immediately knew that a new coat of paint would do wonders on this playhouse. Instead of choosing bright colors that you might find on most kid’s toys, I decided to go with colors similar to the garage right next to our playhouse.

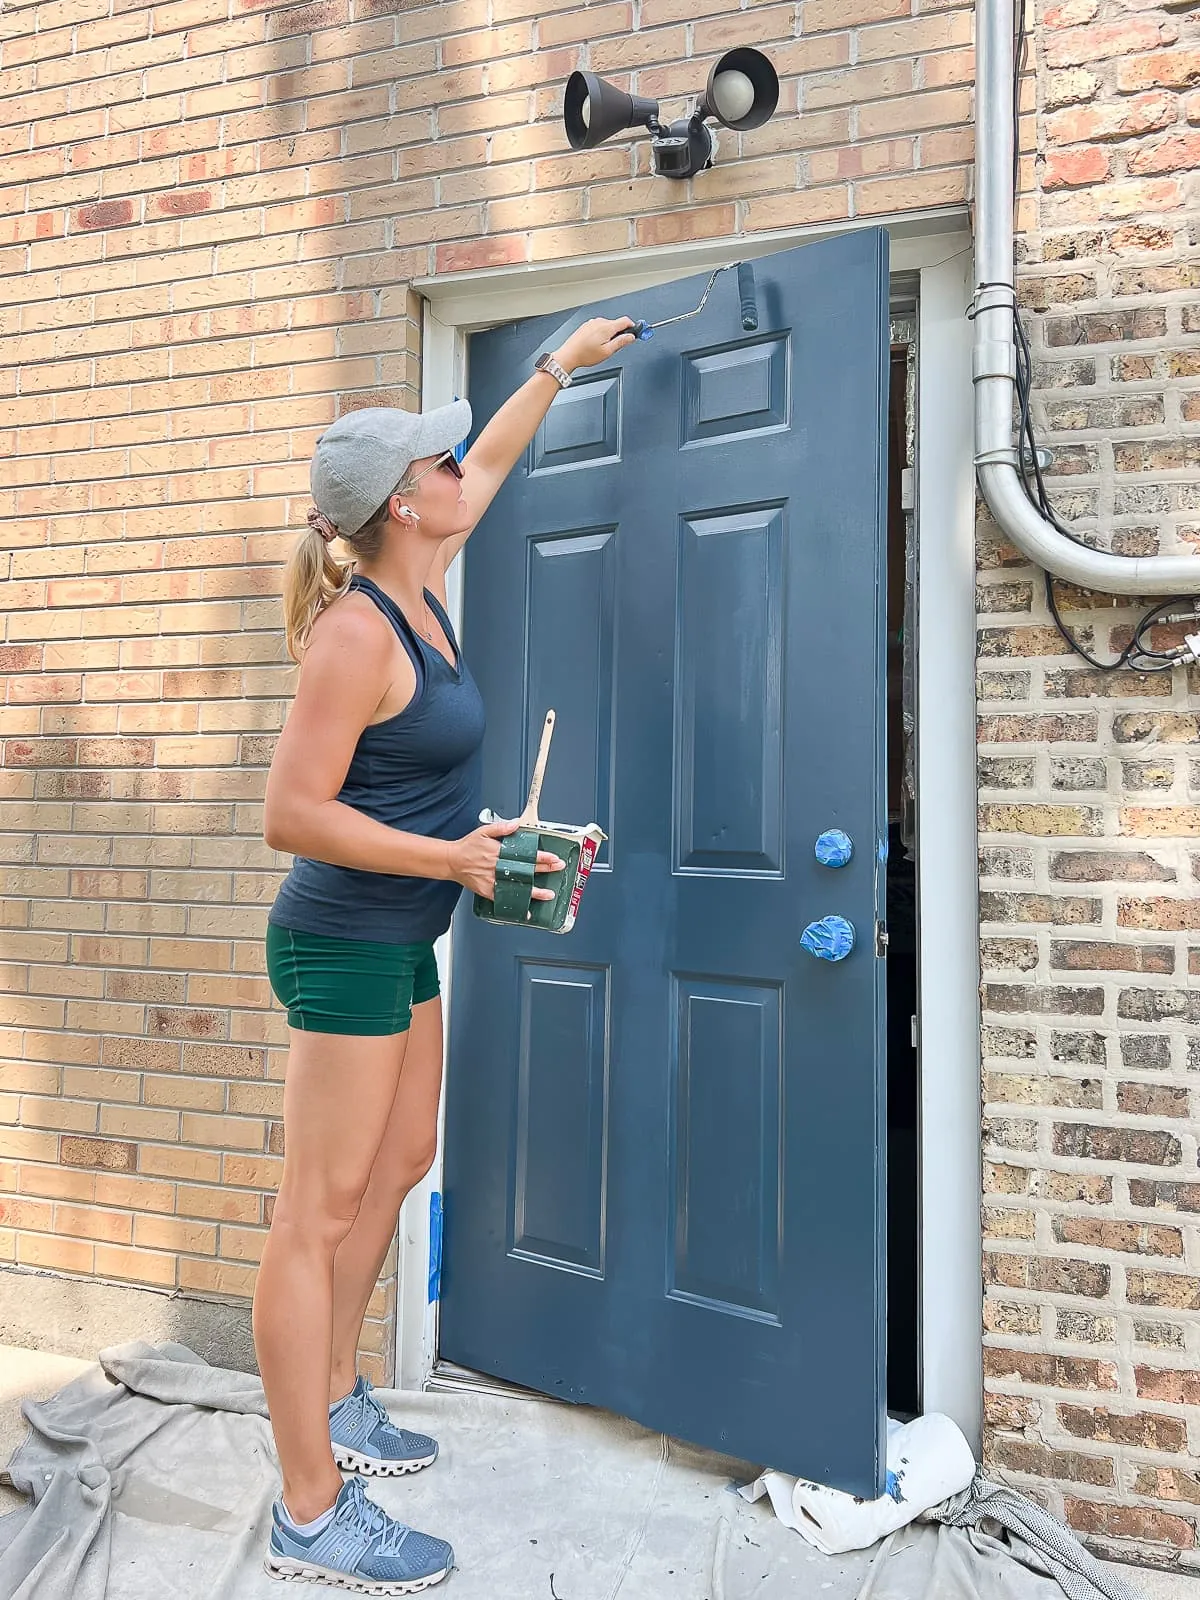
I painted the exterior door the color Benjamin Moore “Blue Note” three years ago and still love the color. In fact, all of the doors on my house (my front door and side door) are that color. Of course, I had to choose that same color for the kids’ playhouse!

I got out my paint deck to find an off-white to match the creamy garage siding. In the end, I chose Benjamin Moore “Fog Mist”. Make sure you use exterior paint for this step since your house will be outside in the elements. I always go to my local paint store and tell the pros what project I’m working on and they assist with the paint selection. This is the paint I ended up getting.

The house ended up needing two light coats of paint on everything. I recruited my mom to help me with this task. We each took a color and got to work. We painted the picnic bench, front door, and roof blue, while everything else got the cream color.

Painting the inside was, by far, the most difficult part. At one point, we were both crouched inside the small space painting the nooks and crannies! We got the entire house done in just a few hours.
DIY Tip: If you’re looking for additional painting tips, this blog post dives into my favorite supplies and best tips for painting just about anything.
2. Spray Paint The Windows

For the windows and mailbox, I thought black would pop against the creamy wood. To get the best finish, I knew a spray paint would work best. I started with a coat of primer spray paint, so the black wouldn’t flake or scrape off.

Then, I went in with three light coats of this black matte spray paint. If you want step-by-step instructions for this part, this blog post dives into my best tips for painting outlet covers so they won’t chip. I would follow those exact steps.
3. DIY Striped Curtains

The playhouse came with red curtains. The bright red didn’t exactly go with my new cream/blue/black color palette, so I ditched them and bought this striped blue outdoor fabric. I’m not a seamstress whatsoever, so I used this hemming tape to “sew” the curtains. You just need an iron to activate the tape and it holds everything together.
These striped blue curtains are adorable and go with the new vibes of the playhouse.
4. Add House Numbers

Every playhouse needs house numbers and I knew we would need to add some to ours. The only difficulty was deciding on what numbers to use! In the end, I brought both kids to Home Depot and let them each choose one number. The end result was the number “23”. It doesn’t hold a special meaning to us. The kids were just happy to have a say!
DIY Tip: There are lots of house numbers for sale. Make sure you buy those that are screwed in from the front. I found lots of cute ones, but the depth of their screws was too deep for the wood on this house. The only numbers that would work for my particular house were ones like these that are installed from the front.
5. Incorporate Flowers & A Wreath

I looked all over for a teeny tiny window box and ended up choosing this flower box for the house. It was hard to find one small enough to fit the window sill, but this one does the job. We planted red Wave petunias and they’ve grown nicely over the summer. The kids love watering their own flowers.

I also found this small wreath on Wayfair and installed it using a zip tie and Command hook. It’s so cute and it hasn’t budged all summer long!
6. Add Some Outdoor Lighting

I looked at lots of lighting options for this house and decided to go with this black sconce. I originally thought I might do a solar light so it would light up at night, but the ones I found were too large or too expensive for this project. I simply installed the sconce directly onto the side of the house, ignoring all of the electrical components. It’s simply for show, but it looks pretty if you ask me!
7. Upgrade The Flooring

This last upgrade was all Finn’s doing. He found this cool wood flooring on Amazon and bought a pack of it for underneath the house. It was incredibly easy to snap together and took the entire house to the next level. Now, the house sits on this platform and any dirt falls between the cracks of the flooring.

The kids love having “hardwood floors” in their house and I love how nice it looks! In fact, I would use this flooring in a garage, mudroom, or storage room. It’s pretty fantastic and so easy to lock in place.
Playhouse Makeover – Before & After


Just like any interior room, the decor takes this little house to the next level.


I love how the color scheme blends with the rest of our backyard. Instead of it being an eyesore, it complements the entire space.
Outdoor Playhouse – Sources

Playhouse // Paint Colors, Benjamin Moore “Blue Note” & “Fog Mist” // Wood Flooring // Flower Pot // House Numbers // Sconce // Curtain Fabric // Wreath
The Kids Love Their New Handmade Hideaway

I can’t emphasize how much my kids have used this play area this summer. They’ve played house just about every day and like to eat their meals out on their little picnic table. It’s the perfect playhouse and their favorite spot to hang.

Because I used exterior paint, I’m hopeful that it will hold up for at least a few summers. We will likely find a large tarp to cover it this winter because I’m not so sure how well it will last with snow and salt. I’m hoping it will be a low maintenance addition to our backyard. Time will tell!

Even though it started as a random purchase, it’s now something the whole family loves. I’ve gotta give credit to Finn for this great idea.

