Teak furniture is gorgeous, but it needs a little TLC to keep it looking its best. In this guide, I’ll show you how to clean and care for your outdoor teak so it stays beautiful for years to come.
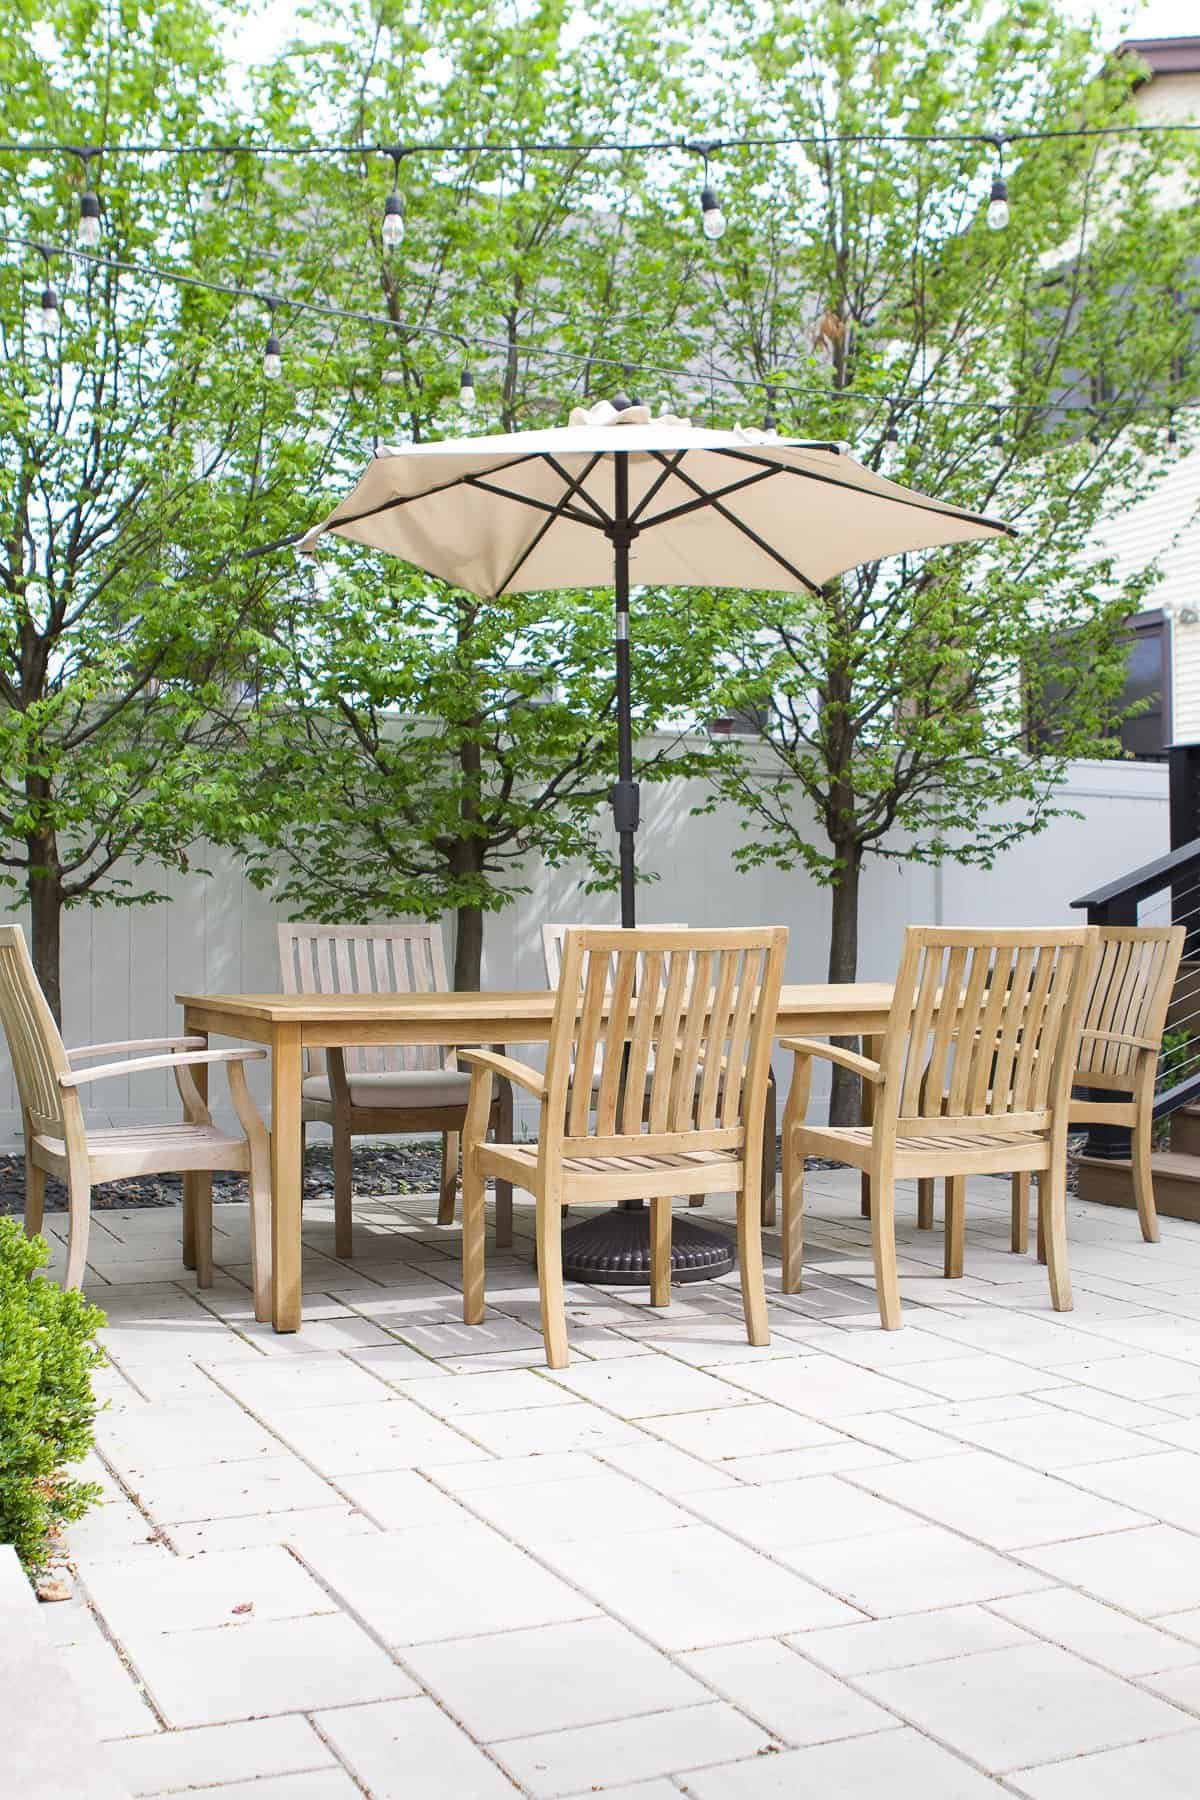
Four years ago, we bought a beautiful teak outdoor dining table, and it’s been the centerpiece of our outdoor space ever since. From casual weeknight dinners to summer hangs with friends, we spend a lot of time out here when the weather’s nice.
I still love the look of natural teak wood, but after years of sun exposure, rain, and Chicago winters, it started looking a little tired.

If you’ve noticed your teak furniture turning gray or looking dull, that’s totally normal—it’s part of teak’s natural aging process. But if you’re craving a refresh and want to bring back that warm, golden glow, you’re in the right place.
I’ve shared how to seal new teak furniture in this older post, but today I’m walking you through the yearly maintenance routine I use to revitalize and protect aged teak.

We’ll start with a good clean to remove dirt; then I’ll show you how to apply a teak sealer for long-lasting protection. Whether you’re working with a coffee table, dining set, or teak garden furniture, this guide will help restore your pieces and keep them looking their best.
Step 1: Give Your Teak a Deep Clean

Before you dive in, know this—you’re gonna get messy. Like, really messy. So throw on clothes you don’t mind ruining, tie your hair back, and maybe even pop in your earbuds with a good playlist. This job takes time and elbow grease, so I blocked off a few hours on a sunny afternoon to get it done.
I recommend splitting this project into two days—clean one day, seal the next—so everything has time to fully dry. Trying to rush the process could mess with your results, and we want your teak to look its absolute best.
If you’re dealing with tough stains or areas with black spots, try a mix of soapy water and a splash of vinegar before reaching for any stronger commercial teak cleaner. Just avoid using a pressure washer or harsh tools like metal brushes, since that can damage the natural oils and even the structural integrity of your teak furniture.
The Cleaning Process

I used Golden Care Teak Cleaner for this part, and just followed the instructions right on the bottle. Here’s how it went:
- Wet down the furniture. Use a garden hose or a clean bucket of water to get the wood’s surface damp before applying any cleaner.
- Apply the teak cleaner. I used a microfiber cloth to spread it over the table. Let it sit for about three minutes so it can soak in and start breaking up the dirt and mildew growth.

- Scrub away! Using a soft-bristle brush, I started scrubbing in the direction of the grain—and whoa. Things got gross in the best way. The amount of grime that lifted off was honestly shocking.
- Rinse as you go. This is key…don’t let the cleaner sit too long. I hosed down each section as I worked to make sure the product didn’t dry out on the wood.

After cleaning just the table, I could already see a huge difference. It looked ten times better, even without any teak sealer yet. But fair warning: it took a lot of muscle. By the time I finished scrubbing the table, my arms were done! And then came the six chairs!

Chairs are trickier because of all the little nooks, crannies, and grooves, so I gave myself permission to take breaks (and snacks). I cleaned each chair the same way—wet, apply, scrub, rinse—just with a little more patience and a whole lot more bending.

After cleaning, everything looked amazing. So fresh and clean. And honestly, I was tempted to just let it stay this way. However, I knew that adding a protector would be a good idea in the long run.
Step 2: Seal and Protect Your Teak

Once your furniture is totally clean and completely dry, it’s time for the finishing touch—adding a coat of teak protector to help seal in that refreshed look and keep your teak safe from UV rays, weather conditions, and mildew growth.
Ideally, you’d do the cleaning one day and the sealing the next. But hey, we live in the real world—and in Chicago, spring weather had other plans. I ended up waiting two weeks before I finally had a warm, dry day to get back out there. So if you’re dealing with unpredictable weather too, plan accordingly!
One mistake I made? Leaving last season’s teak protector in the garage. Big nope. When I opened the bottle, it was all thick and chunky—not what you want. Learn from me and store your teak care products indoors for best results. I picked up a fresh bottle of Golden Care Teak Protector and got to work.
How to Apply Teak Sealer
- Protect your space. I laid a tarp under the table to protect our deck from any drips or stains. Definitely a good idea if you’re working over concrete, wood, or pavers.

- Use a lint-free cloth. Pour a small amount of teak protector onto a clean, soft cloth and start applying it in the direction of the wood grain. You’re aiming for a thin, even coat—don’t overdo it!

- Take your time. It might seem like this part will go quickly, but it’s a little deceiving. The entire surface takes a while to coat evenly, especially with chairs in the mix.
- Wait and repeat. Let the first layer dry for 30 minutes, then go back and apply a second light coat for added protection.
- Don’t forget the details. Make sure to coat the sides, legs, and edges of the table too. These spots are easy to overlook, but they matter just as much for keeping your furniture in good shape.
The table soaked it up like a sponge, immediately turning that dry, light wood into a rich, warm honey brown. The transformation was instant and so satisfying!

Then came the chairs… and wow. Just like with the cleaning, they take forever. So far, I’ve done three out of six—yep, I’m still working on them. But hey, this is real life. It’s on my to-do list, and I will finish them. Eventually.
Before & After
Let’s take a moment for a good old-fashioned transformation!

Before cleaning and sealing, our teak table had that typical weathered look—gray, dry, and a little rough around the edges. Totally normal for natural teak, but not exactly the warm, inviting vibe I wanted for our outdoor dining space.

After a deep clean and two light coats of teak protector, the difference was night and day. The wood came back to life with a gorgeous honey brown finish, and it just looked so much fresher and more polished.

It still has that natural, lived-in charm—but now it feels clean, protected, and ready for another season of dinners and hangs.
Extra Tips for Long-Term Teak Care

To keep your teak pieces looking their best year after year, a little regular cleaning goes a long way. I like to give everything a quick wipe-down with warm water and a soft cloth every few weeks, especially during the summer. This helps prevent stubborn stains from bird droppings, water stains, or dirt buildup.
And if your teak has gone fully gray and you want to restore that original golden hue, a light sanding with fine-grit sandpaper before sealing can help bring back the natural beauty. Don’t worry—this is a normal process and won’t affect the integrity of the teak.
Teak truly is one of the most valuable timbers for a reason. With proper maintenance and a little love, your outdoor teak furniture can stay gorgeous for a long time.
Final Thoughts

Caring for teak outdoor furniture isn’t hard, but it does take a little time and effort. Whether your teak has grayed over the years or just needs a seasonal refresh, a good cleaning and sealing routine can completely transform the look—and help your pieces last for decades.
Now that our table is looking fresh and golden again, I’m so glad I carved out the time to give it a little TLC. It really is amazing what a few hours, the right supplies, and some elbow grease can do.

If you’ve got teak furniture that’s seen better days, this process is the best way to bring it back to life. And trust me, your future self (and your outdoor dinner guests) will thank you.