
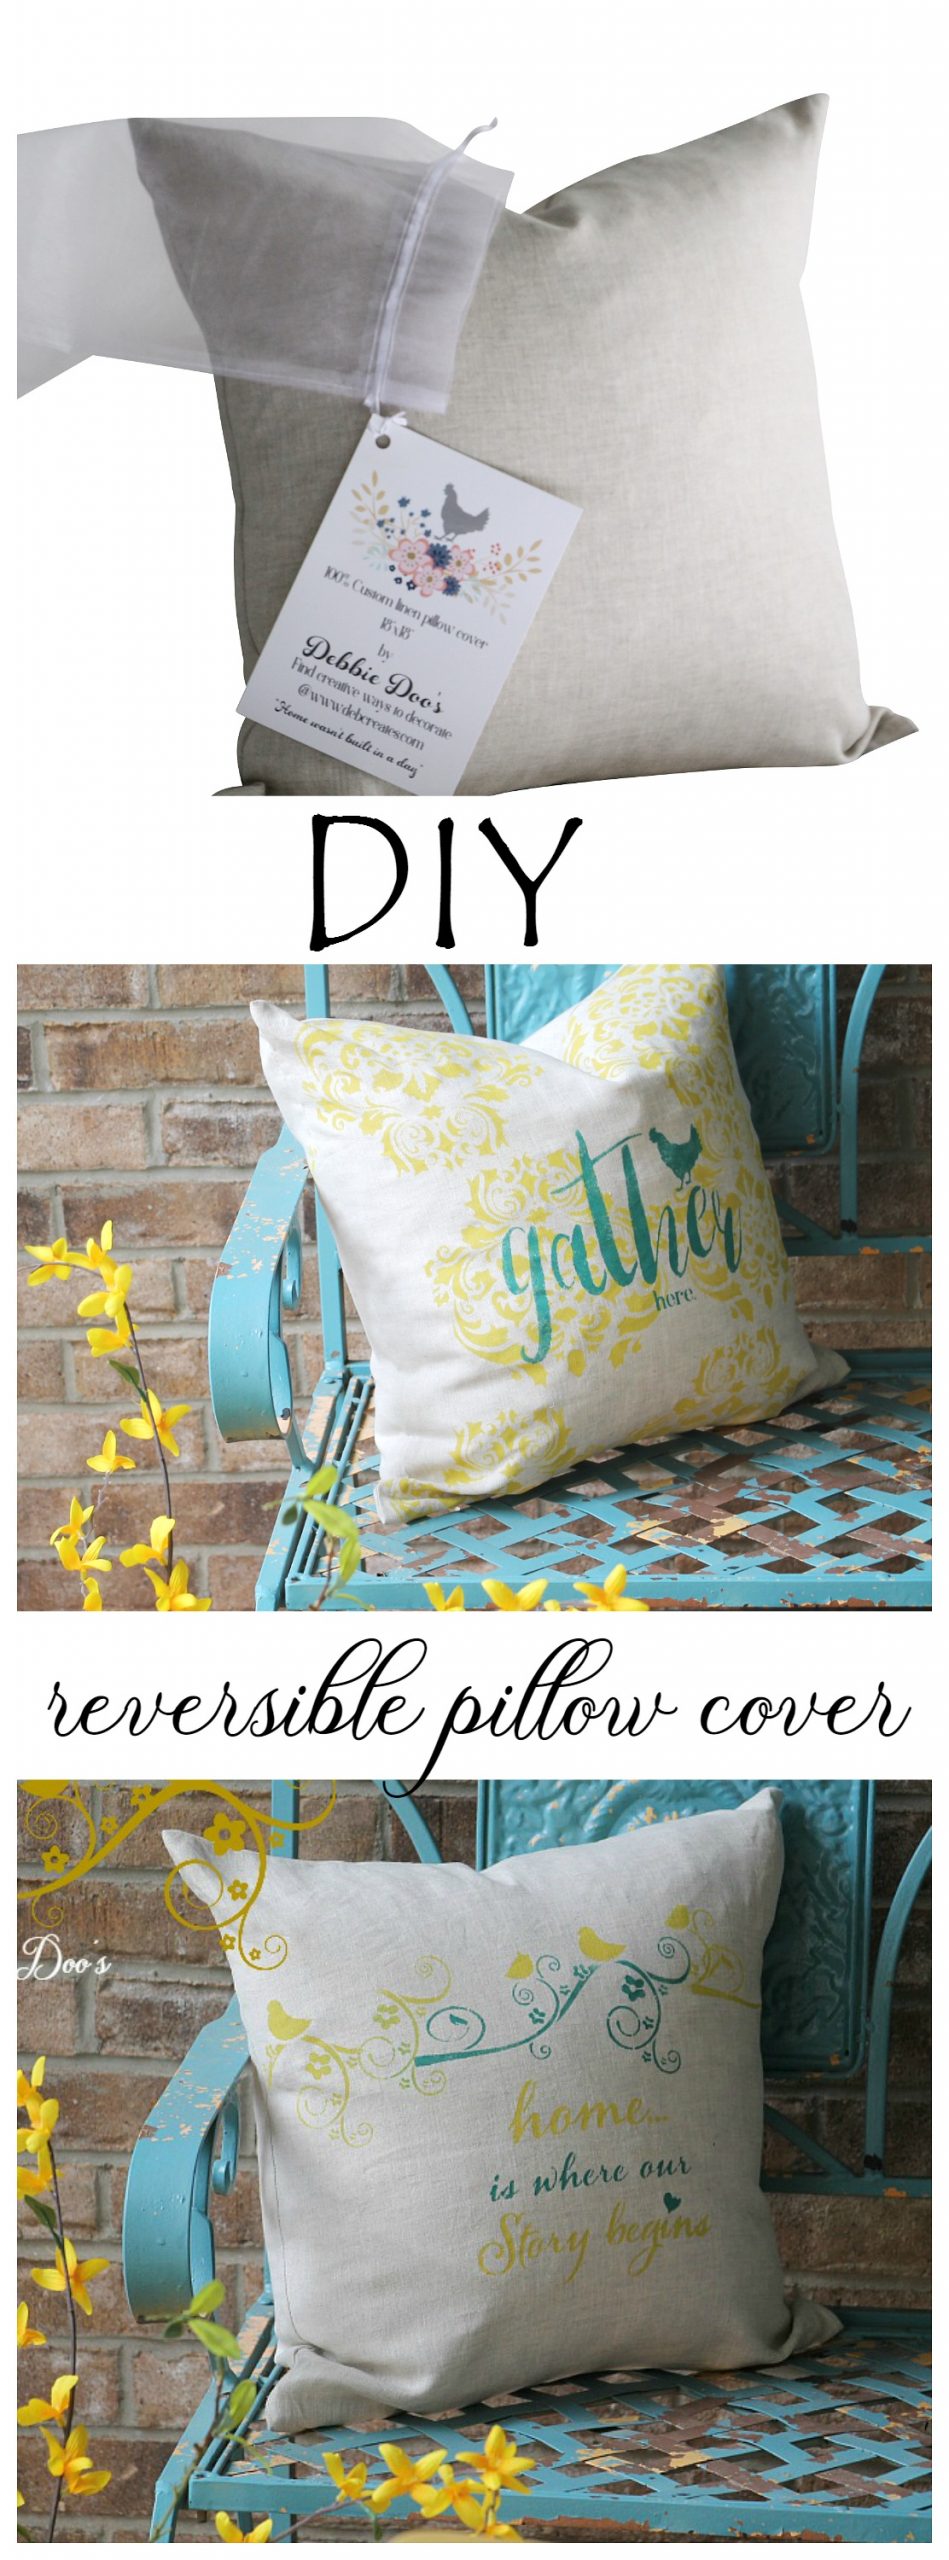
Customizing fabric items like linen pillow covers is an easy and fun way to add personality to your home decor. Read on to learn how to stencil onto fabric by creating a layered stenciling effect on one side and a two-colored stencil on the reverse side of a pillow cover.
1. Gather your materials
- Linen pillow cover as your canvas
- Stencil brushes
- Folk Art chalk paints
- Medallion and “Gather Here” stencils for the front side
- “Home is where our story begins” stencil for the reverse side
- Rit Dye
- Adhesive spray
- A piece of cardboard or plastic
2. Prepping the fabric
Before starting, prepare your linen pillow cover by ensuring it’s clean and wrinkle-free. Place a piece of cardboard or plastic inside the pillow cover to avoid paint seeping through to the other side.
Ensuring the cover is wrinkle-free and properly prepared allows for smoother stenciling and better results.
3. Stencil the first layer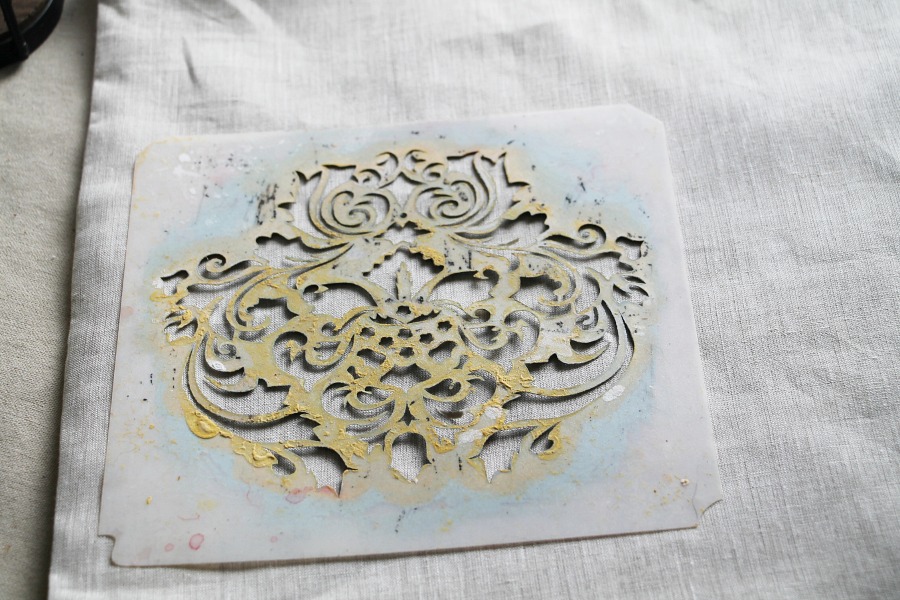


We begin with the medallion stencil. After choosing your desired paint color for the medallion, use the adhesive spray to lightly coat the back of the stencil and place it where you want your design to be on the pillow cover.
Using your stencil brushes, apply your chalk paint with light, even strokes. Once the painting is done, allow it to dry completely. Patience is key here since rushing may cause unwanted smudging or bleeding.
4. Stencil the second layer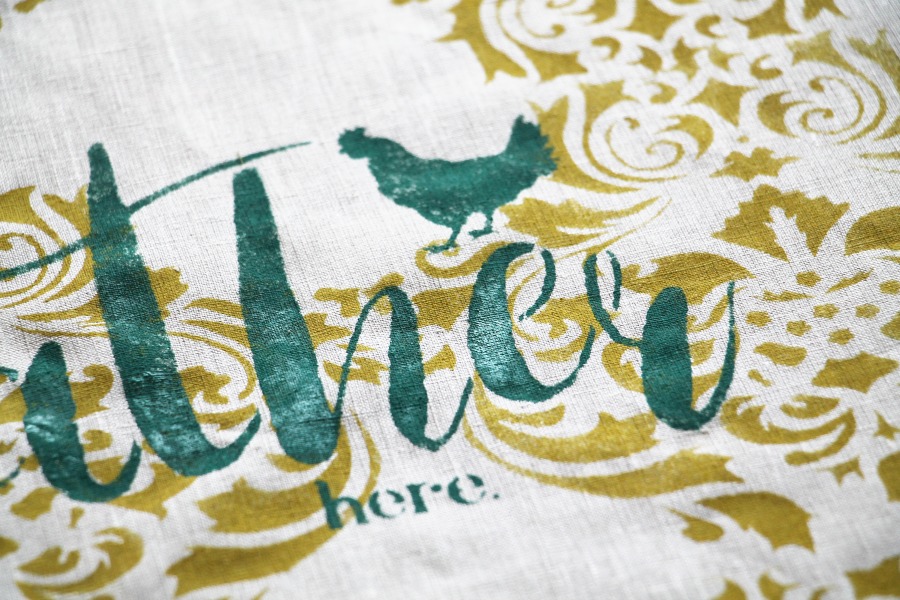
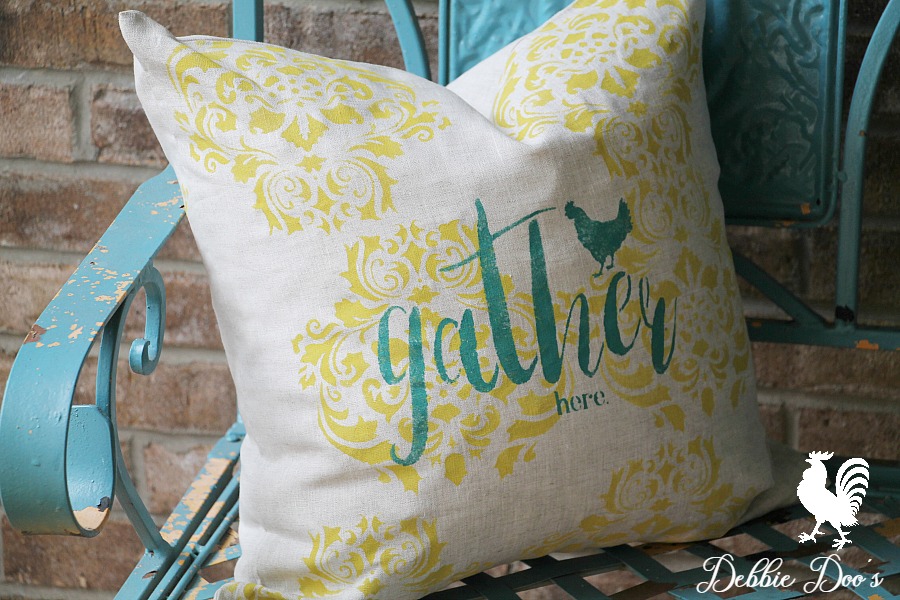
After the medallion stencil has dried, it’s time for the “Gather Here” stencil. Position this stencil over the medallion design, remembering to apply adhesive spray to keep it in place.
For an appealing contrast, choose a different paint color. Carefully stencil the words over your dried medallion design. Allow this layer to dry completely as well.
5. Stencil the reverse side
Now, let’s flip the pillow cover and work on the reverse side. We’ll be using the “Home is where our story begins” stencil in two different colors. Apply the first color, allow it to dry, then apply the second color. Ensure that the colors you choose complement each other and the front side of your pillow cover.
6. Set the paint
After the painting process, it’s time to set the paint using Rit Dye. Follow the instructions on the Rit Dye packaging to ensure the longevity of your painted designs. After the dye process, rinse your pillow cover carefully and allow it to dry.
Find out more about painting fabric using a pillow cover, a stencil, and chalky paint.