Turn off your outside water and protect your outdoor faucets to prevent freezing pipes and avoid costly repairs. In this post, I’ll walk you through a few simple steps to tackle this important task.
Fall weather in Chicago is always unpredictable. One week, it’s in the 70s, and you’re sweating on the walk to school. The next? Snowflakes are falling! Halloween (Yep, that’s today!) always feels like a wild card when it comes to weather. Last year, it snowed while we were trick-or-treating, and who knows what today will bring.

But by early November, we typically hit our first frost as the colder weather rolls in. My fall flowers are usually long gone, and with no more outdoor watering left to do, it’s time to shut off the outdoor water supply and pack away the garden hose for winter.
Why It’s Important To Shut Off Outside Water Before Winter

If you live in a cold climate, like Chicago, you know just how brutal winter can be on your plumbing system. Leaving your outside water running through the winter months is a recipe for disaster. Any residual water left in your exterior faucets or outdoor pipes can freeze, causing immense pressure that leads to leaks—or worse—burst pipes.
Over the years, I’ve heard from plenty of readers who ended up with flooded basements because they forgot this essential home maintenance task. Don’t let that happen to you!

Our house is over 100 years old, and like many older homes, we have some quirky plumbing. Our exterior wall pipes and outdoor faucets are especially vulnerable to the cold. If you live in a house with older plumbing, you’ll want to take extra precautions to avoid potential damage.
The good news? This task only takes a few minutes, and it’s the easiest way to protect your home and give yourself some peace of mind during the winter season.
How To Turn Off Your Water Supply
| Difficulty: ⭐️ of 5 | Time: 10 minutes |
| Supplies needed: Hose Bibb Cover Garden Hose (to be disconnected and stored) |
Tools needed: Wrench |
Step 1: Locate the Valve for Your Exterior Water

In many modern homes—especially those in colder climates—builders install a dedicated cut-off valve or stop valve that controls only the outdoor water supply. This makes it easy to shut off only the outside water, during the winter months, without disrupting water to the rest of the house.
Here’s where you might find these valves:
- Near the wall where the outdoor faucet connects: That’s where ours is!
- Utility room or crawl space: Often hidden behind an access panel.
While you’re searching for your exterior water valve, make sure you know where to find the main water shut-off valve. It’s essential to be able to quickly turn off the water to your home in emergency situations. So knowing where your main shut off-valve is located (and how to turn it off), is a good idea for every homeowner! You may need a water meter key for this.
What If Your Home Doesn’t Have An Exterior Water Valve?
- Warmer climates may skip dedicated valves since freezing pipes aren’t usually a concern.
- Older homes may not have a specific valve for outside spigots. In that case, the only way to stop water to your exterior faucets is to turn off the main water supply valve.
If your home doesn’t have a dedicated outdoor water shut-off valve (and you live in a cold climate), it’s a good idea to install frost-proof faucets to avoid potential damage from freezing. Or a licensed plumber can install a separate shut-off valve for your outdoor pipes to make winterizing easier in the future.
Step 2: Turn Off The Outdoor Water Supply

Once you’ve located the right valve, it’s time to stop the flow of water. There are typically two kinds of valves…
- Ball valve: Simply rotate the lever a quarter-turn until it is perpendicular to the pipe. That’s what we have. Whenever this handle is parallel, that means it’s on. If it’s perpendicular, that means it’s off. The same goes for gas lines too!
- Gate valve: Turn the wheel clockwise until it won’t turn anymore to close the valve.
Step 3: Open The Outside Spigots

Once the water is turned off, you want to make sure all of the water is out of the spigot. If there is water left in there, it can freeze and burst the pipe! So open up the spigot and let any water drops get out.
Step 4: Disconnect & Store Your Garden Hose

After opening the outside spigots and ensuring all remaining water has drained, it’s time to disconnect your garden hose. Leaving the hose attached can trap water inside the faucet and increase the risk of burst pipes during freezing weather.
How to Properly Store Your Garden Hose:
- Disconnect the hose from the exterior faucet (or hose bibb). If it’s on really tight, you may need a wrench.
- Drain any remaining water by holding one end higher than the other and coiling it as you go.
- Store the hose in a dry spot, like a garage, utility room, or basement, to prevent it from cracking in the cold weather. We keep ours in our indoor storage room for the winter months.
Step 5: Add A Hose Bibb Cover

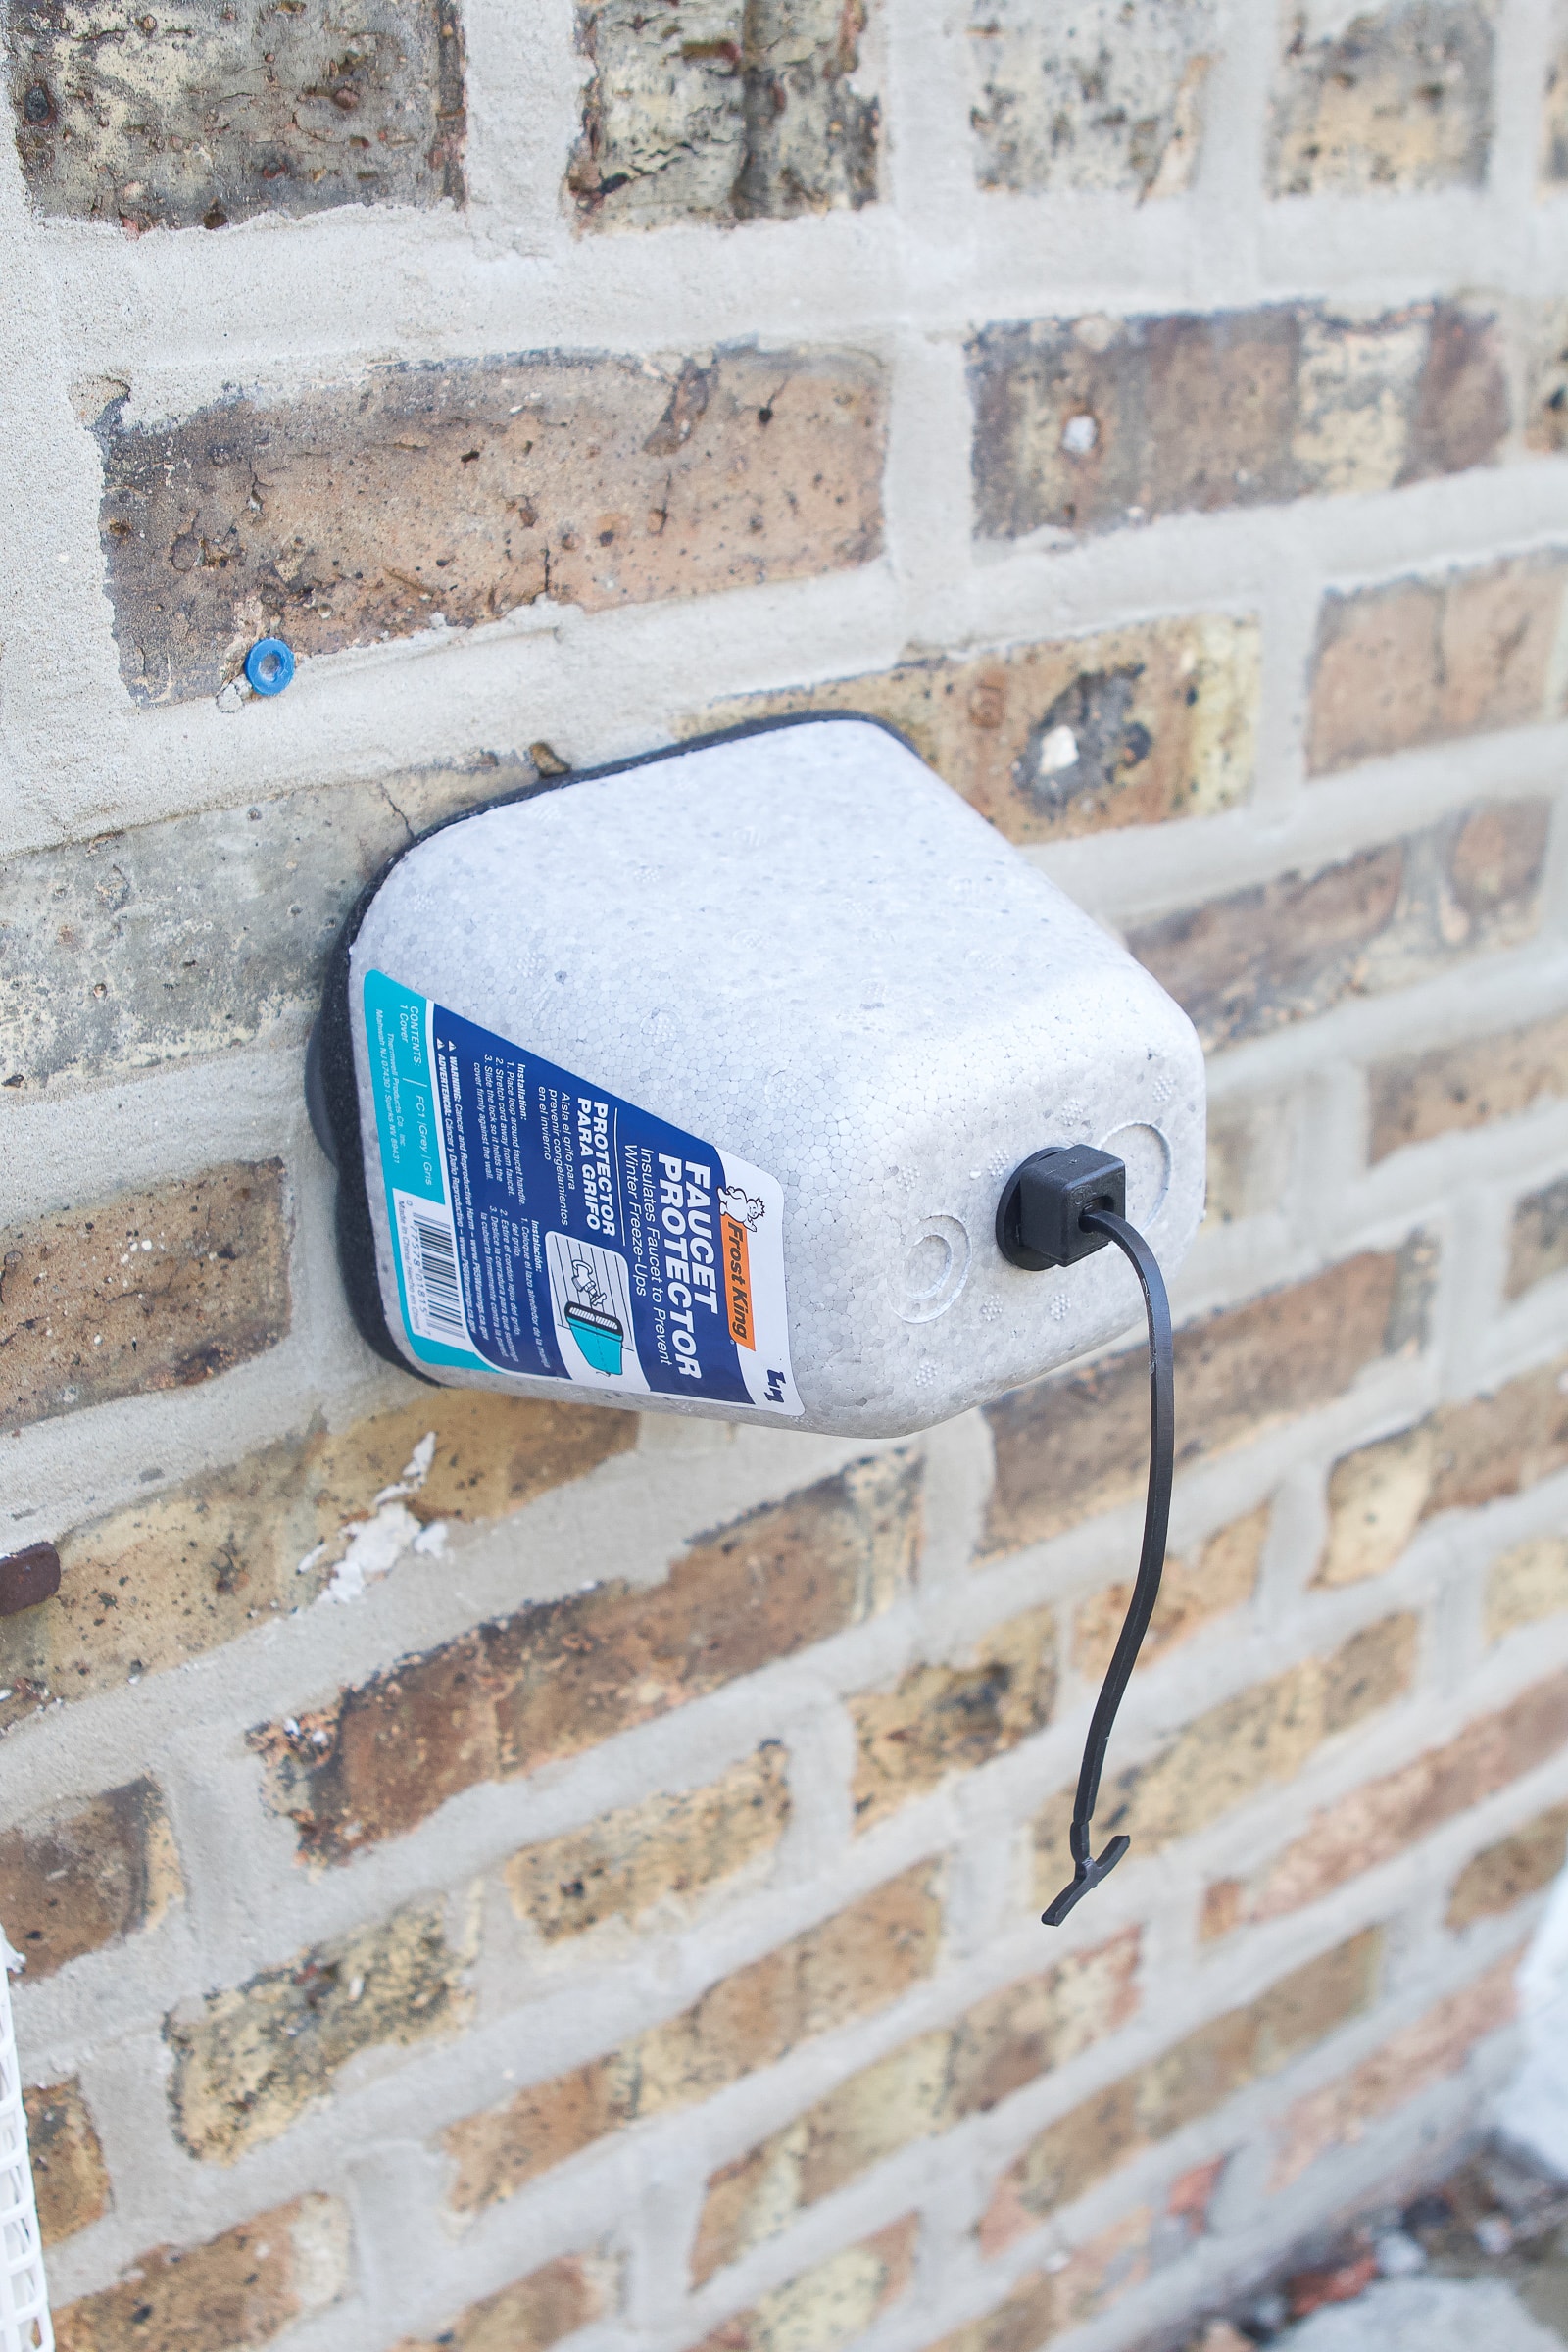
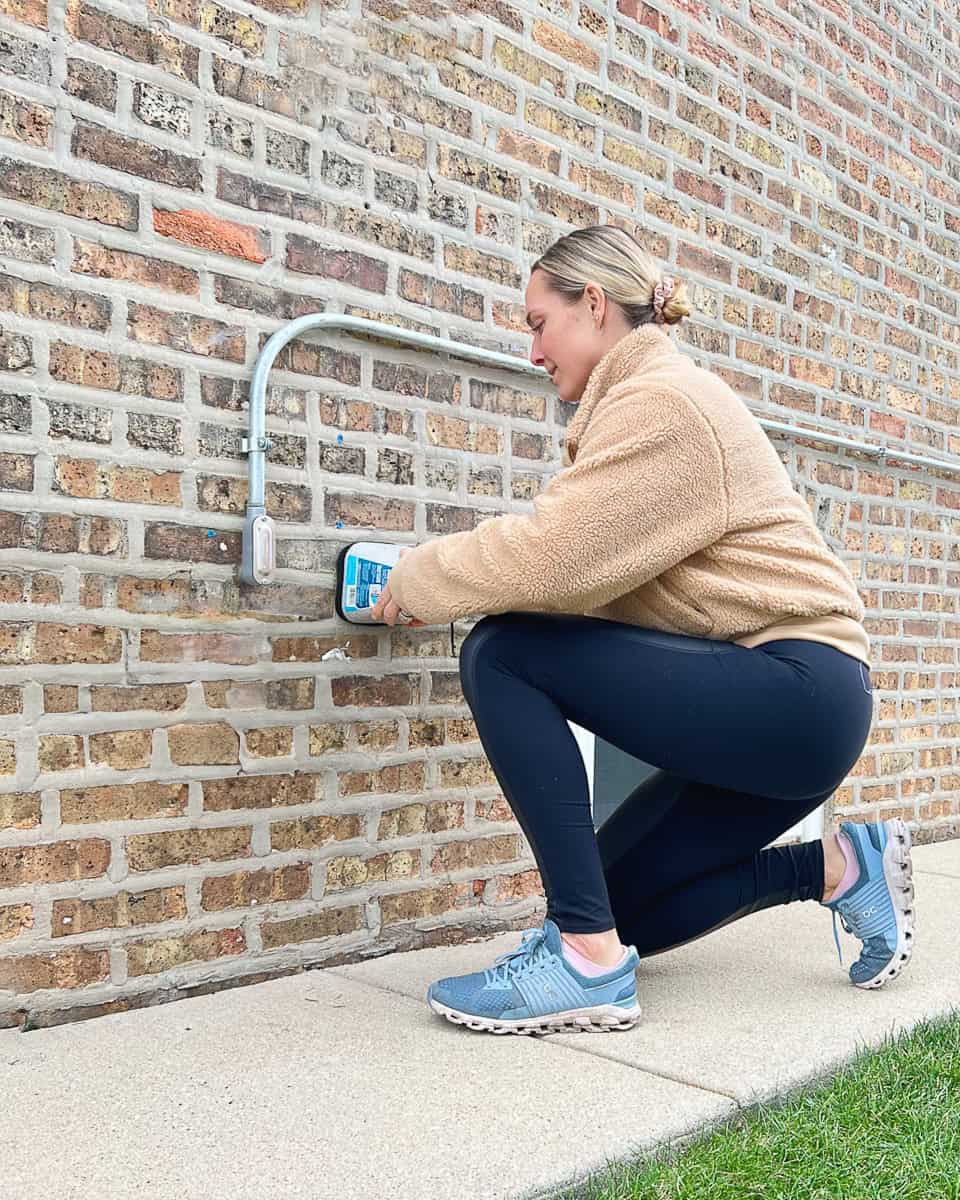
We made it to the last step! Even with the water turned off, cold weather can cause moisture to get inside your faucet and freeze. For extra protection, I like to use a hose bibb cover. The best part is they’re very cheap and you can use them year after year. Here’s a great deal on a pack of four!
Just place the hose bibb cover over the faucet until it’s snug. Then tighten the loop and make sure it sits flush against the wall. Adding this extra protection is one of the easiest ways to avoid costly repairs during the winter months!
When Should I Turn Off Outside Water?

Now is probably the time! It will depend on the weather in your area, but it’s best to tackle this task before the temperatures dip below freezing.
If you’re unsure when the frost will hit, early November is a safe bet. I have this task scheduled for November in Your Home Playbook. If you need help remembering, consider buying your own copy of my digital homeowner’s guide right here!
Yay, You’re Done!

With everything properly shut off, drained, and insulated, you’ve taken all the right steps to protect your outdoor water supply lines and avoid burst pipes this winter. This simple task only takes a few minutes but can save you from costly repairs and immense pressure on both your pipes and your wallet!
P.S. Need more help prepping your home for winter? I walk you through how to get the exterior of your home ready for the colder temps right here.
