Love vs. Design’s removable custom color wallpaper may be the coolest thing since sliced bread. Not only do they have a HUGE selection of designs, but they are all color-customizable AND removable.

This post is a sponsored post by Love Vs. Design. I take pride in reviewing only products that fit my brand and will benefit my readers. While this post is sponsored, all the opinions are my own.
Below is our laundry room before the wallpaper makeover. It is a large, nice space, but unfortunately, it does become our catch-all space.

When you visit Love vs. Design’s site, you will see design options for any design style. I selected three patterns and struggled to narrow them down to one.
From Left to Right:

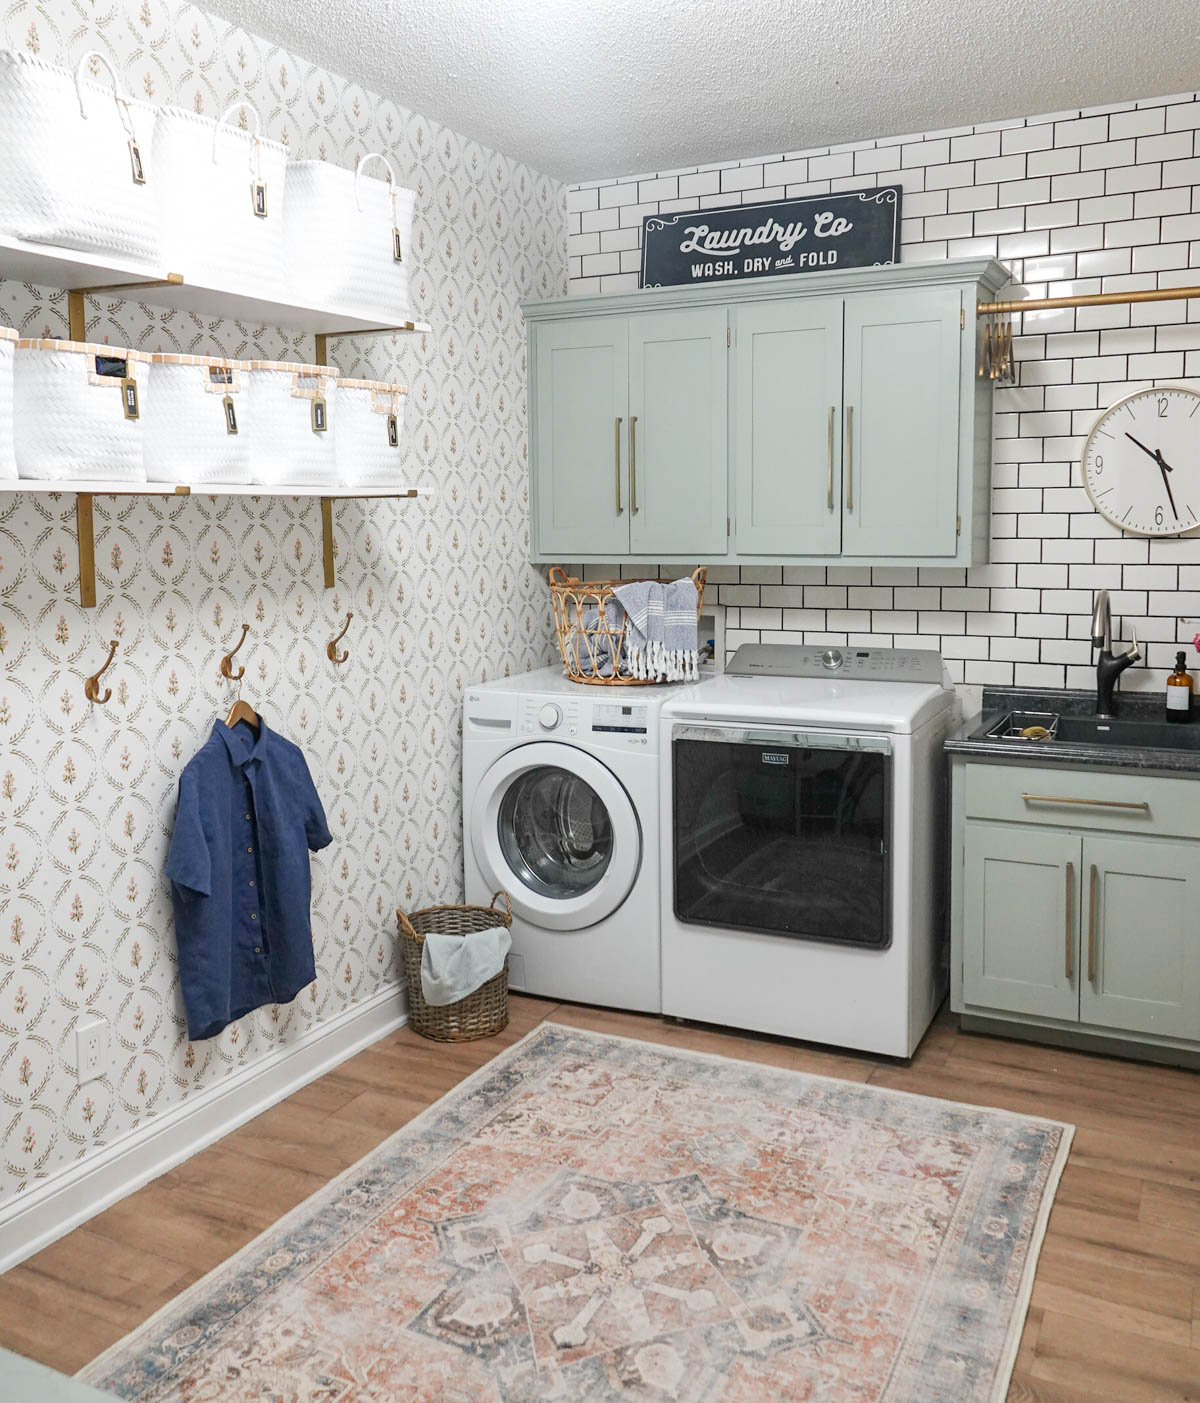
I selected the Rustic Wreaths and customized the colors for my space.
I would suggest ordering a sample of your design first, the samples are large and allow you to visualize the paper in your space.


Removable Custom Color Wallpaper
Love Vs. Design wallpaper is all removable, but they do have three different options:
Smooth is a peel-and-stick with a semi-matte finish. It works with lightly textured walls and in bathrooms and kitchens. It has damage-free removable and has a one-inch overlap.
Glissade is the option I chose. It is like traditional wallpaper but requires no paste and easily installs (and removes) with water. It is great for high-traffic areas and meets edge-to-edge.
Woven is a peel-and-stick with a luxurious fabric feel. It is scratch and stain-resistant and has a one-inch overlap.

How to Install Glissade:
- Trim off excess with a sharp blade and ruler.
- Paint must be dry for 30 days (and use a non-matte paint to prevent bubbles or peeling).
- Clean the walls with 70% isopropyl alcohol mixed with 30% water. Wipe with a cloth and allow the walls to dry.
- Draw a vertical line to keep your pattern level and remove outlet (and other) covers.
- Spray your wall with water and apply the panel. Leave a 1″ overlap at the ceiling.
- Smooth the wallpaper downwards with the included squeegee.
- Apply more water as needed. If a spot is too dry, peel off the panel and add more water.


I have installed peel-and-stick wallpaper, non-pasted traditional wallpaper, and prepasted traditional wallpaper (you dip the wallpaper in a tub of water).
This was my first time using the prepasted Glissade wallpaper where you wet the walls first.

The first panel took me a little time to figure it out, but once I got the hang of it, I was cruising.

The quality of this paper is incredible and high-quality – very thick and durable.

The design and color were made (literally) for the space, adding so much softness and character to our laundry room.

Here’s another look at the before and after:


Are you new to my blog? Go HERE to see my home tour and HERE to shop for items I use in our home.