
For the final room in Madison’s apartment makeover, we tackled the bedroom. If you aren’t familiar with the first few stages of the apartment makeover or why I chose Madison, click this link to get caught up!
The bedroom floors are different from the rest of the apartment. They are vinyl as opposed to tile like the rest of the apartment. Don’t ask me why they chose to switch it up!

I started by making a mood board to plan the design. This helps us make sure that it will turn out the way we envisioned it in our head. I used the program pages on my macbook to create the mood board. I copy and paste images from retailer websites and use the insta alpha tool to remove the backgrounds.

After the mood board was complete and we decided exactly what we wanted the room to look like, We laid out a beautiful rug that complemented the neutral design with a slight hint of rosy pink.
We then assembled her bed. It came in multiple boxes and we had to screw in the wood slats ourselves because they didn’t come with any attaching hardware which I thought was odd. The only way we learned that was because the first time we put the mattress on, all the boards fell off!

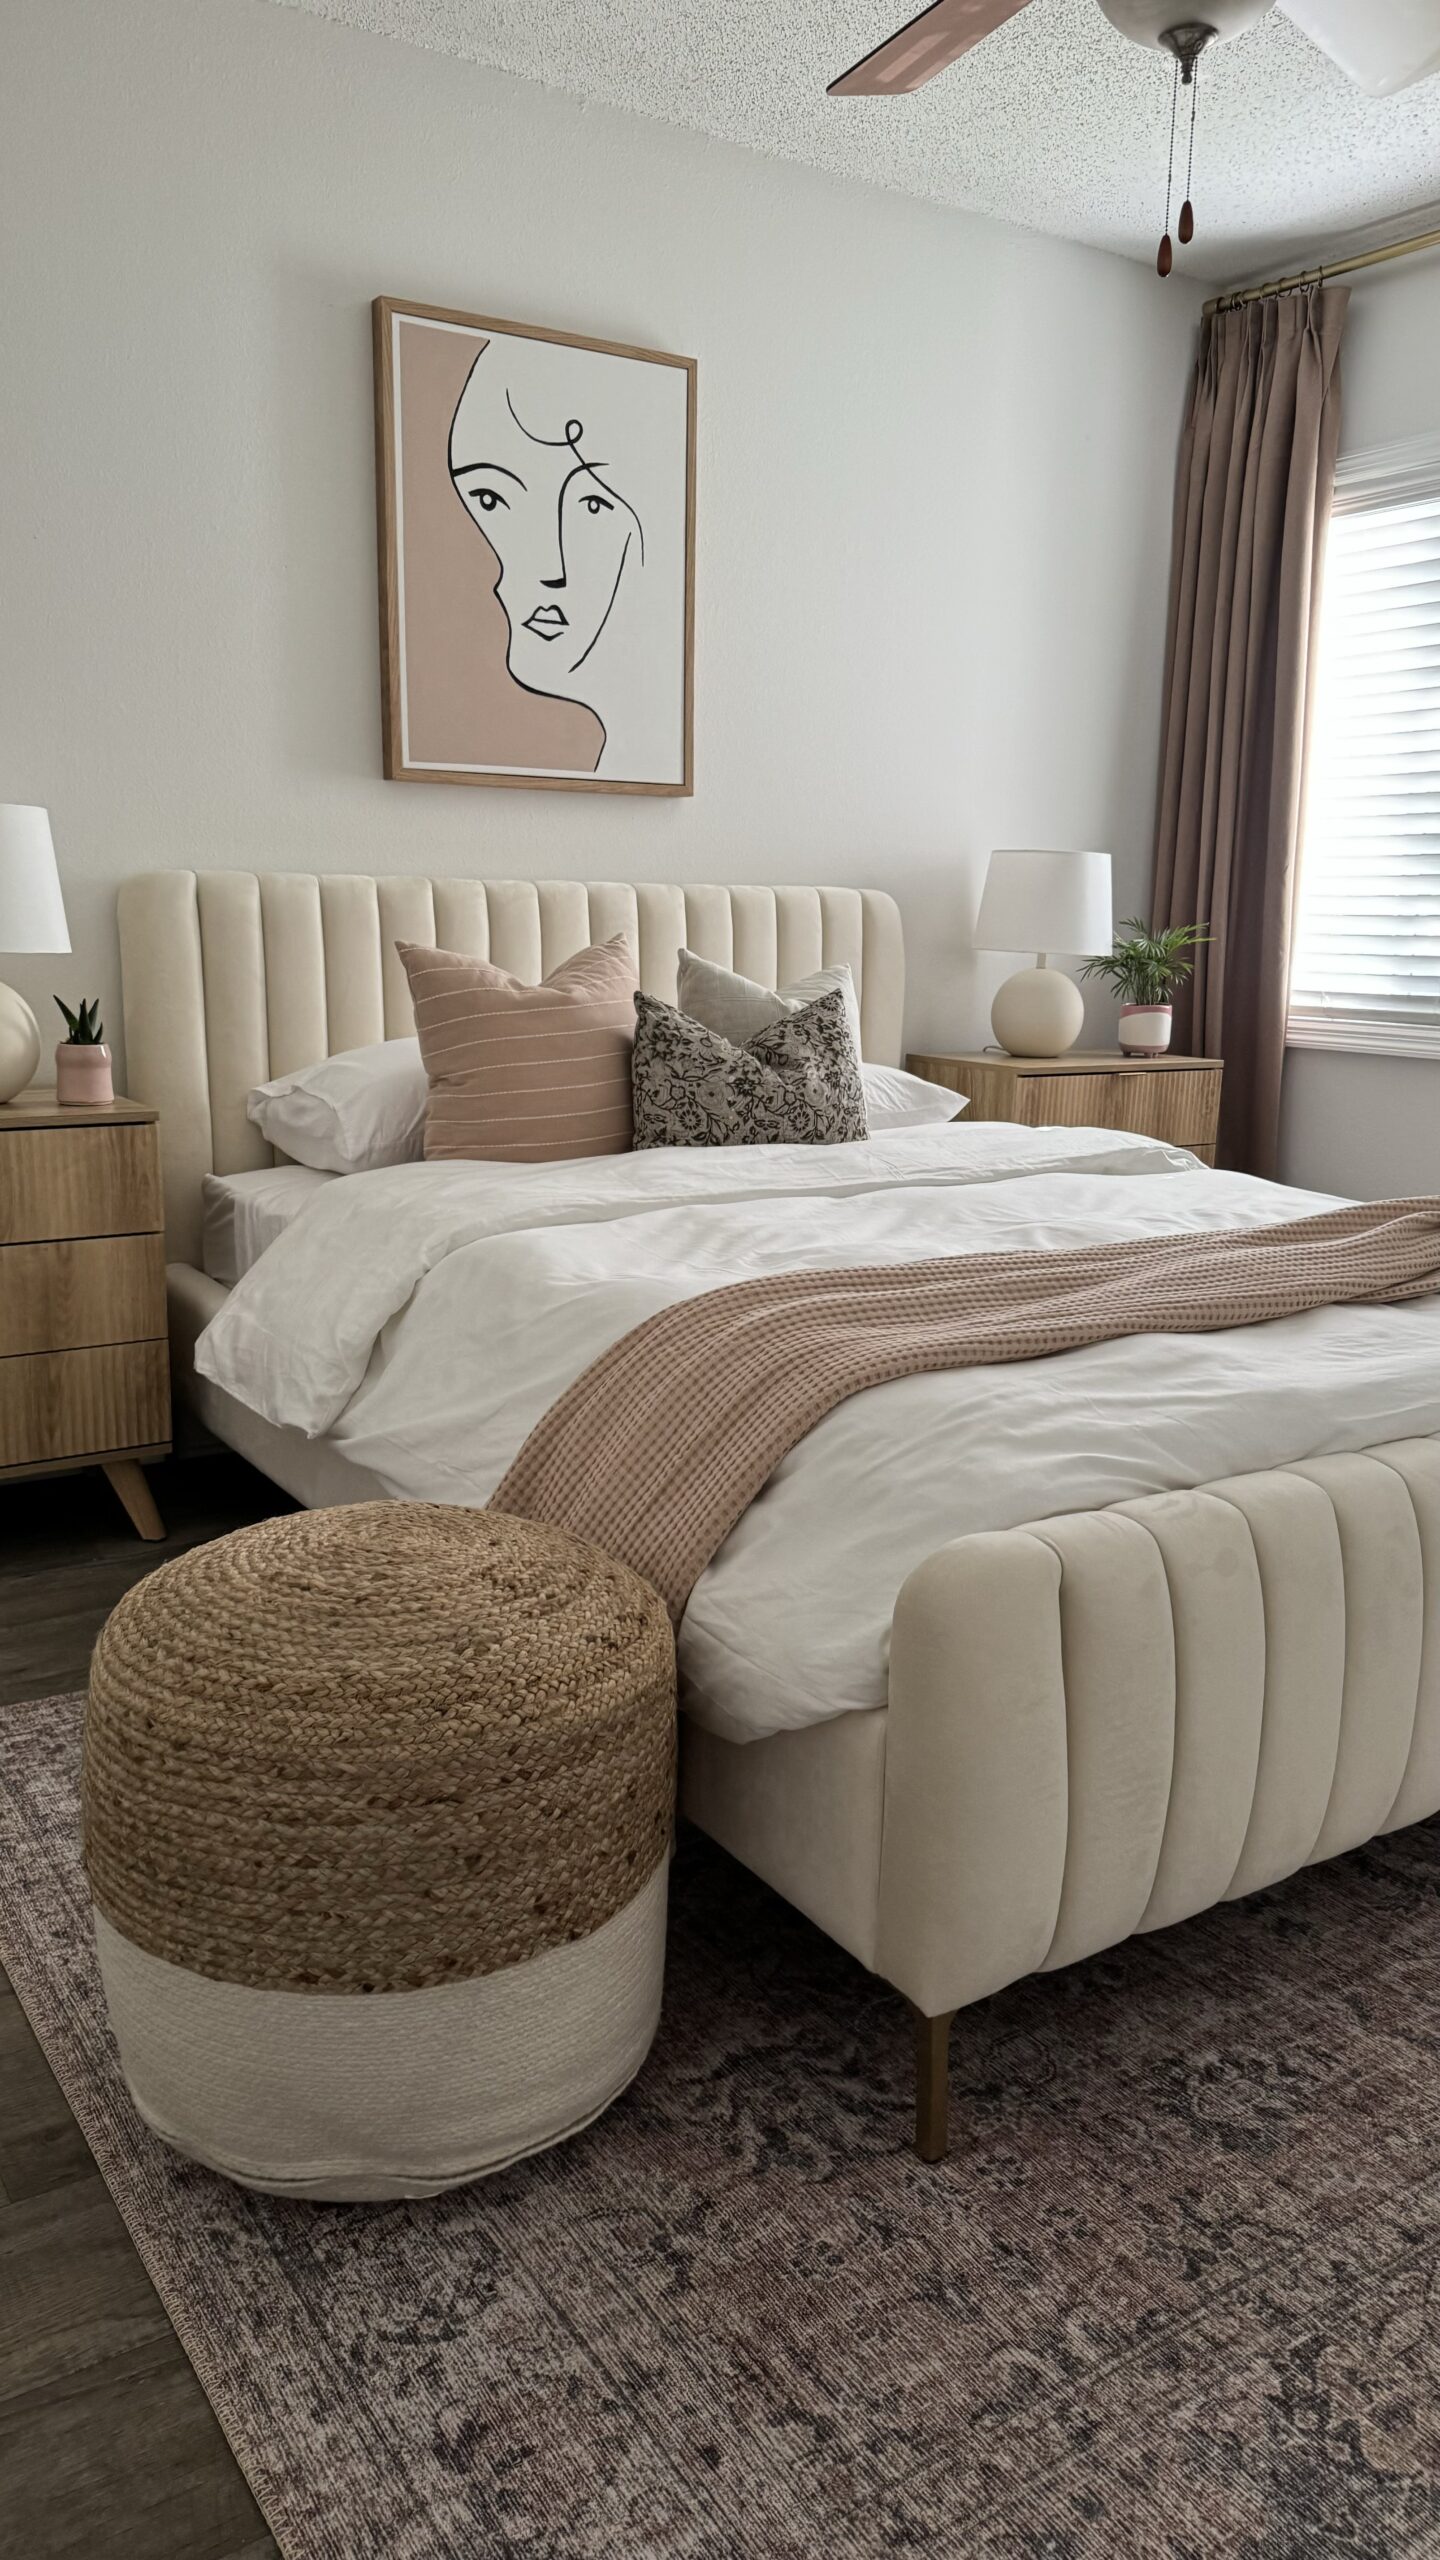
After the bed was put together we assembled her super cute, fluted nightstands from Amazon! We put one on each side of the bed.

For wall decoration, I wanted to do something I had never attempted before, so I DIY’d a cute piece of art to put behind her bed!
I used my phone flashlight to create a makeshift projector. I printed a photo on copy paper, cut it out, and then used the flashlight to shine through the stencil onto the canvas. I traced the projected image onto the canvas with a pencil. I then added some color using old paint samples to give it some extra pizazz and tie into the room color scheme. Add it to my list of super easy DIY hacks. It saves money which is always a plus!


I added a wooden frame to the canvas to tie in with the nightstands using scrap white oak I had in my garage. I cut the wood at 45 degree angles and used my 18g nail gun to nail the wood to the wood that’s inside the canvas.

The last steps were to add curtains and throw pillows to finish the room off! The pillows go perfectly with the color in the artwork. I did have one major problem. When I went to hang the curtains, I realized they were a foot too short. So we made a quick decision to order the same ones we used for Madison’s Living room and voila the problem solved!
Every detail came together perfectly, creating a cozy and charming home. I’m thrilled with the result, and I can’t wait to hear how much Madison loves her new bedroom!
To watch the final bedroom reveal click here!
To shop Madison’s bedroom, simply click the links below!
FAQs: Bedroom Edition
Q: How big is her bedroom?
A: It’s roughly 10’x10’.
Q: What size is the canvas artwork?
A: 20×24
Q: How did you make the frame around the canvas?
A: I used scrap white oak wood and used my 18g nail gun to nail it to the wood frame inside the canvas.
Q: Do you know the flooring details or wall color?
A: No, unfortunately we aren’t sure because it is an apartment!
Q: What size is the bed?
A: Queen.
Q: Why no dresser?
A: She has a large double closet in the room so there wasn’t a need for one.
Q: How tall are the ceilings?
A: 8’
Q: How did you make the picture behind her bed?
A: I used a stencil and used my phone as a projector and then traced over it! Once the outline was done, I painted it.