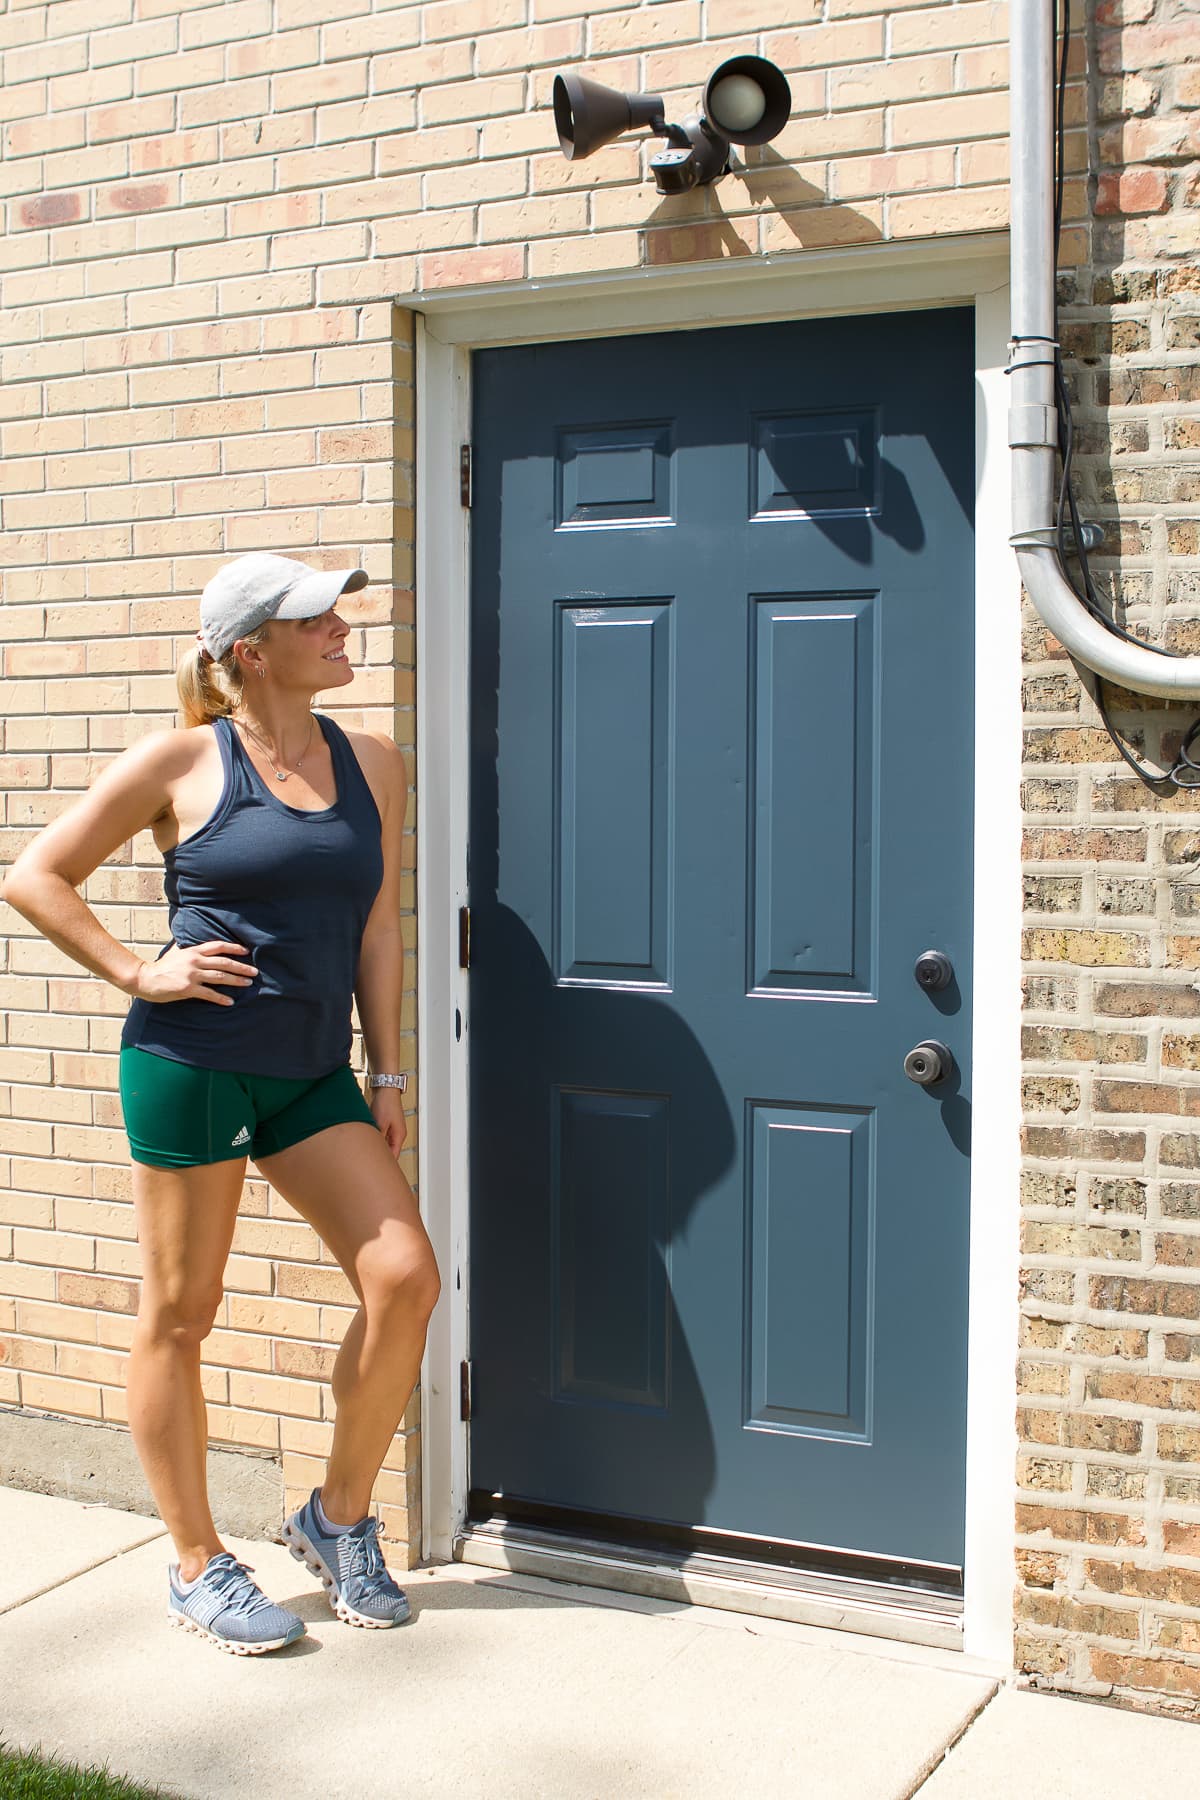
Our exterior metal side door was looking rough. Here’s how I gave the entire door a fresh coat of paint in the perfect shade of blue.
Now that a majority of the big projects around our home are done, I finally have the bandwidth to tackle those little pesky things around the house.
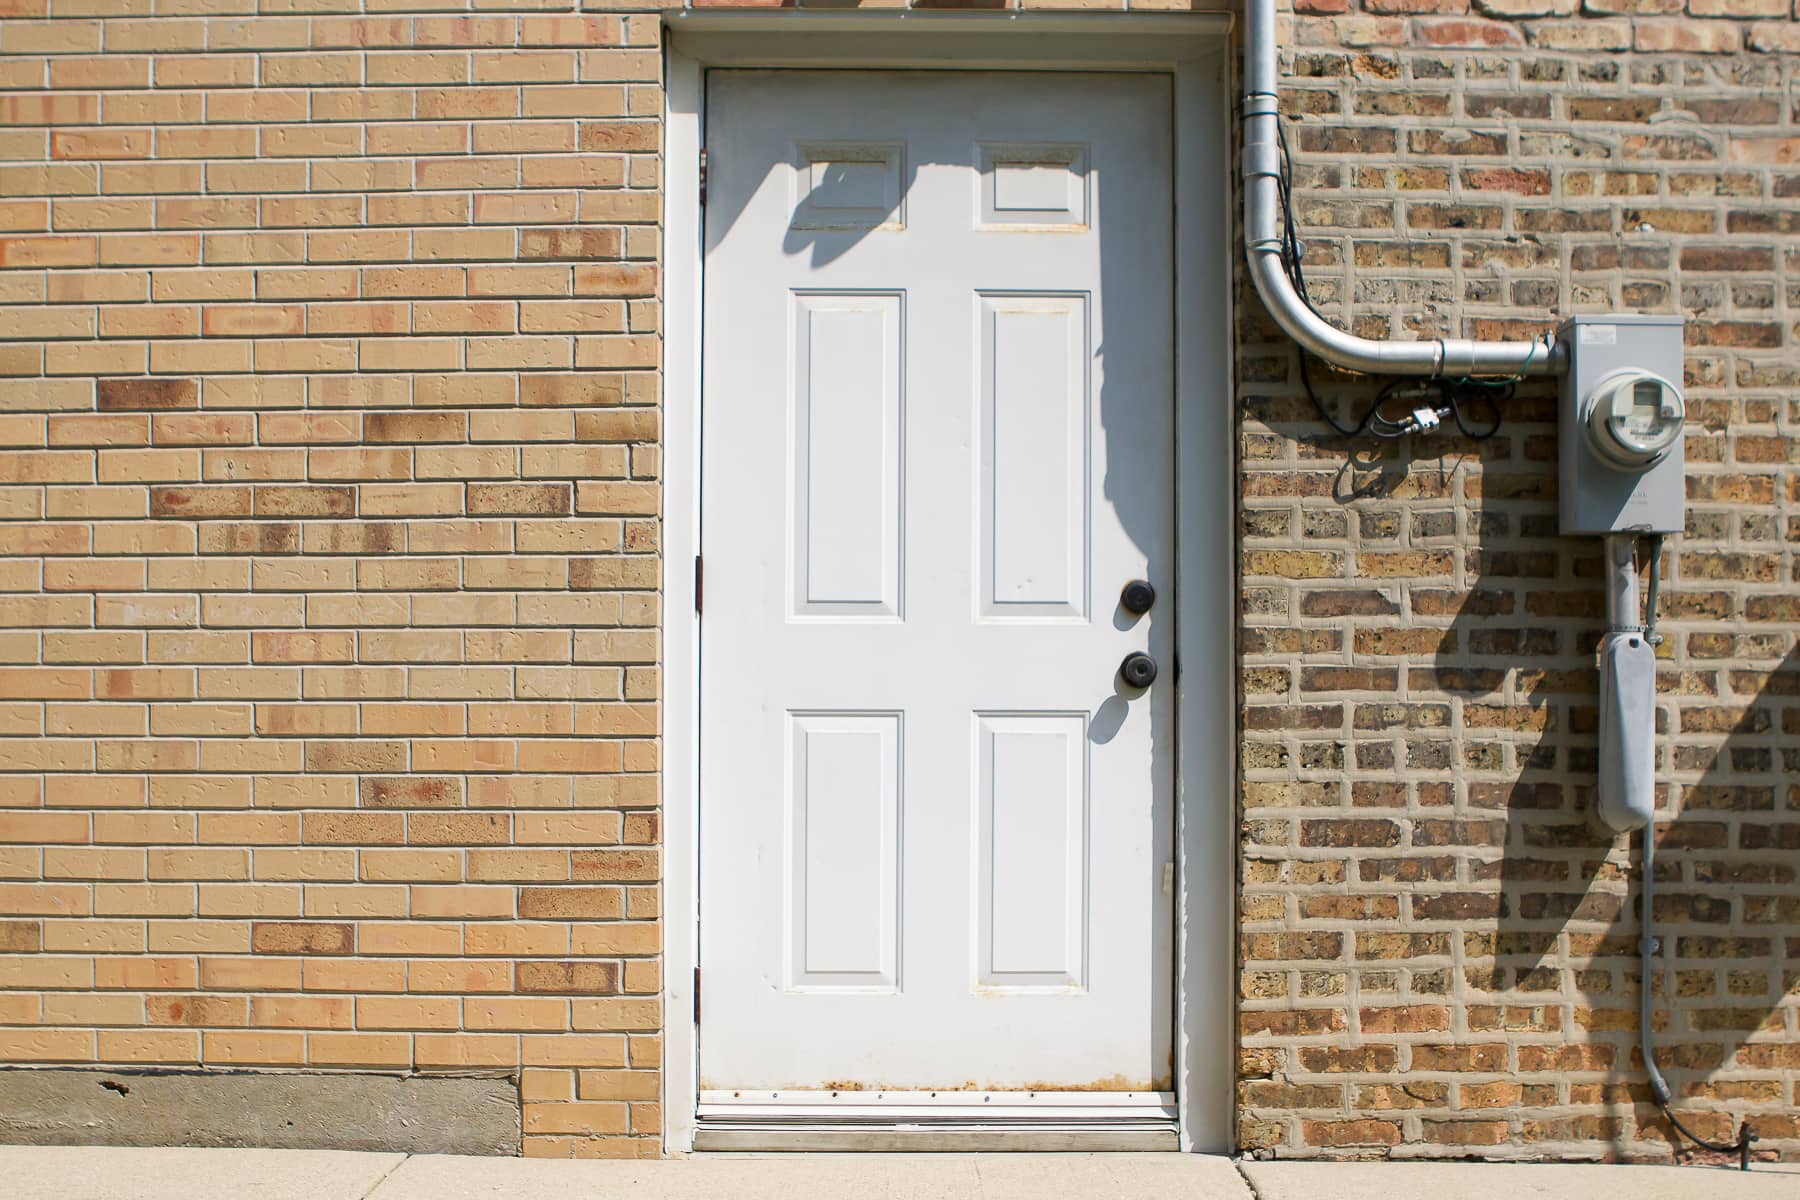
For example, I’ve wanted to paint our exterior side door for years now. It’s old, rusty, full of imperfections, and it’s a huge eyesore on the side of our house. I’ve painted many doors over my years of DIY projects (all of the interior doors in our basement, our front door, and even our metal garage door), so I knew that I could get this done pretty quickly.
Our Exterior Door Before

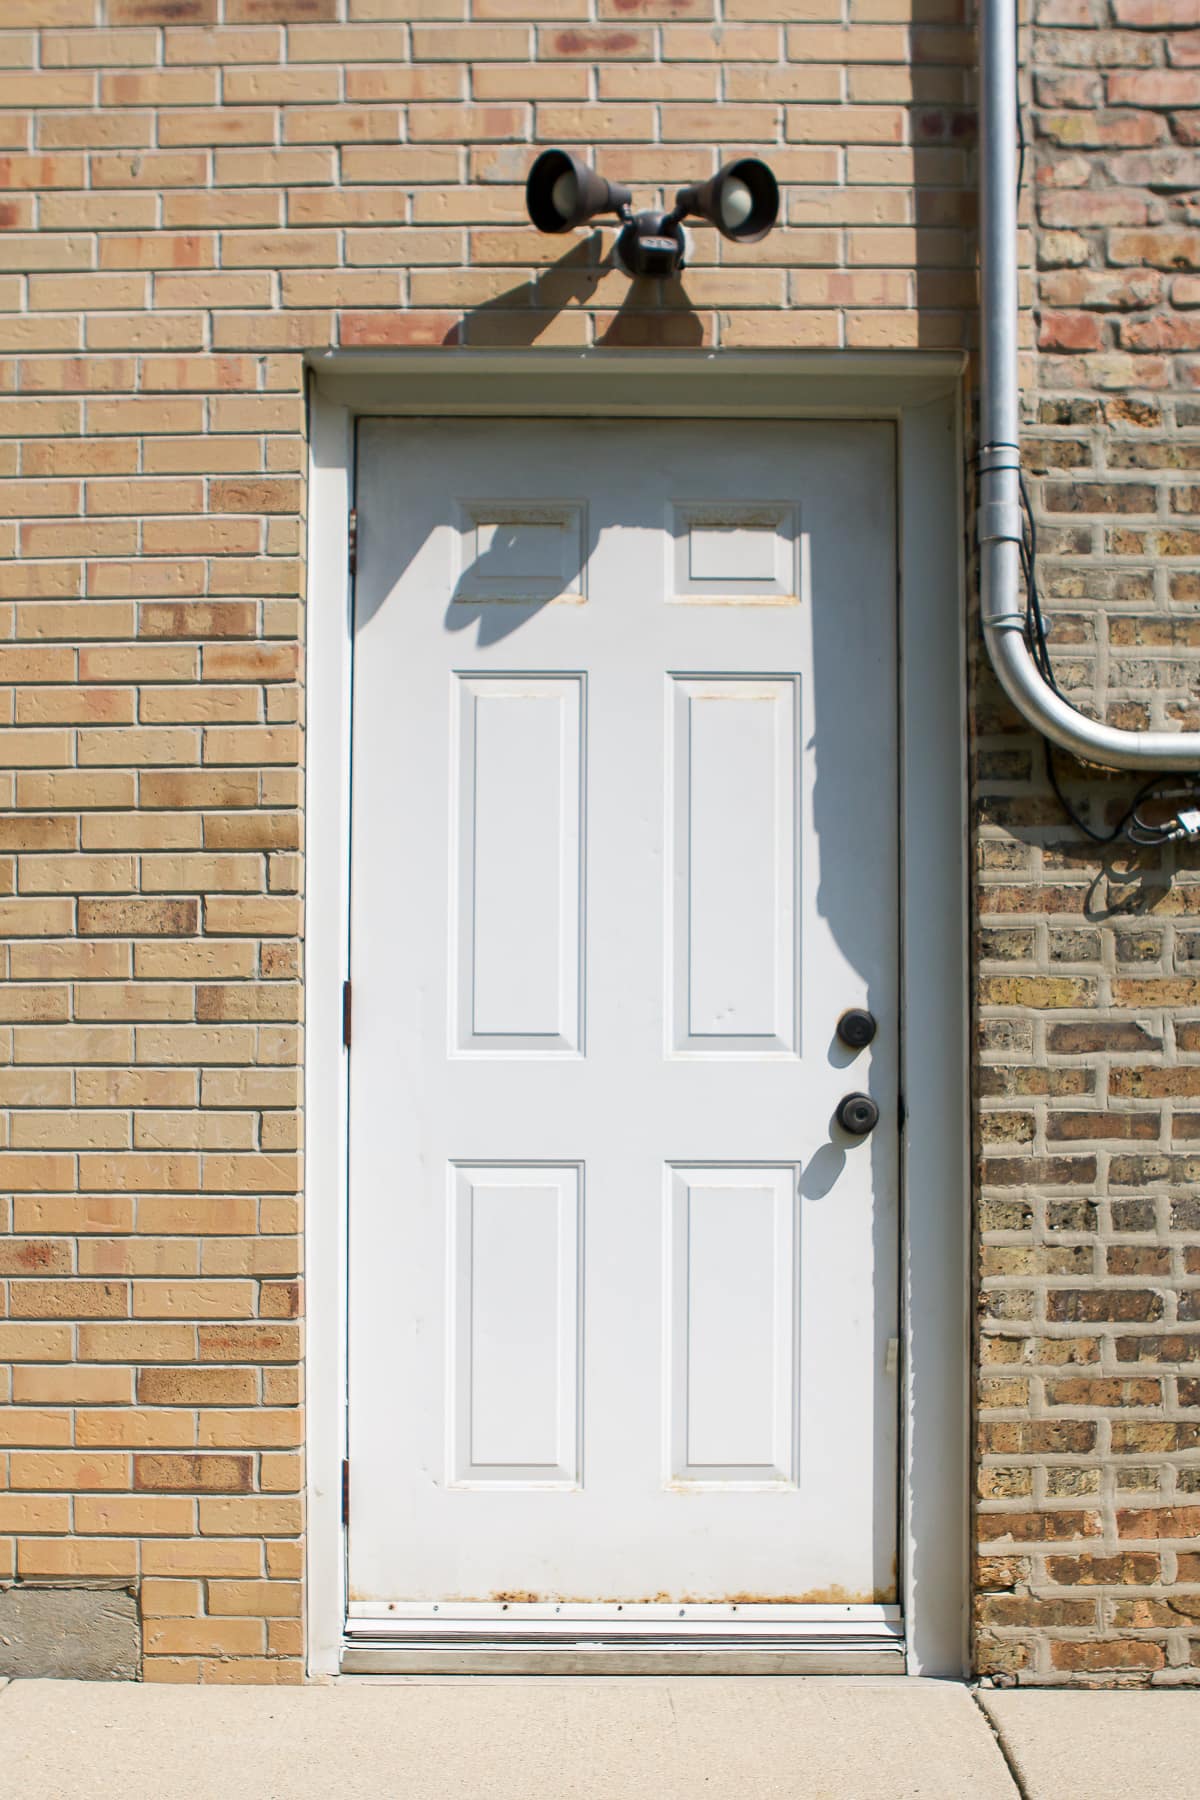
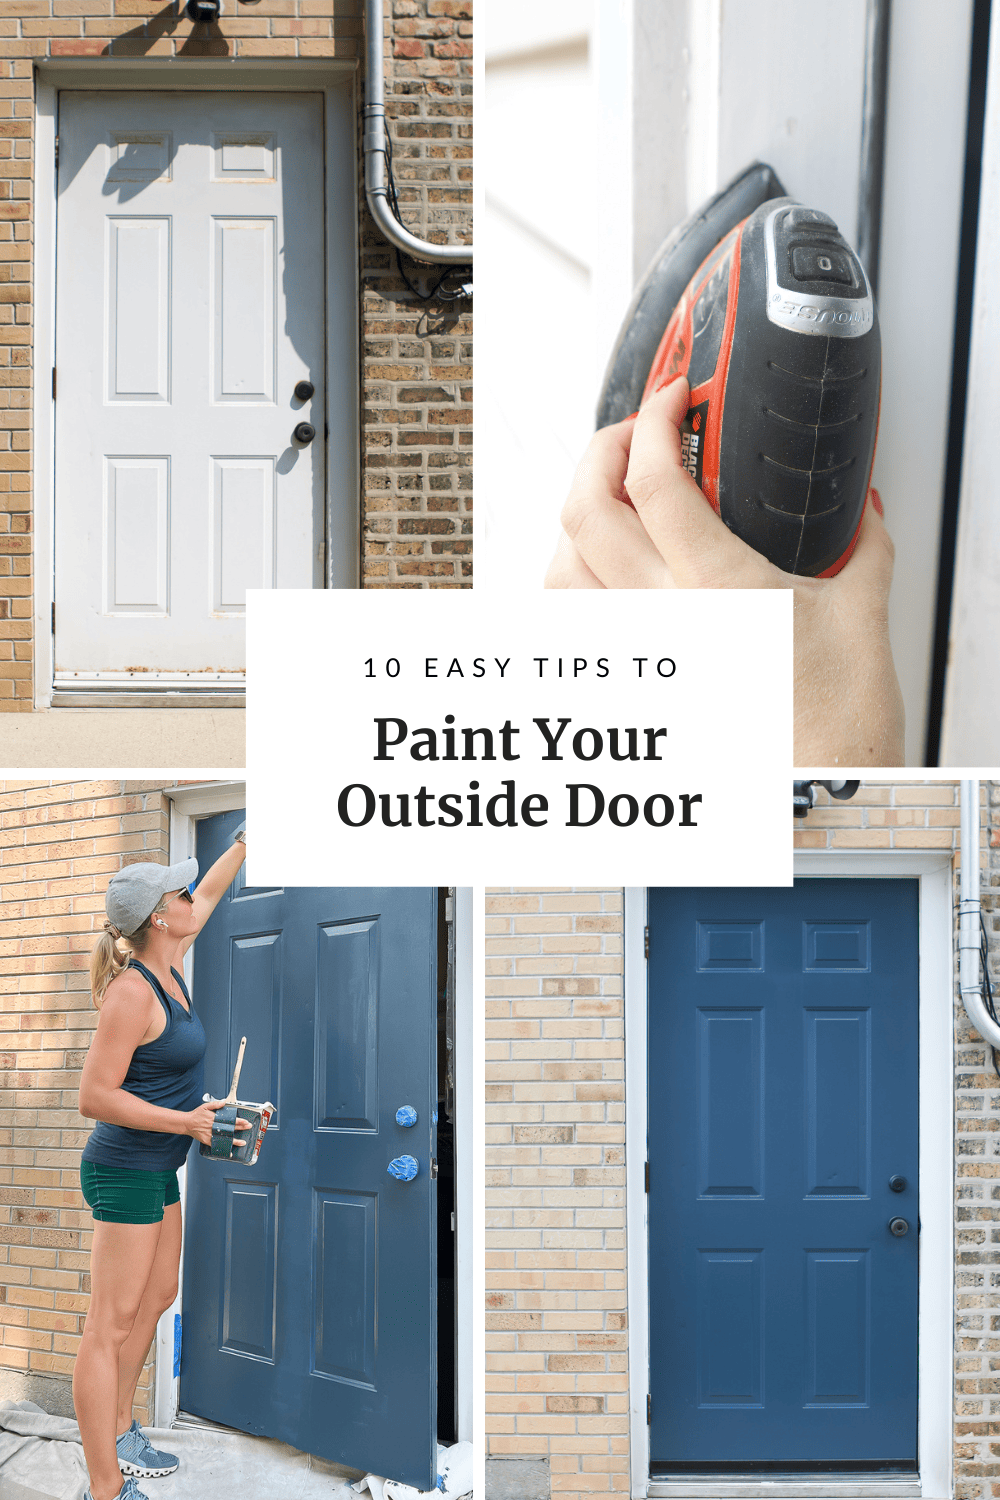
Here’s a look at the door before I got my hands on it. See, I told you it was in need of some love! It’s technically supposed to be bright white, but it has a lot of rust on it and was super dirty.
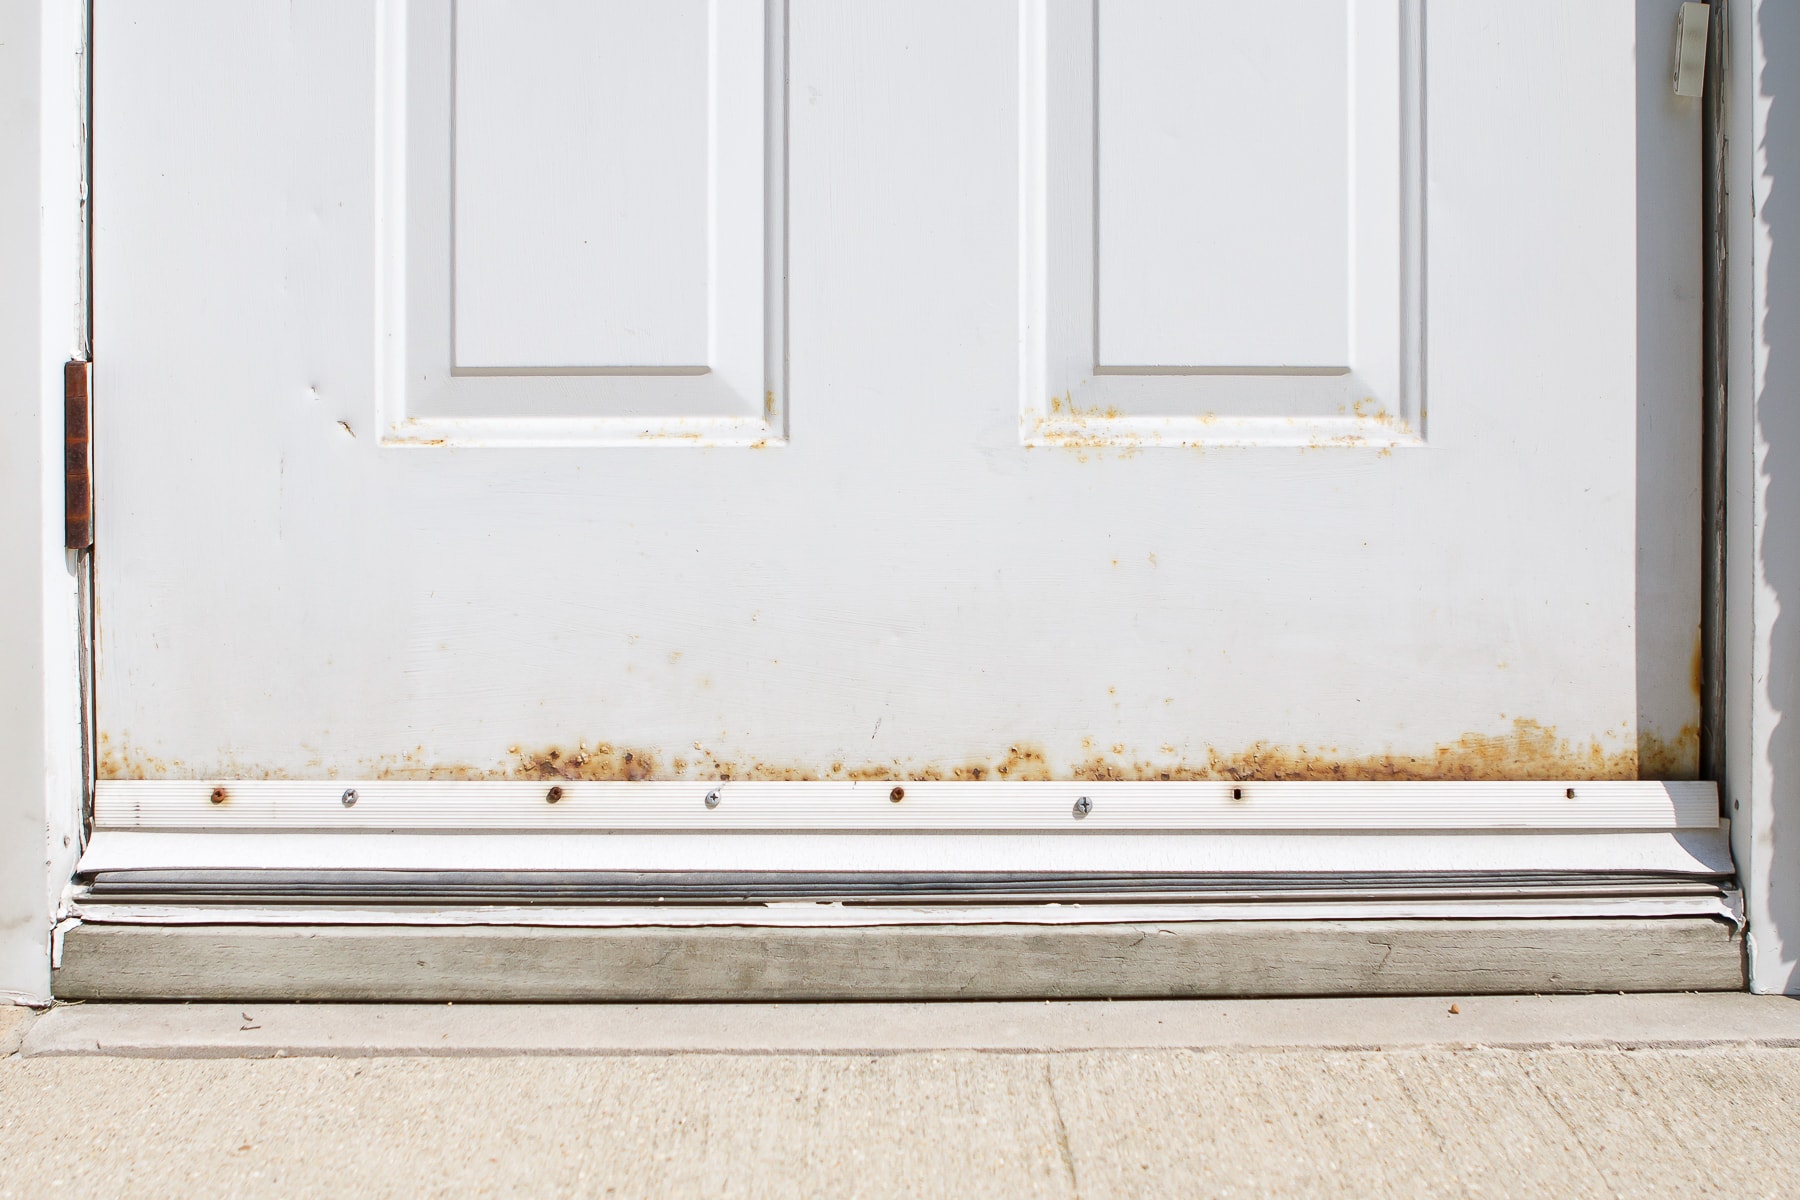
This is the door that is on the side of our house and it goes into our basement storage area. It’s not a door we use very often, but we certainly have to gaze at it a lot. I’ve stared at those rust spots for over four years now and I was very eager to finally add some color to this old door.
Choosing A Paint Color
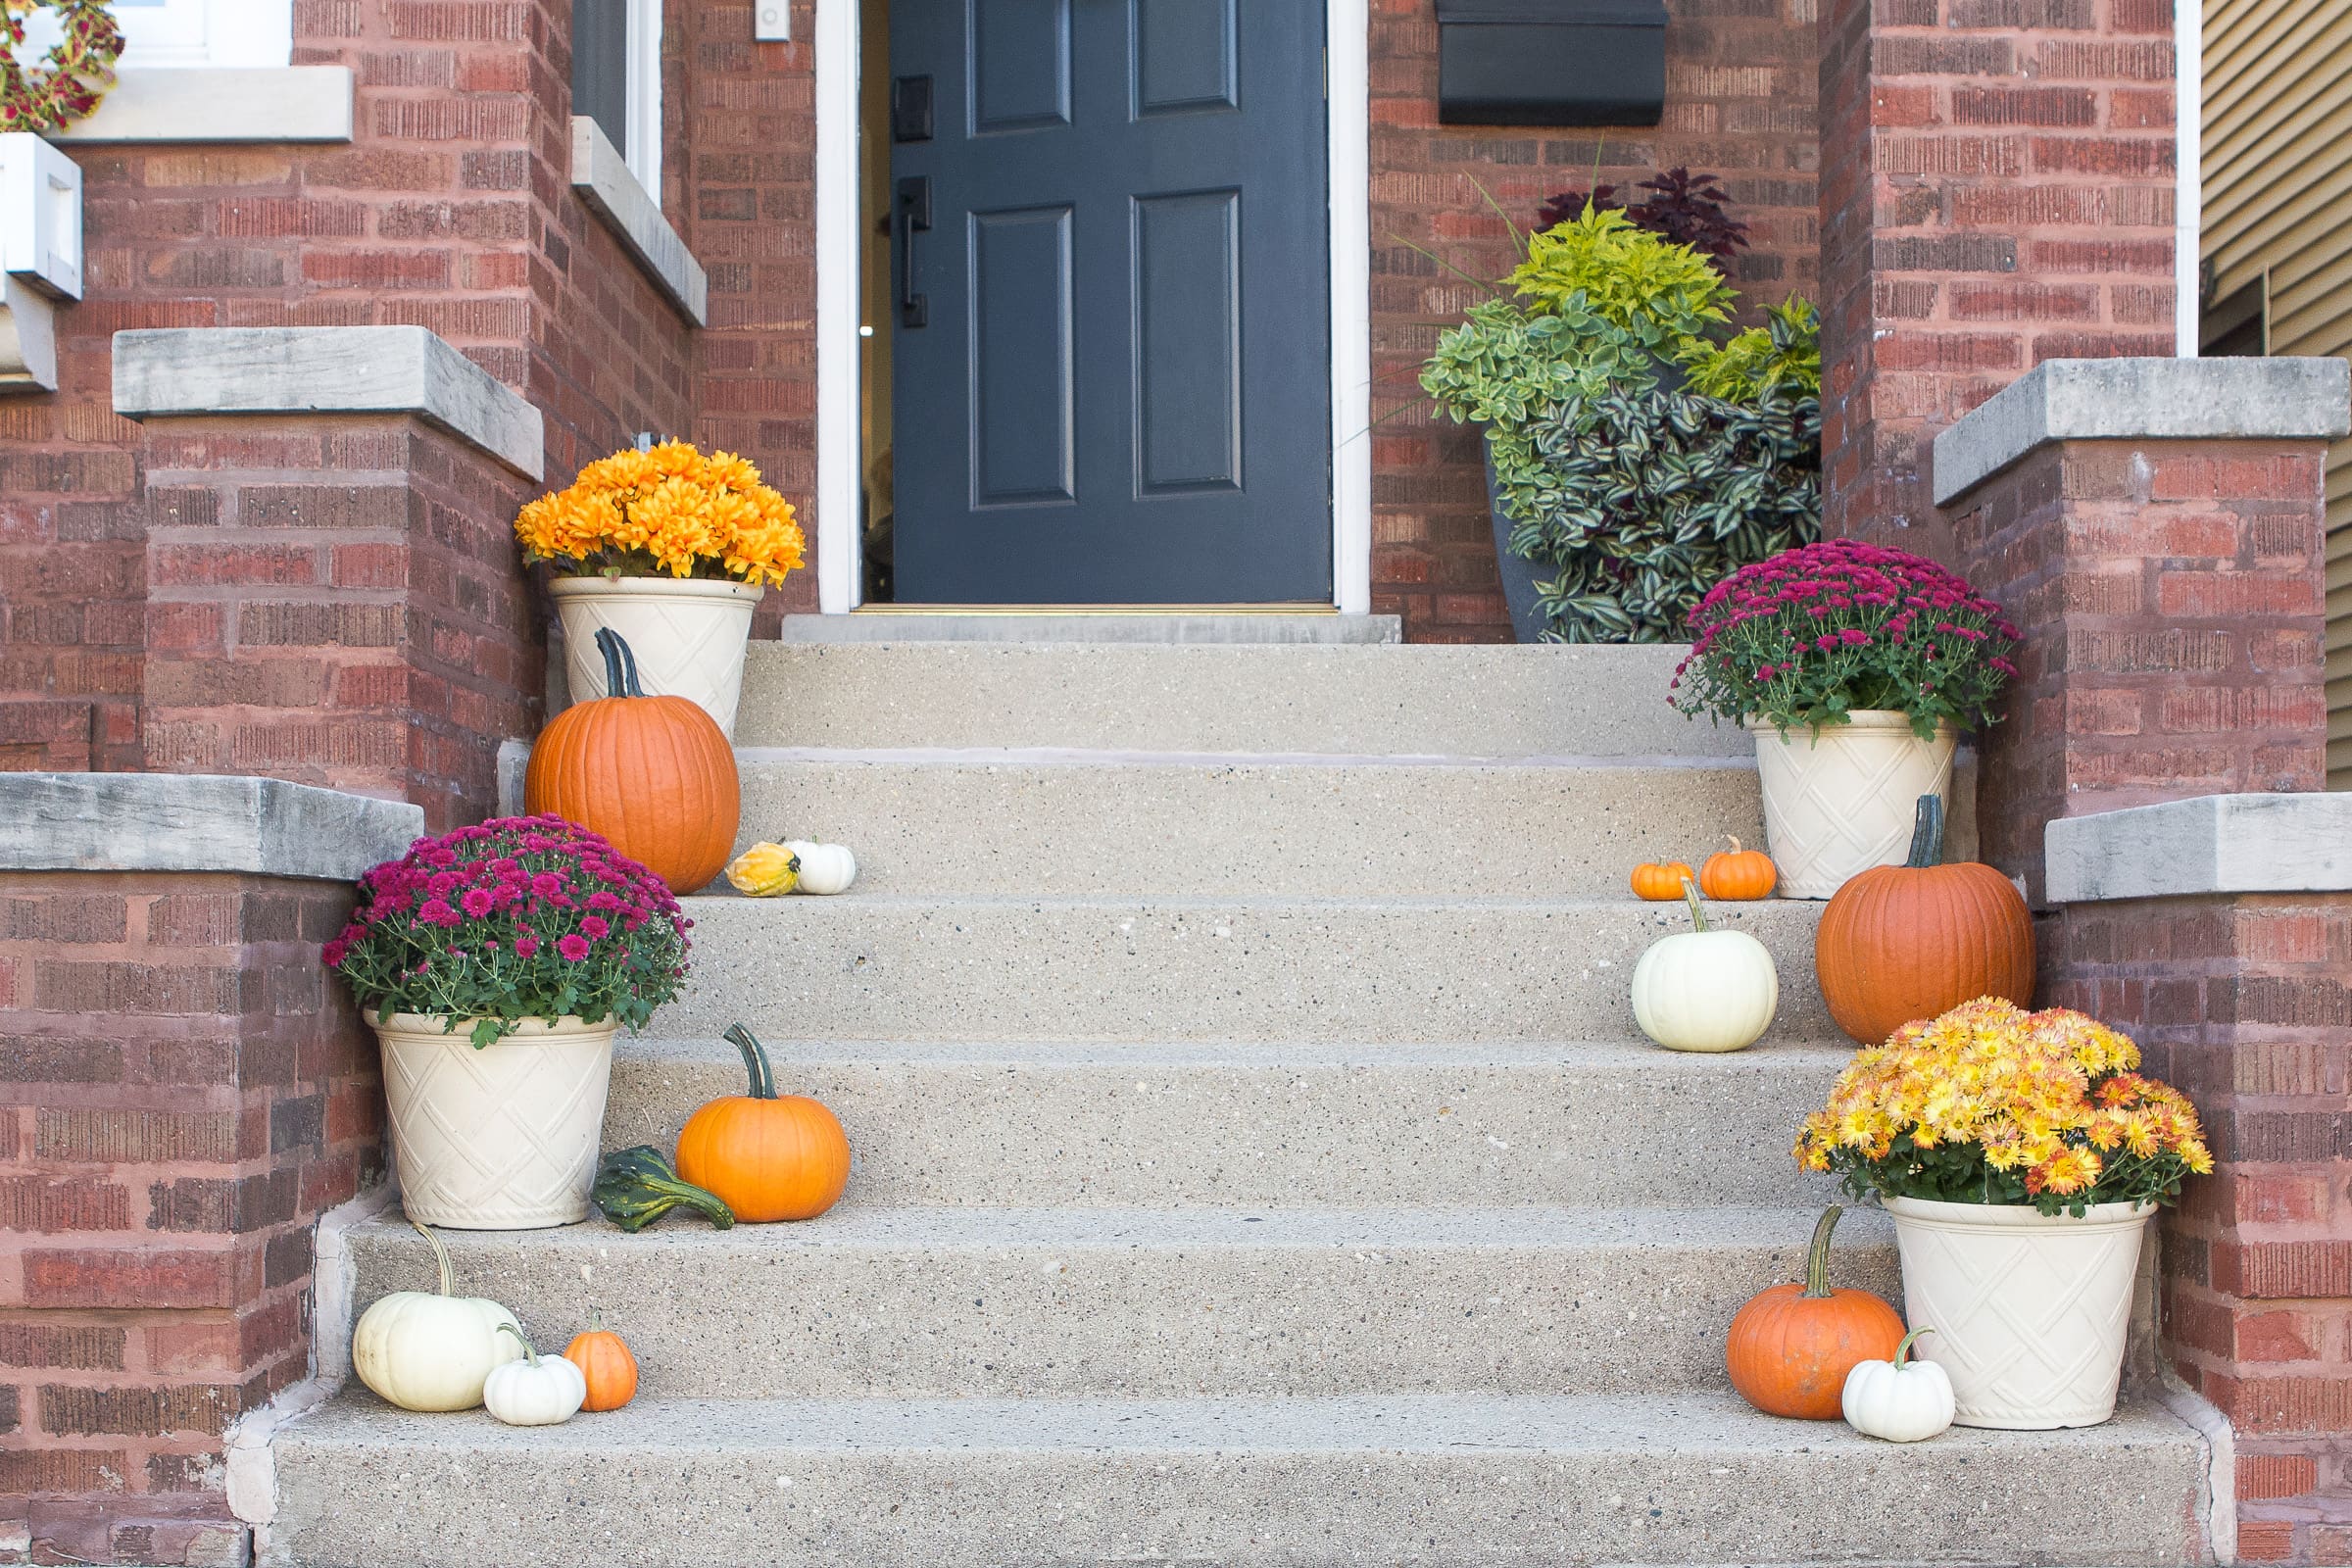
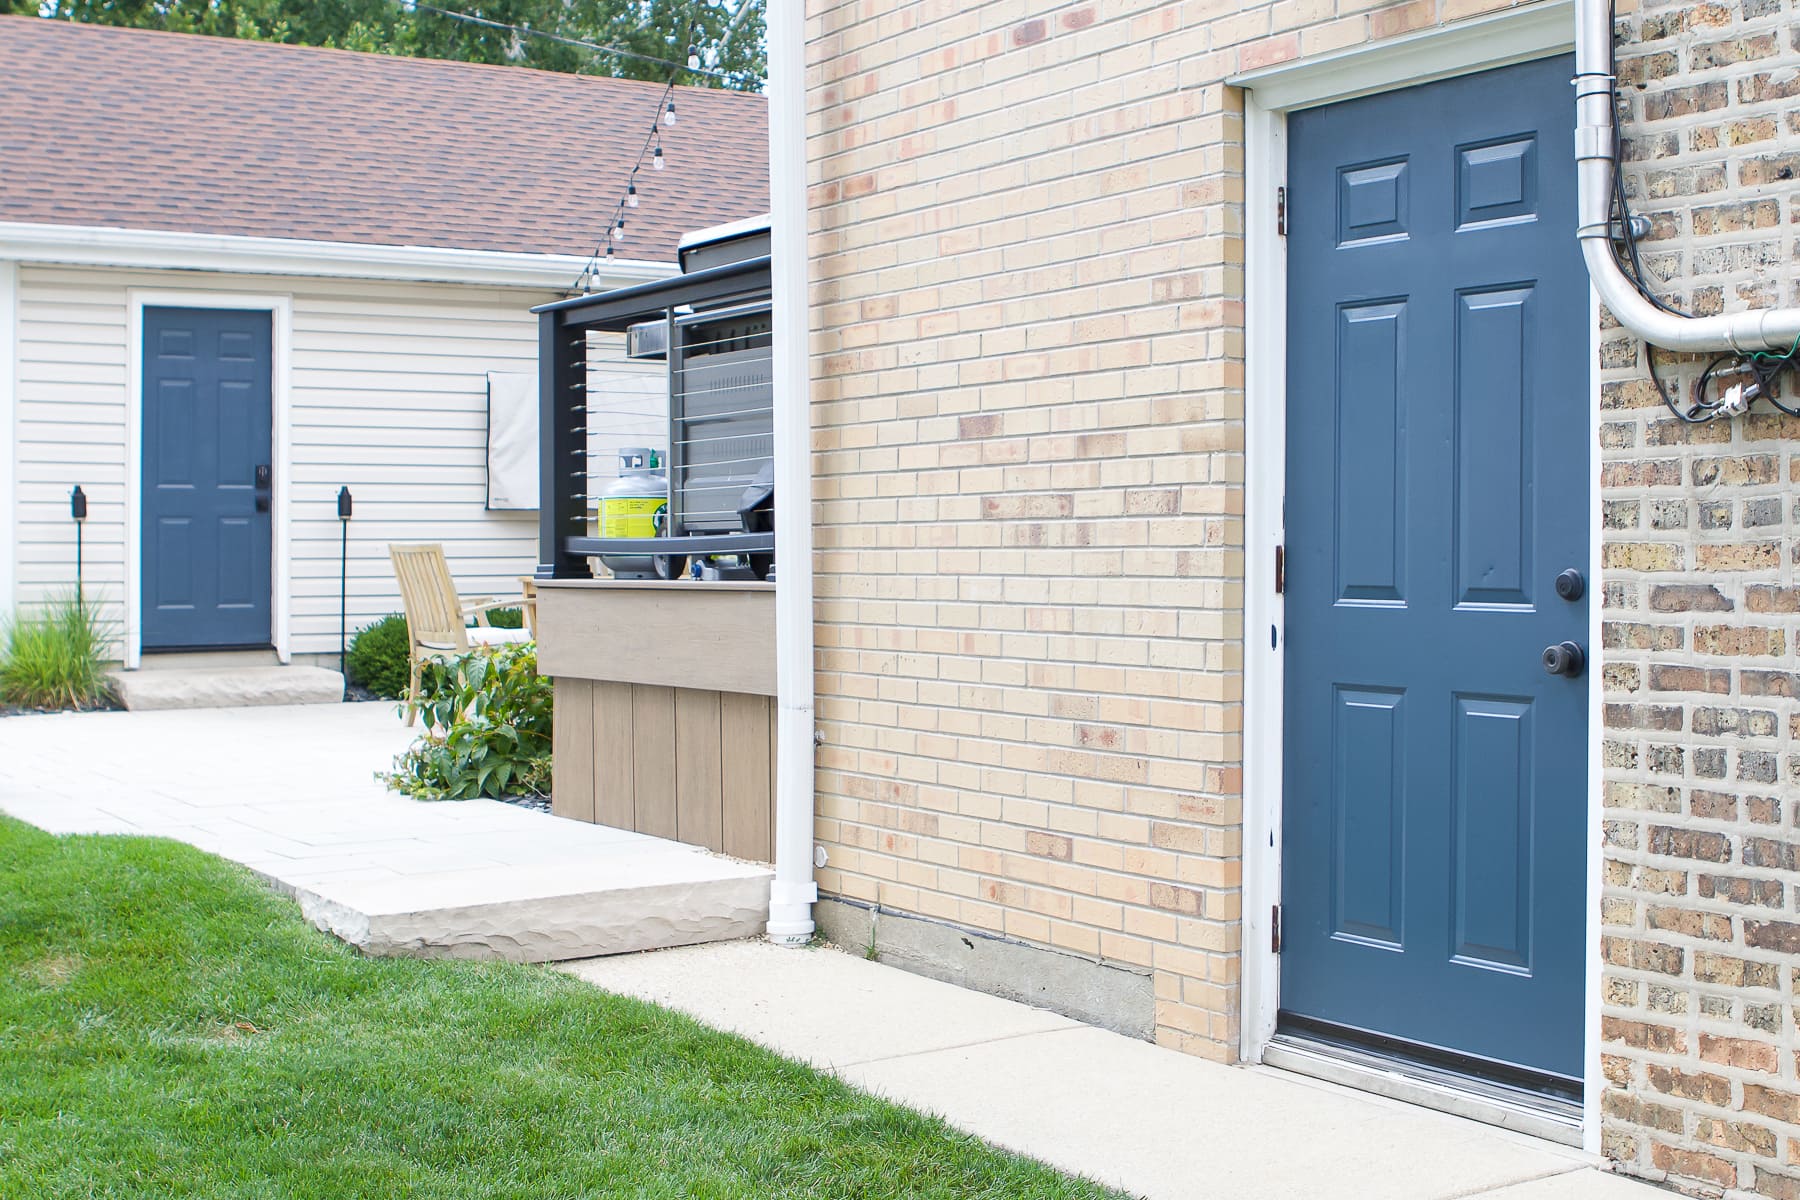
It was very easy to choose a paint color because I wanted it to match the color that I painted both our front door and our garage door.
For those, I went with Benjamin Moore’s “Blue Note” in a satin finish. Our navy front door complements our red brick exterior and when we painted it, our home’s curb appeal got a major boost. I think it’s the perfect front door paint color.
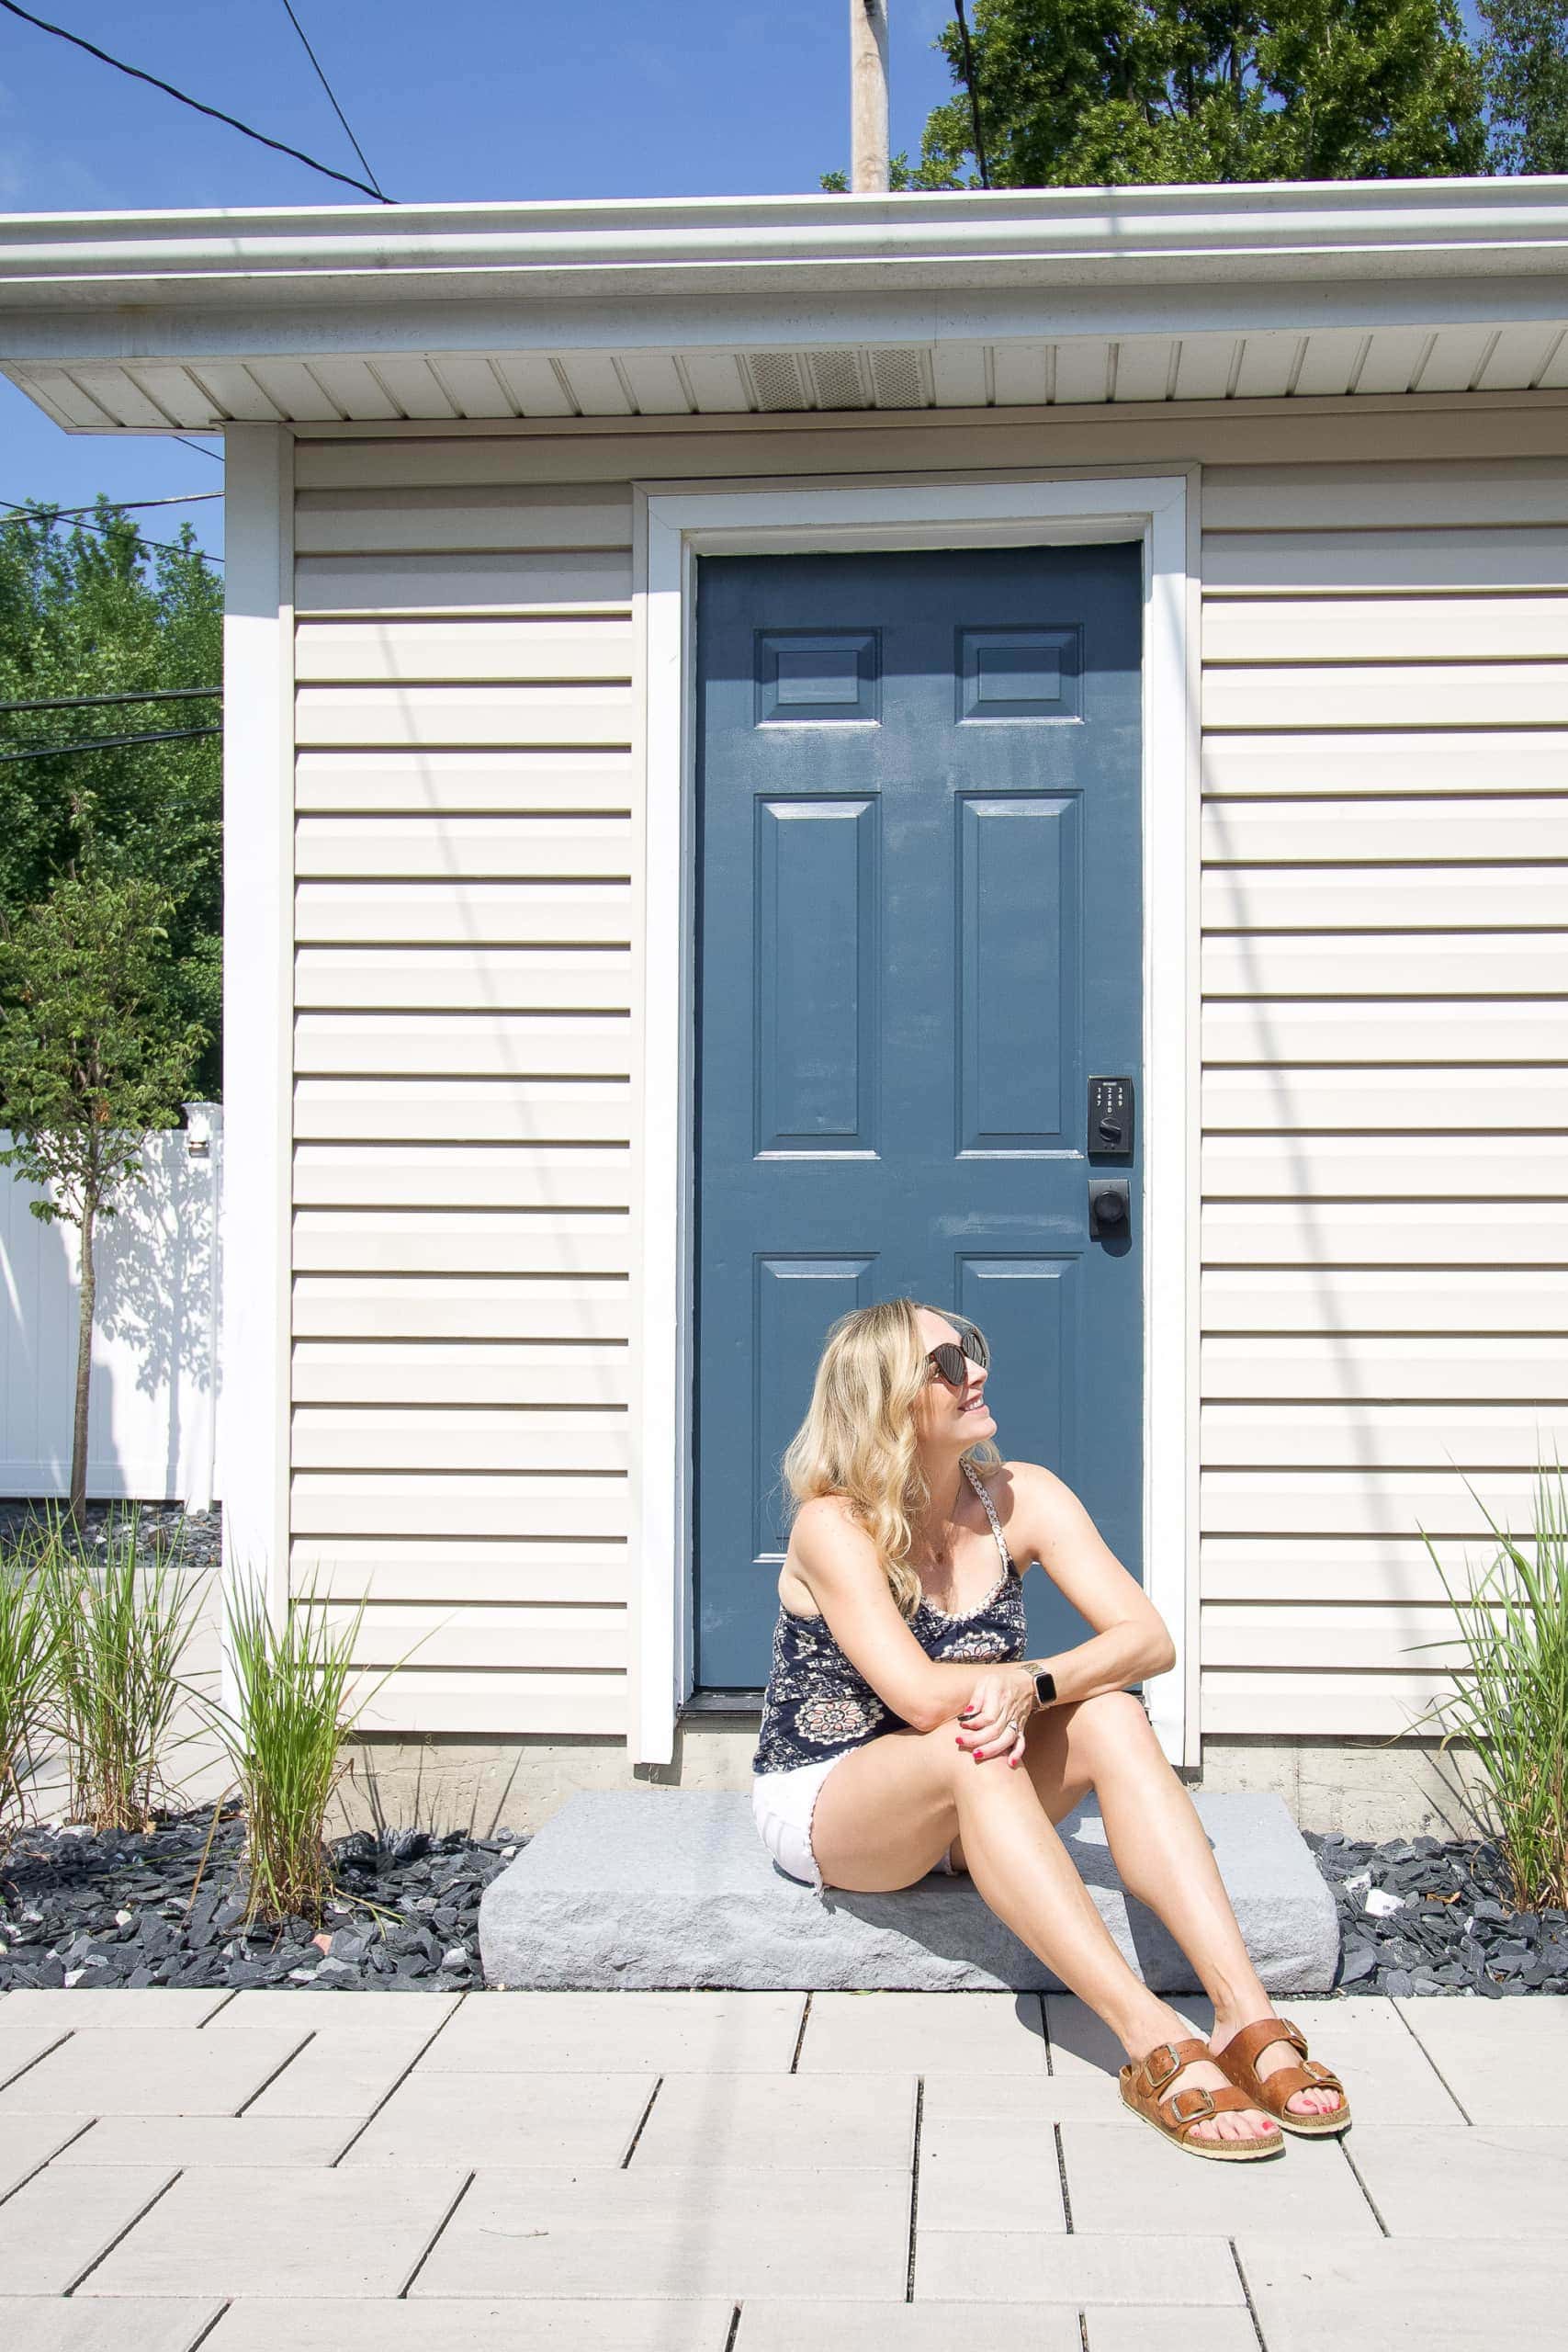
While pregnant with Ellis, I tackled the door to our garage. It was my first time painting a metal door and it wasn’t all that different from painting any other material. You can find that painting tutorial right here.
I think it would be strange to have all three doors painted in different colors. Could you imagine a blue front door, a green garage door, and a red side door? Nope. If you want your home to feel cohesive, it’s best to repeat colors throughout. So, I knew that I’d be going with that gorgeous blue paint color again. Plus, I already had the paint left over from last time!
Painting Supplies You’ll Need
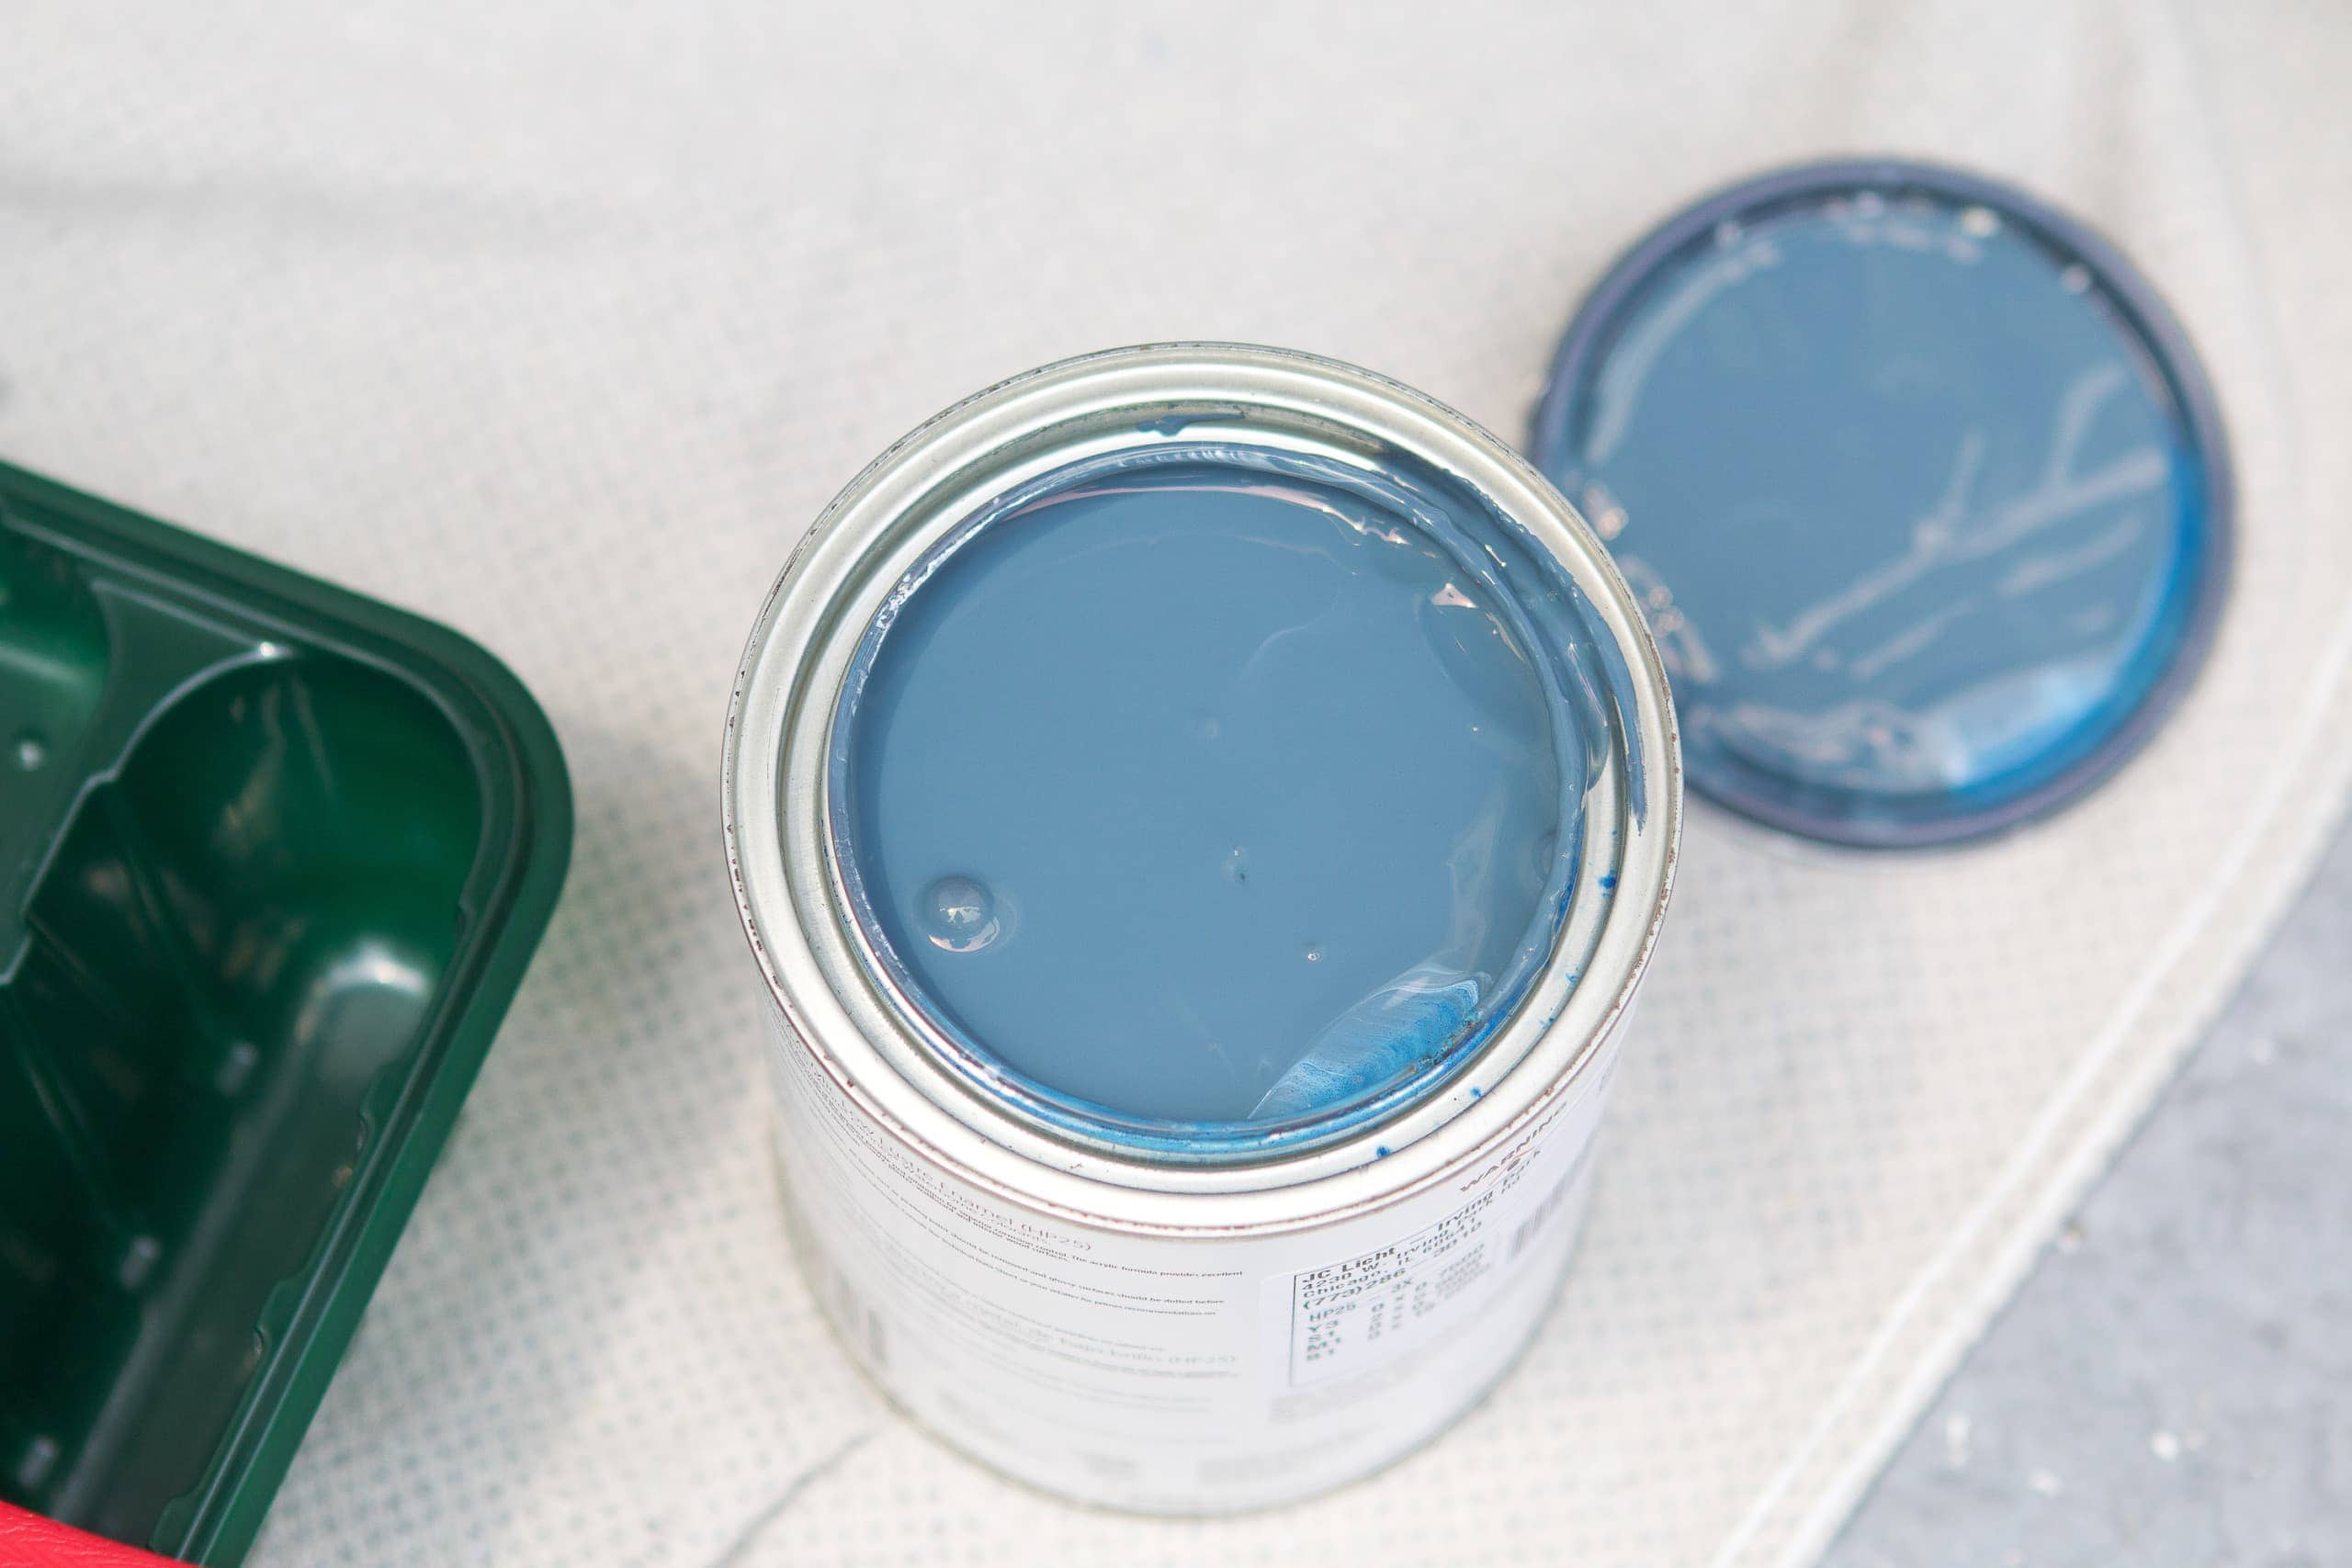
Here are the supplies you’ll want to have on hand for this DIY project.
Tips to Paint An Exterior Door
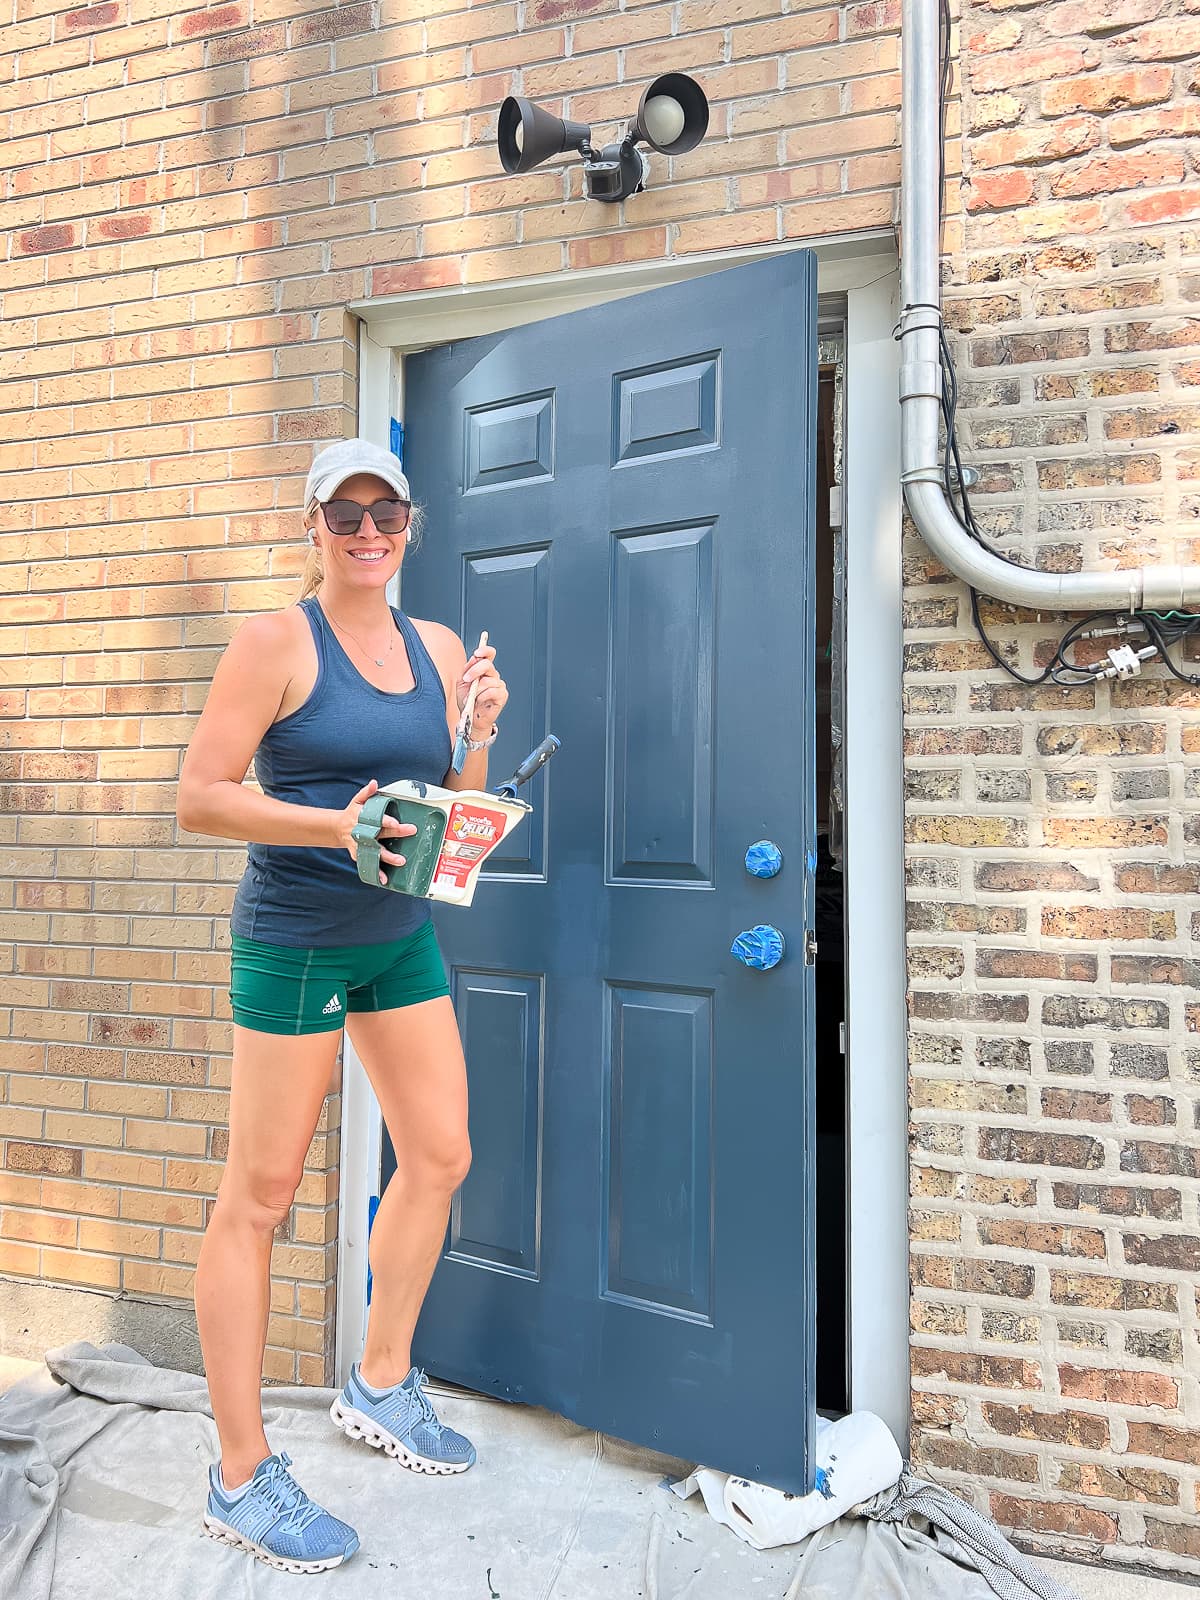
I blocked out a morning to get this easy project done and got right to work. It ended up taking a half day of work, including the drying time in between coats. This is a project you can get done in a day!
It was a very sunny and hot day when I painted. I usually recommend painting on a cloudier day because sometimes the paint can dry too quickly when it’s in direct sunlight. I was able to make due, but a few more clouds would have been helpful.
Tip #1: Use The Right Paint
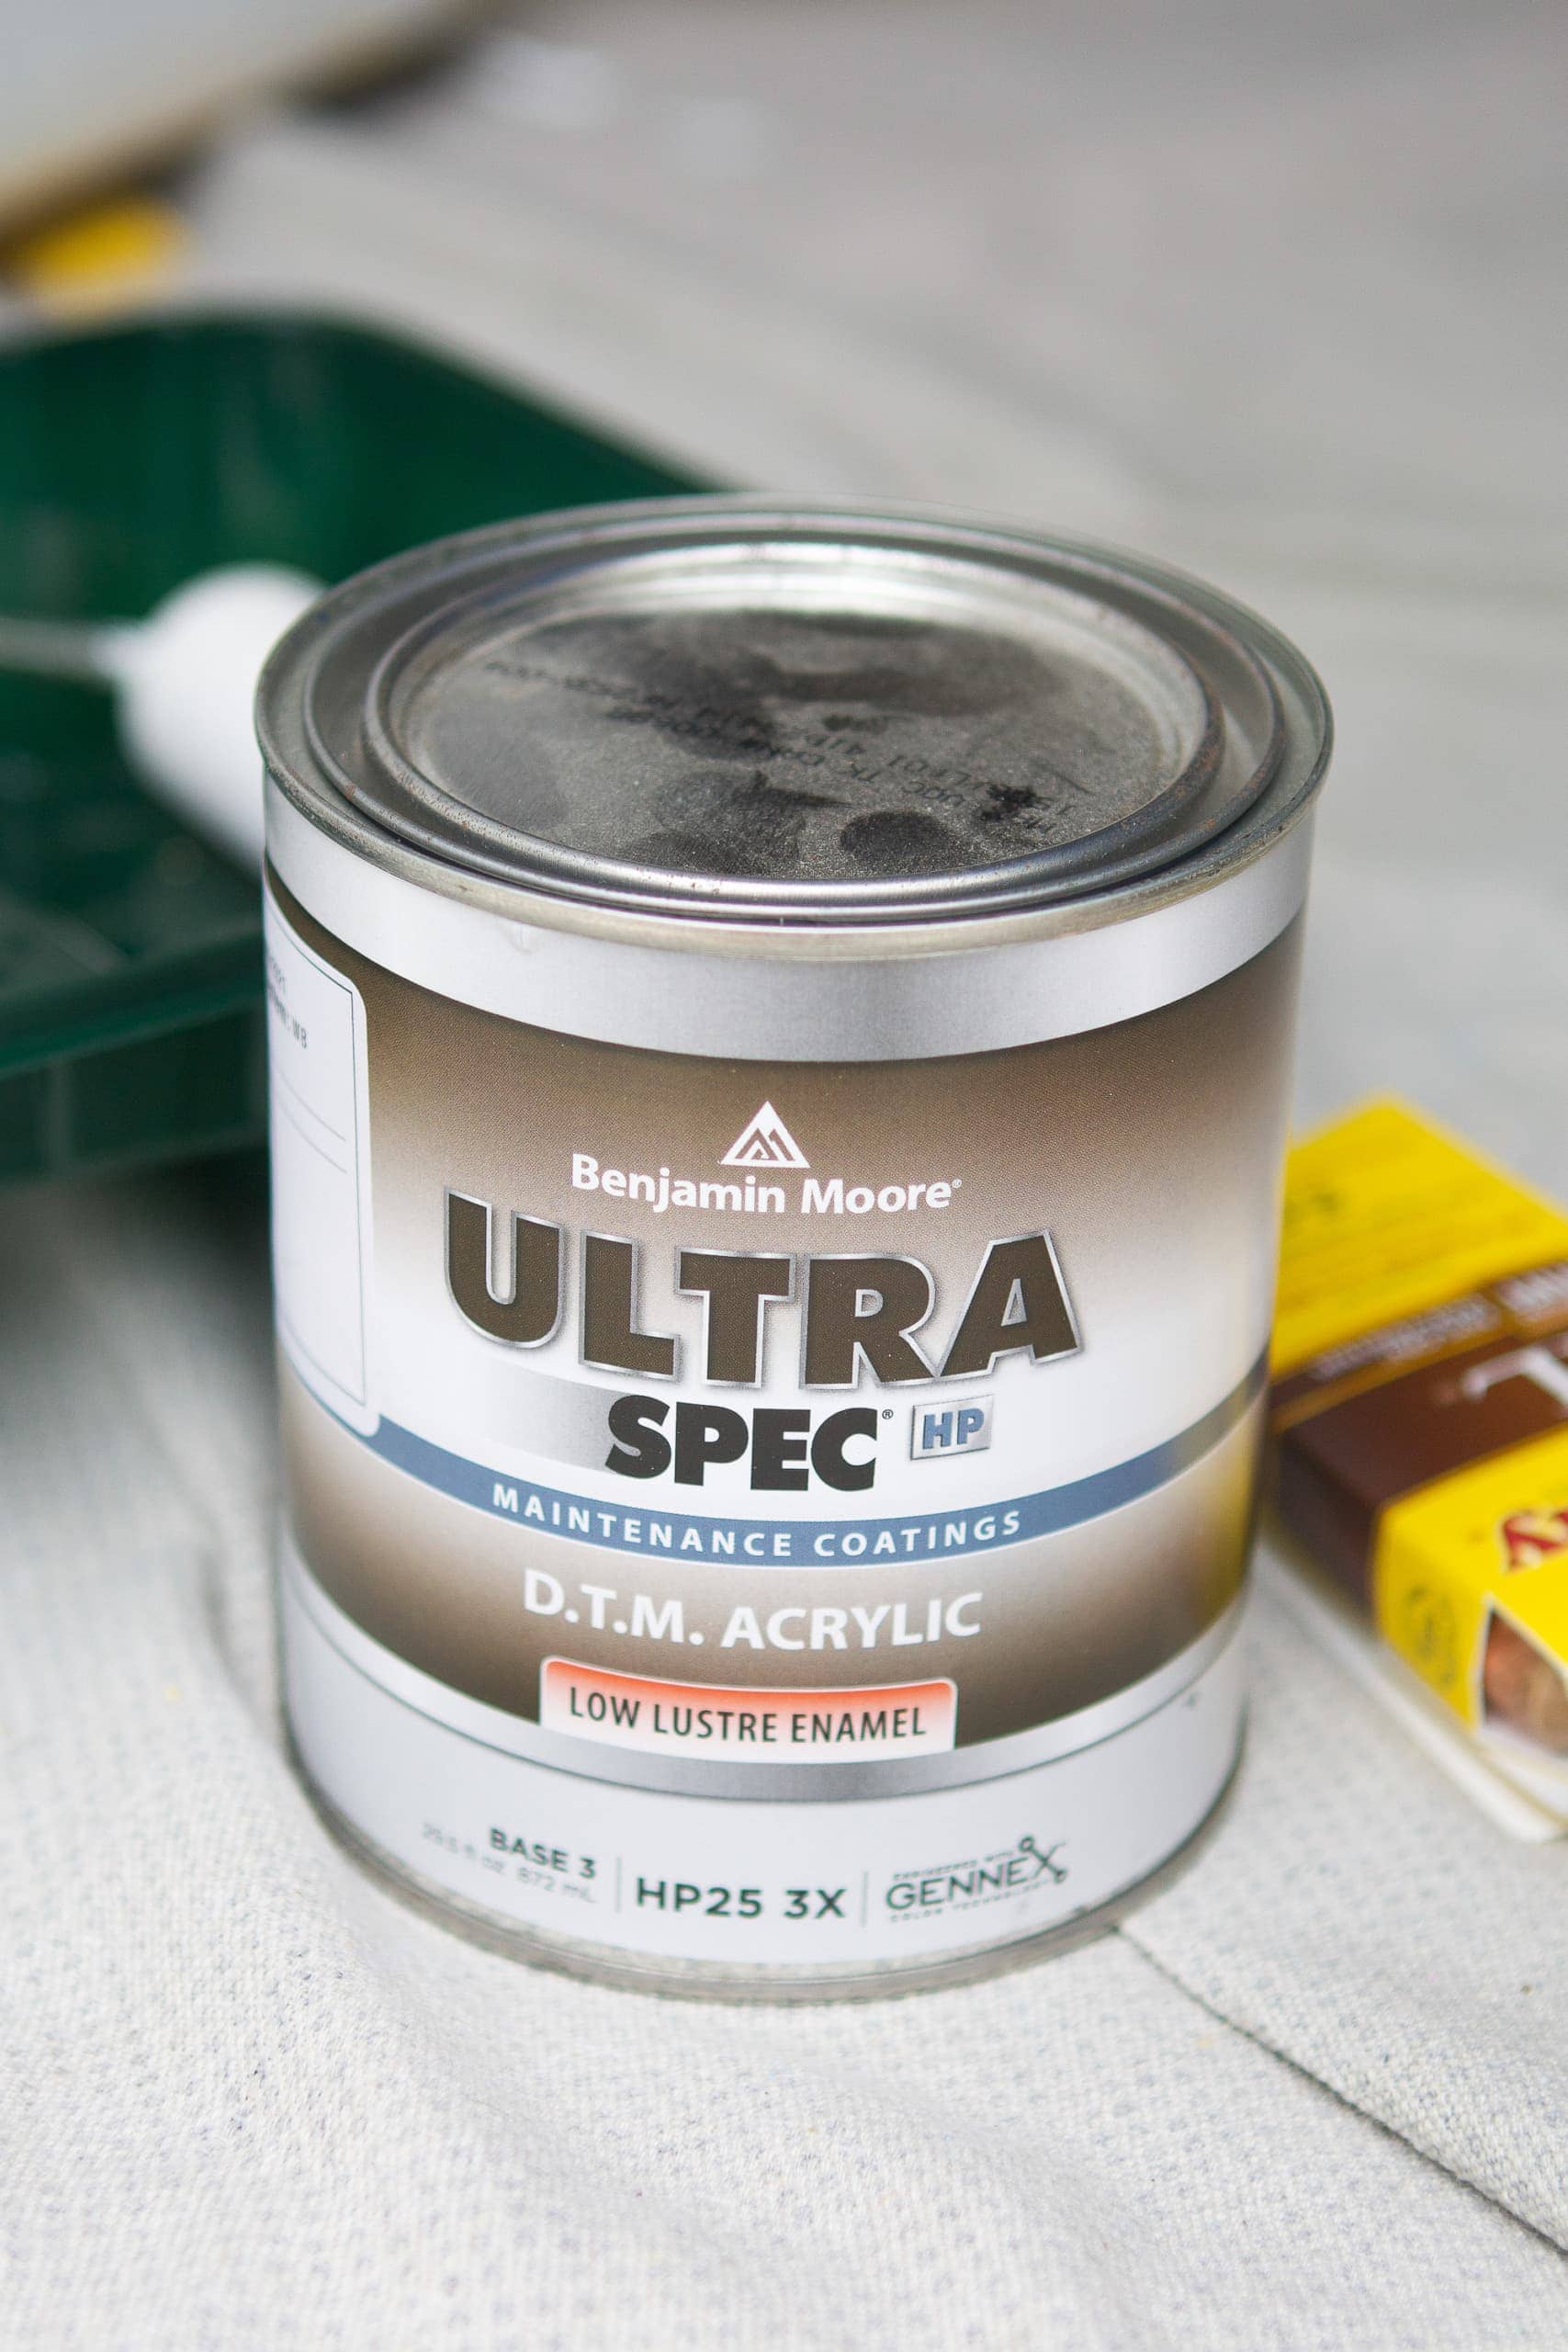
This door is metal, just like the door to our garage. When it was time to buy my paint for that door, I headed to our local Benjamin Moore to chat with a pro about which type of paint to use. Since the door is metal and outside, I didn’t want to just use regular paint you would use on interior walls.
The helpful salesperson at Benjamin Moore said to go with their Ultra Spec in a low lustre finish, which is kinda like “satin” in traditional terms. This is a paint and primer in one and it provides rust inhibition and control. It’s the best paint for both exterior use and heavy use.
If you have a wood door, you can just go with regular exterior door paint. Most of these paints already have primer in them, so you can skip that step. However, if your door is brand new, you may want to prime it first to save on applying many coats of paint. As for sheen, exterior doors are best when painted with satin or semi-gloss.
Tip #2: Remove The Door Sweep
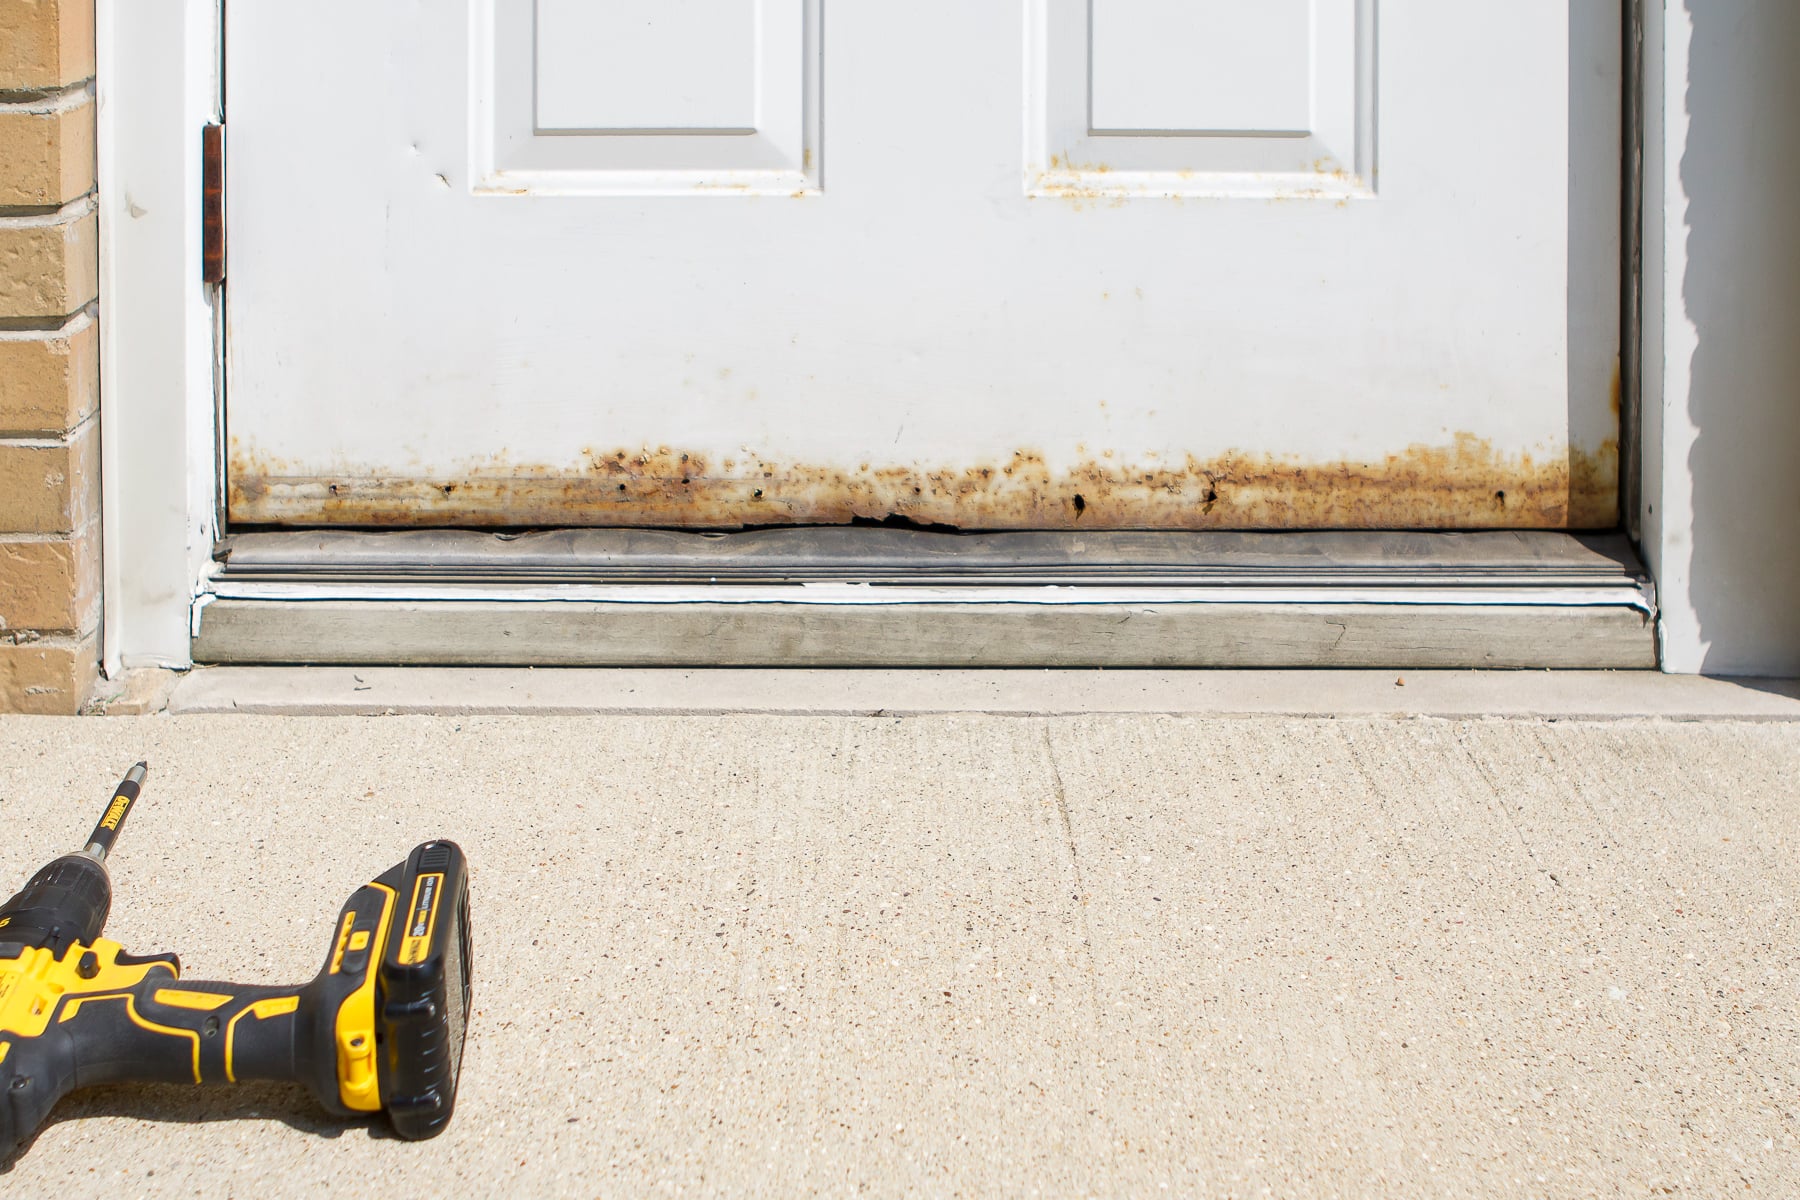
The door sweep at the bottom of this door was barely holding on for life. It was rusted and falling off and looked pretty terrible. I used my drill to screw this off and immediately threw it away.
Tip #3: Keep The Door In Place
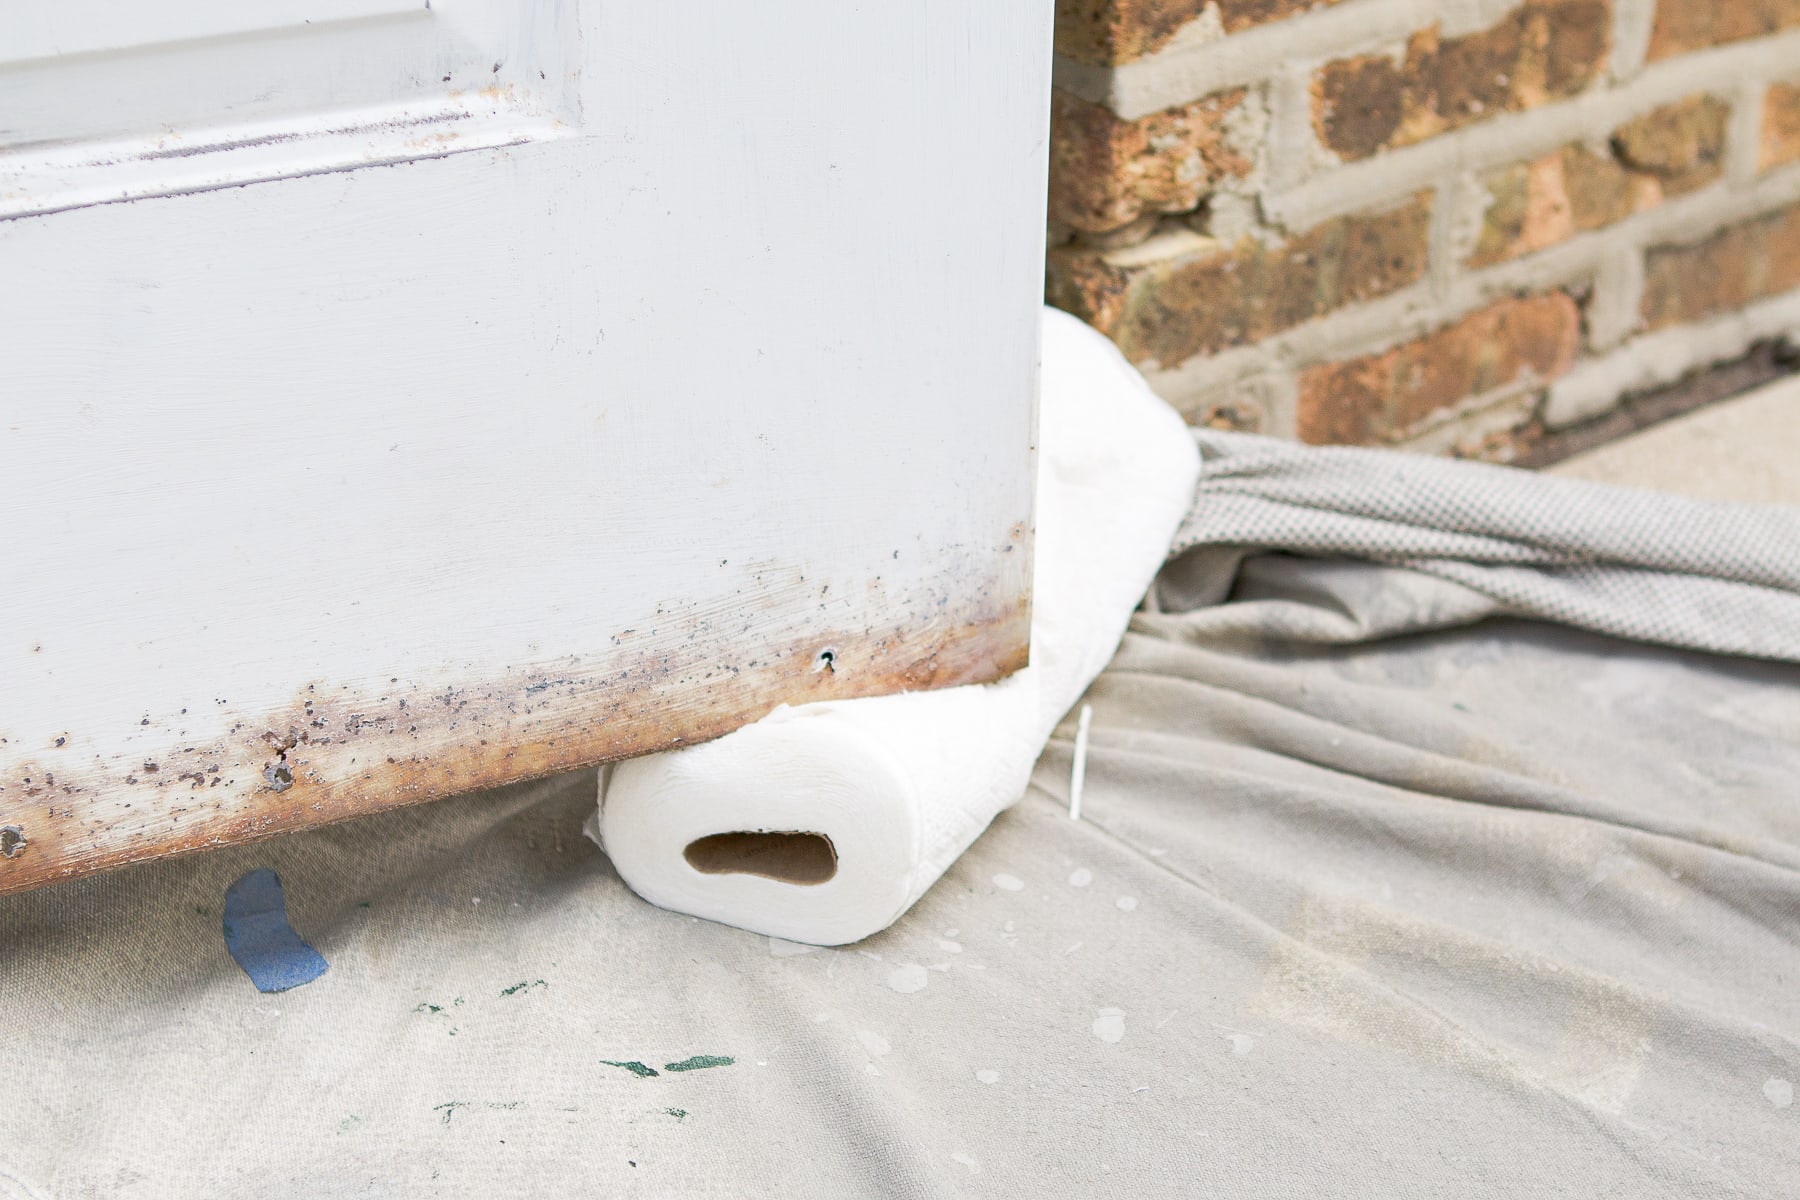
When painting, you don’t want your door swinging all around while you work. Invest in a cheap door wedge to keep your door in place. For me, I ended up using a roll of paper towels wedged under the door to fill the large gap between the ground and the bottom of the door. It worked!
Tip #4: Take Time Prepping & Sanding The Door
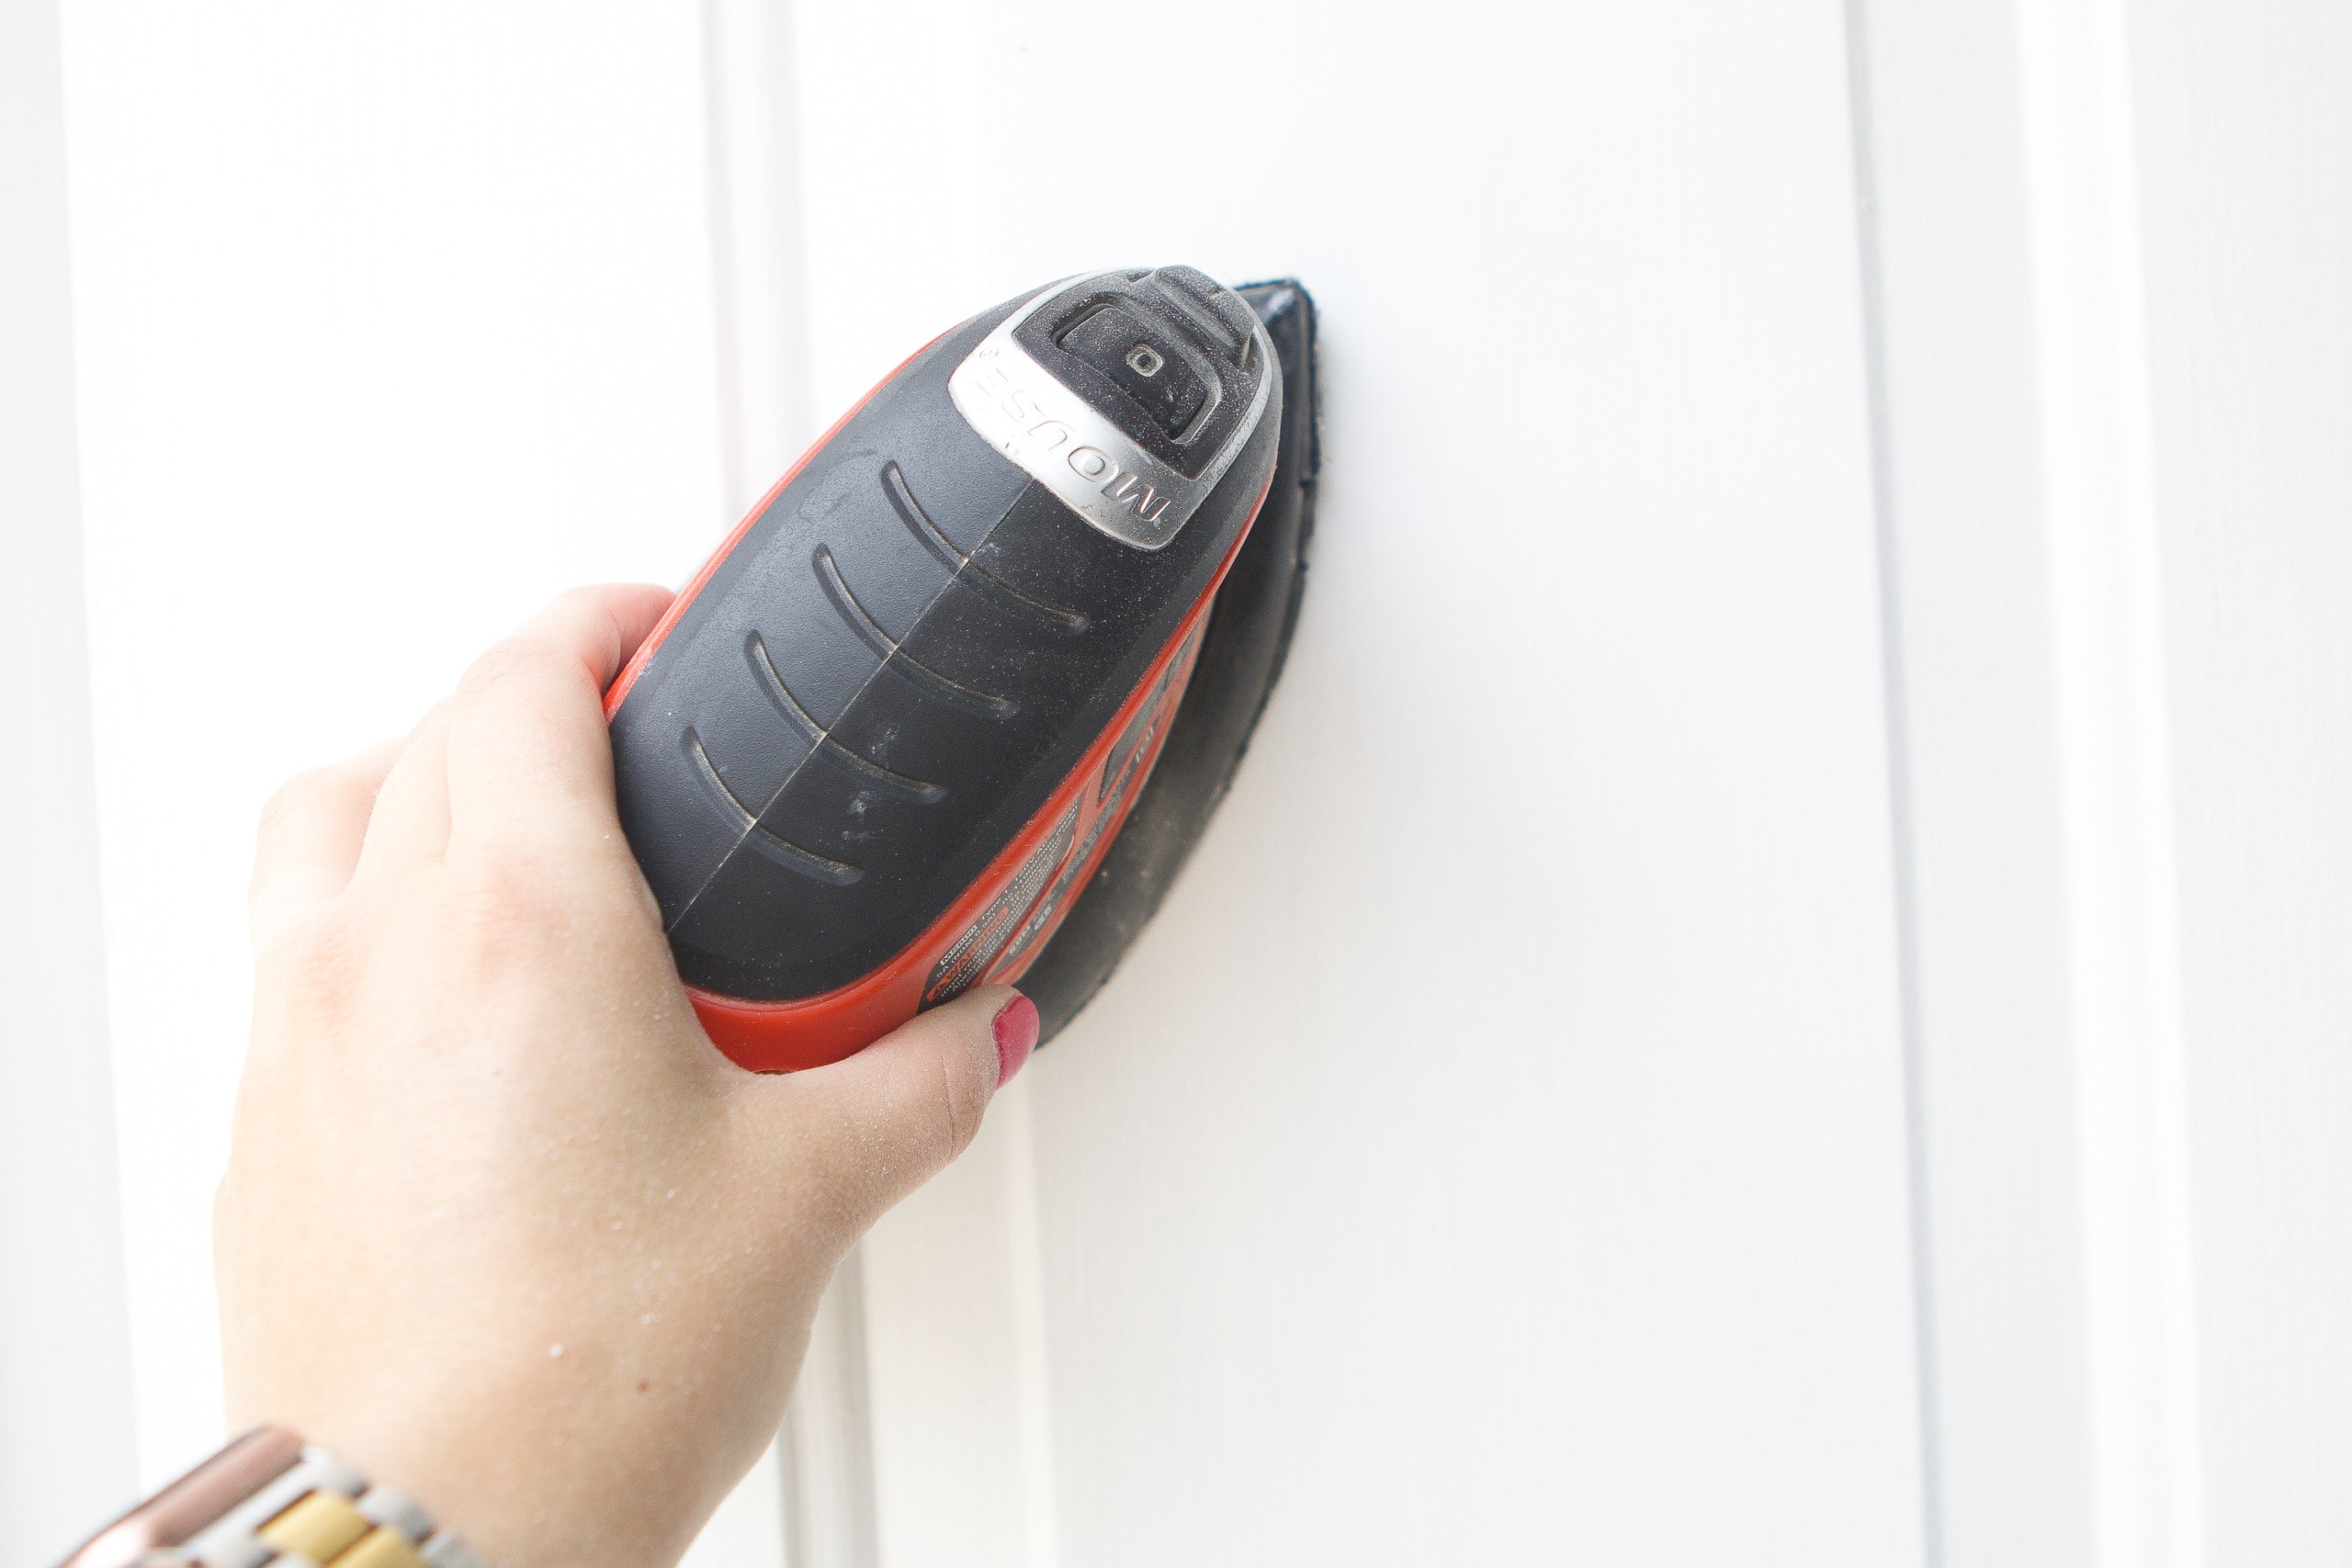
As with all painting projects, it’s all about the prep work. Because this door had so much rust and grime on it, I used my palm sander to create a smooth finish.
I often get asked about what grit sandpaper to choose. The lower the number the more coarse the paper. You want to start with a lower number and work to a higher one. For this door, I started with 90 grit and worked my way up to 150 grit sandpaper. This got rid of most of the rust and left me with a smooth door.
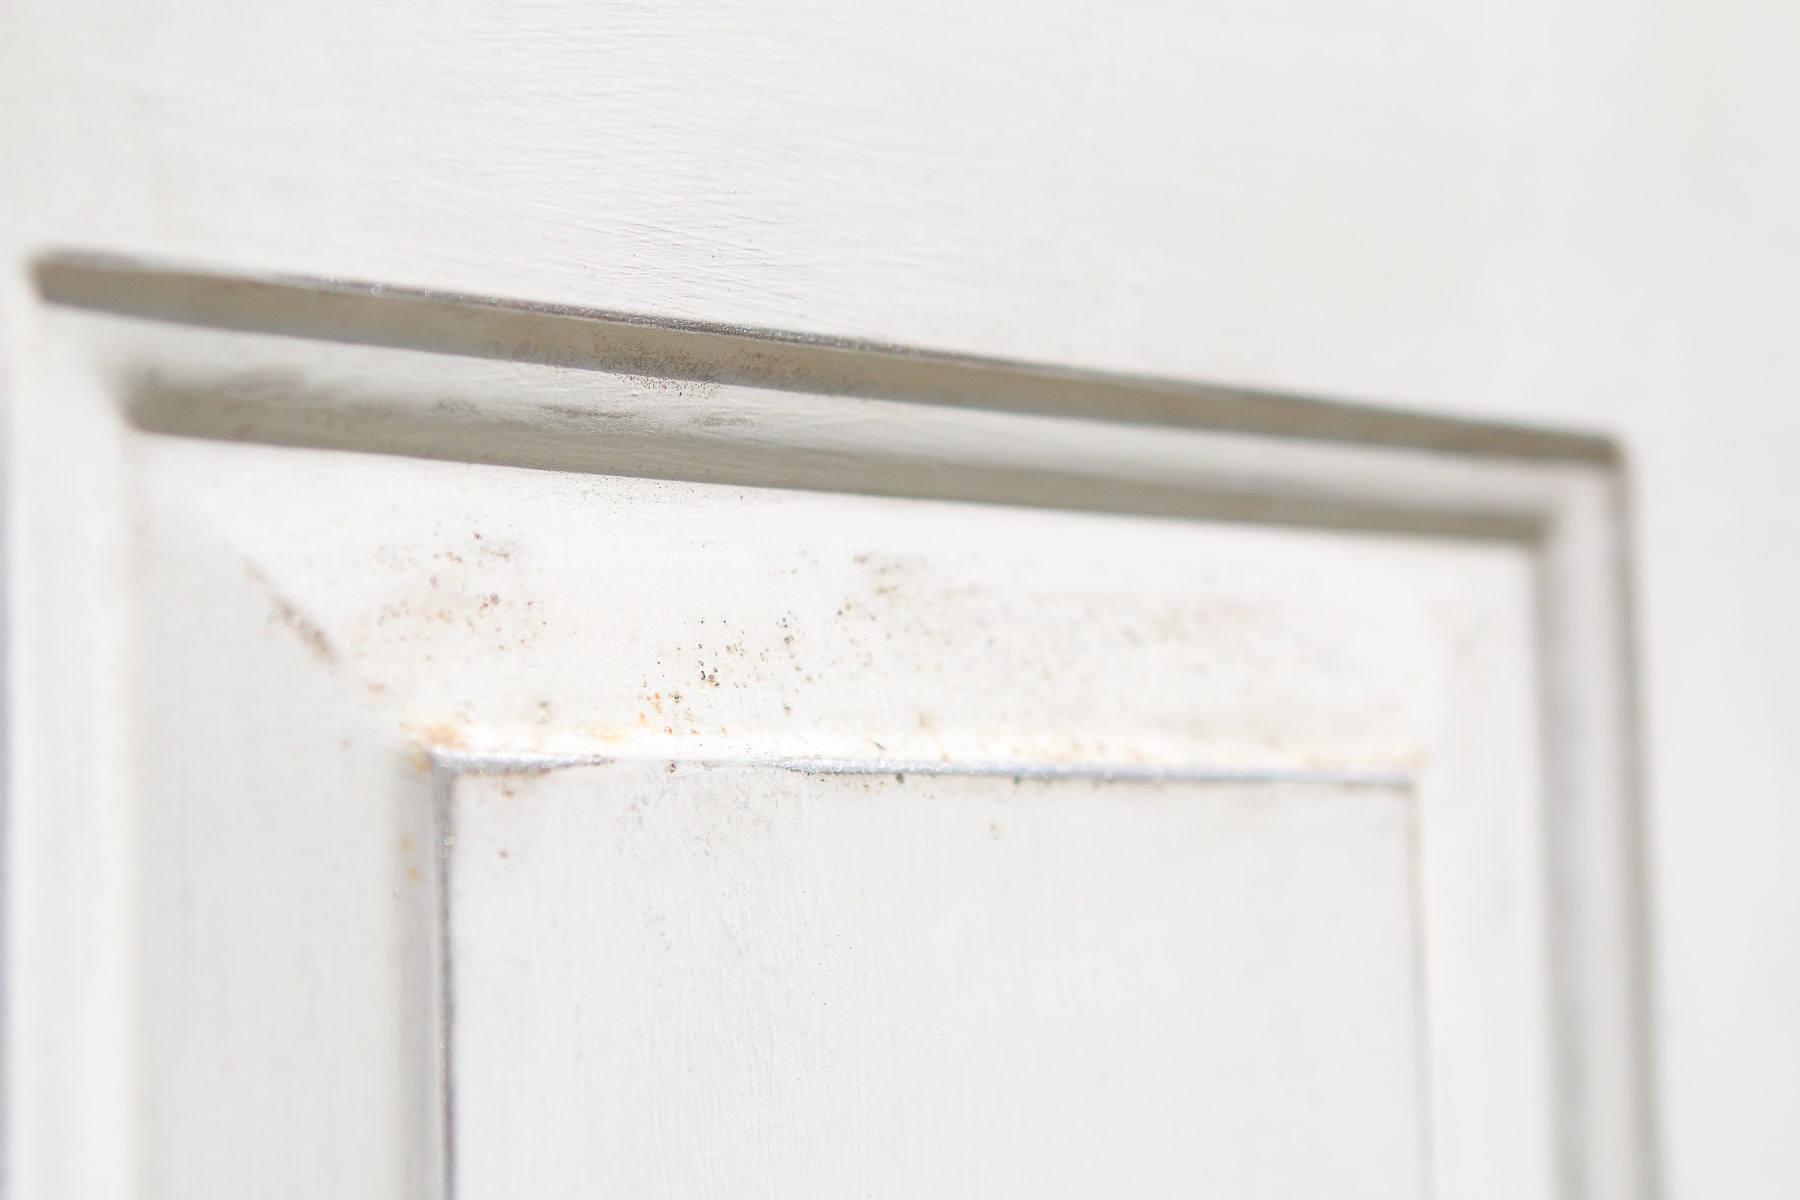
Once I was finished sanding, I used a cleaner (Krud Kutter) to get rid of any leftover dust and grime. Just wipe it all down so it’s ready for paint. Tack cloth is also a great way to get the door really clean.
Tip #5: Brush The Inside Boxes First
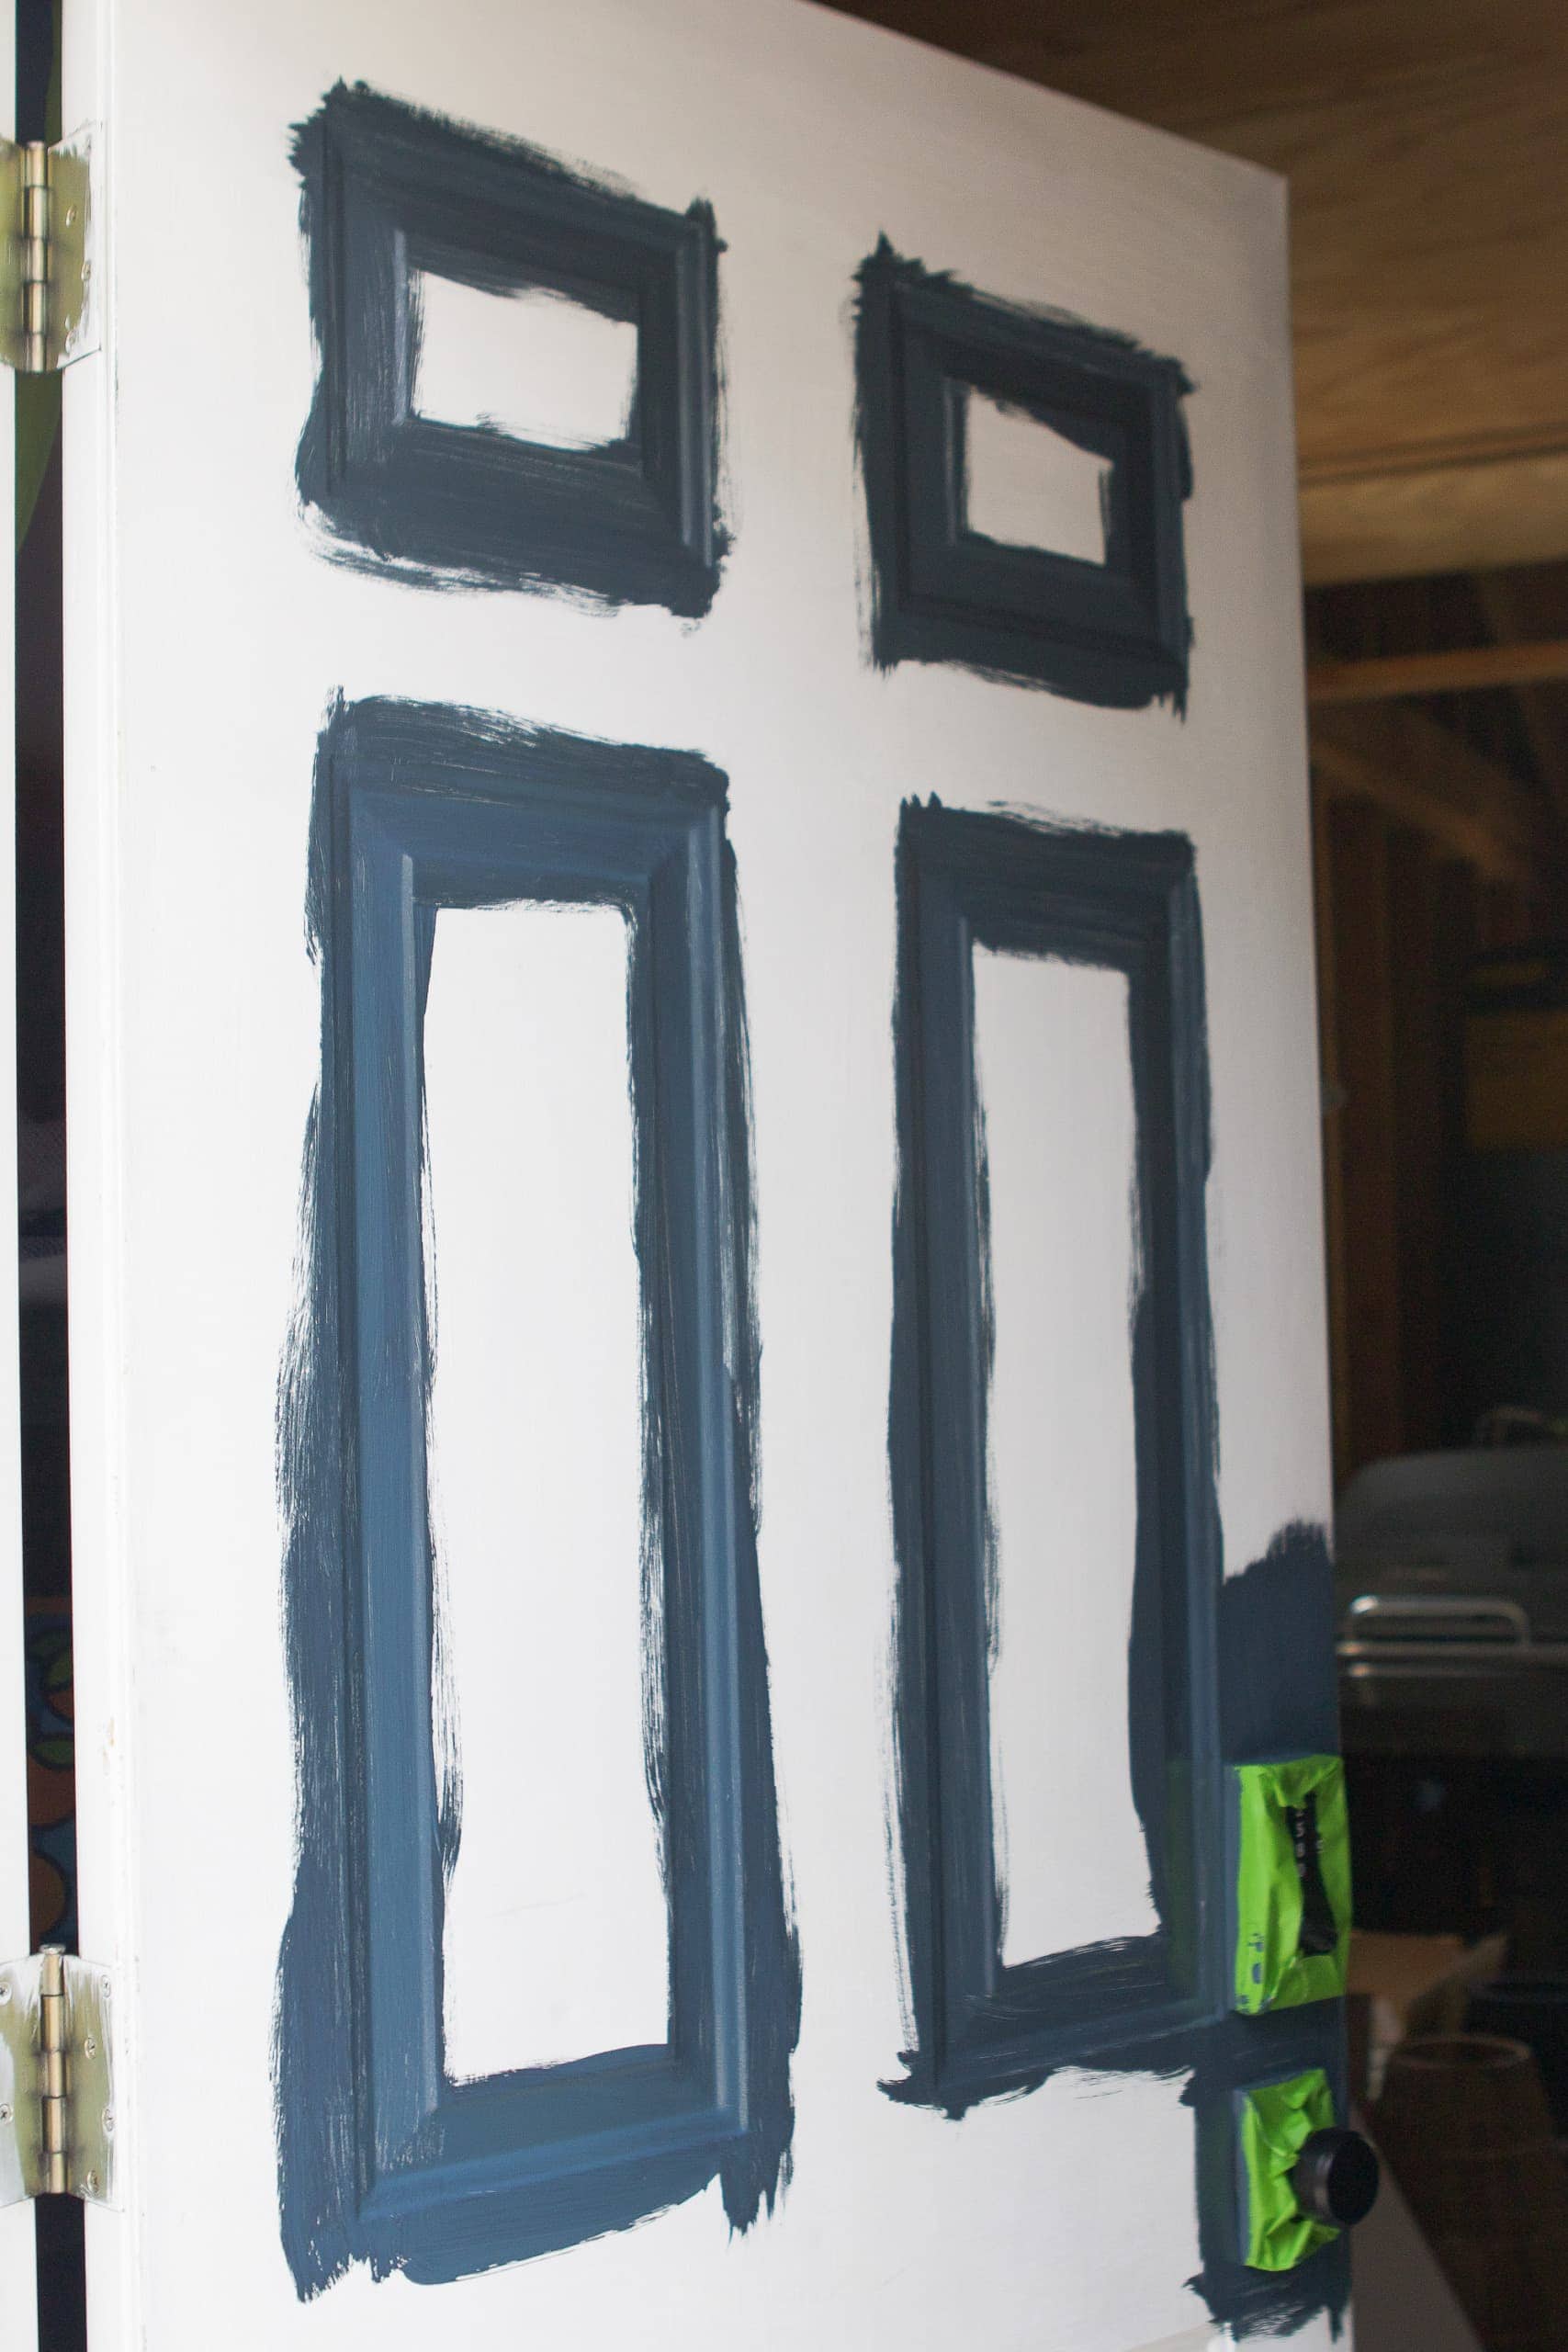
When painting a door with panels, you’ll want to brush the inside boxes first. I like to use a 2-inch paint brush so I can get into the nooks and crannies.
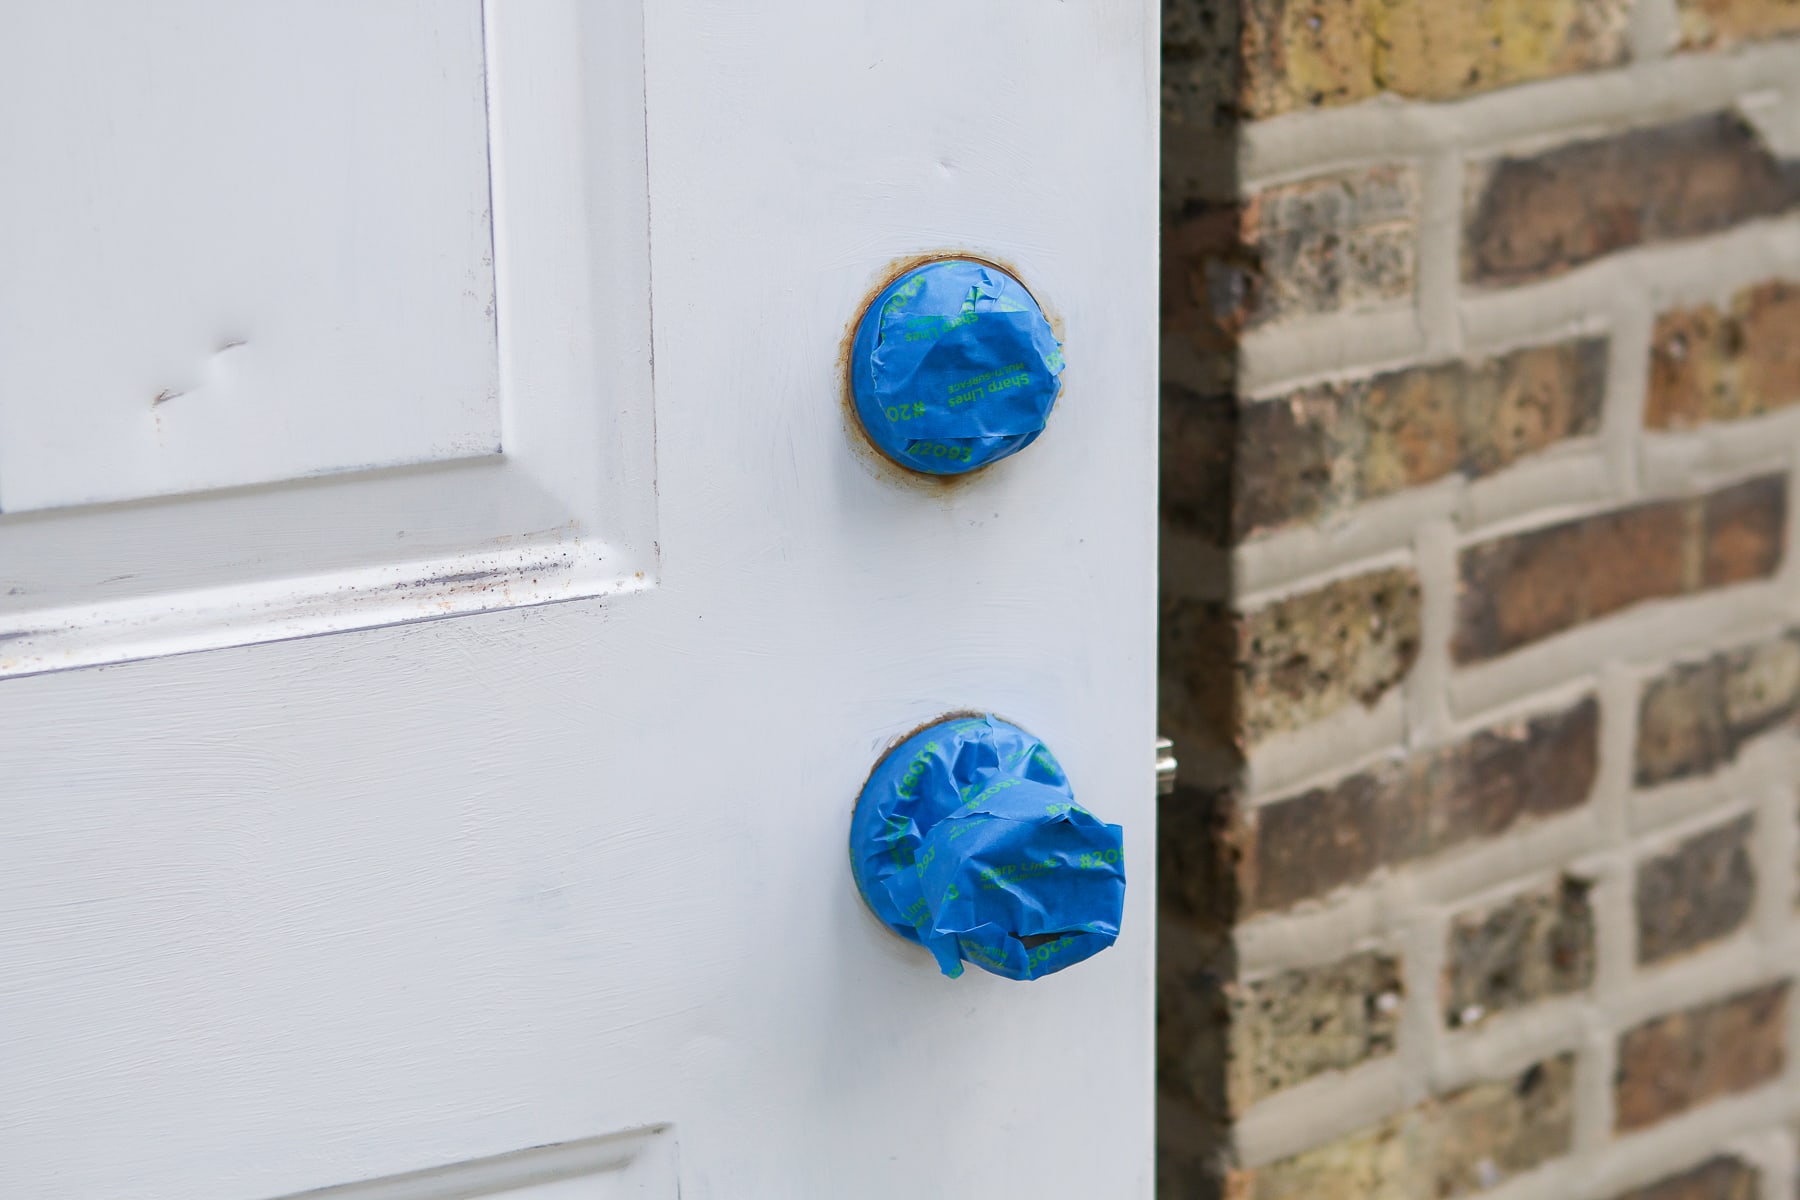
I decided to keep the door knobs on and use painter’s tape to cover them. You can always take the doorknob off if that works better for you. I used my brush to paint around the handle and hardware.
Tip #6: Roll The Flat Panels
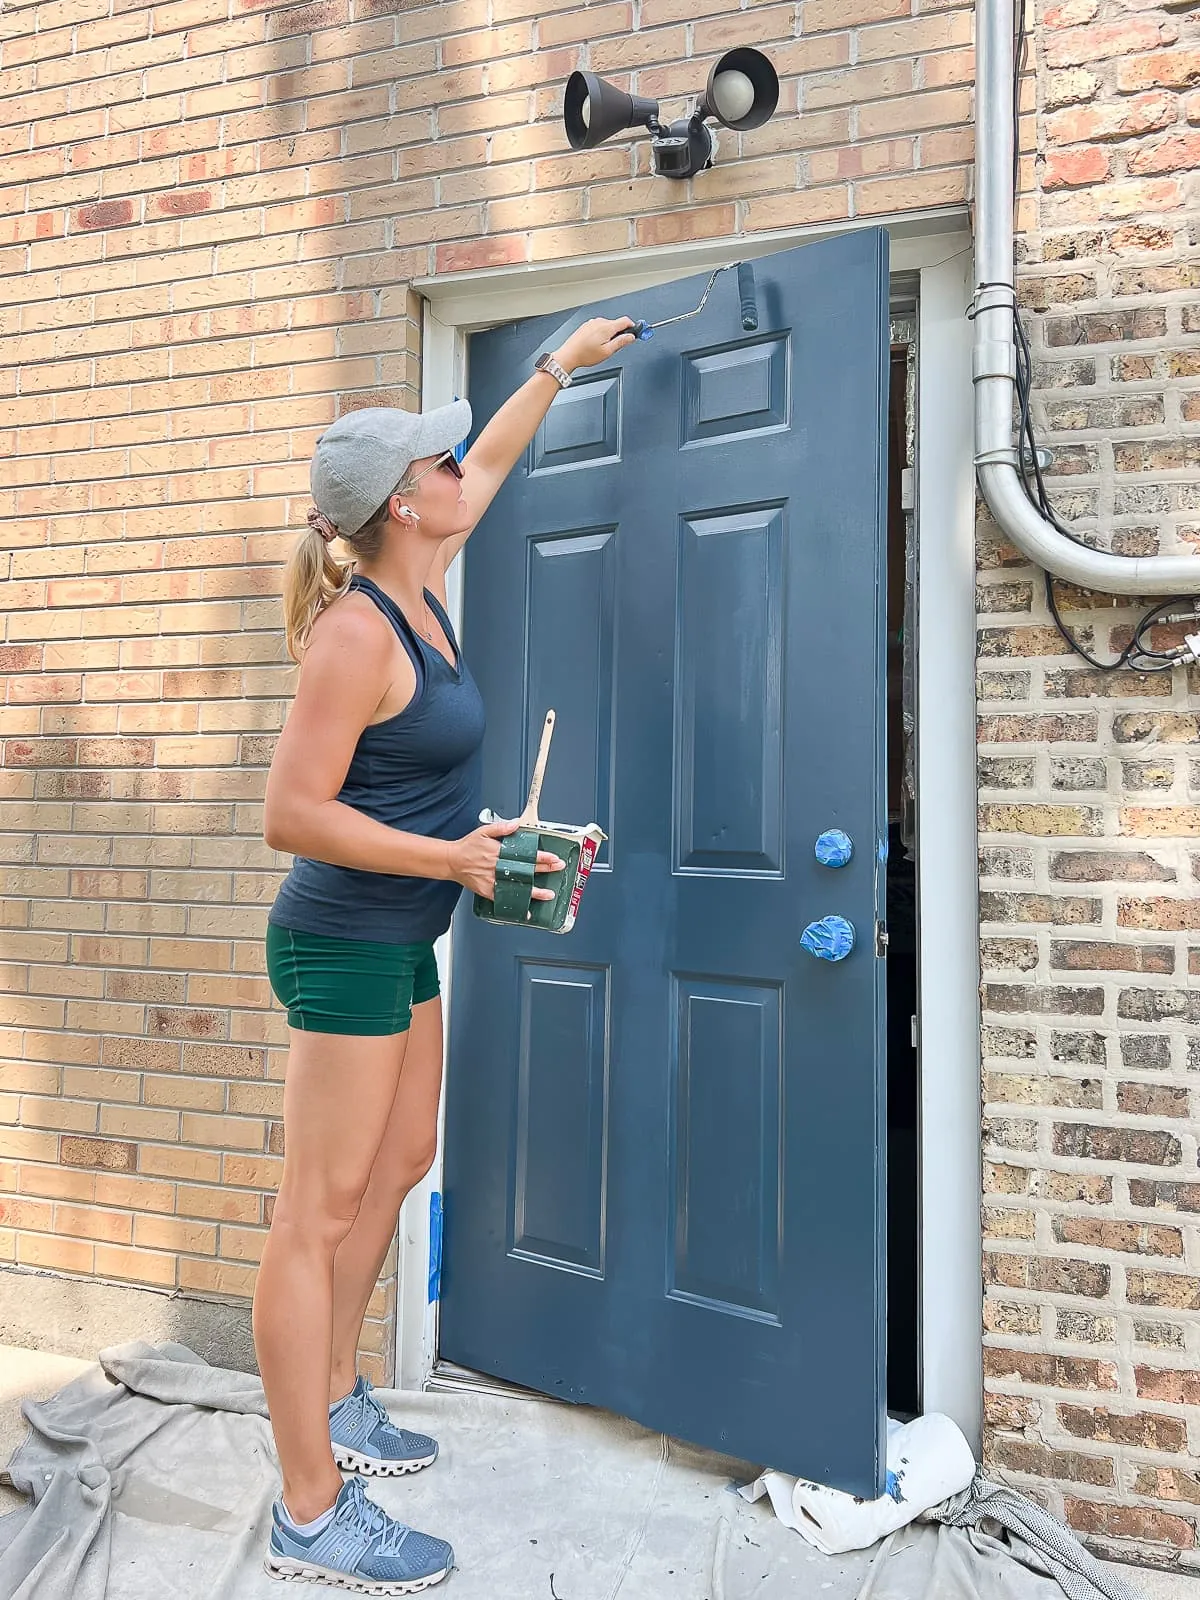
I then rolled the flat panels using a smooth 1/4 inch nap roller. Doing this after brushing is always a good idea because it eliminates any brush marks and gets rid of any drips. Painting the first coat on the door flew by.
Tip #7: Paint 2-3 Light Coats
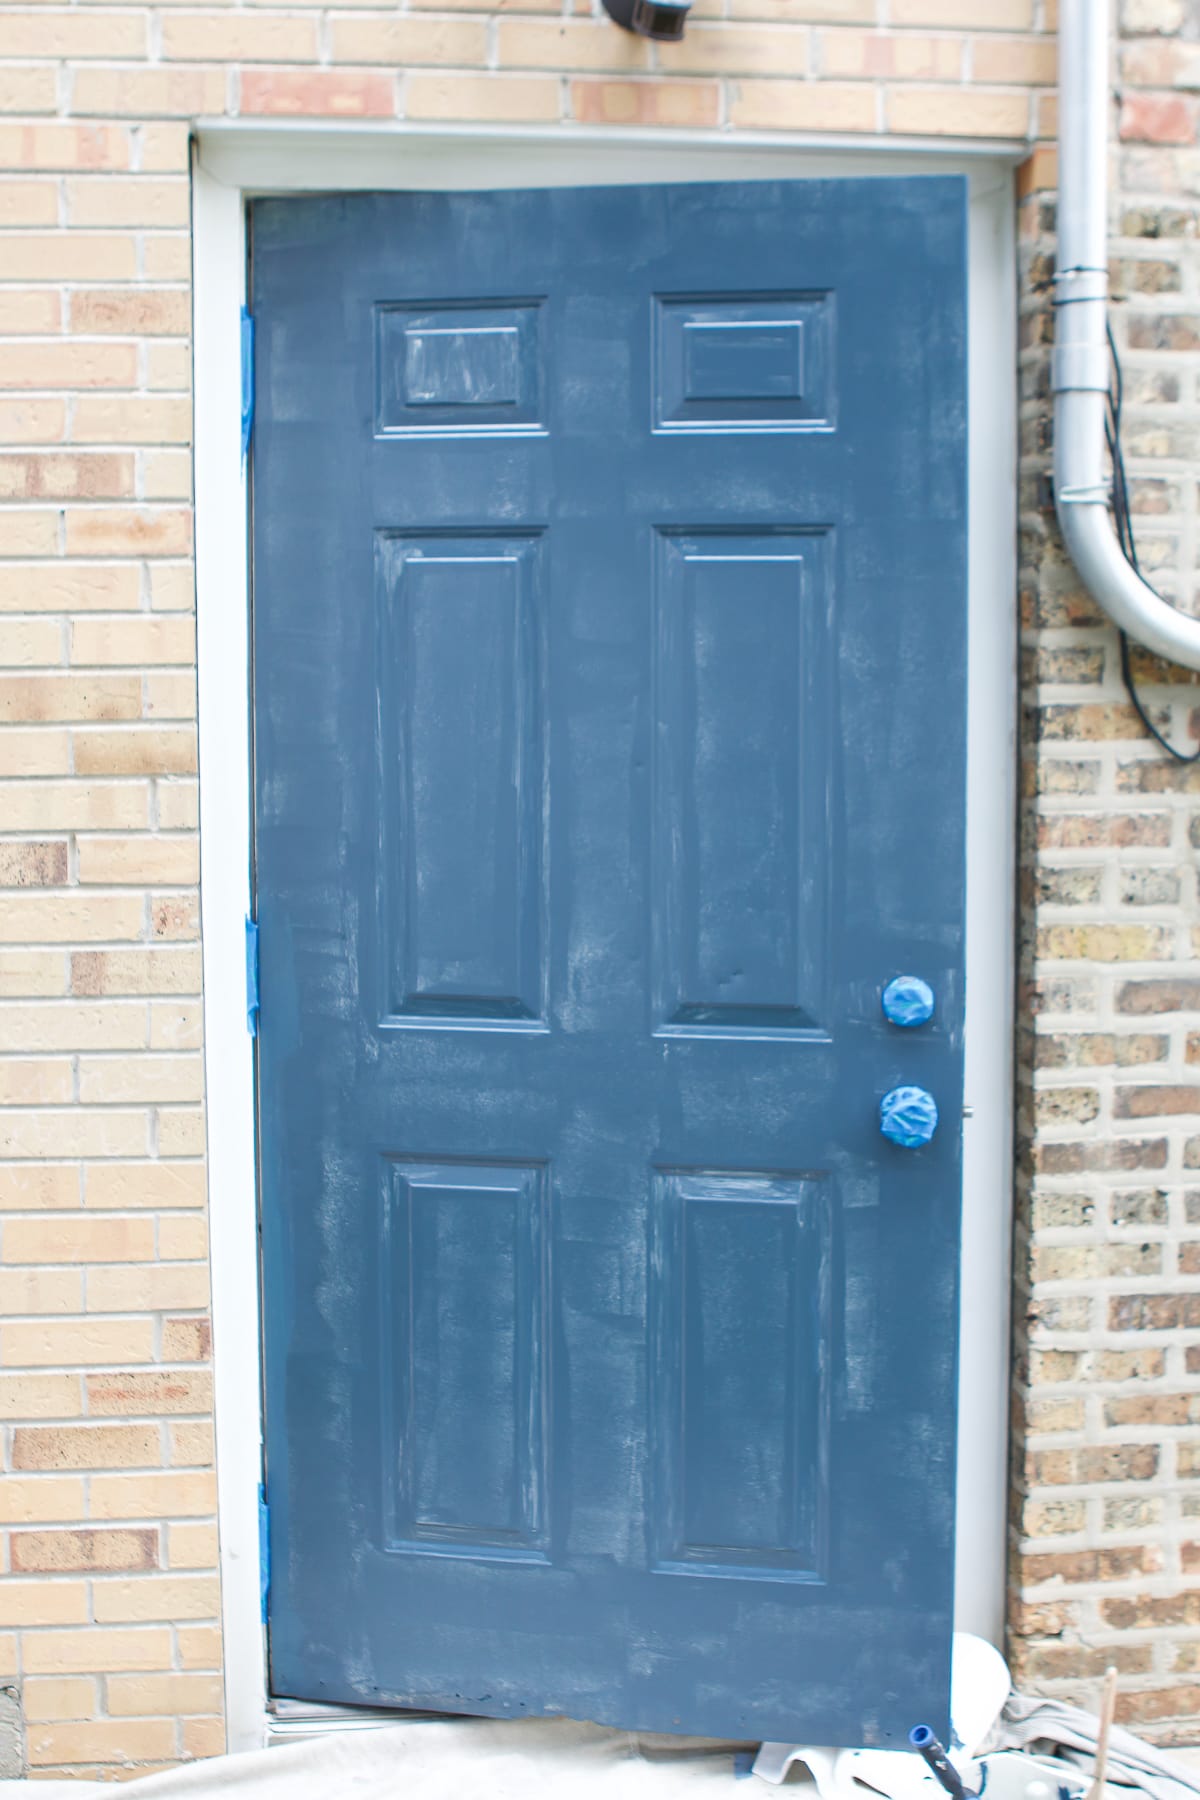
Light coats of paint are much better than heavier ones. As you can see, this was after one coat of paint. It certainly didn’t give me full coverage and I knew that more coats were in my future. I waited until the paint was dry to the touch (about 30-45 minutes) and then painted a second coat. I waited again and did my final coat of paint for full coverage.
Tip #8: Paint The Edges Correctly
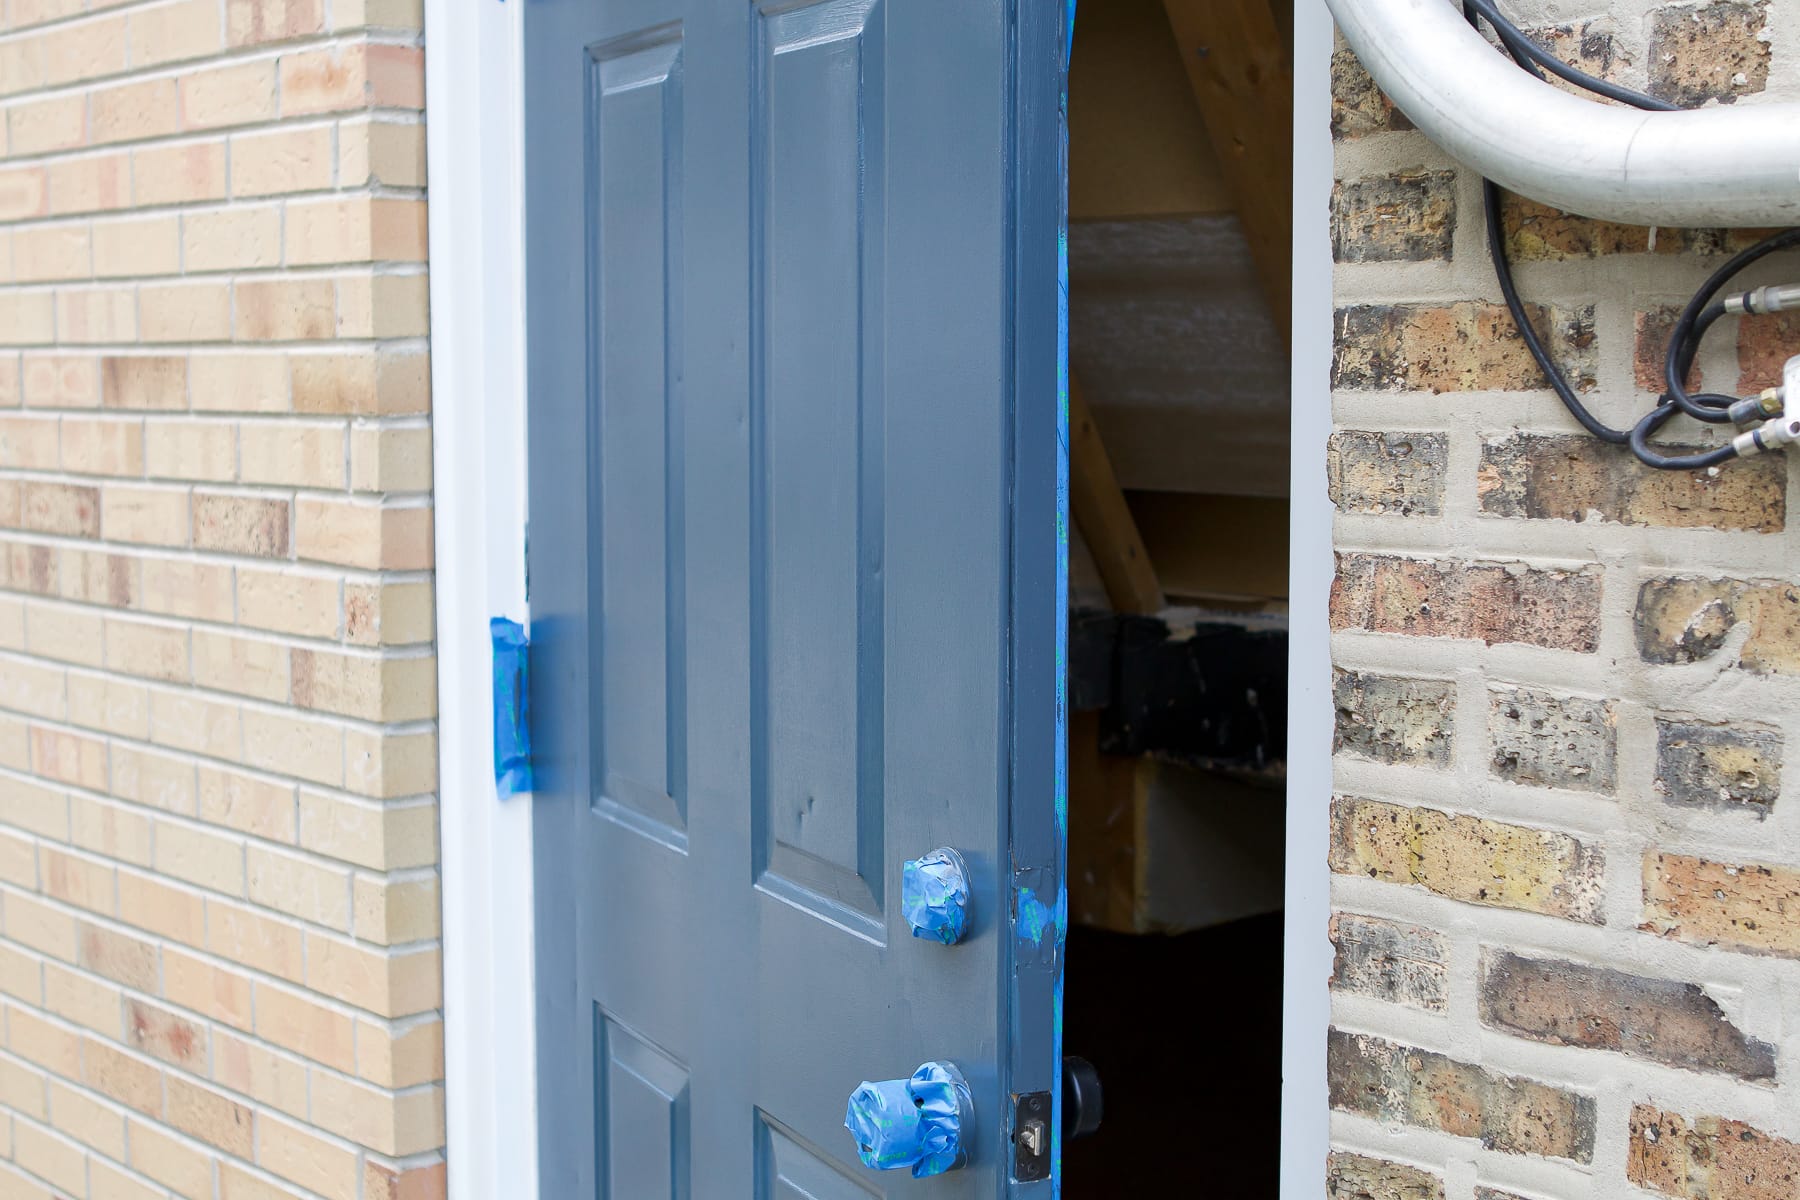
Here’s a painting tip for you that I often see people get wrong. Make sure you paint the edges of the door correctly. For example, my door swings out so I painted that edge of the door blue. The other edge (on the inside hinge) should be whatever the color the back of the door is.
If your door opened in, you would do the exact opposite. Basically, you want to be able to see the same color when the door is open.
Tip #9: Install A New Door Sweep

I bought a new door sweep at Home Depot for $10 and it was pretty easy to install. The hardest part was using a hack saw to cut it down to the correct size.
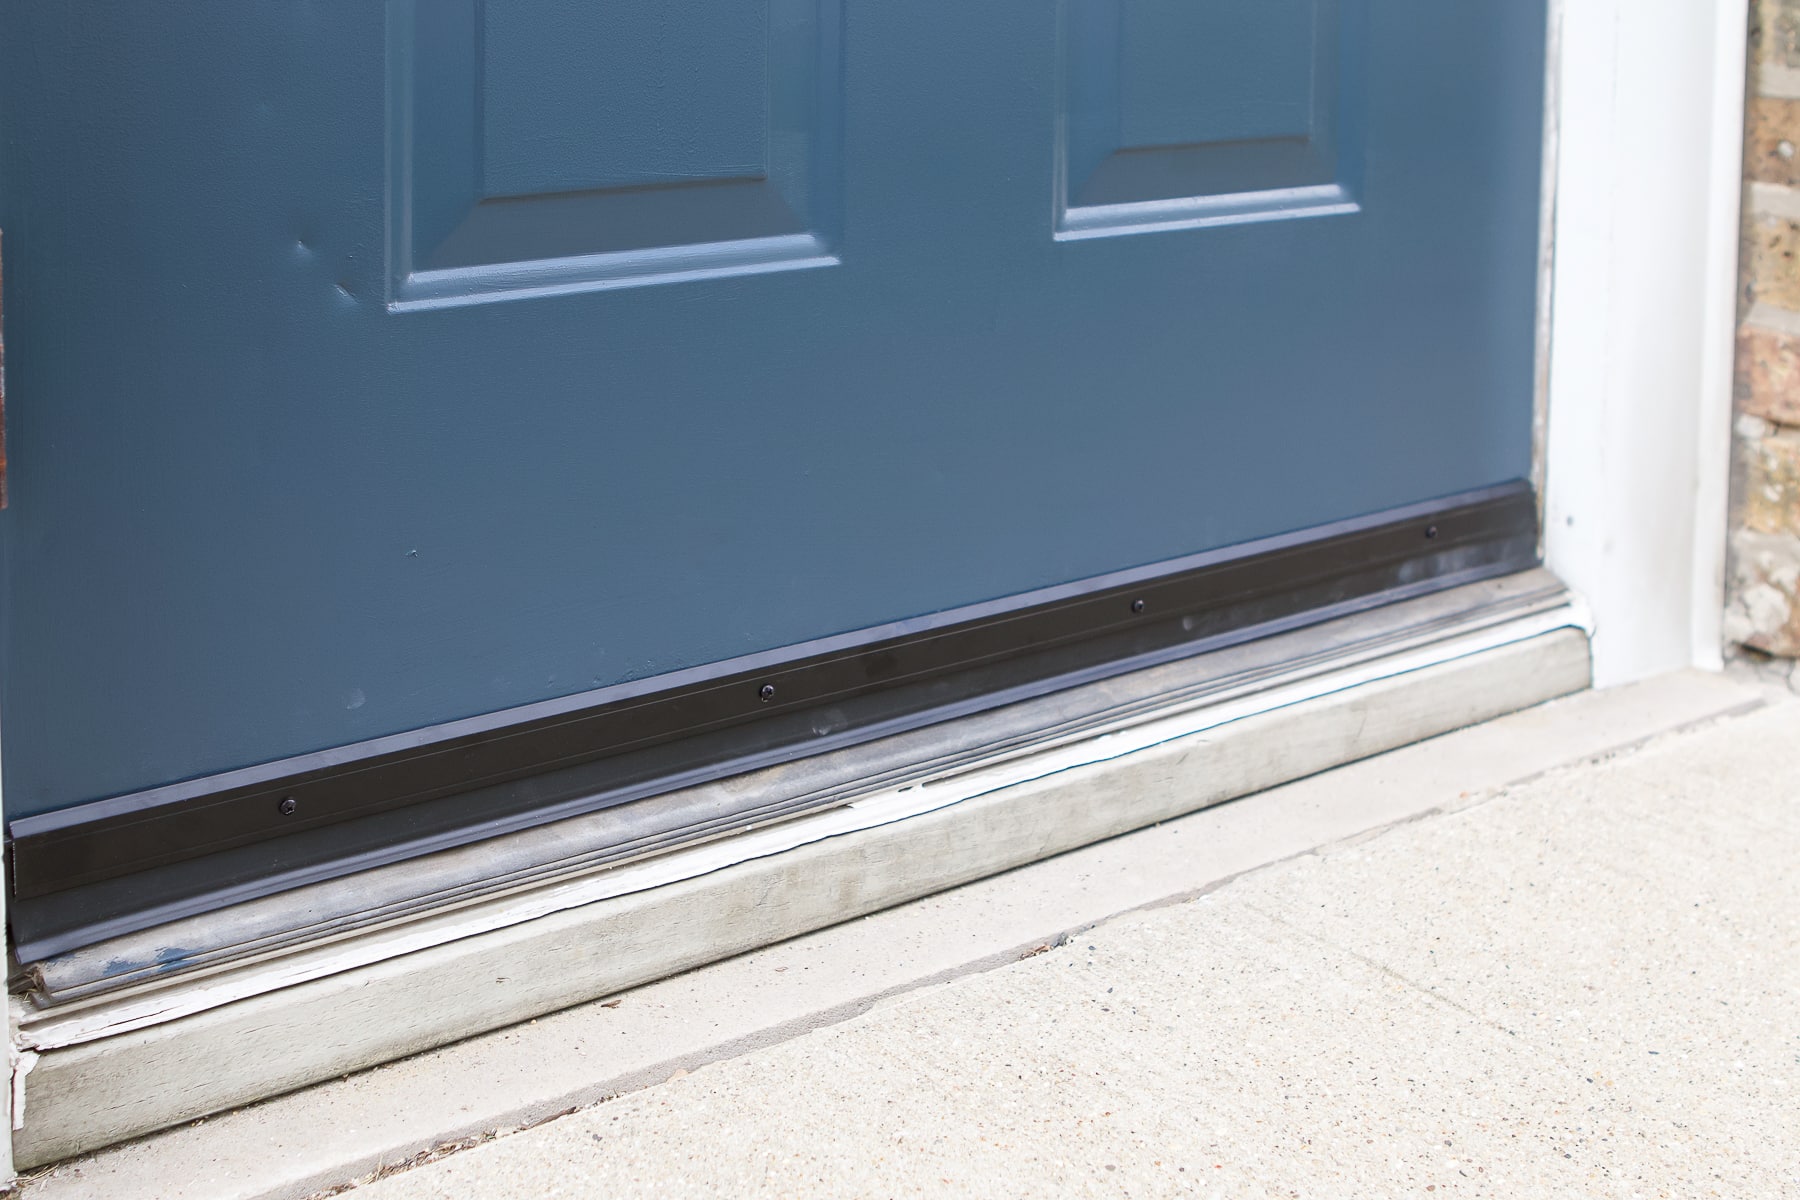
Once it was cut, I just used my drill to screw it into place.
Tip #10: Don’t Wait For These Easy Projects

My final tip? Don’t wait on these easy projects! I put this off for way too long and the end result brings me so much joyI Is that weird to say?!
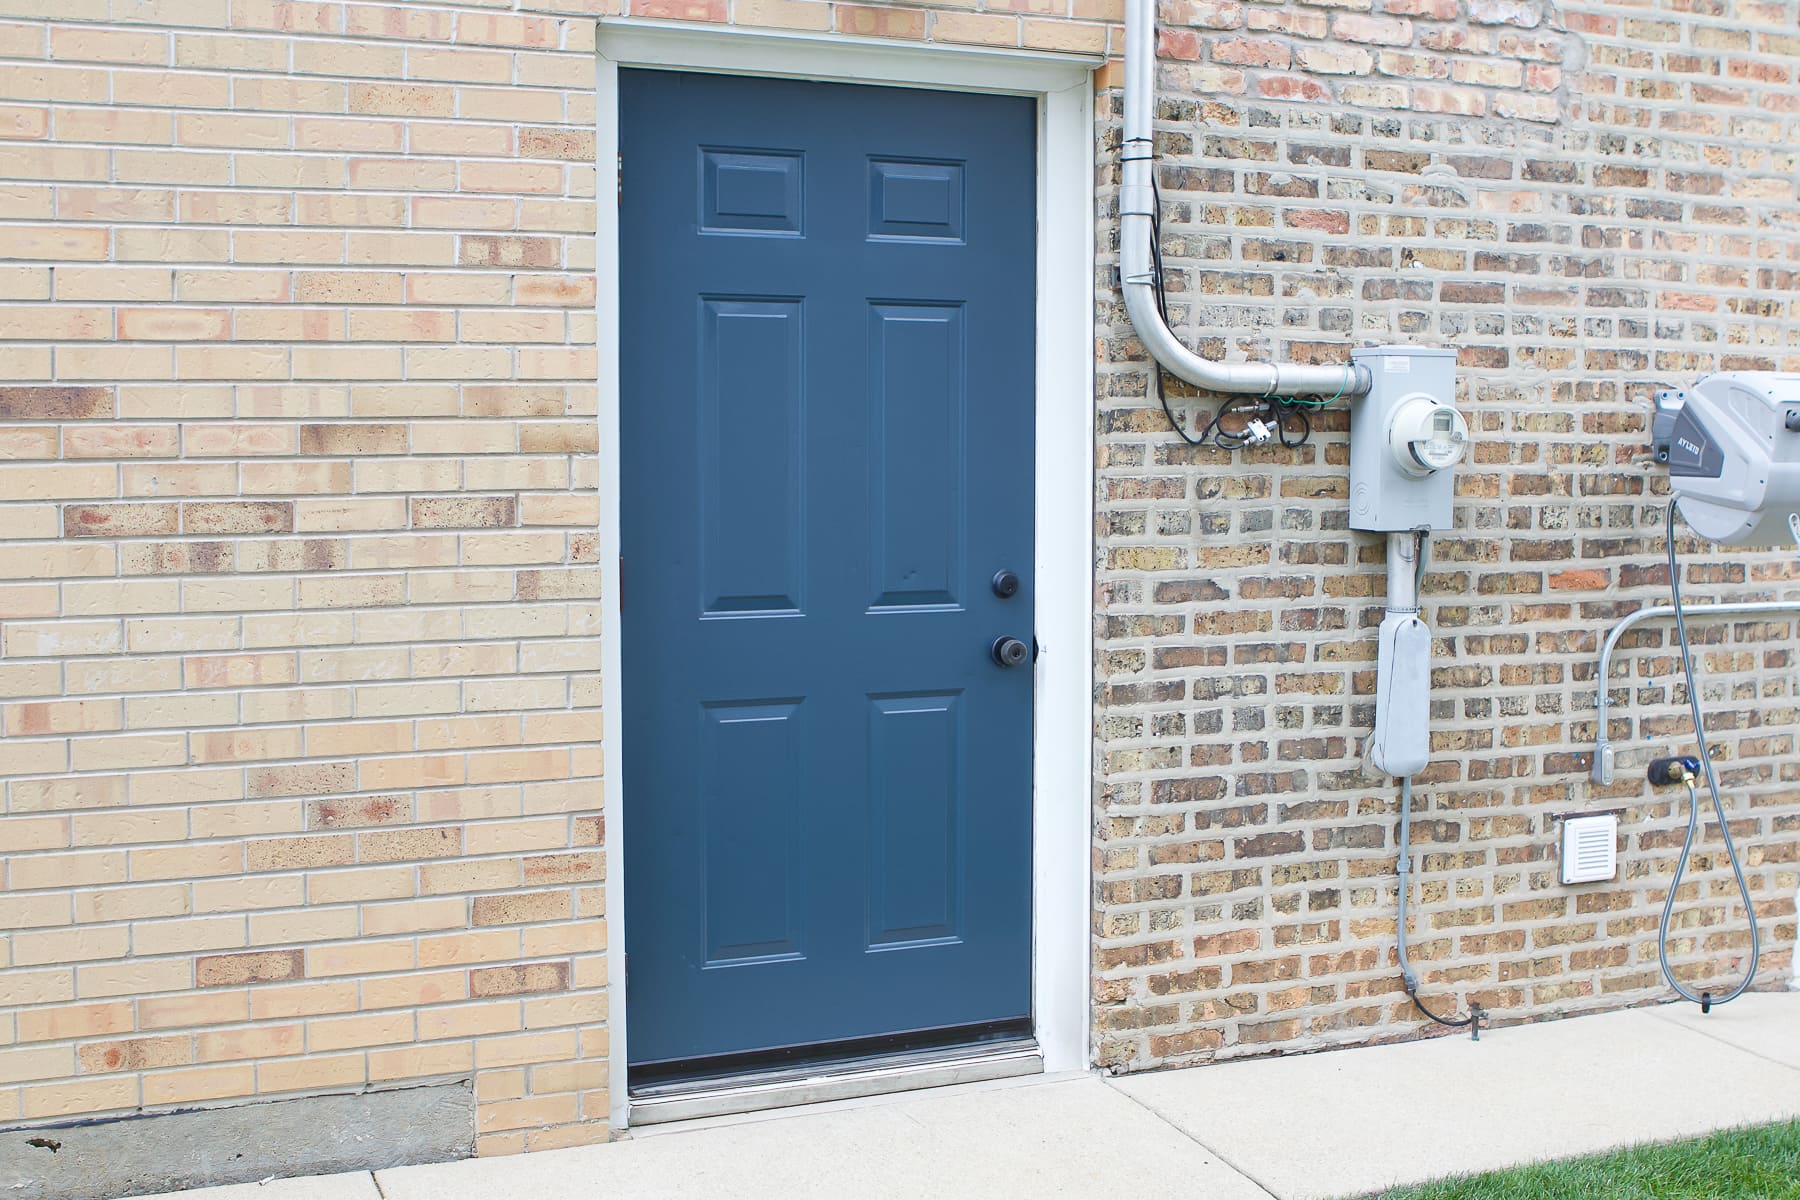
When Rory got home from preschool on the day I painted, she immediately noticed the new “pretty blue door.”
Frequently Asked Painting Questions
Here’s a quick recap of some common painting questions I receive.
What is the best sheen for exterior doors?
I suggest using a satin or semi-gloss paint sheen. This blog post walks you through everything you need to know about choosing the right paint sheen.
What kind of paint do you use on an exterior door?
Make sure you’re using exterior paint. You don’t want to use regular interior wall paint. Then, the exact type depends on the material of your door.
Can I paint over old paint?
Yes. Just make sure you prep the door first.
Do I have to sand a door before painting?
If your door is old, you should sand it before painting. If you don’t have a palm sander, you can use a sanding block. If it’s new, you can skip that step and go right to priming.
Do I need to prime an exterior door before painting?
Most high-quality exterior paint has primer already in it. If your door is new, you should give it a coat of primer first.
What kind of paint is best for metal exterior doors?
This is the paint that I used. It worked great and prevents rust.
Is it better to use a brush, roller, or sprayer?
You’ll need to use a brush and roller OR a paint sprayer. A paint sprayer may be a faster option, especially if you have multiple doors to paint. But you can never go wrong with a good ol’ paint brush and roller. Just make sure you roll after you cut in to prevent any brush strokes.
Check Out These Past Painting Projects

Have other painting projects to tackle around your house? Here are a few more I’ve done over the years…
