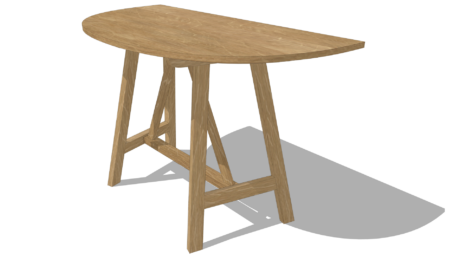
In my previous blog post I showed my workflow for modeling a console table based on one from early 18th century Spain. I ended with all of the wooden parts in place and ready for the joinery. I didn’t mention it in that video, but I usually model all of the components without the joinery and then go back through to add the details. If I’m designing a piece to build in my shop, saving the joinery until near the end gives me an opportunity to think about ways I can batch the operations so I’m less likely to make mistakes or create problems for myself. When I’m designing a piece for a client, it’s easier to make modifications if there’s no joinery to deal with. Once the overall design is finalized then adding the joinery is quickly done.
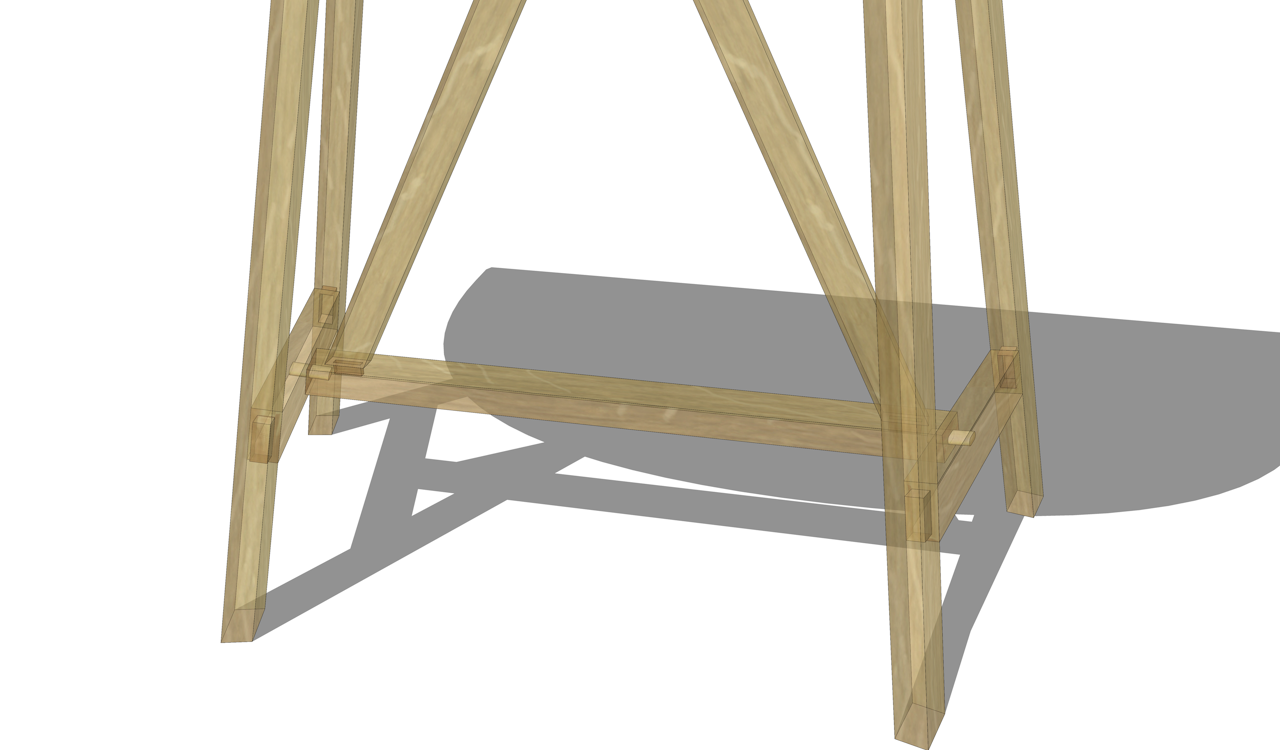
With all of the parts in the model as components, only one of them needs to be edited to add features. I generally only need to model one half of the joint because I can let that half cut the other half. This eliminates the need to lay out the second part of the joint and reduces the chances of inducing errors.
In this video I used Bool Tools 2 to cut most of the mortises as well the counterbored holes for screws to attach the tabletop. I also used the native Weld Edges. That option was added a few versions back. If you are using an older version of SketchUp you can use a plug-in called TIG-Weld to do the same thing.
If you have any questions please leave them in the Comments section.
–Dave
More from Dave Richards
Sign up for eletters today and get the latest techniques and how-to from Fine Woodworking, plus special offers.