How I Built this Bunny Shaped Wood Toolbox
This is a fun project! Here’s how I built it:

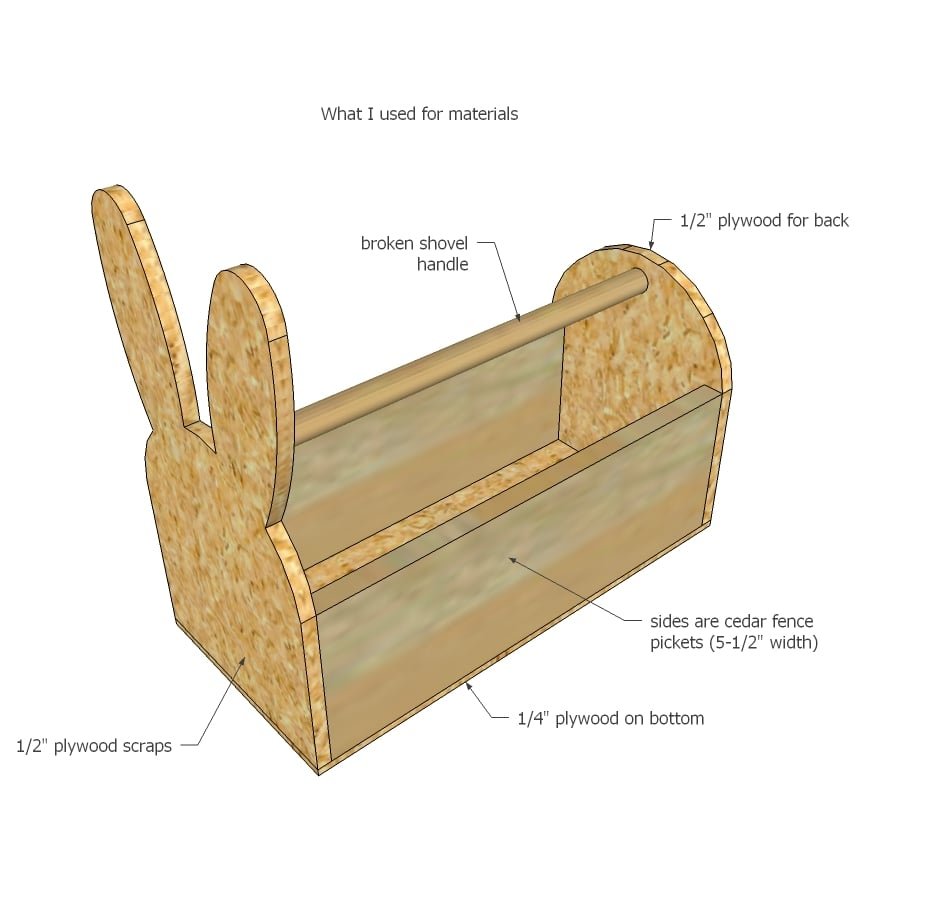
I did not buy ANY supplies for this project – the ends are made of 1/2″ thick plywood scraps. I used the 1/2″ plywood because it’s lighter weight than 3/4″, but still strong enough for those bunny ears to not just bust right off (like 1/4″ might). The sides are cedar fence picket pieces – I used them because its what I had on hand, but a 1×6 or plywood scrap would do. The bottom is then just 1/4″ plywood scraps. And the handle is a broken shovel handle.
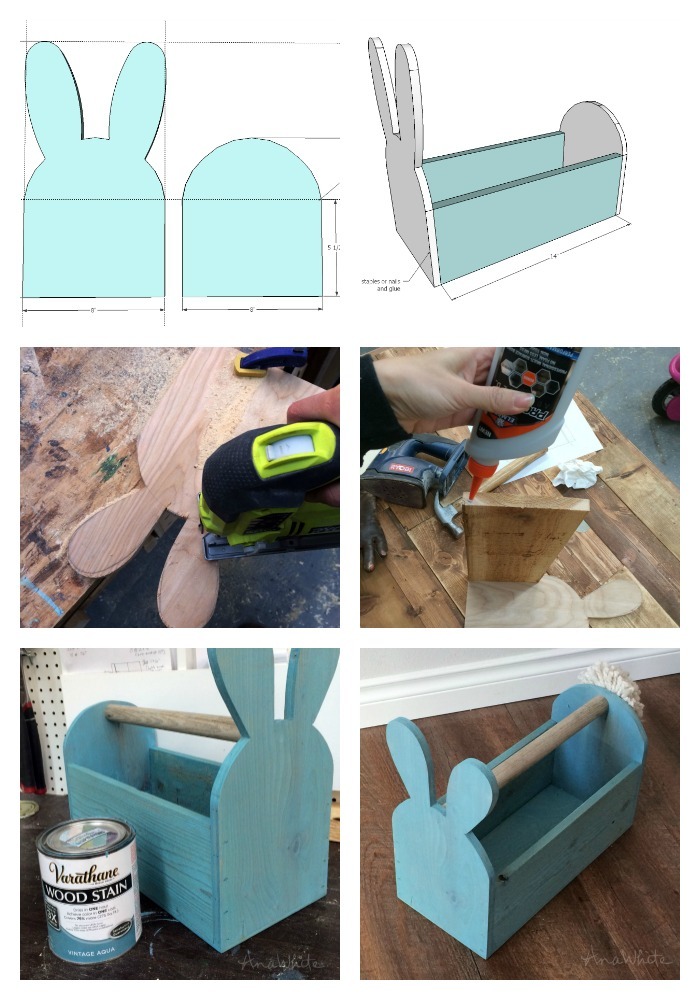
I started this project by taking the 1/2″ plywood pieces, and cutting in a rectangle to the size of the bunny face.
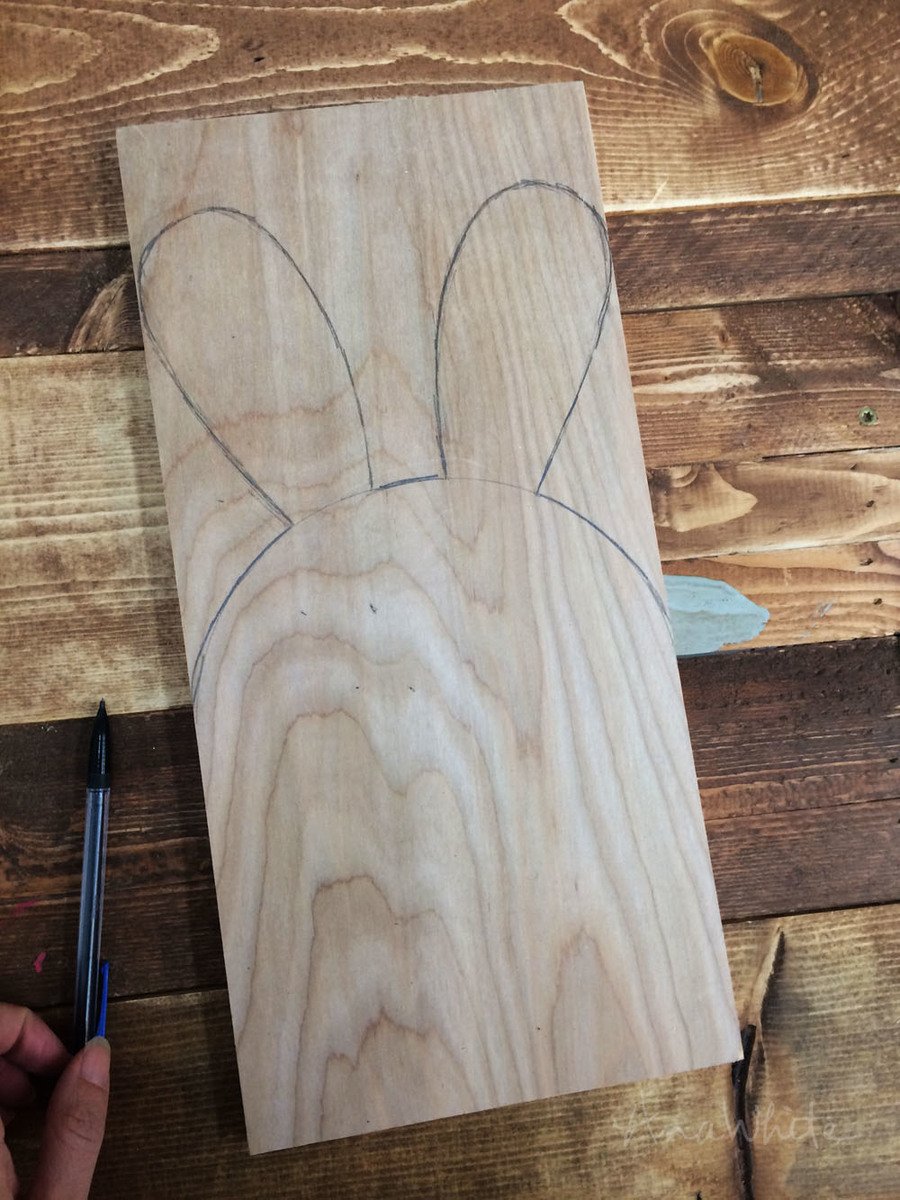
Then I used a paint can to trace the round head and free hand drew the ears – they are not the same. If you would like to use a perfect pattern I made one for you here.
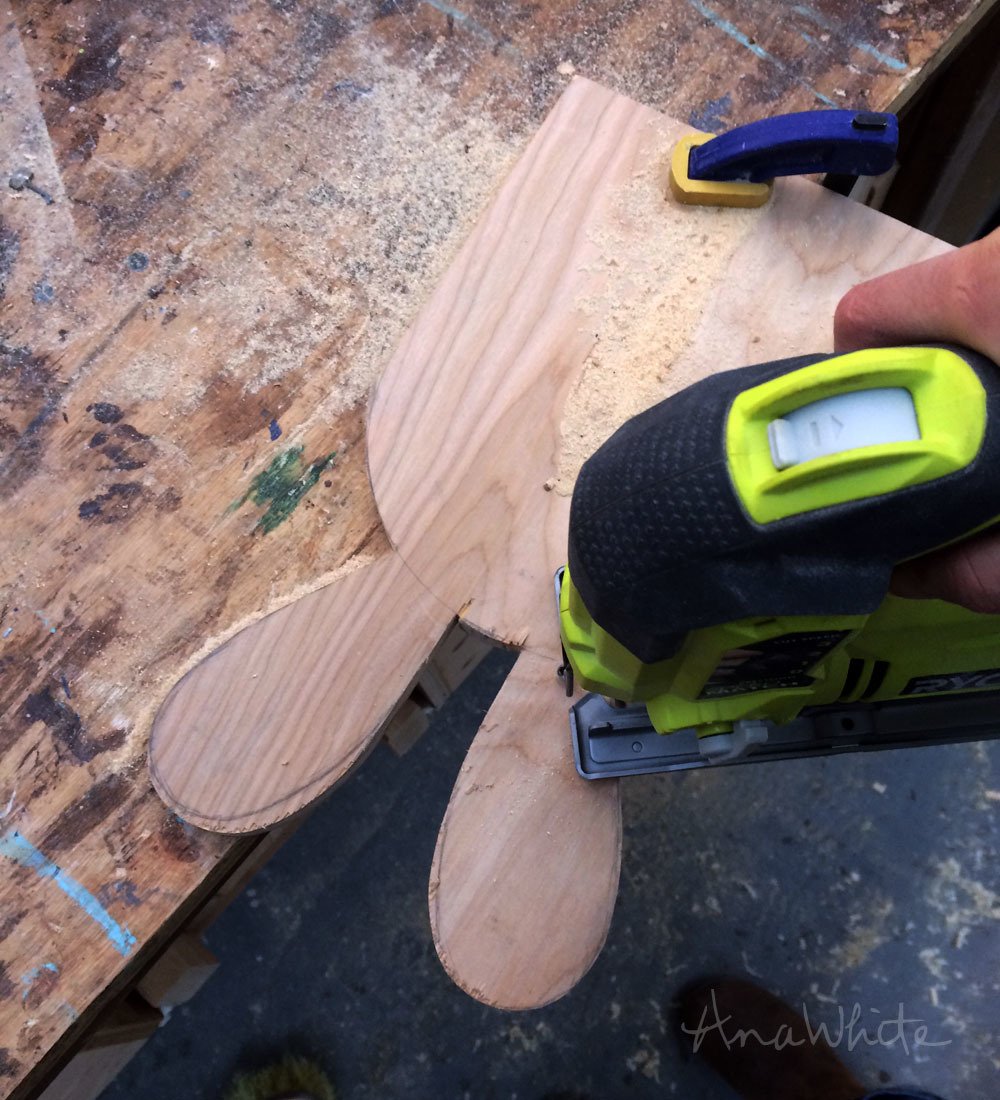
Now the fun part – jigsawing it out! I got a little off on my lines, but since my lines are freehand anyway, what’s the difference between free jigsawing, right?
NOTE: I was okay with my cuts not being super smooth since I’m using scrap wood and mixed materials, but try a laminate blade for cutting with a jigsaw to prevent plywood from splintering off as you cut.
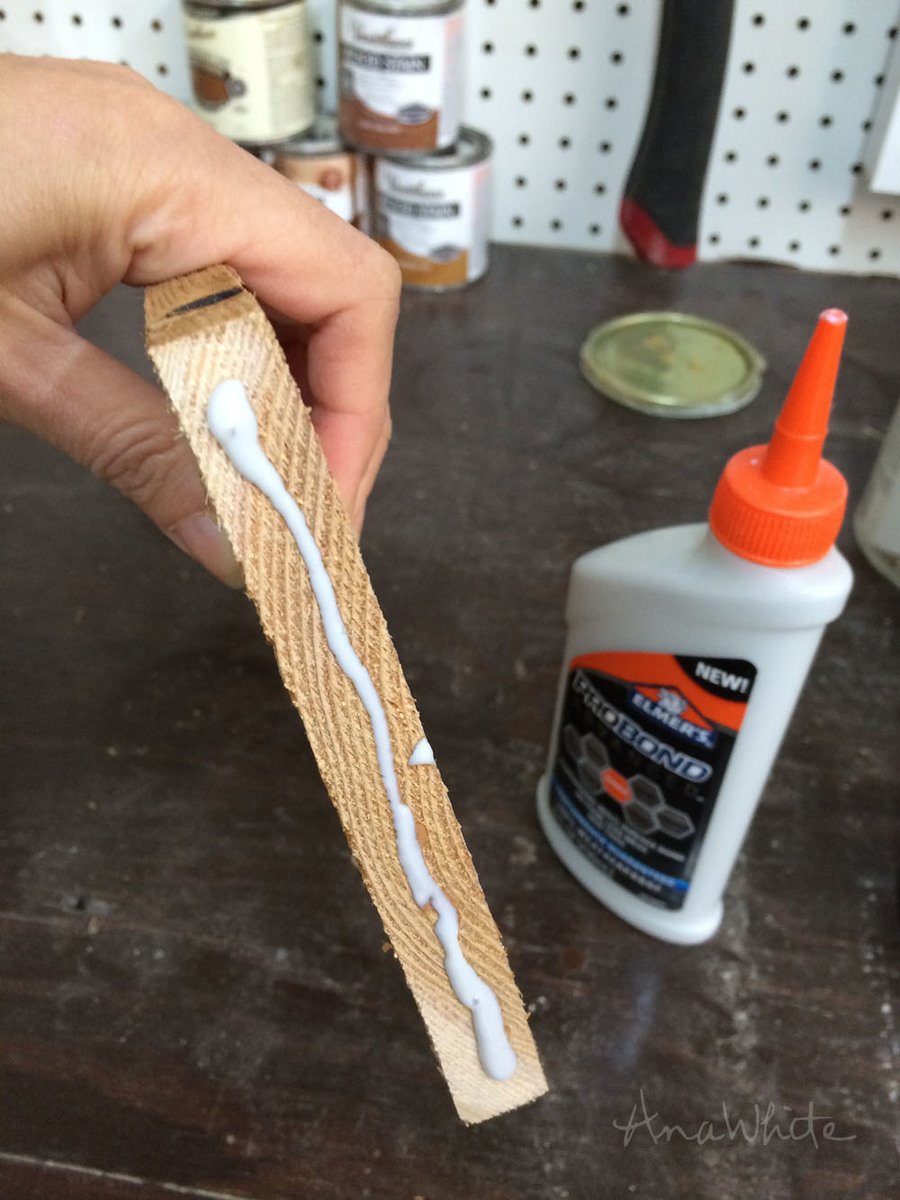
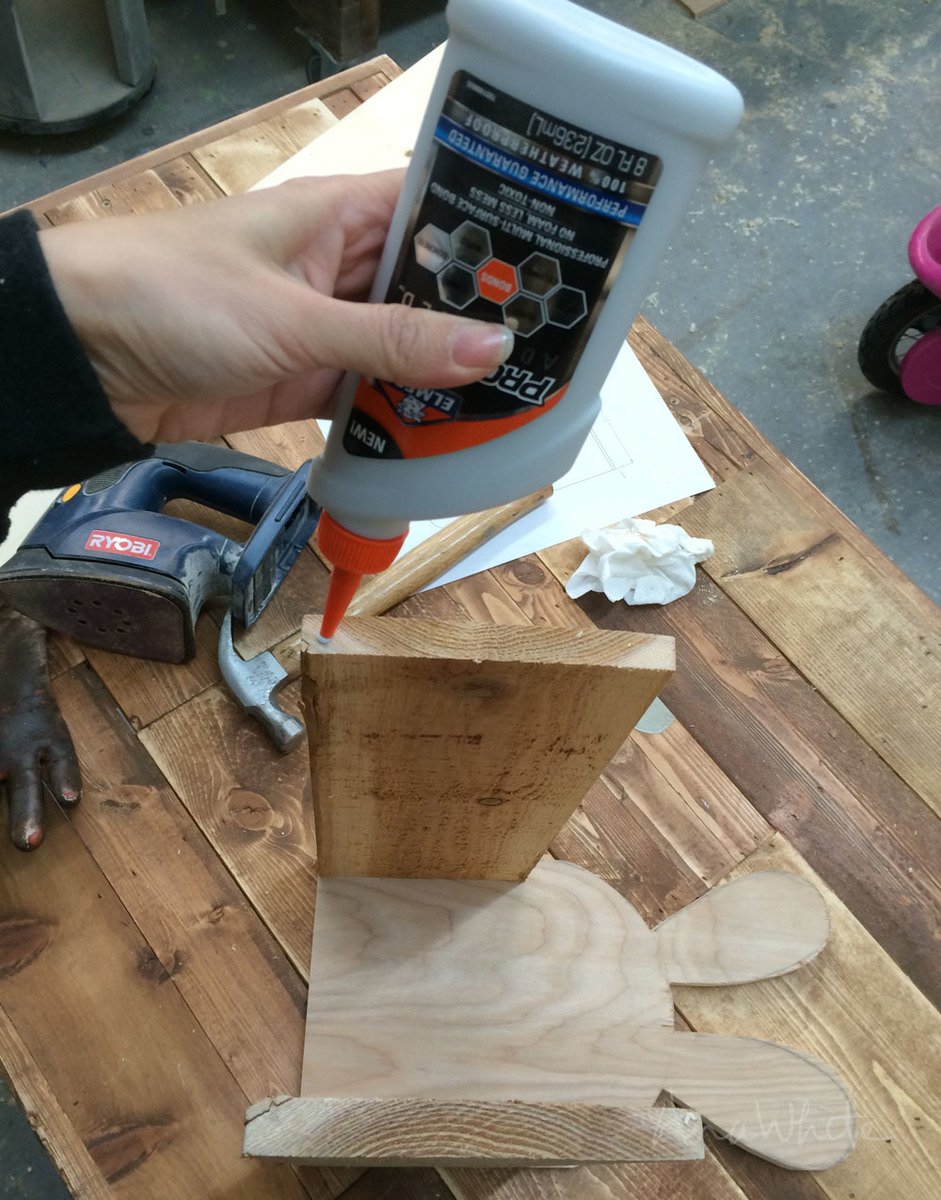
Since I’m just stapling the whole project together (I used 1″ staples), glue is essential. I was pretty generous with the glue. I used Elmer’s Pro Bond Advanced – my kids can be pretty rough on their stuff, I need all the help I can get with a glue.
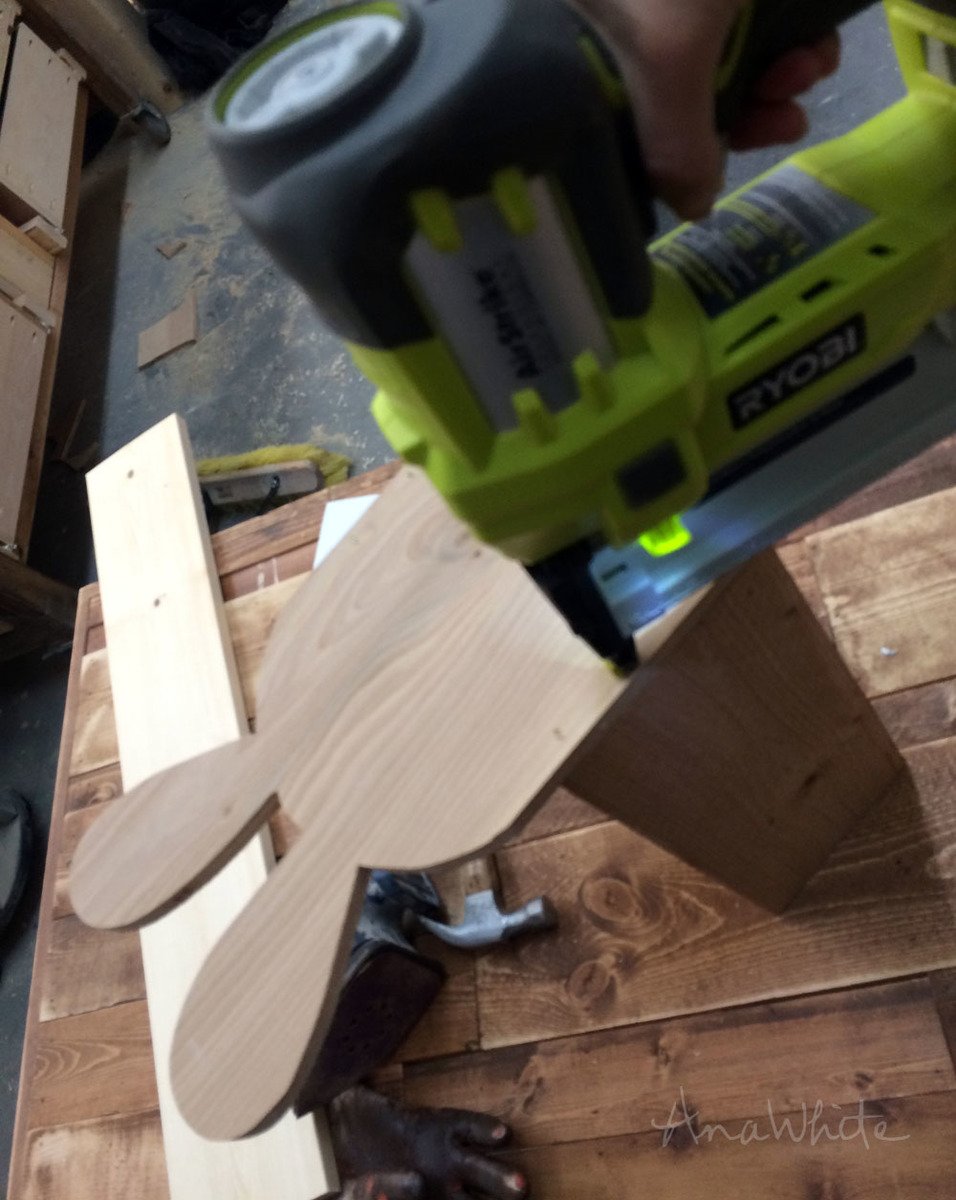
And then just stapled the ends to the sides. Sorry for the blurry photo. It’s not easy to take a selfie while nailing.
Then more glue, more staples, to finish off the back side. Haha, back side.
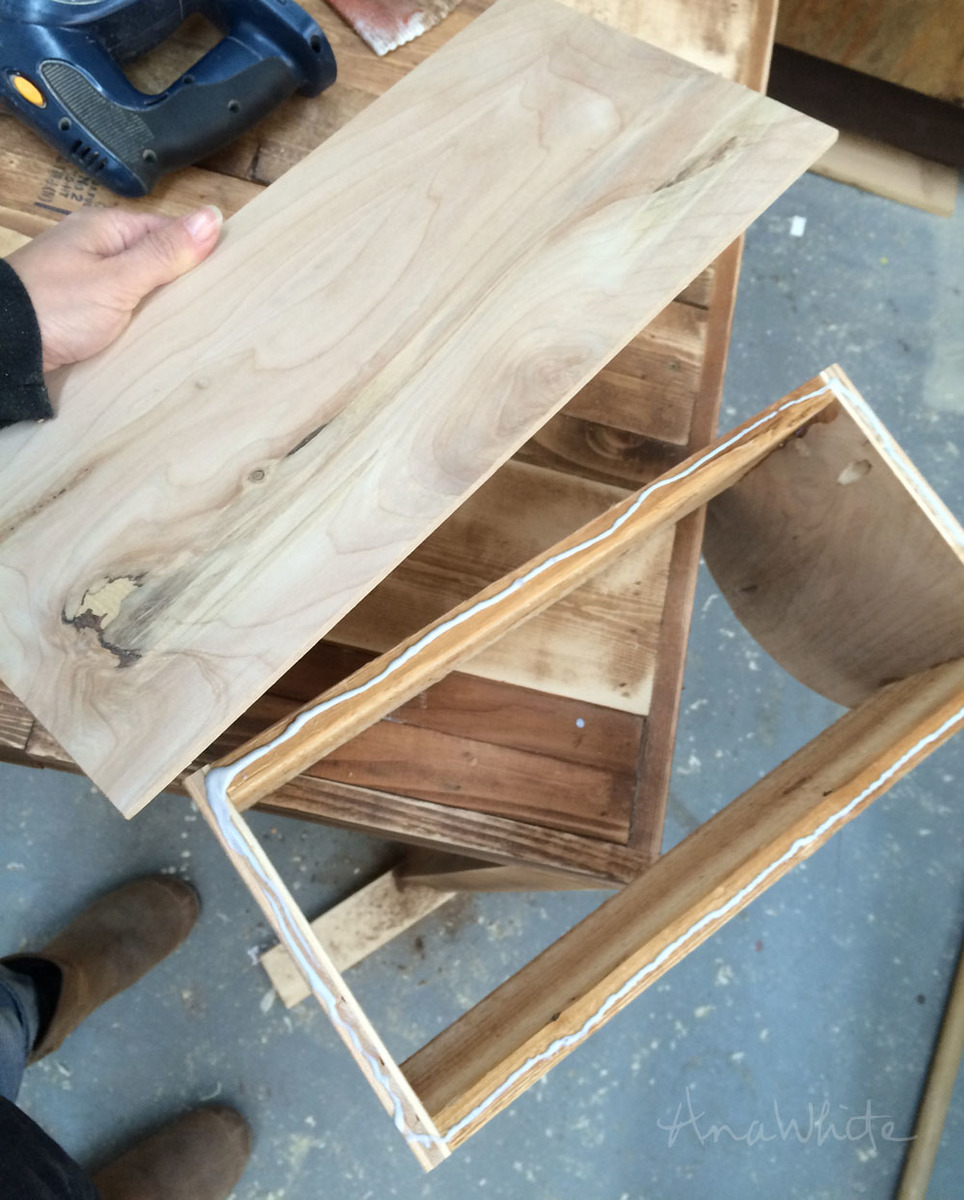
And then I added the bottom with lots more glue and 1″ staples.
For the finish, my daughter’s favorite color is turquoise, but I didn’t want a paint. So I went with this beautiful stain by Varathane in Vintage Aqua
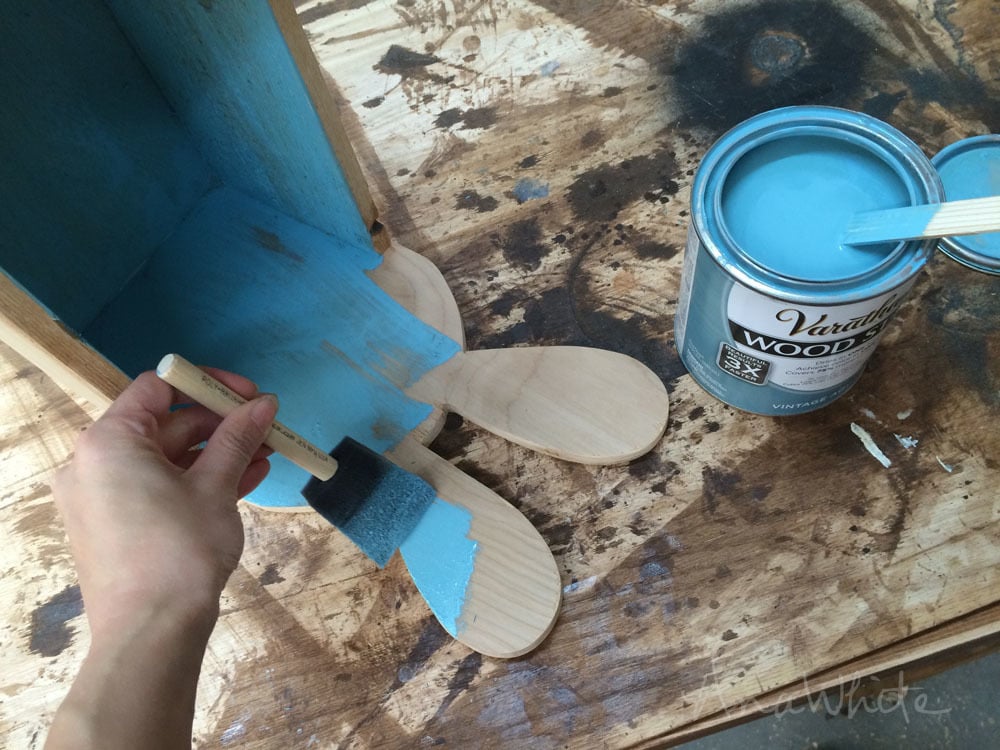
Starting with the inside, I stained outward with a foam brush, wiping afterwards with a paper towel.
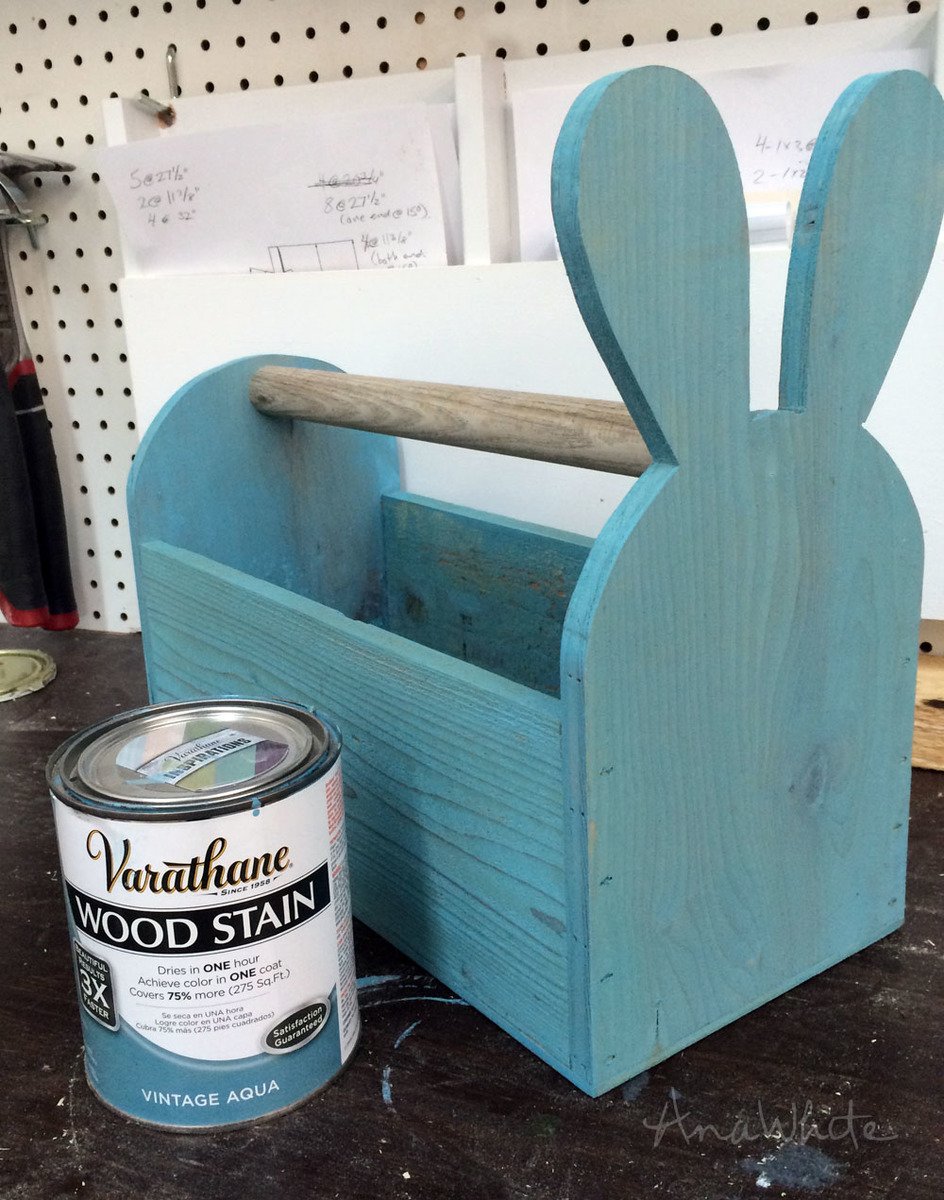
This is why you use stain. Because you can still see the wood grain.
Isn’t this color gorgeous?
Before I forget – the handle is an old shovel handle that was broken. I just cut it to fit and glued and stapled it in place.
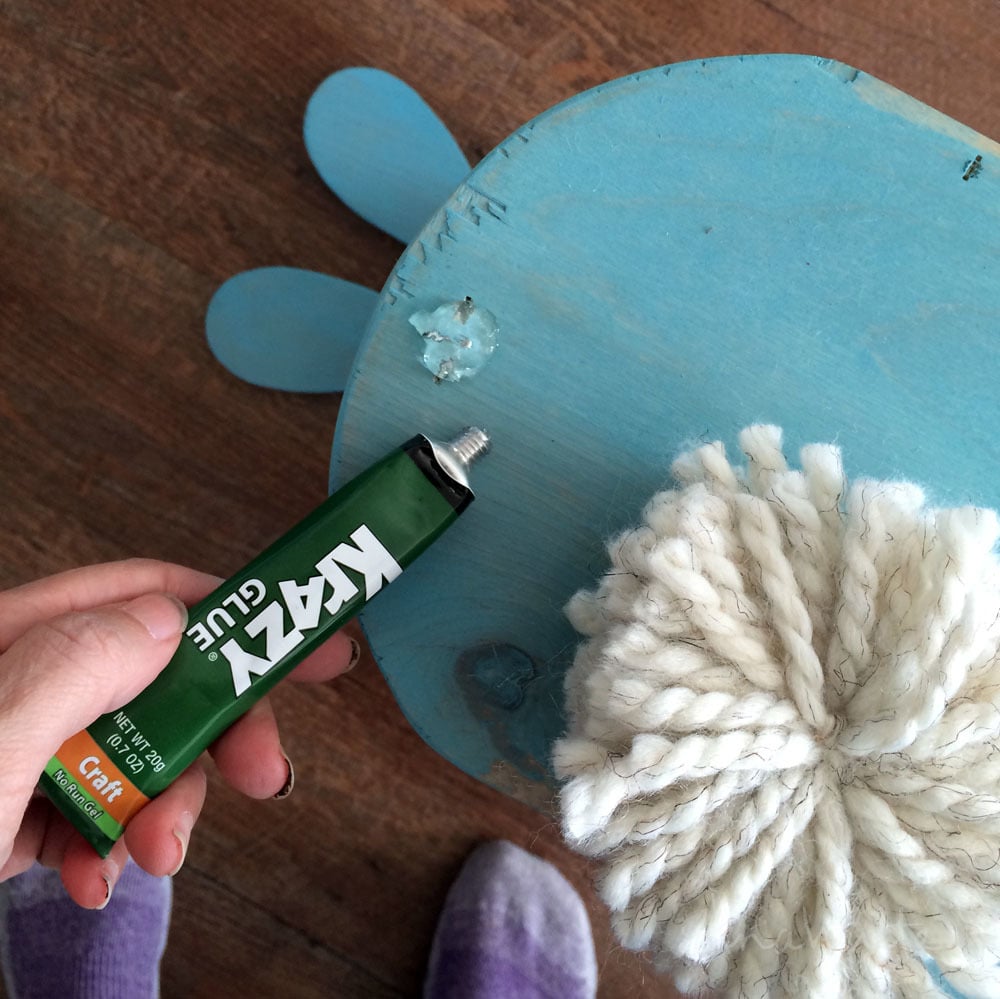
Now for the tail. I made up a pom pom out of yarn, and just used craft glue to attach it to the back of the project.
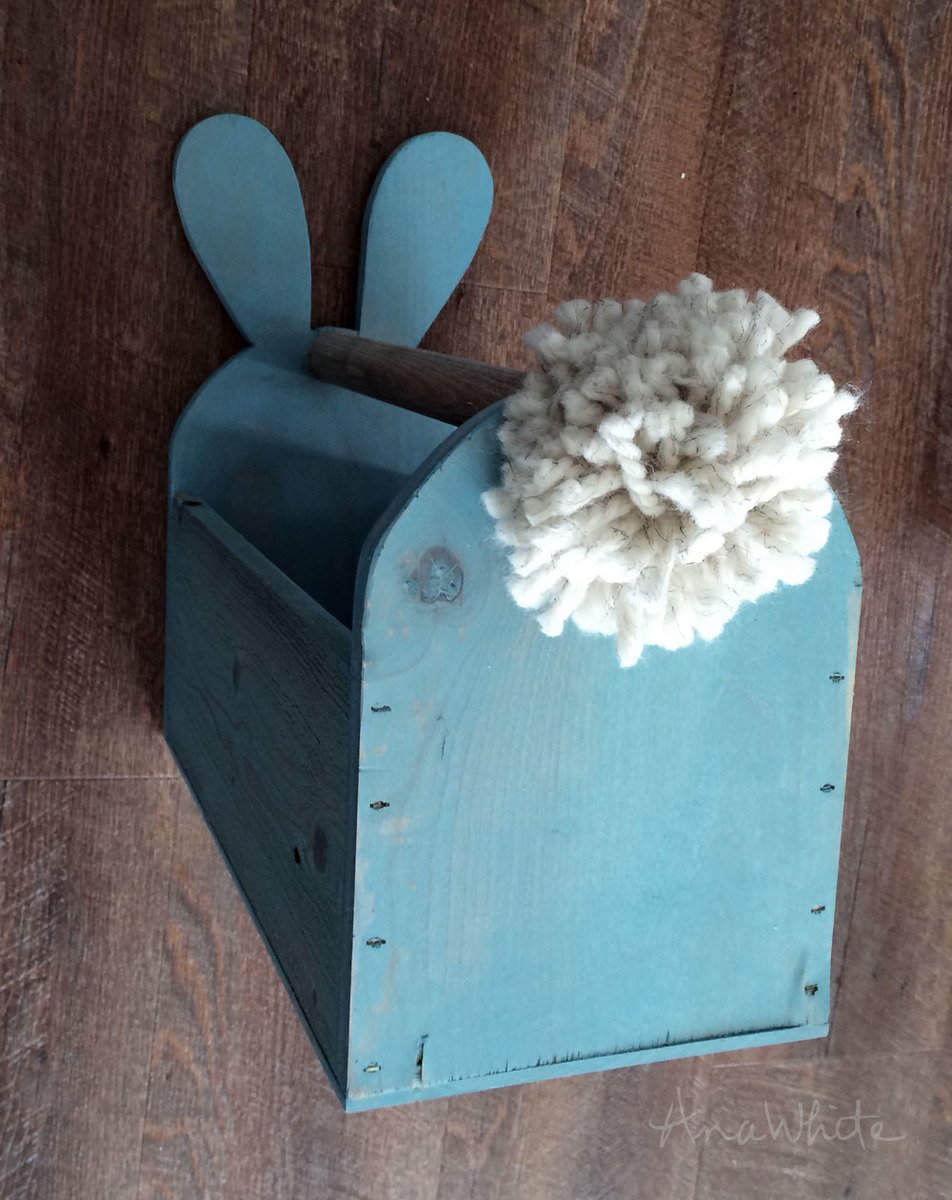
You gotta have a fluffy tail on a bunny!
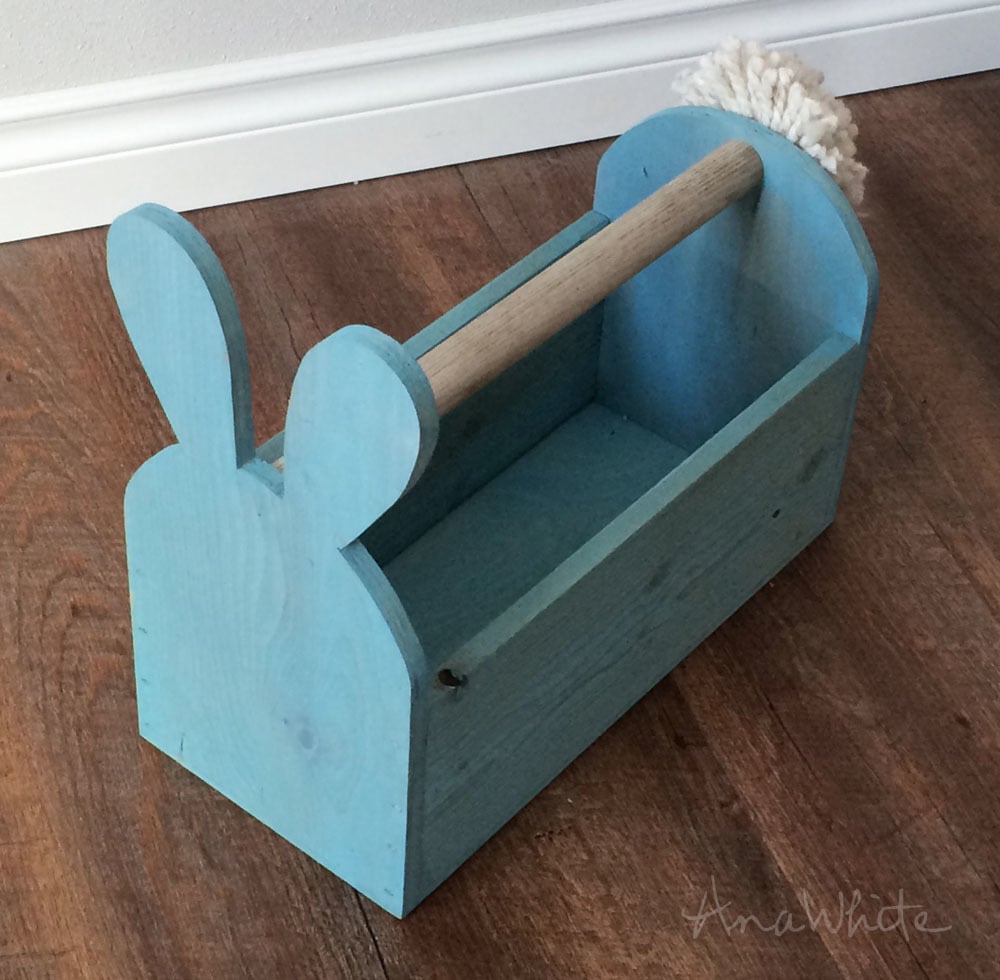
All done …
So I thought. I made this Easter basket for my daughter,
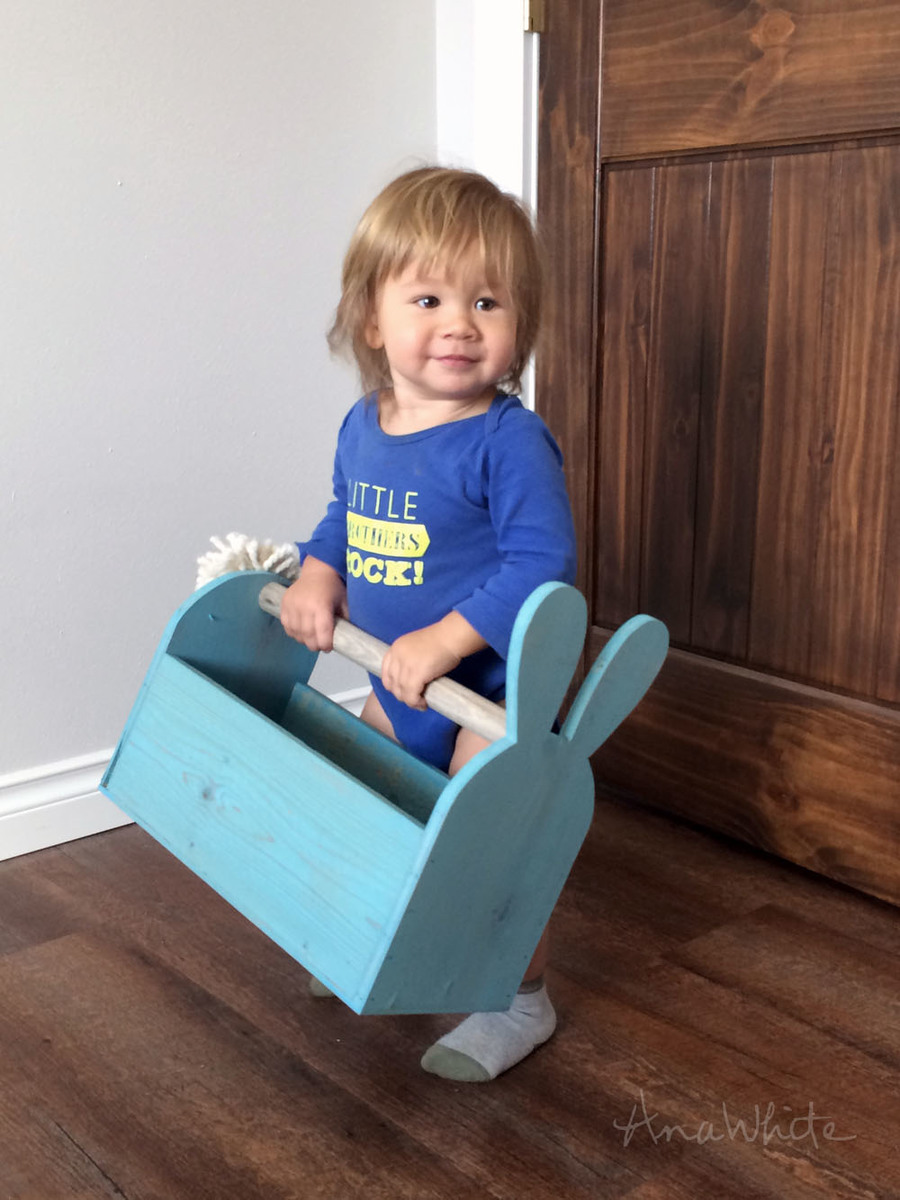
Looks like I’ll be making a smaller version too.
If you love this, please share and pin!
Have an awesome weekend! Bust out some bunny baskets!
XO Ana