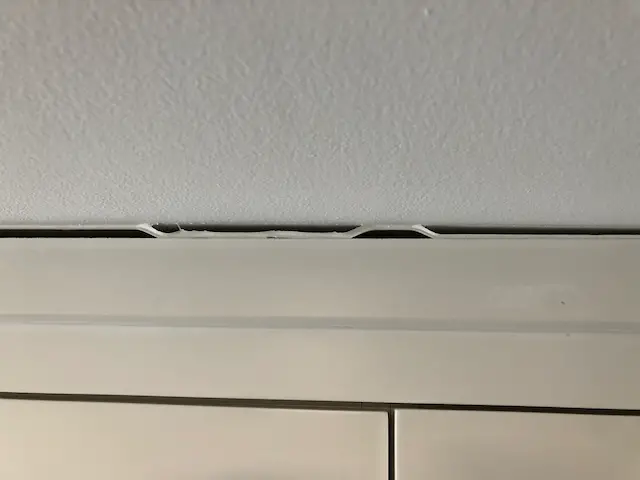
As the seasons change our homes shrink and expand, It’s a generally harmless process but it’s most visible in areas like doorways, around trim work, and seams where we need to fix gaps in molding.
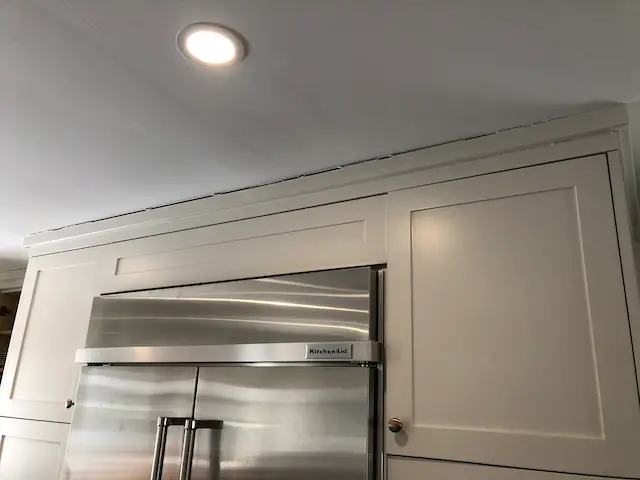
This is new cabinetry that was installed during the warm summer months. As the wood contracts in the colder weather the shrinking pulls the caulking away from the ceiling. The entire kitchen is similar, but this is the worst spot.
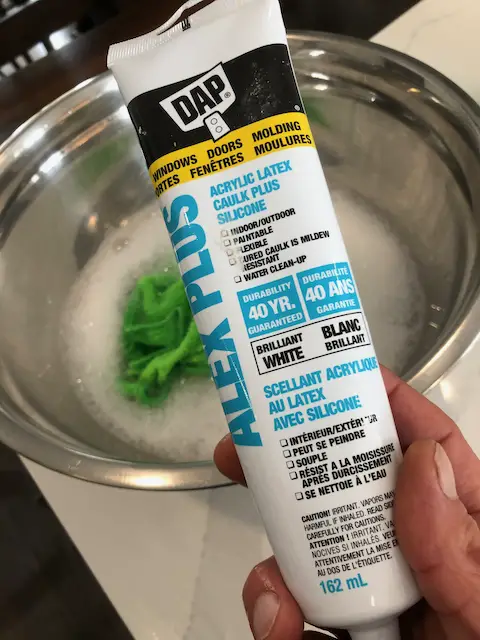
To fix it I use a latex caulking, sharp blade and a cloth with soapy water.
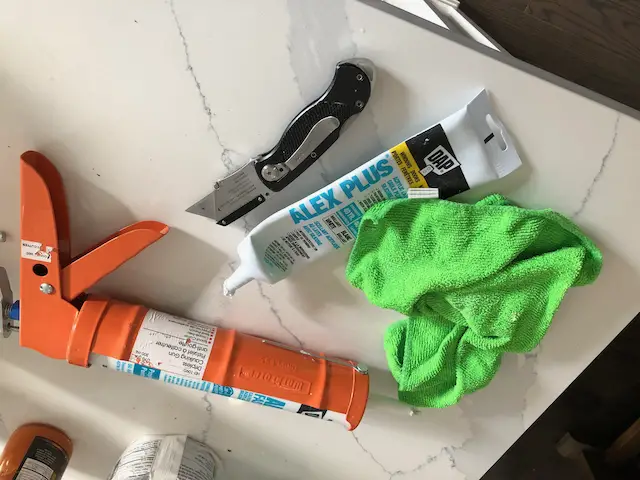
Start by removing any loose caulking. Leave the stuff that’s still sticking if it looks good, but the bad stuff will likely look worse if you leave it behind.
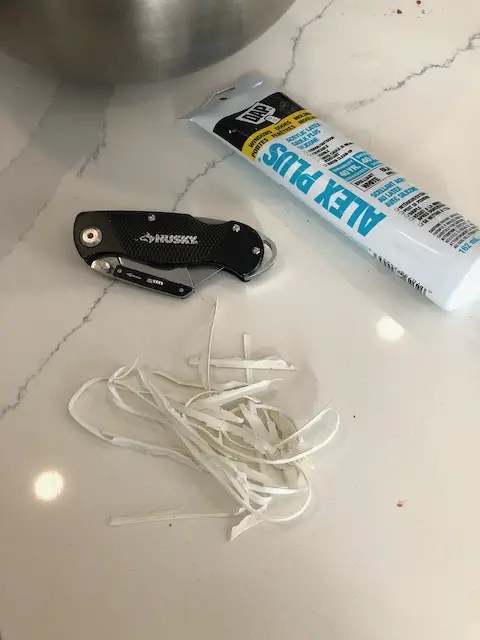

Once the caulking has been removed, we can fix the gaps in molding by re-caulk the area. I used a large tube and gun for wider areas, and a smaller tube for “touch-ups”. Both products are latex-based and can be painted. Latex is also much easier to clean up than silicone, so if you make a mess, soap and water is all you need to clean up.
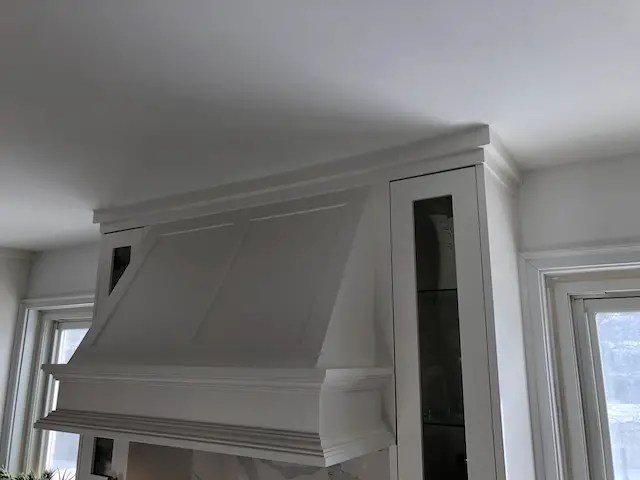

The difference is amazing. Up close you can see it’s not perfect, but products like this are designed to hide an imperfection, and walking into this kitchen now your eye isn’t drawn to the trim pulling away from the ceiling. In about 30 minutes most products dry enough to paint. some are sand-able as well.
FAQ: Repairing cracks and gaps with caulking
What Caulk to use for Crown Moulding?
How to Caulk Crown Moulding?
How to Hide Cabinet Seams?
Use a latex caulk to seal the seams. Choose a caulk that is close in color to the cabinet, or use a paintable product that you can paint to match your cabinets. For shiny or high gloss cabinets, clear silicone is also a good option. In this demo we used a white latex
How to caulk windows?
Check out more of our DIY and how-to articles here
