This lighthouse nautical chest makeover was simple to update with paint and a furniture transfer!
Hello wonderful friends!
I am sharing a brand new project today. The last of 2023! And the last post of the year too. I am taking next week off to spend with my family. I will see you all in the New Year! But first, take a look at this little pretty I just completed. I love the way it turned out!
Lighthouse Nautical Chest Makeover
This little chest with the sweetest curves. I had to bring it home with me to give it a new look! It was just begging for it.
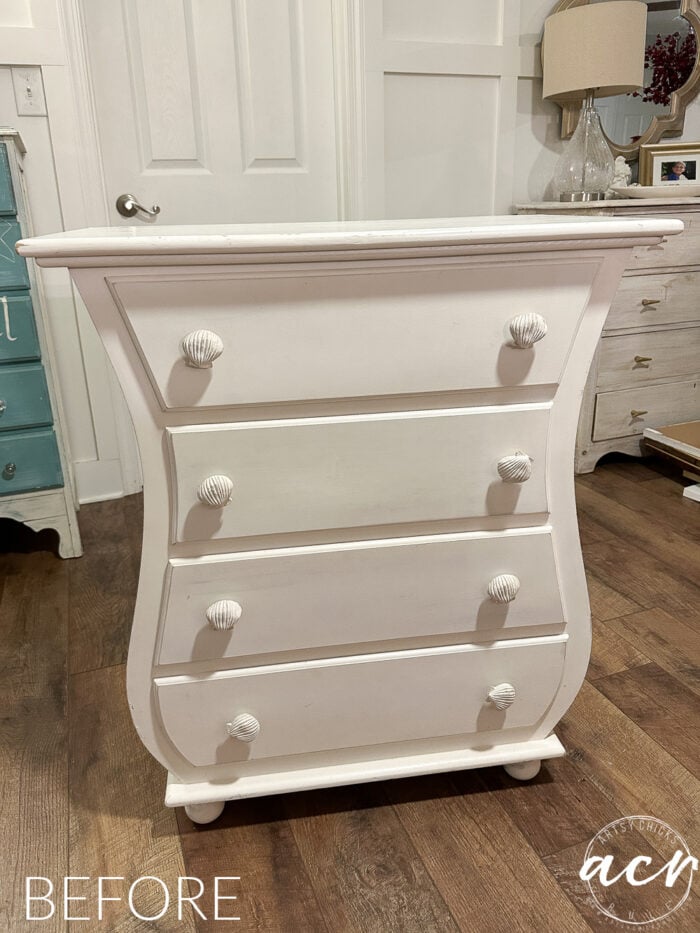
But it was kind of ‘blah’ as it was.
I felt like it sort of had a coastal flair with the curves. OR “waves” as I saw them.
The seashell knobs sort of leaned it that way but even without them it seemed coastal-ish to me.
So, I decided to use our Lighthouse transfer on it!
MATERIALS LIST FOR LIGHTHOUSE NAUTICAL CHEST MAKEOVER
Prefer to shop on Etsy? I have an Etsy shop also, here!
I lightly sanded the top of the cabinet as it had a blemish or two. I didn’t get a photo of that, sorry!
Next, I cleaned it well with TSP Alternative.
Then I began rolling on the paint. I used Parchment which is a soft, gray white.
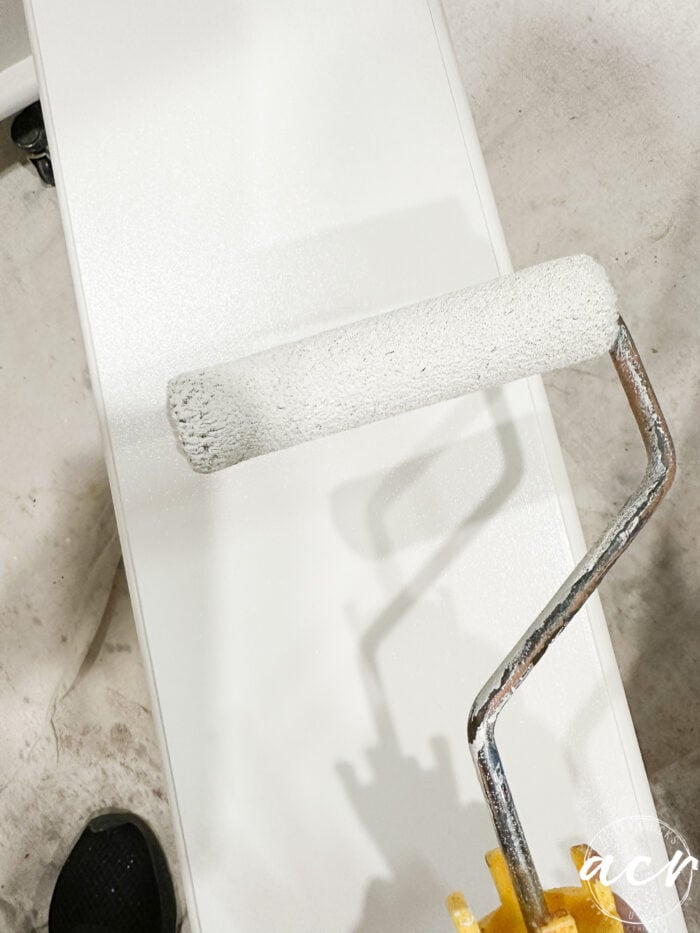
I used a Velour roller for the first time and I loved it! (I’ve used our microfiber rollers before and those are great too…I’ve got them linked along with the other products I used in the pink box above)
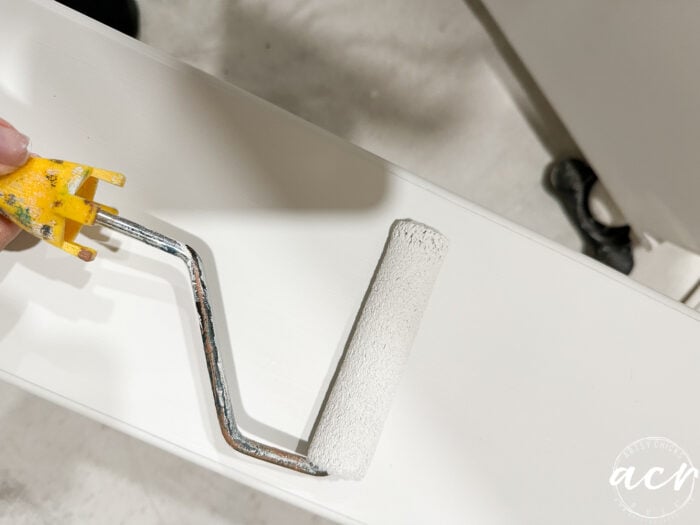
Nice and smooth finish.
I applied two coats.
Once that was dry, I carefully cut out the pieces of the transfer that I wanted to use. (the ocean, some rocks, seagulls, and the lighthouse) I then laid them out how I wanted to apply them to the front of the chest.
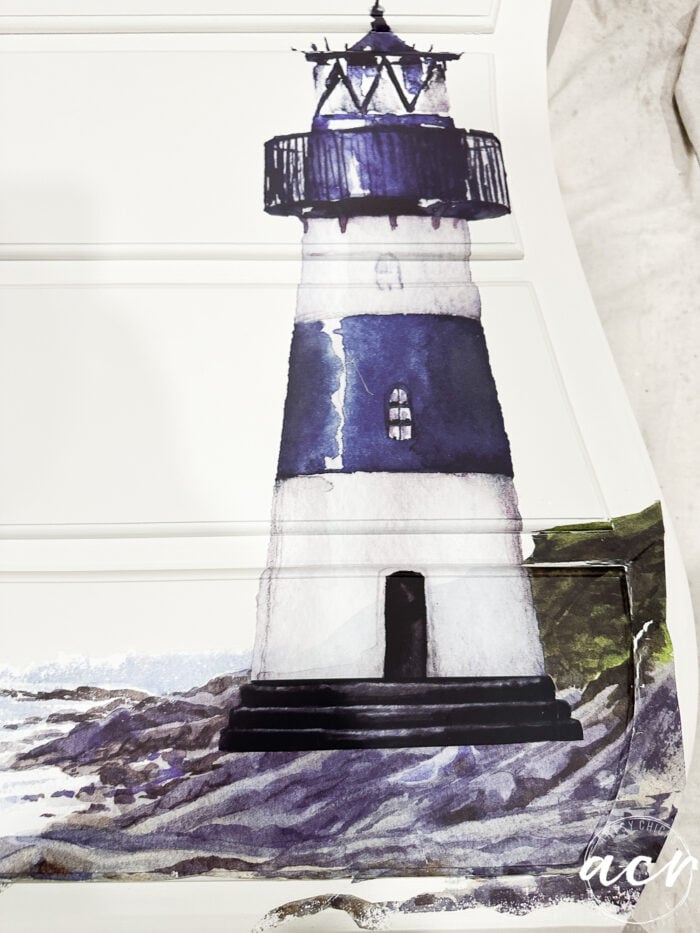
And applied them to the front of the chest. (I laid the chest on its back so I could work more easily)
But oops!!!
Darn it.
I had meant for the edge of the transfer (see it there on the right?) to go over the edge of the cabinet. Then I would cut away the excess.
But I must’ve moved it or something when applying.
So now I had a huge gap. (and once you are sticking the transfer, you are not moving it!lol)
The only thing I could do was paint it in to match.
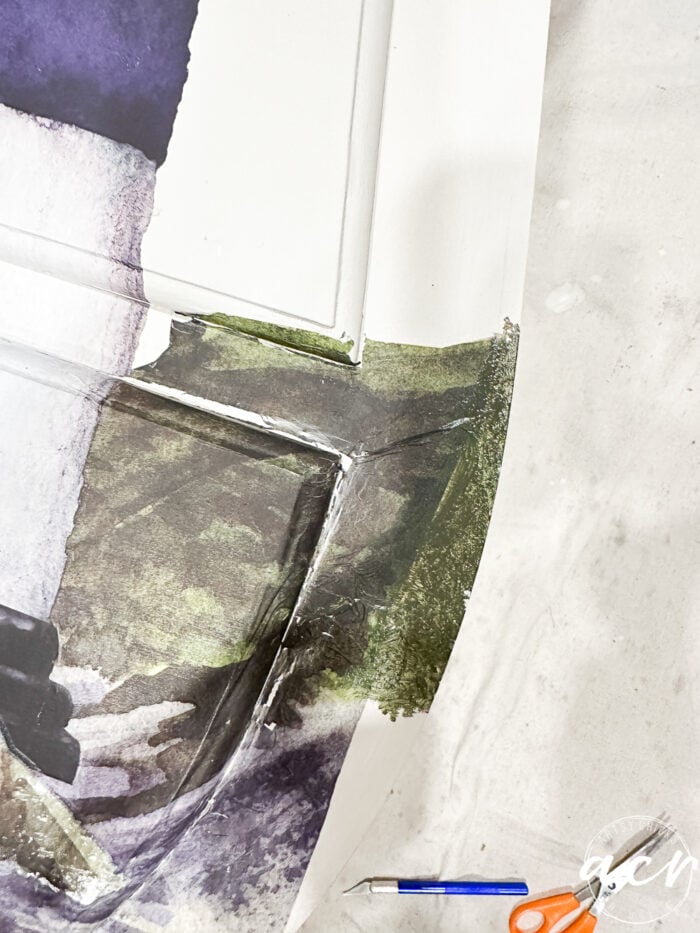
By the way, this is not the first time I’ve had to do this!! haha!!
I’ve had to do it on several before but this was the largest one. I also painted around the drawers where there were any gaps to hide those as well.
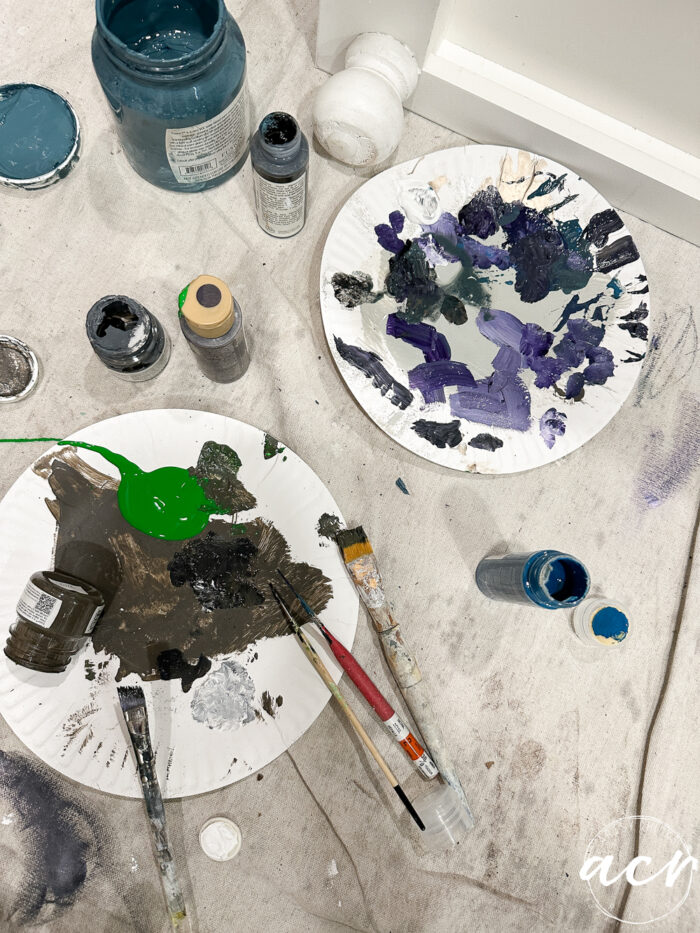
You can see above that I’m starting to add paint to blend it in.
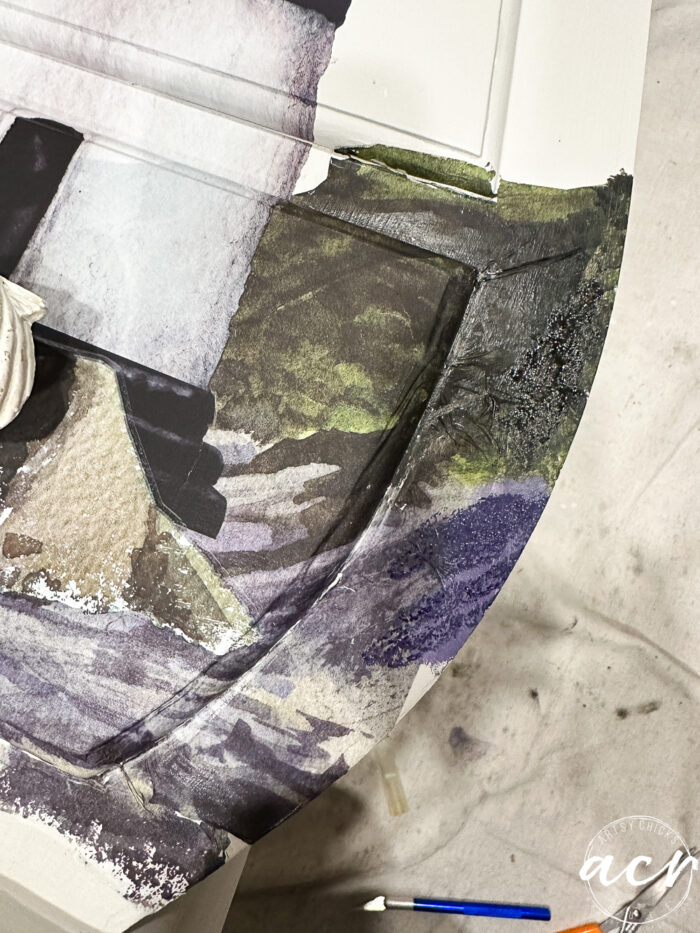
And more paint.
Here’s a shot at my handiwork. ha!
And done! Pretty close.
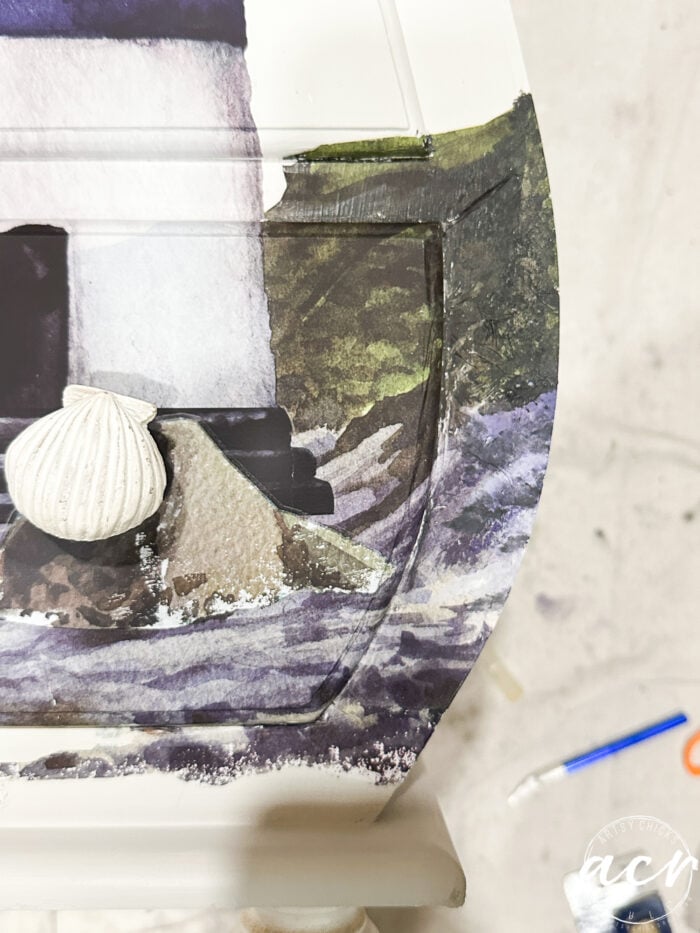
I used my exacto knife to cut around the drawers after applying the transfer.
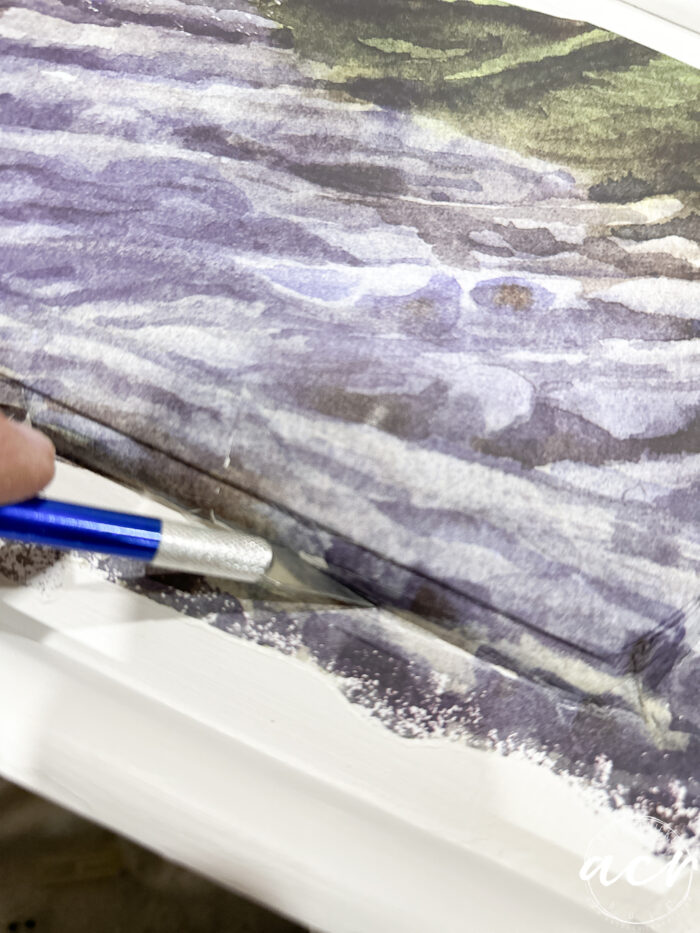
I put a section of the “rocks” over the bottom of the lighthouse to blend it in.
Then I laid out a few seagulls to see where they would go.
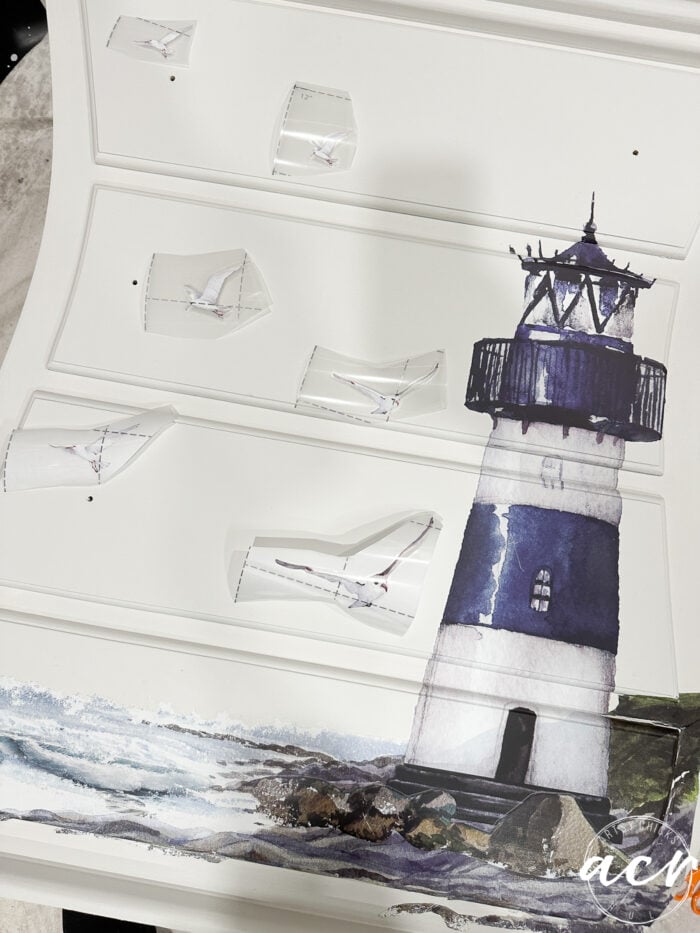
Some sailboats come with this transfer and I considered putting some in the water.
I decided against it though as I wanted to keep it more simple.
I used our Tough Coat Topcoat to seal it and used glass knobs for the drawers.
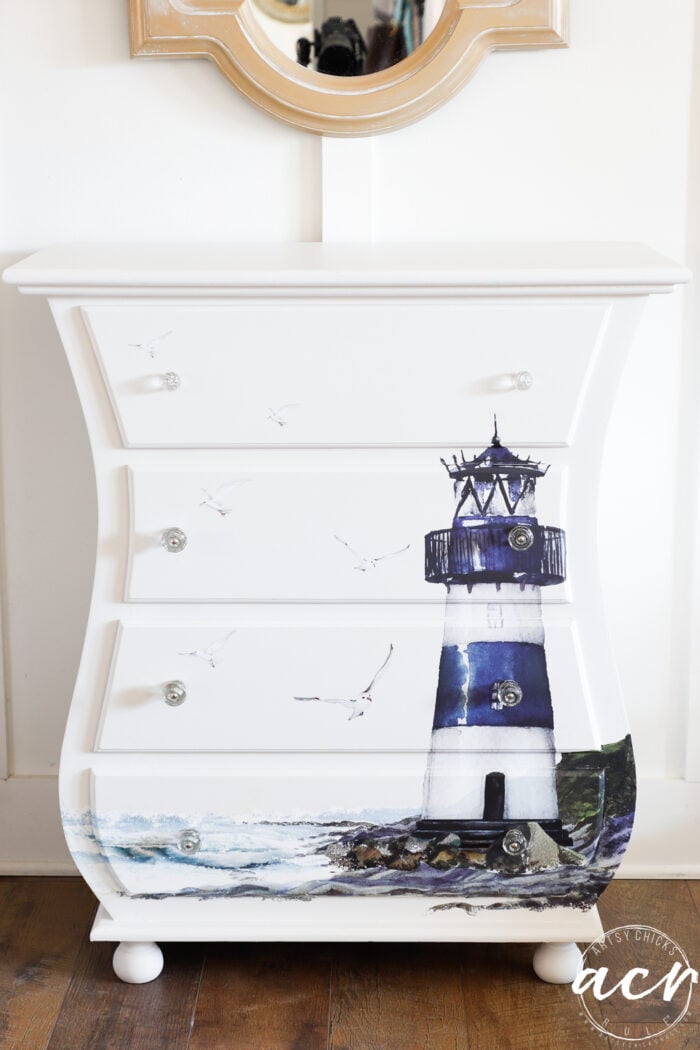
I used glass knobs instead of the original ones so they wouldn’t take away from the design.
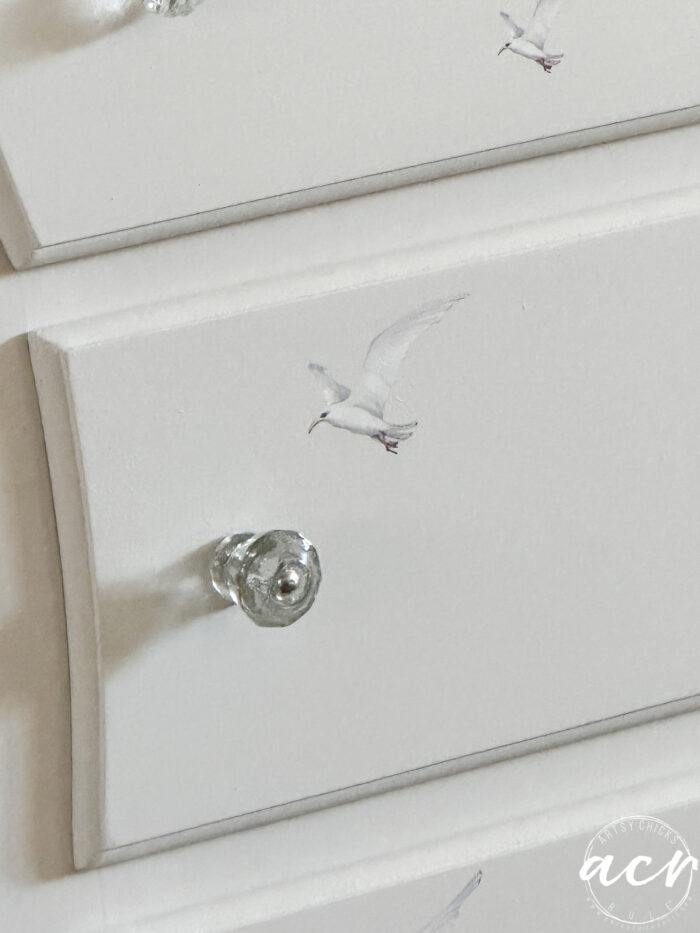
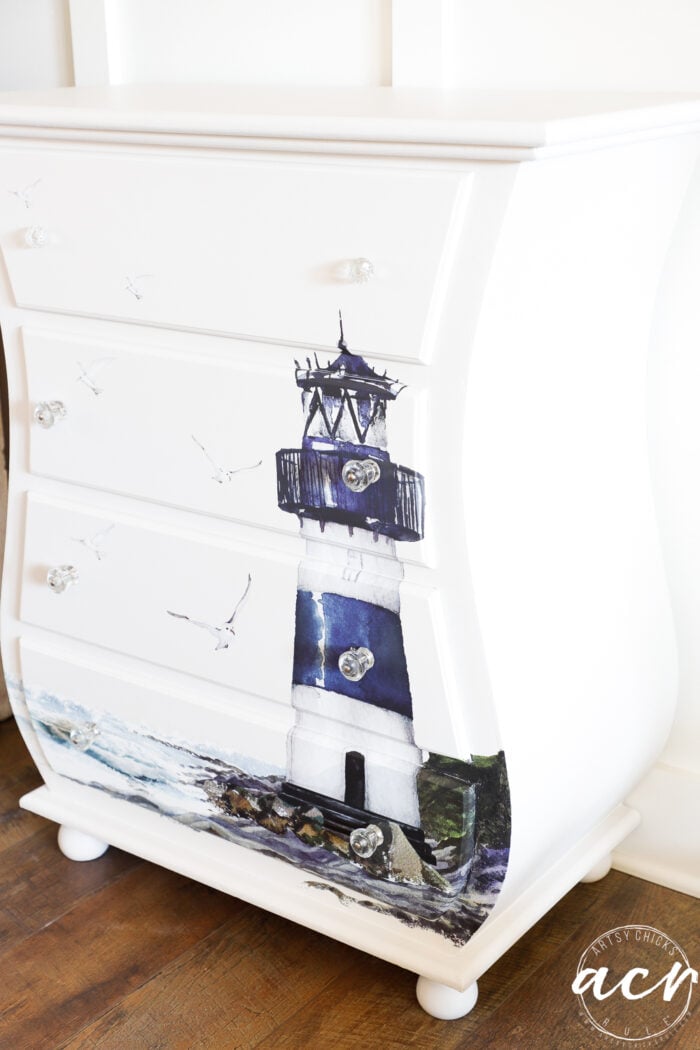
Can you tell I had to paint that one side of the transfer??
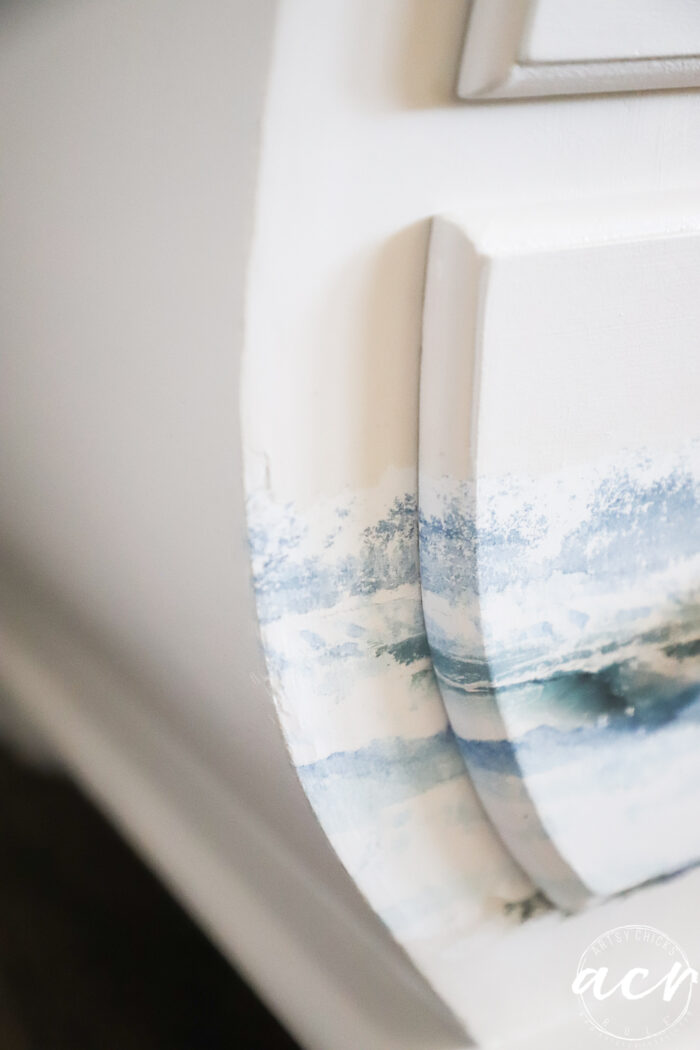
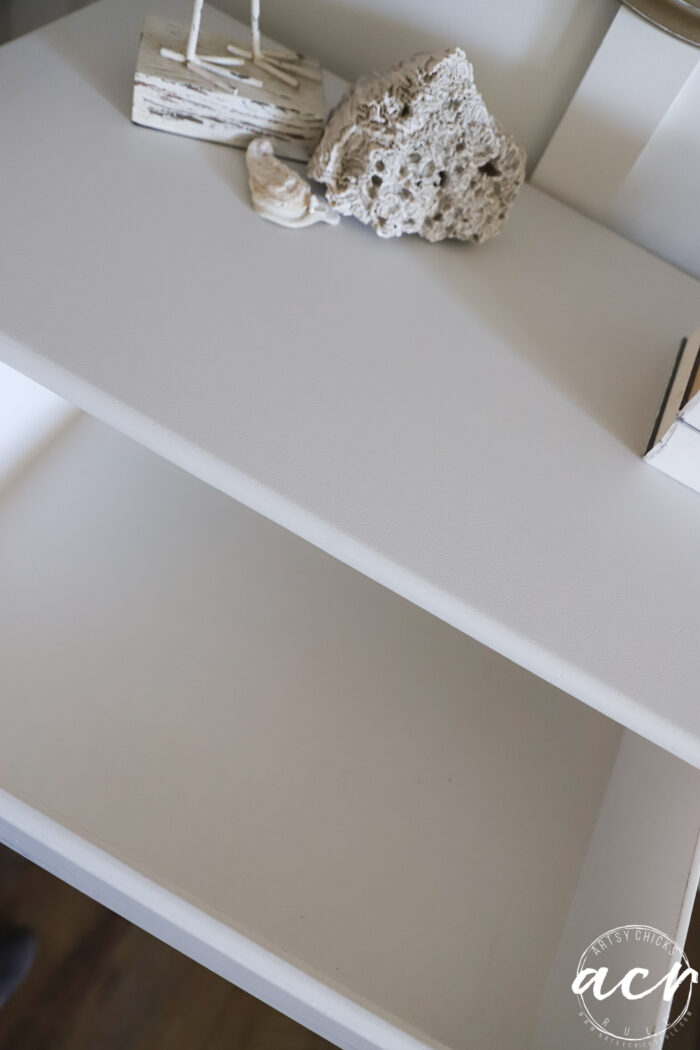
The inside of the drawers were spotless so I left them as-is.
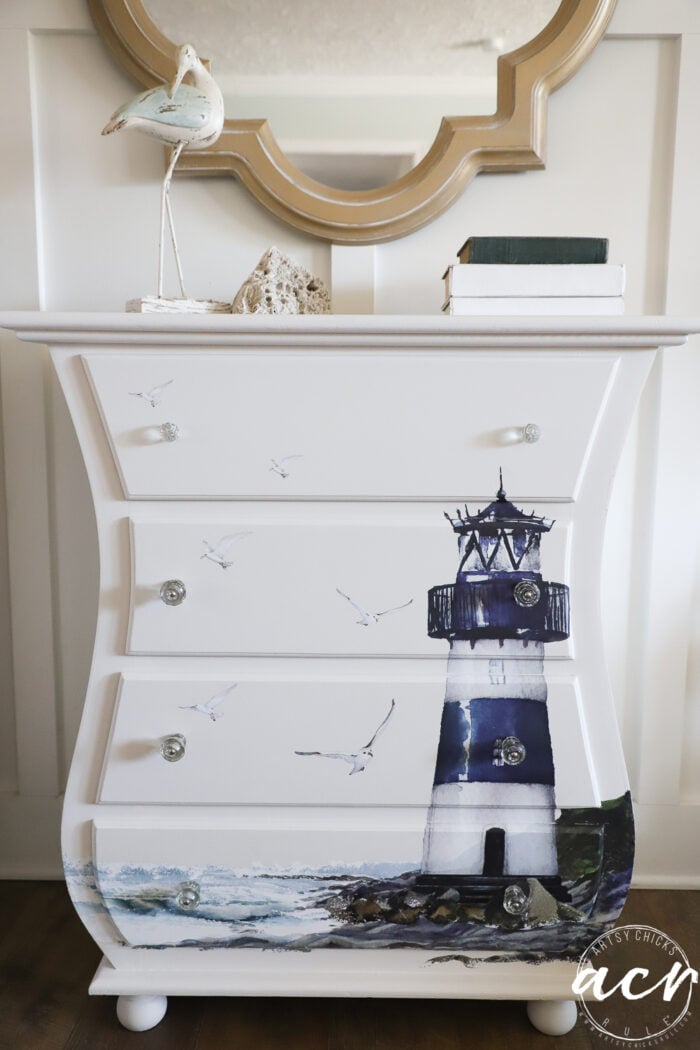
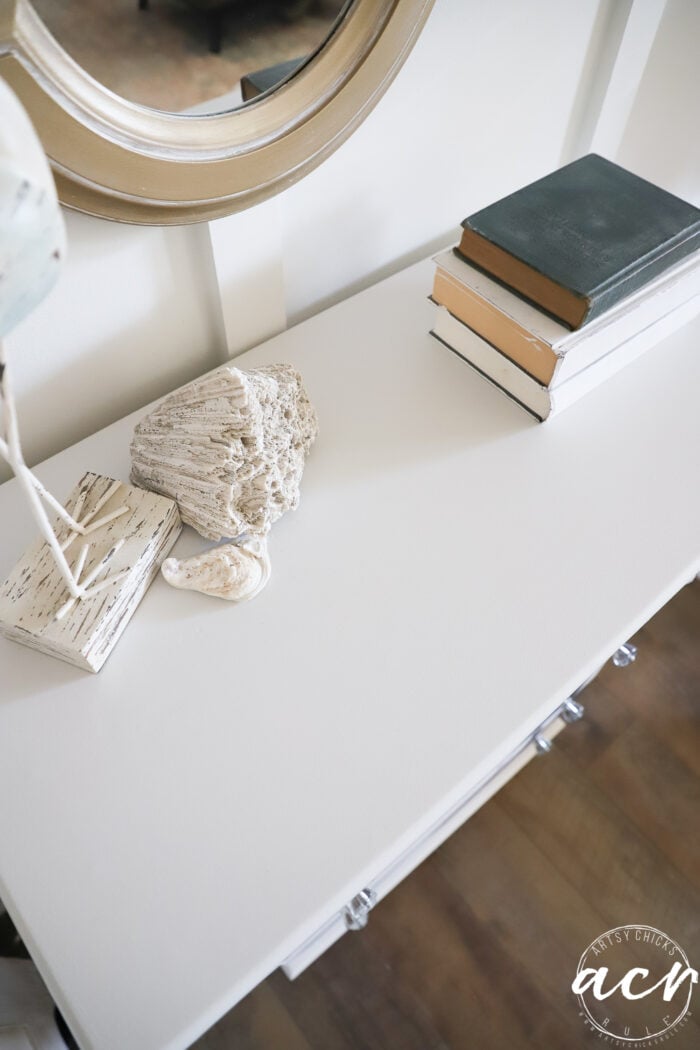
It’s still “white” but it’s a much softer, more elegant white than before.
I think this would look great in a coastal home. The perfect size for an entryway/foyer table!
PIN it to save it!
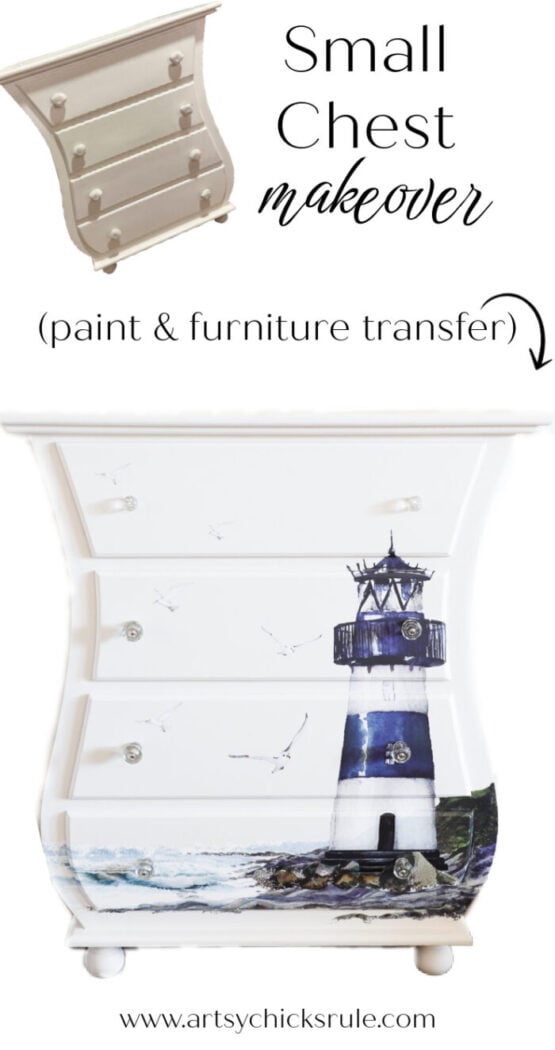
I hope you enjoyed this one as much as I enjoyed making it over! I love how the transfer transformed it.
Wishing you all a very Merry Christmas, a happy holiday, and a wonderful and safe New Year!
xoxo


Thank you for your sharing. I am worried that I lack creative ideas. It is your article that makes me full of hope. Thank you. But, I have a question, can you help me?