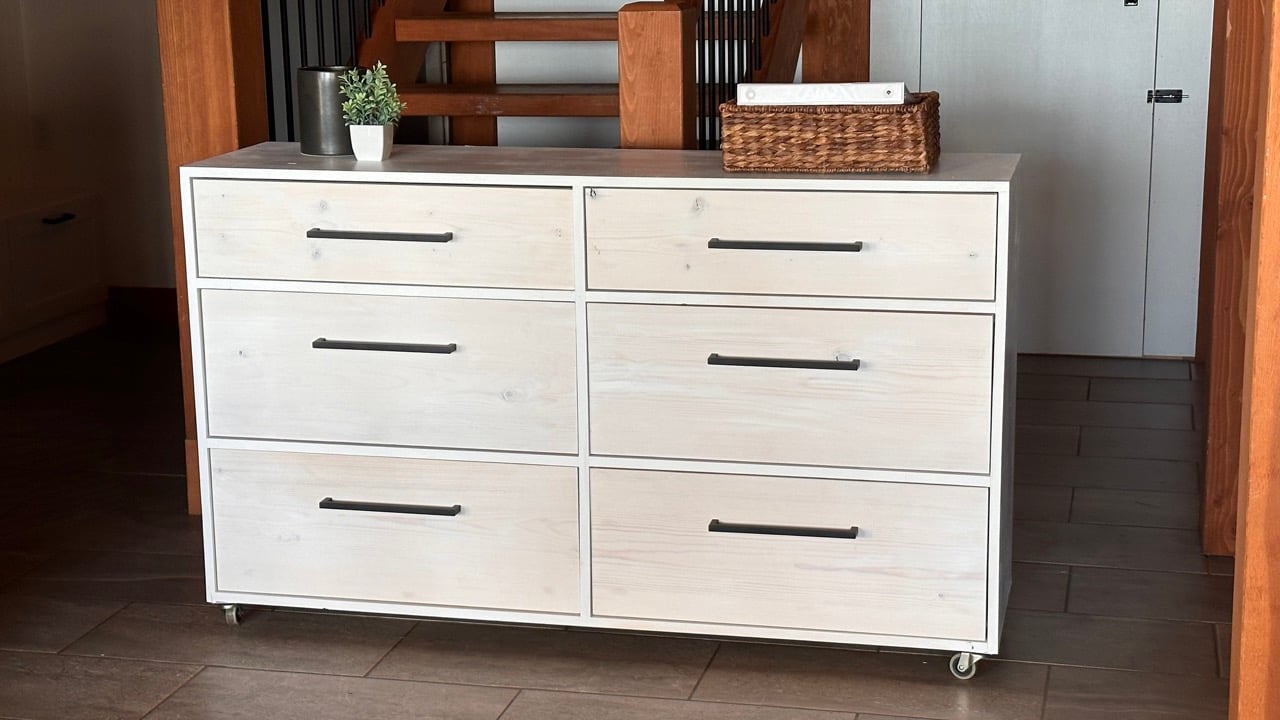
Why I Built this Dresser
I have a space under out stairs in our basement entryway that I wanted to add storage for extra hats, gloves, scarves, googles, and other outdoor accessories. Because it’s under the stairs, I knew I wanted a dresser that is enclosed to minimize dusting and cleaning. And it needed to be on wheels so I can roll it out and clean under it. And finally, it had to be the exact perfect size to fit.
With a tall order like this, it’s impossible to get exactly what you need. So I decided to build my own dresser.
With not a ton of space to work with, but an Alaska (lifestyle) sized amount of gear to store, I knew I needed maximum storage for the footprint. No fancy trim, no bulky detailing – just all drawers in the most minimal of framing.

Video of Me Building this Dresser
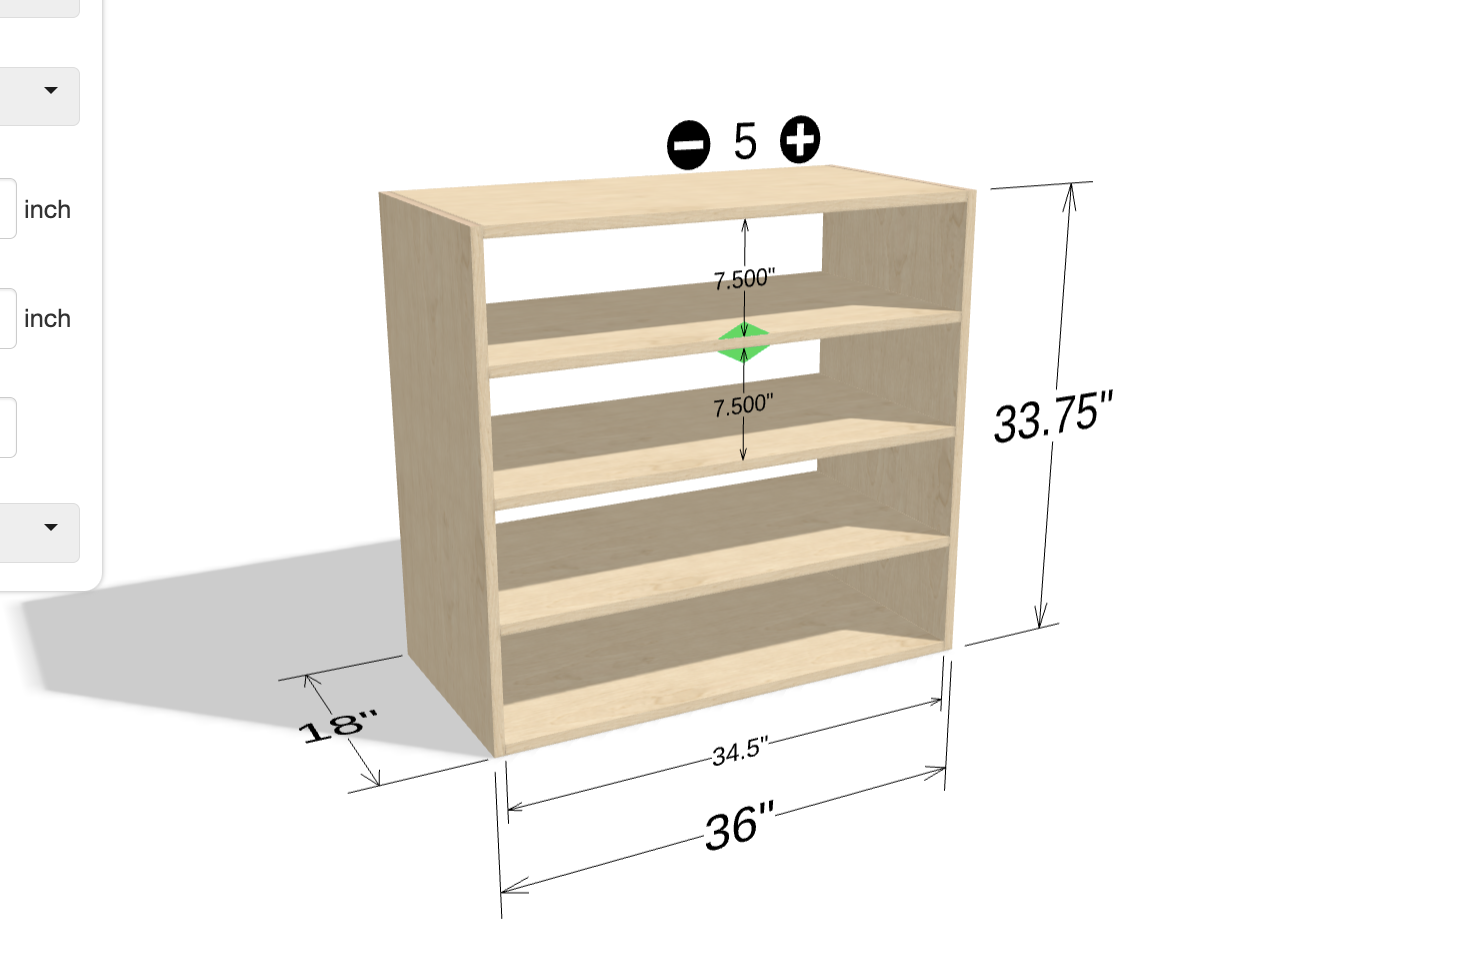
How to Customize This Dresser to the Perfect Size
You can easily customize this dresser to any size! The easiest way to do this is using my free online design app here. In this example, I’m using 16″ drawer slides and 1×8 drawer faces that are 7-1/4″ wide.

- Cabinet depth (the plywood rip you’ll use for the carcass) should be 2″ more than your drawer slide length
- Drawer widths – Keep drawers about 32″ wide or less – any wider, and they might sag or get out of square when sliding. If you want a wider dresser, go with multiple columns of drawers.
- Heights – figure the heights depending on your drawer face sizes. I used standard 1×6 and 1×12 boards for the drawer faces, so I spaced the openings to fit these sizes. Keep in mind you’ll need 1/8″ on all sides of the drawer faces (so add 1/4″ to your drawer face for the opening width.
- Shelves – Instead of the full plywood shelves, I substitute with 1×4 boards (vertical) or 1×2 boards between drawer faces.

Your article helped me a lot, is there any more related content? Thanks!