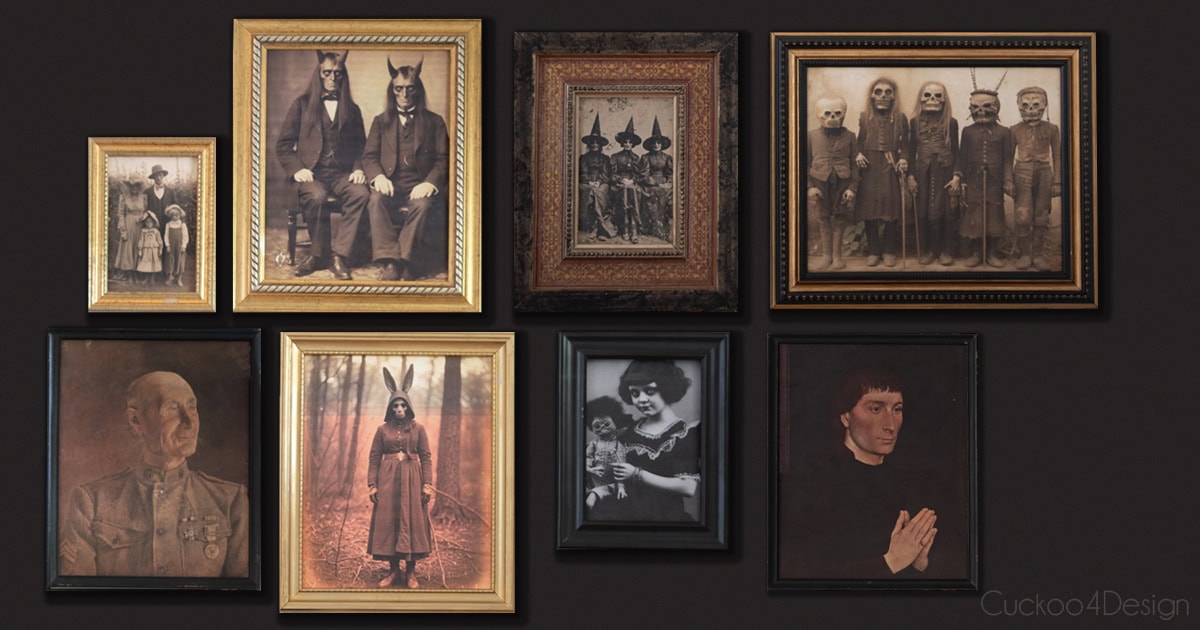
Find out how to make creepy Halloween art using thrift store picture frames and cheap creepy printable portraits made to look like oil paintings.
I recently found two strange and creepy portraits in old frames at Goodwill which gave me the nudge to make another Halloween art wall. I also got lucky with a bunch of other cheap vintage frames at the same Goodwill store. So let me show you what I did and what other creepy photos I picked to complete the wall. This is a cool Halloween craft for the spooky season.

Simple DIY creepy Halloween art using thrifted frames
A couple of years ago, I wrote a blog post about how to make a picture look like a painting by duplicating a portrait of my great-grandmother. I love that painting but my parents have the original and I wanted it too. The process for making that portrait look like an oil painting is the same process used in today’s Halloween art project.
Supplies
- cheap vintage frames (mine are cheap Goodwill finds or you can check other ocal thrift stores, flea markets, and Facebook Marketplace too)
- Halloween images printed on standard printer paper (if you have really large images then you can get them printed for cheap at places like Staples as engineering prints)
- Command wall hanging strips
- decoupage toolset
- canvas panels in various sizes (I used 8×10, 5×7, and 4×6 canvas panels because those are the frame sizes I have)
- hard bristle brush
- regular brush (I used one of the larger brushes from my favorite brush set)
- scissors (or utility knife)
- matte mod podge
- matte gel medium
- polycrylic spray
- small level
- measuring tape
TIP: Whether you are thrifting your frames, buying them somewhere else, or already have old frames at home. Start out with the frames first and then gather your images according to what frames you want to use.
Of course, you can just print the images and insert them behind the glass of the picture frames. But I hate the glare of the glass and think that the images look much better when decoupaged onto canvas panels with some added brushstroke texture. That extra step makes the entire Halloween art grouping look so much older and creepier.
Creepy portraits and photos from Etsy used in tutorial
Etsy is truly a treasure trove of all kinds of downloadable art for very cheap. I found so many options and here are the ones that I used. (or a super affordable bundle of 13 images for really cheap and a great option too)
creepy free downloads
As I mentioned, I bought my images for cheap on Etsy but several websites offer free options as well.
Video tutorial
As always I made a short video for you so you can see what I exactly did. If it doesn’t load well for you here then you can also watch it on my YouTube Channel.
Instructions
This post may contain affiliate links from which I will earn a commission at no extra cost to you. View my full disclosure policy.
Step 1: Print images and seal ink
I printed my images at home on standard printer paper. I mostly printed them in the sepia tone that they were in which isn’t a total black and white image and makes them look older. Along the way, I was having trouble with our printer which is why the one image looks a bit off.
After that, I laid them on a protected surface and sprayed a thin layer of the polycrylic on every printed image. This prevents the printer ink from bleeding or mixing together when you apply the top layer of Mod Podge or gel medium. Let the sealer dry fully!

Step 2: Glue images to canvas panels
Cut your sealed images to size and spread a thin layer of Mod Podge on a canvas panel that fits your image size with a smooth craft brush. After that, carefully lay the printed image on the panel. Then use the roller/rubber brayer from the decoupage toolset to smooth out any wrinkles and bubbles. I followed that up with the small squeegee from the set to smooth more wrinkles. Be careful that the paper doesn’t tear when it is soaked with the decoupage glue.
Let the glued-on image dry completely.
TIP: I’m using canvas panels instead of stretched art canvases the way I did for my great-grandmother’s portrait because the panels are thin enough to fit inside the picture frames.

Below you can see an image on the left that wasn’t sealed and rolled versus the sealed and smoothed image on the right. This is the best way to decoupage any image onto any surface without wrinkles.

Step 3: Brush a textured layer onto front of image
Both the matte Mod Podge and the matte acrylic gel medium work as a top coat. I personally prefer the thick gel medium to give the canvas the look of a painting.

TIP: You can use Mod Podge as the top layer as well but I prefer the gel medium which helps create a nicer texture.
I used the hard bristle brush to add a generous layer of the matte gel medium to all the images in random strokes and let it all dry. This really makes all the difference. I don’t like using semi-gloss for this because I don’t like how the light reflects off the texture.

Step 4: Add the picture canvas panel to the frame
I simply added the image to the picture frame without any backing because it fit so snug and stayed in place. If yours doesn’t fit snug, you can tape the back of the frame.

Step 5: Arrange the frame grouping and hang them on the wall
I placed my measuring tape to the width of my wall on the floor and then laid out a frame grouping that I liked. Then I used the Command strips to hang my frames on the wall with a small level.

Finished DIY creepy Halloween art hanging on my wall
Of course, our black cat Walter had to participate in the Halloween decorating action and he matches so well.


As you can see in my video, I tried the frames with the creepy artwork on the wall next to the sideboard first. Eventually, I ended up putting them over the sideboard instead. The main reason is that we keep the door open a lot and then you can’t see the artwork behind it.


I love the black and red frame that I placed the witch art in. Unfortunately, that one had a velvet backing and the Command strips didn’t adhere well to it even when I ripped the velvet off. It was also quite heavy, so I placed it on the tray instead. It looks great there.
I purchased the hand-painted skull next to the green faux pumpkin years ago from an Etsy shop for my daughter’s Halloween post apocalyptic outfit. That was a fun photoshoot and it is still one of my favorite Halloween decorations that I have.

This side of our dining room now has the right amount of Halloween vibes for my liking.
After Halloween, I will keep this gallery and download more prints that aren’t Halloween-specific and fill the frames. I love this Etsy shop that has great landscape and portrait oil painting options.
More of my DIY Halloween decor ideas and DIY projects
Check out my Halloween gallery wall that I made for my daughter’s birthday party when she was little. It was fun to put together with some bloody details. I also included the free printable skull images which we took on a visit to the Sedlec Ossuary which is a small chapel in the Czech Republic made out of bones.

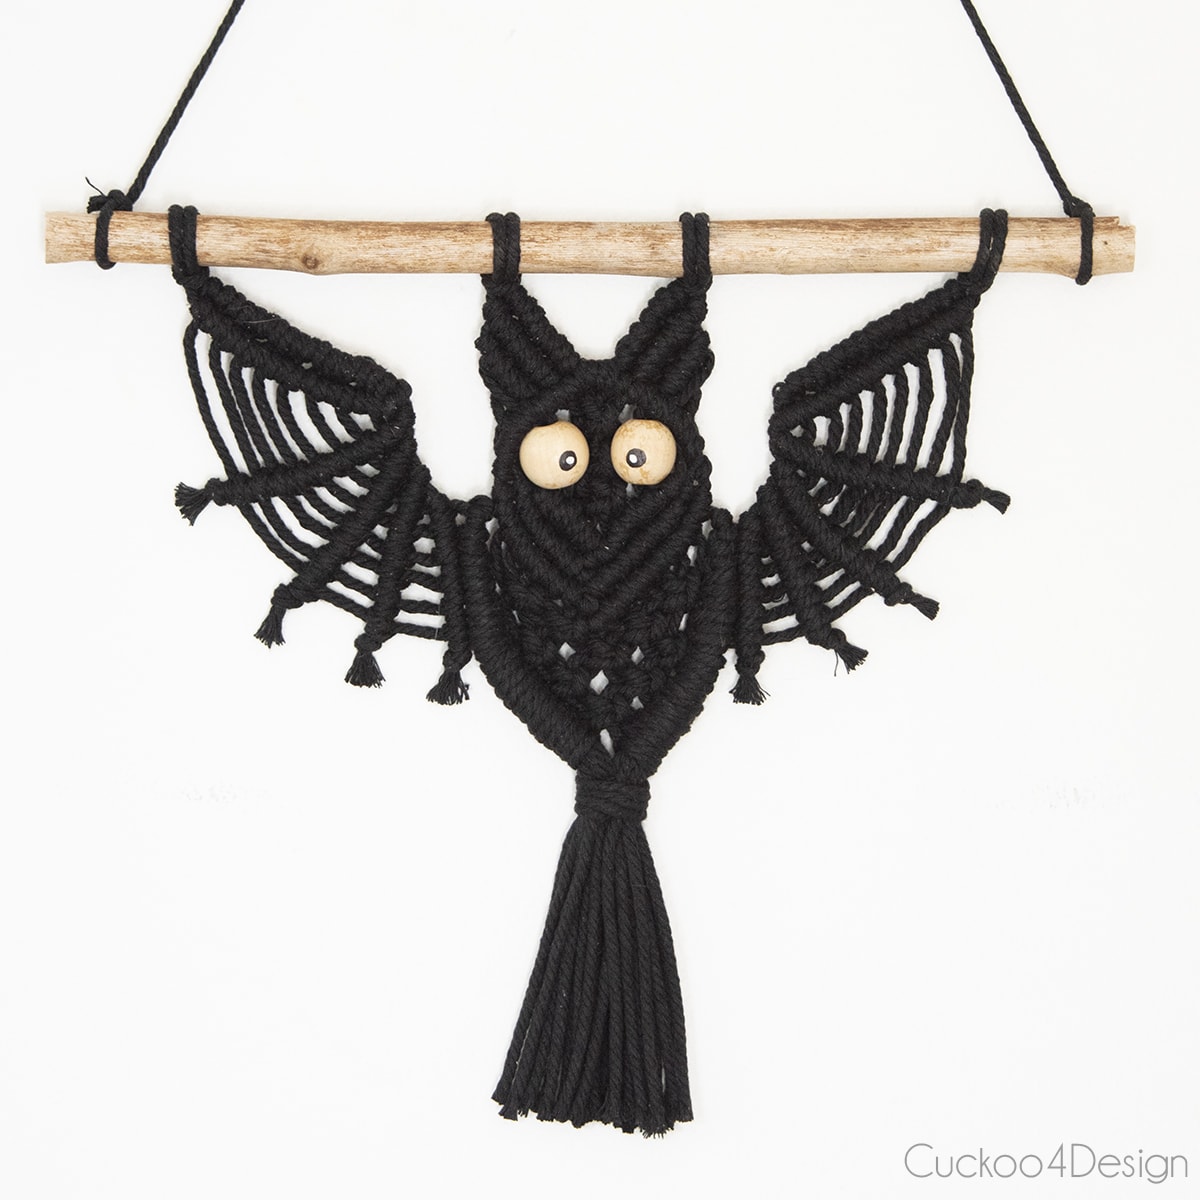
Or you might like to find out how to make a macrame bat wall hanging (free pattern included)

Do you have any mismatched old plastic pumpkins at home? Then learn how to paint them and turn them into a faux terra cotta pumpkin. I love how they look on our front porch.

And one of my personal favorites are the paper moths I made for my fall leaf arrangement last year (with cut out printable leaf template) for a more subtle fall and Halloween look.

Happy Halloween,


