
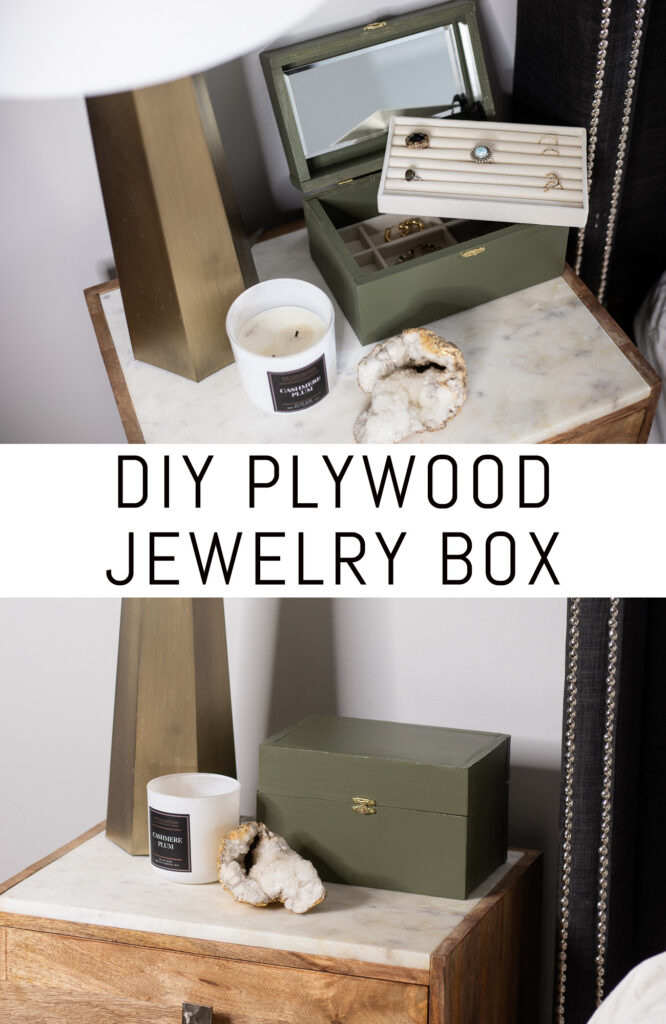
Today’s project was a bit of an experiment. I was trying out a new tool (the Kreg Jig Micro) and wanted to experiment with thinner wood, while also keeping this project budget-friendly. I decided to make a DIY plywood jewelry box.
Disclosure: This post contains affiliate links. As an Amazon Associate I earn from qualifying purchases.
If you want a higher quality jewelry box you could definitely use higher end lumber but I really wanted to experiment with thinner plywood.
Here’s what you’ll need:
Cut List:
- (2) pieces of plywood cut to 8 3/8″ long x 5″ wide (top and bottom)
- (2) cut to 9 3/8″ long x 3 1/2″ wide (front and back of bottom)
- (2) cut to 5″ long x 3 1/2″ wide (sides of bottom)
- (2) cut to 5″ long x 2″ wide (sides of top)
- (2) cut to 9 3/8″ long x 2″ wide (front and back of top)
Tutorial:
Step 1:
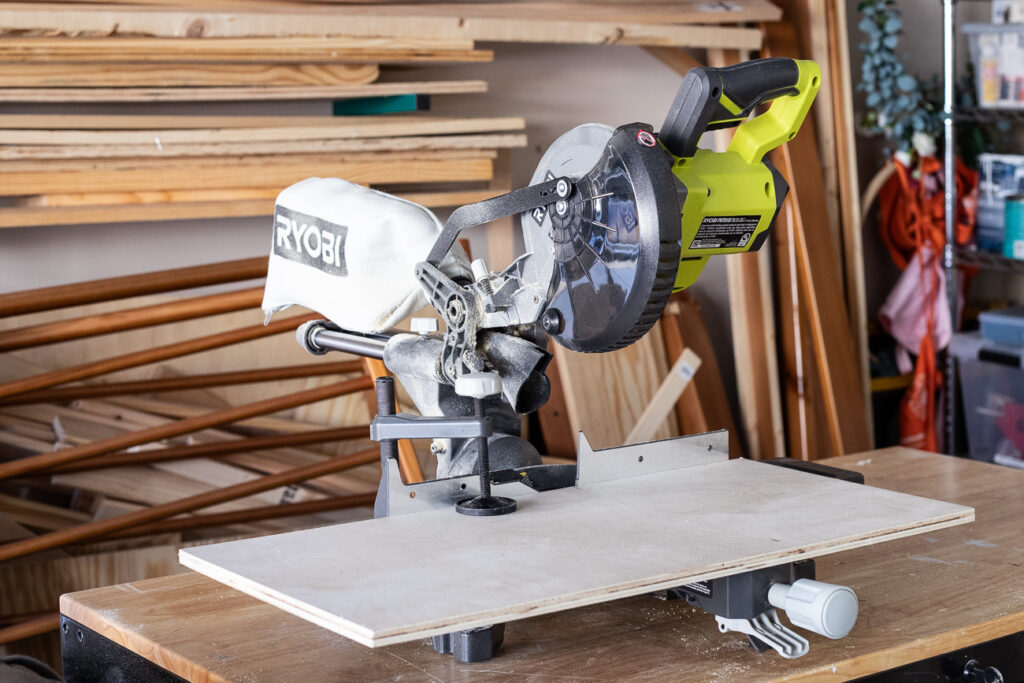
Cut your wood to the specified dimensions above. I used a miter saw for this but a circular saw is fine too.
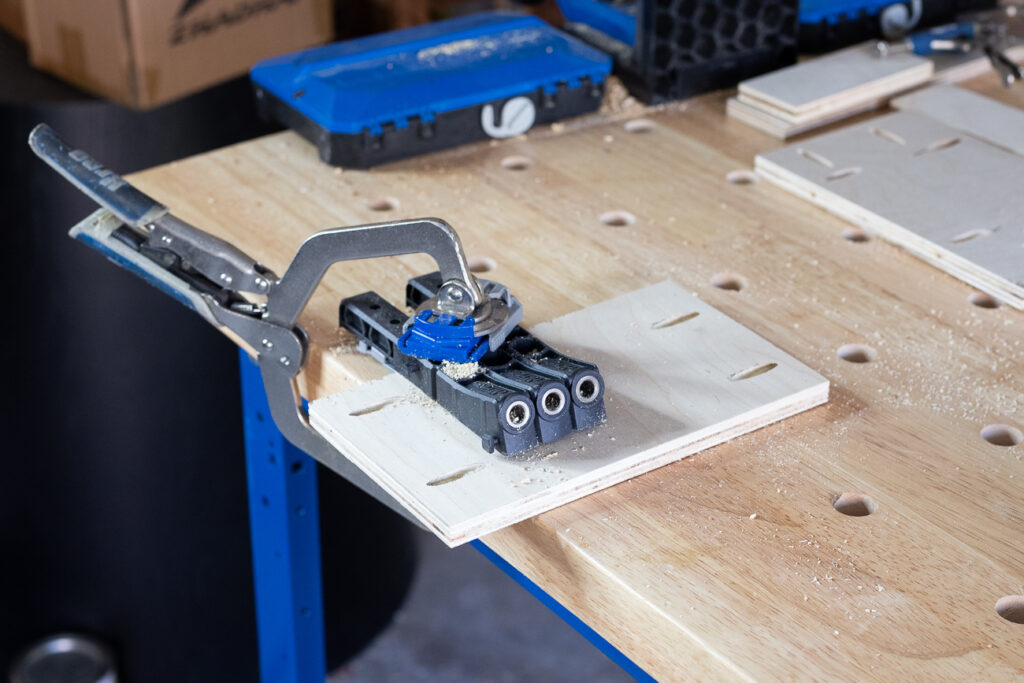
Step 2: Drill Pocket Holes
Use the Kreg Jig Micro (great for thinner wood) to drill 2 pocket holes along each side of your top and bottom pieces. (8 3/8″ x 5″ pieces.)
Step 3: Sand
Sand everything smooth.
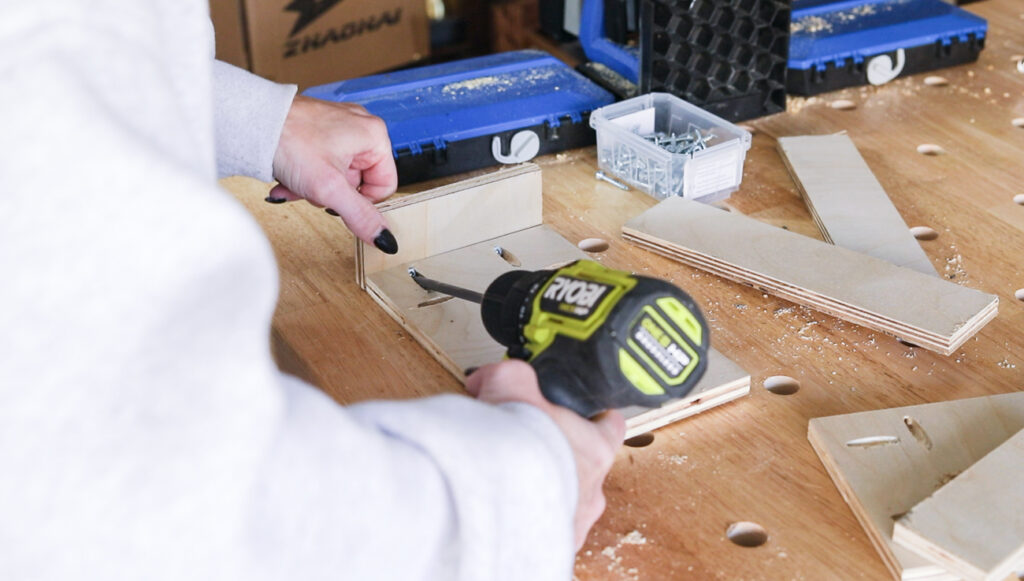
Step 4: Assemble Boxes
Build your boxes by attaching the side pieces to the top and bottom pieces using 3/4″ pocket hole screws. If your side pieces aren’t snug enough, you can reinforce those with 1″ brad nails. I didn’t attach the sides to each other with pocket hole screws because the space would’ve been too narrow to fit a drill.
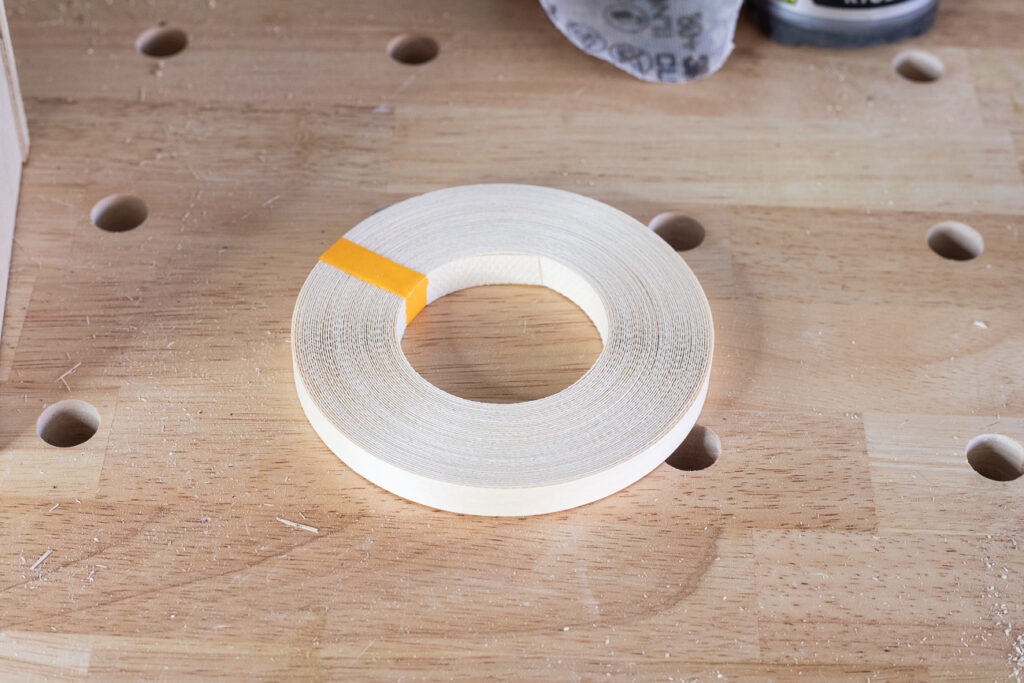
Step 5: Add Edge Banding
I ironed on edge banding to hide the exposed edges of the plywood. You just iron it on which activates the glue and then you can use a utility knife to trim the excess and sand the edges smooth after. It’s also paintable and stainable.
Step 6: Patch and Paint (or Stain)
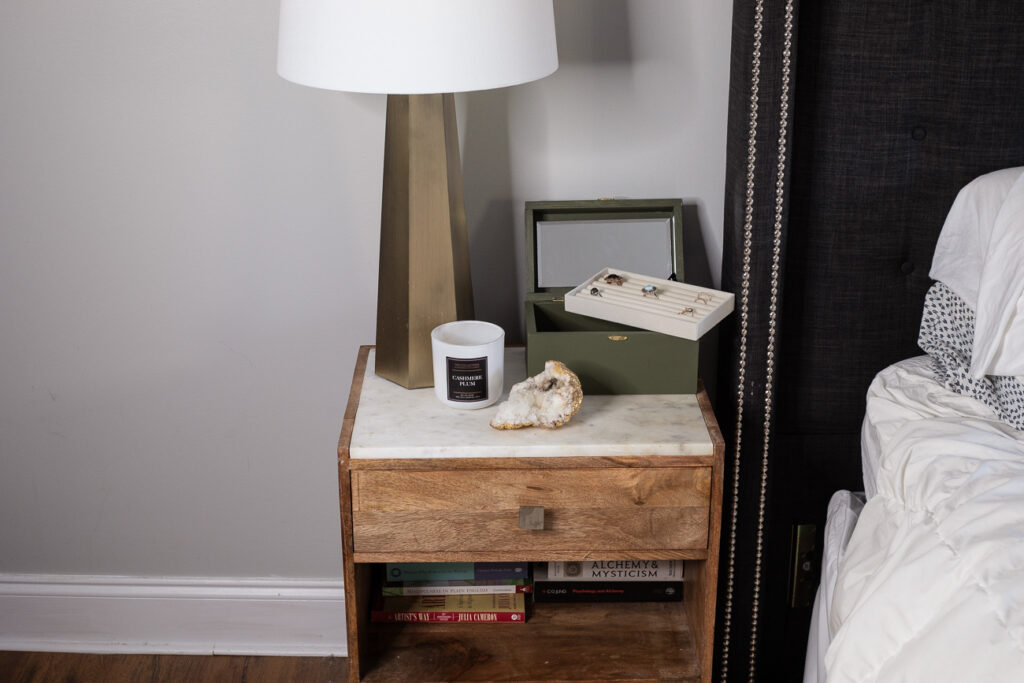
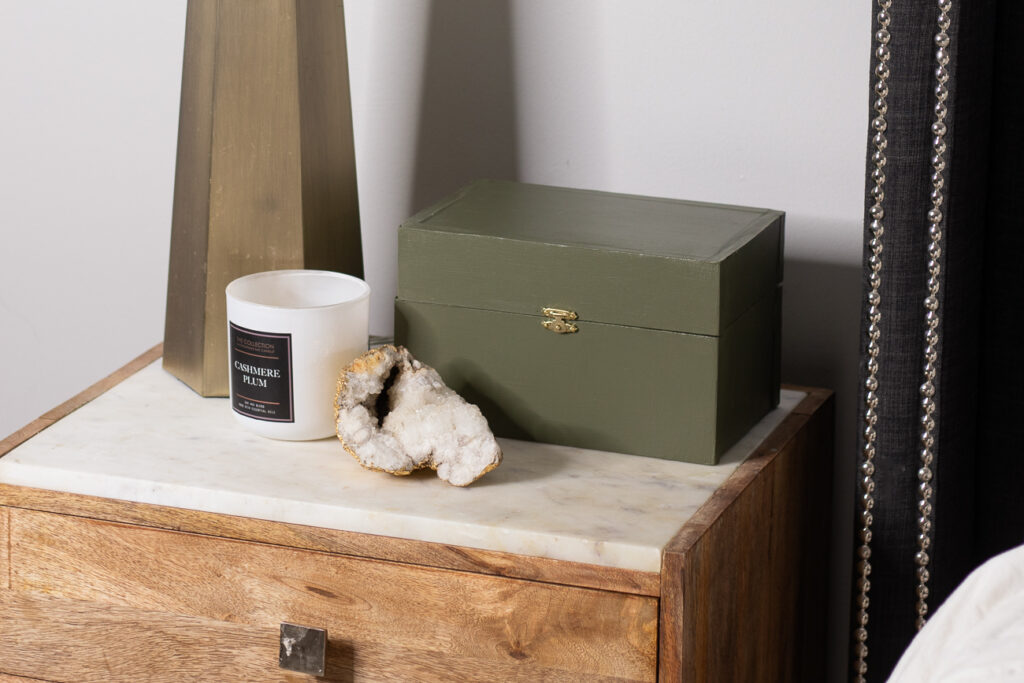
I used wood filler to patch over any tear-out (my saw blade must not have been sharp enough because I did have some) as well as exposed pocket holes, and sanded it smooth. Then I primed it and painted it green. Since I was using plywood and not high quality wood, I opted to paint instead of stain. Unfortunately I no longer have the name of this paint since the label is messed up but it’s Behr Marquee.
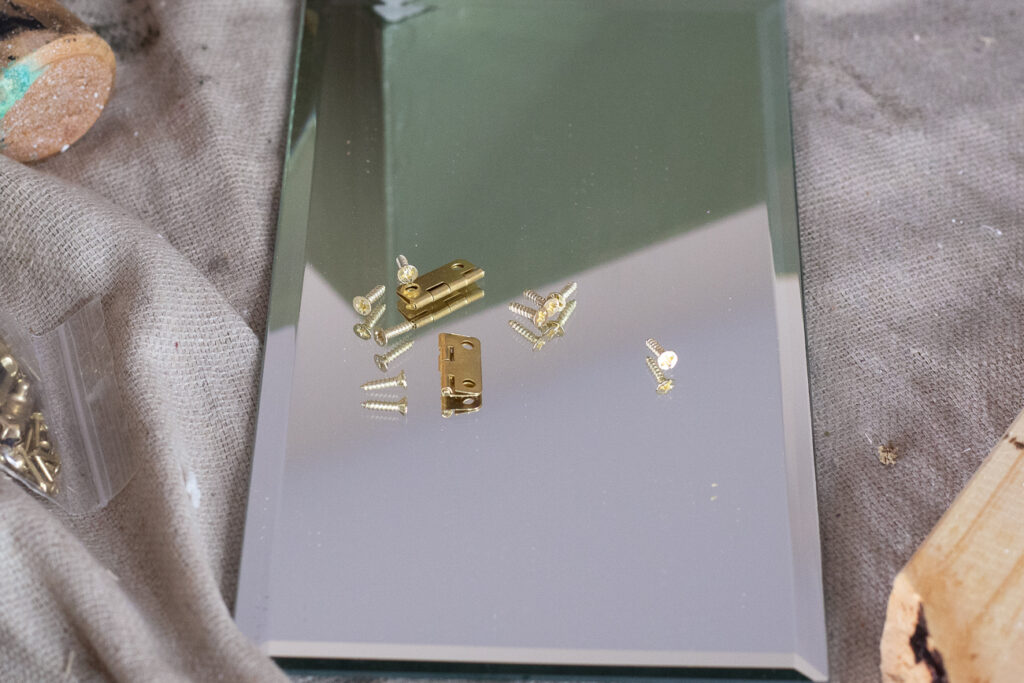
Step 7: Add Hardware
After my final coat of paint had dried, I attached the hinges and latch. I found this jewelry box hardware on Amazon.
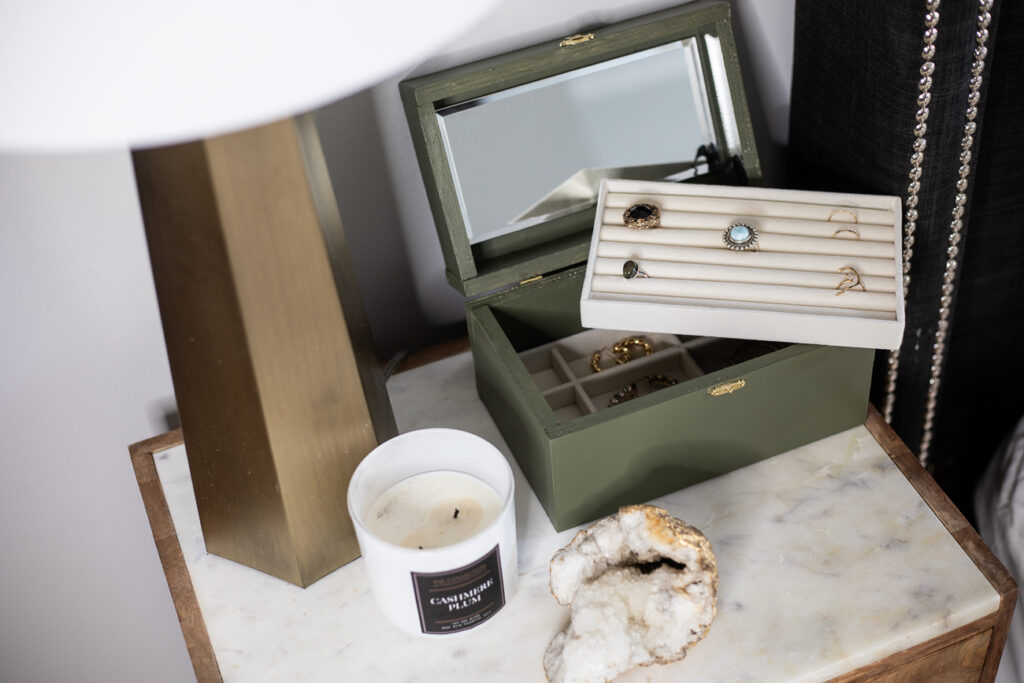
Step 8: Add Mirror
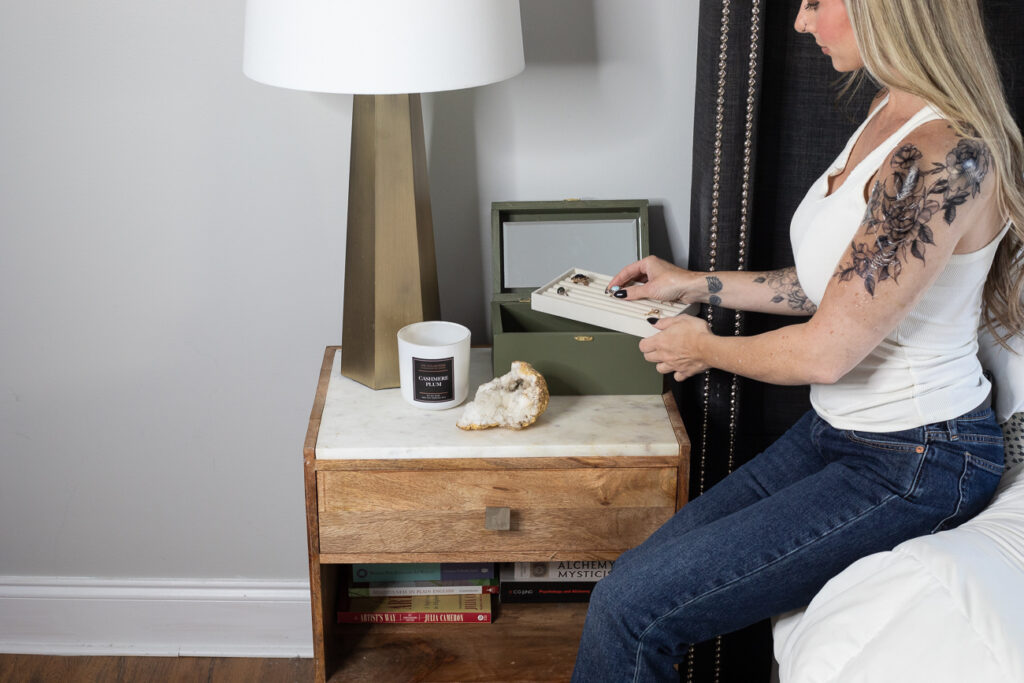
This step is totally optional but I added a small mirror I found on Amazon, even though it didn’t fit the dimensions perfectly. I hot glued it on but I recommend using construction adhesive if you want a more permanent adhesion.
Step 9: Add Inserts
The final step is to add your jewelry box inserts. I found these on Amazon and customized the size of the jewelry box to fit them. I hot glued a loop of ribbon to the bottom of the top tray to make it easier to remove.
You can check out my YouTube video tutorial for this project here:
You Might Also Like: