Last I left you, the closet under the stairs had a gorgeous new galaxy wallpaper. I can’t believe how much that starry paper transformed this tiny space. However, there was one glaring issue…the bright white baseboards! They were sticking out like a sore thumb next to that deep dark paper.

So, I knew the next step in this process would be to give the baseboards a fresh coat of paint before I moved on to the other fun elements I had planned for the space playroom.
Finding The Perfect Dark Blue Paint Color
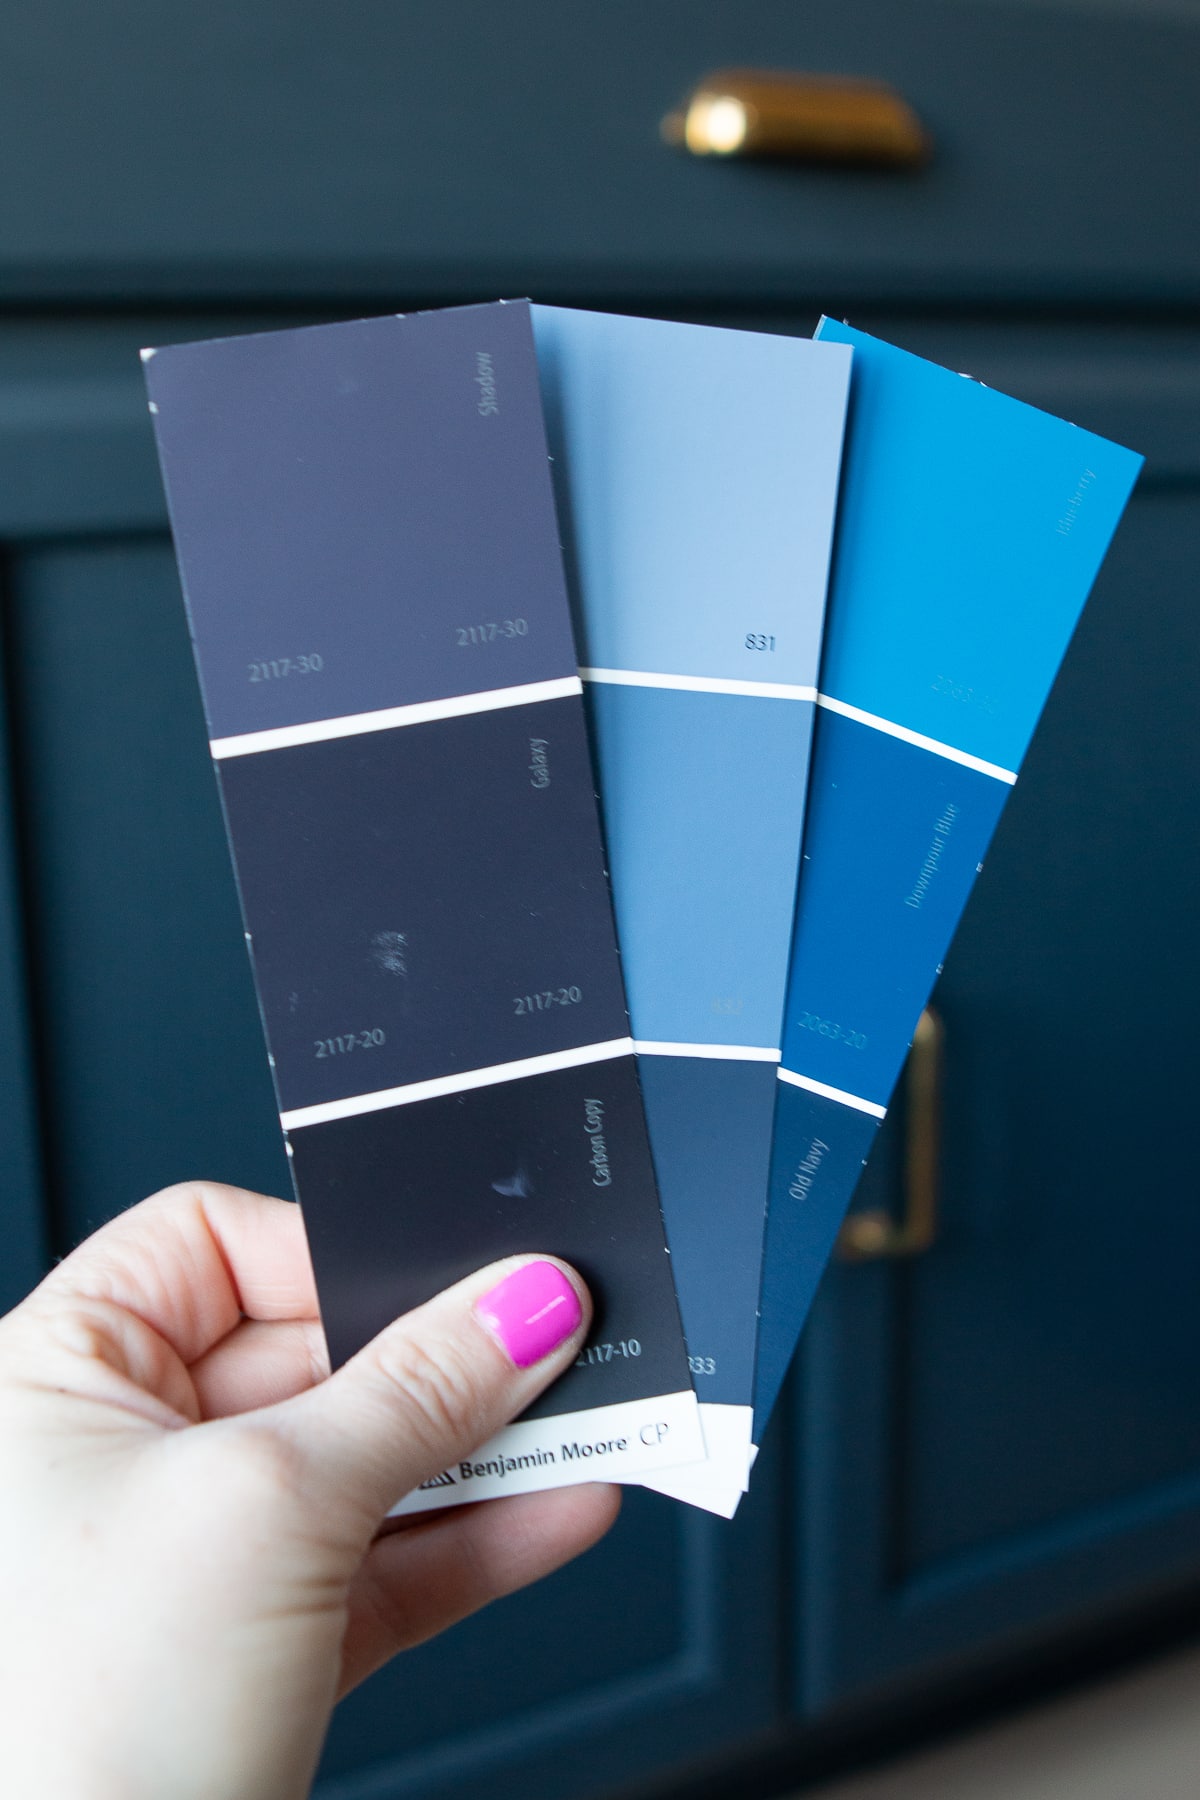
First up, figuring out what color to paint the baseboards. I knew I wanted it to flow well with the paper. To me, the wallpaper has a mix of dark blue and purple colors. Luckily, I had some strips left over and I took them to my local Benjamin Moore store to find a good paint color to match.
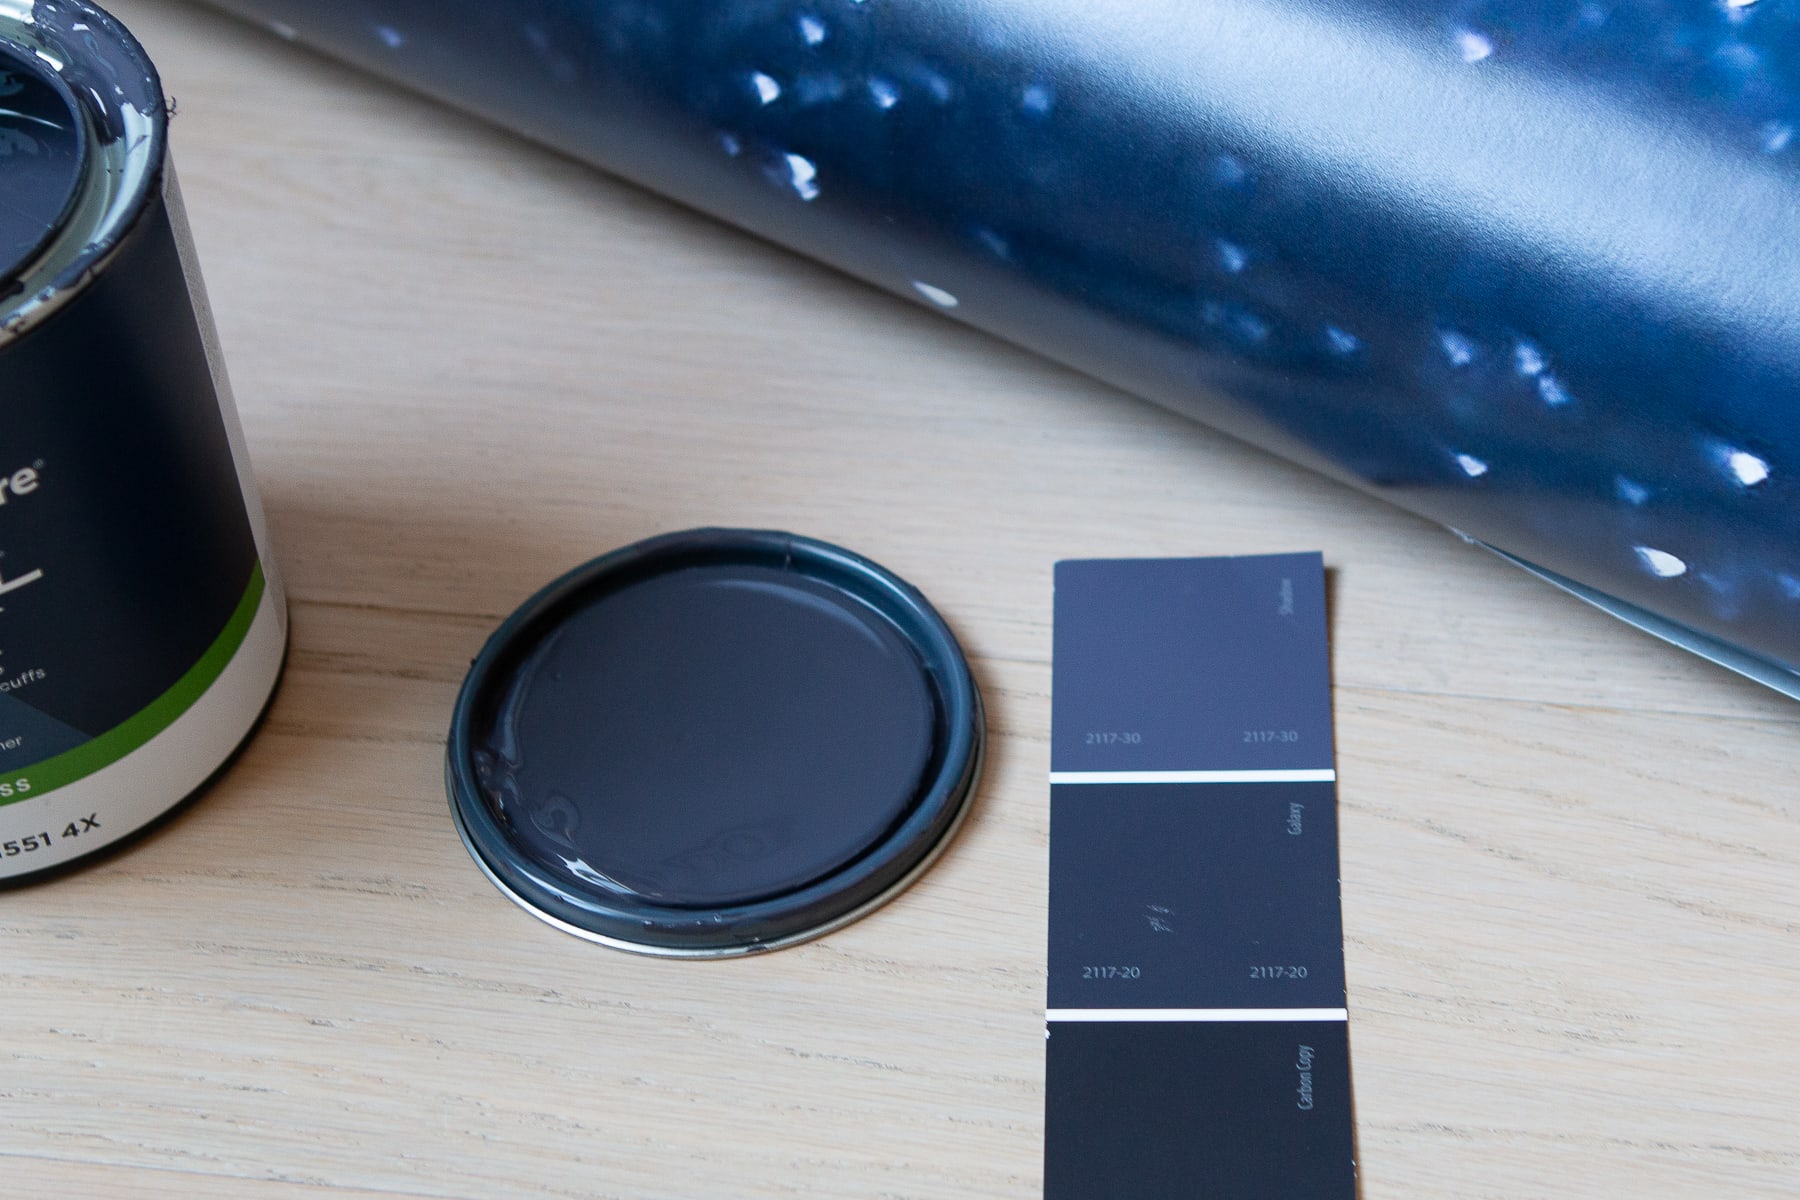
Usually, you can have the paint store associates color match just about anything for you. You can bring in wallpaper, a pillow….heck, even a favorite shirt, and they will scan it and find a comparable paint color. Most paint stores and home improvement stores will have this technology available.
On the day I visited, their scanner wasn’t working, so I did it the old-school way and looked at lots of paint swatches.
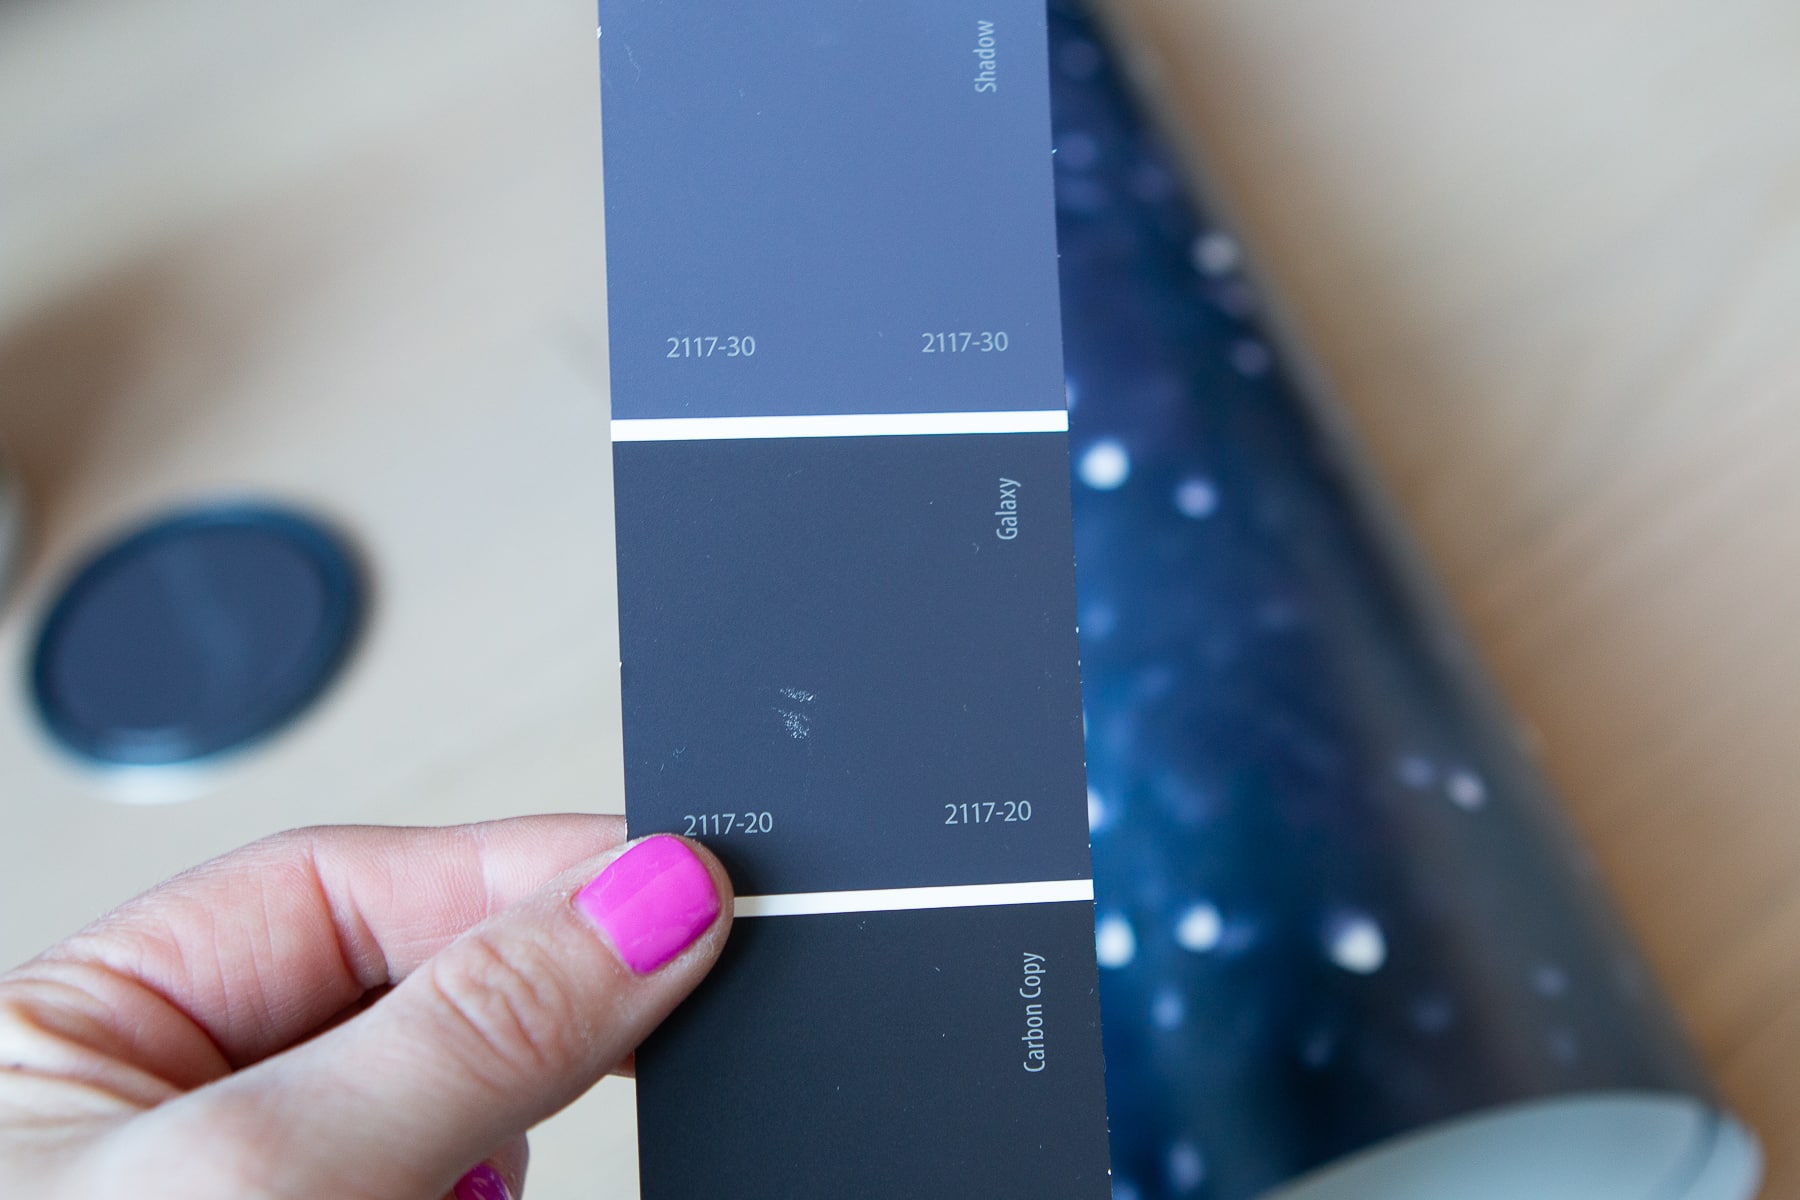
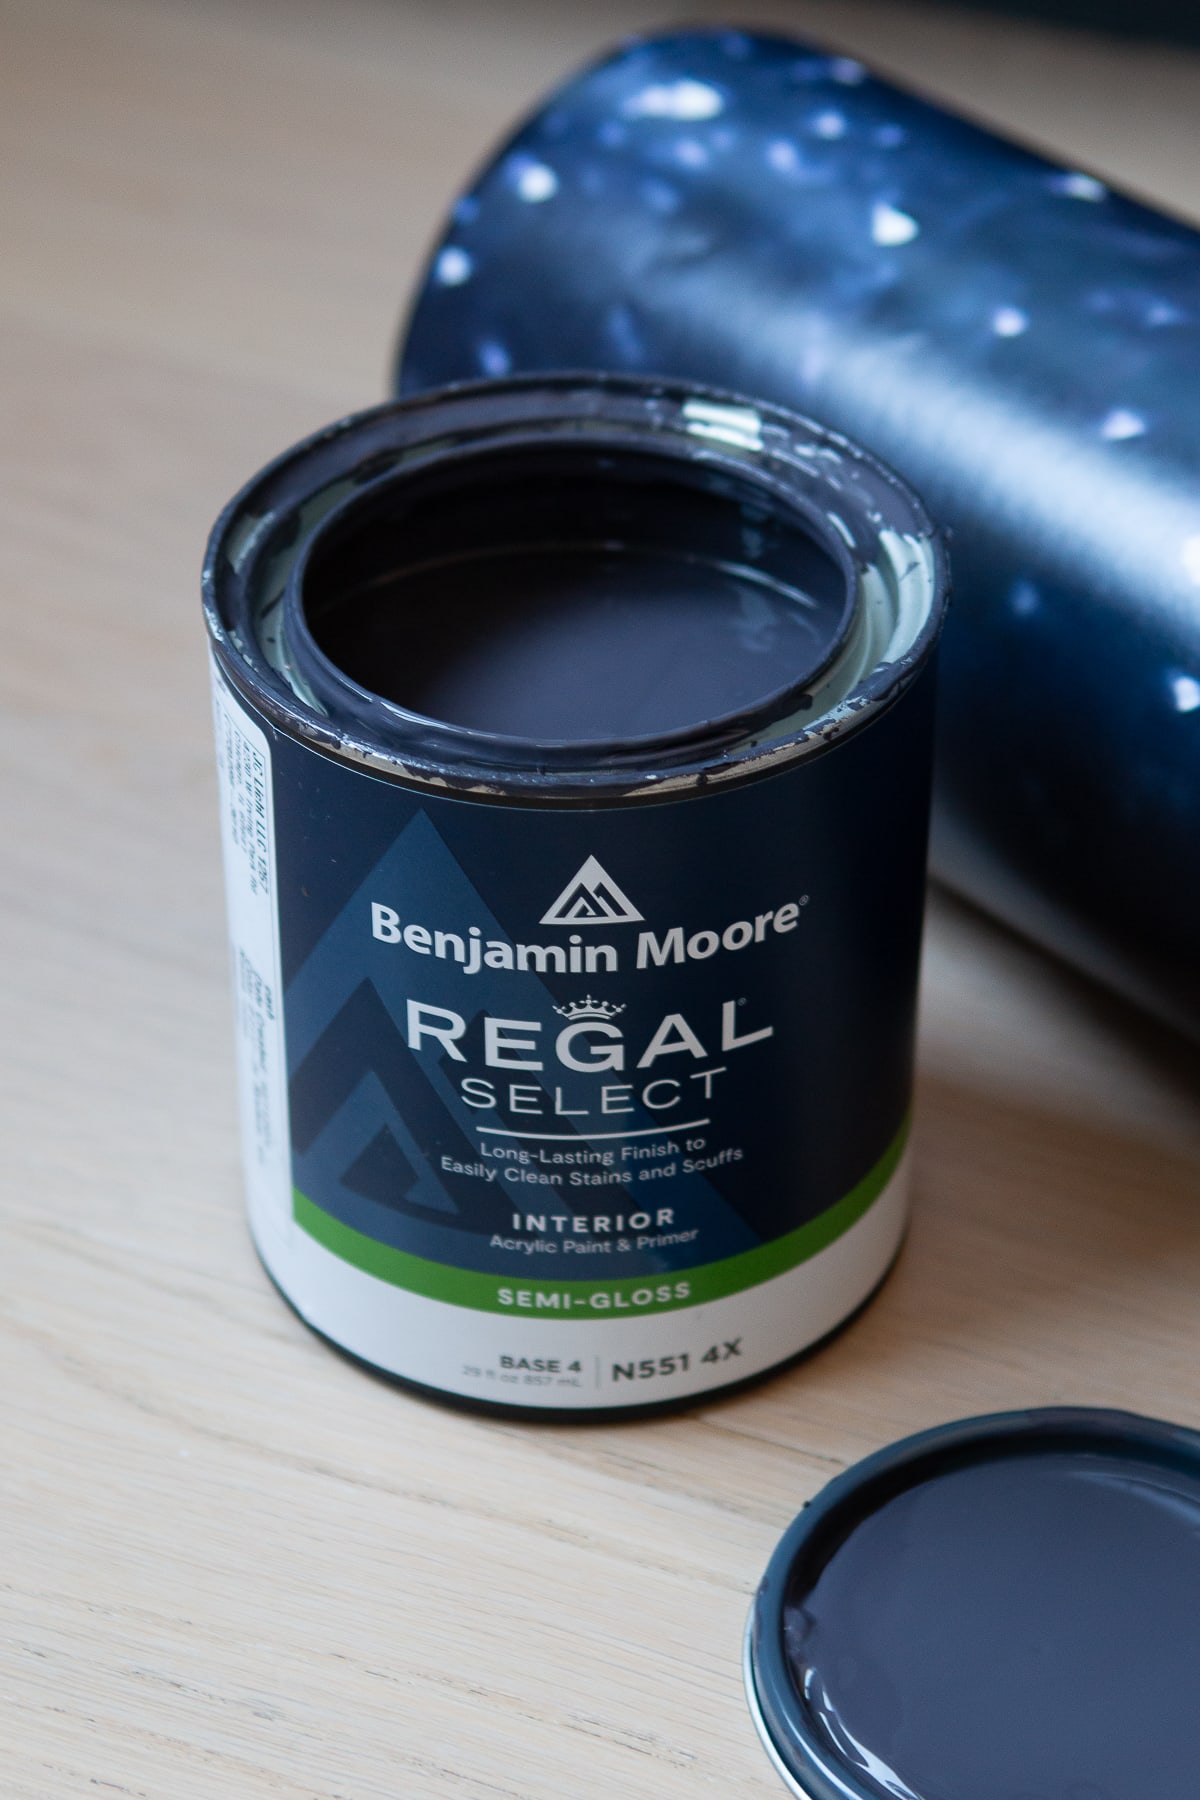
In the end, I decided on the paint color “Galaxy”. Yes, I was swayed by the name! I mean, does it get more perfect than that? While the name was spot on, the color also worked perfectly next to the wallpaper – a deep dark blue.
Protecting Carpet When Spray Painting

This isn’t my first time painting baseboards with carpet. If you remember this blog post, I painted the entirety of our basement using an industrial-strength paint sprayer. It was quite the paint job and I learned a hell of a lot along the way. My biggest lesson was that the prep work was incredibly time-consuming, but oh-so-necessary.
If you’re painting an entire room and will be using a paint sprayer, here’s the best way to prep your baseboards for paint.
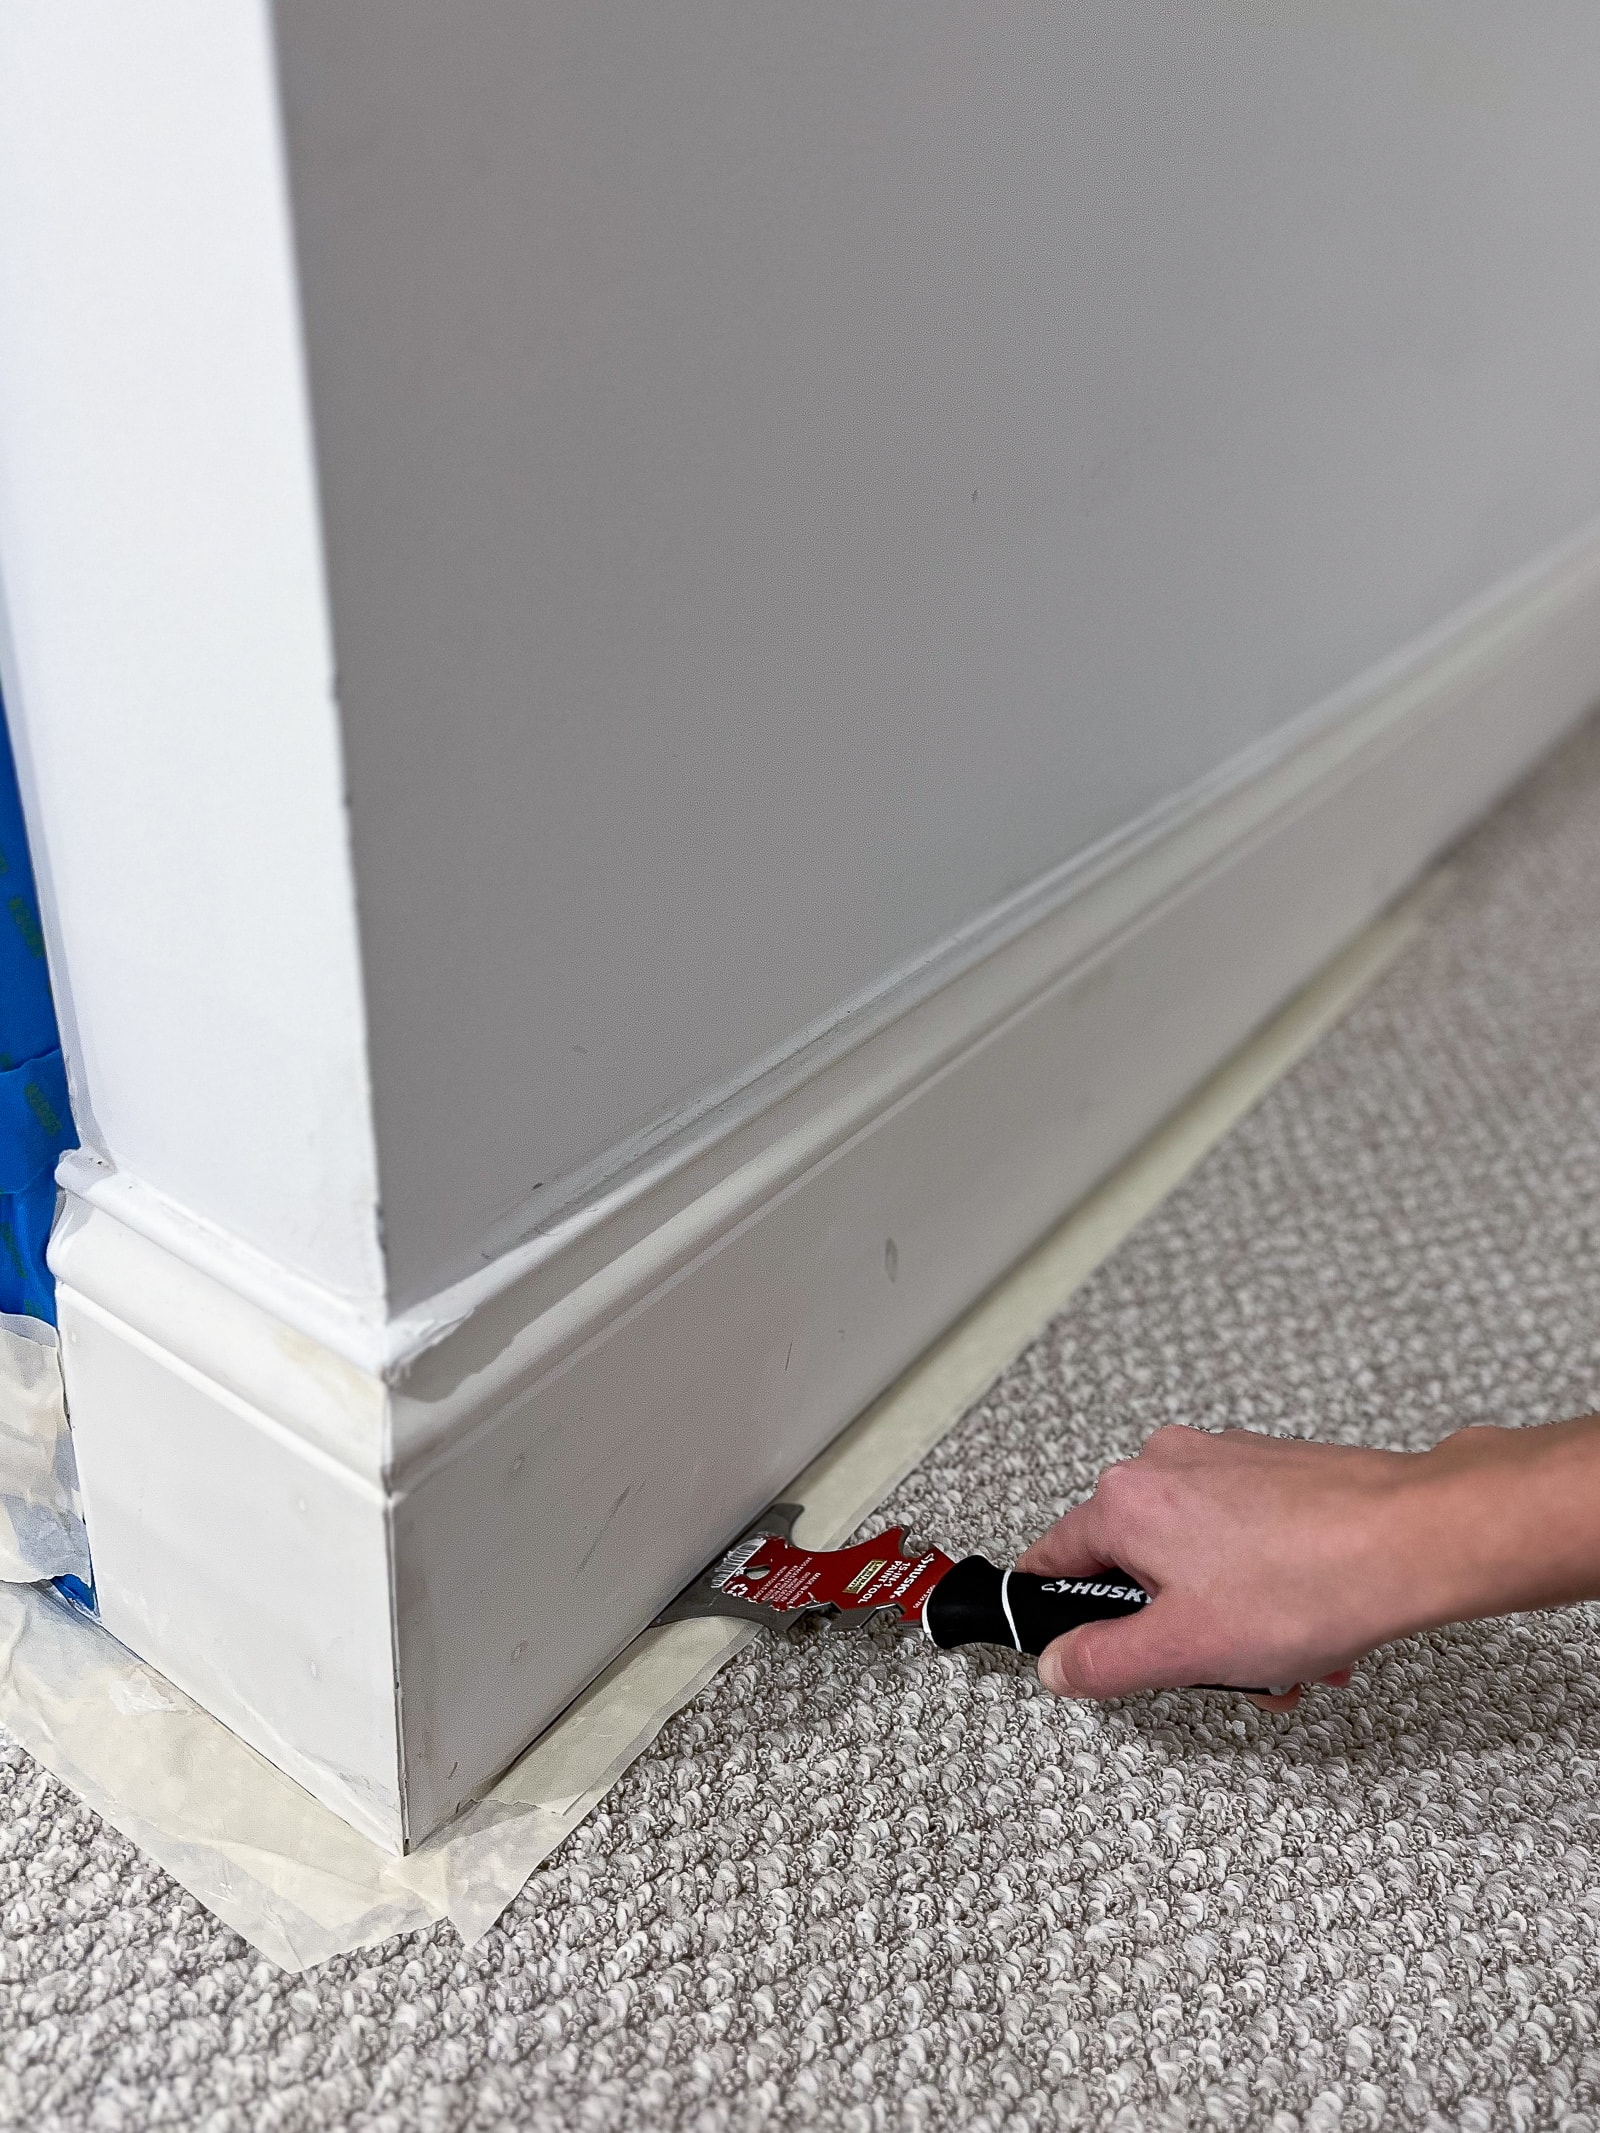
- Take 2-inch masking tape and shove it under the baseboards using a putty knife. Put another line of masking tape on top of the first. Do not use painters tape for this. It comes up too easily when placed on the carpet. I learned that lesson and consulted a professional painter who gave me the masking tape trick!
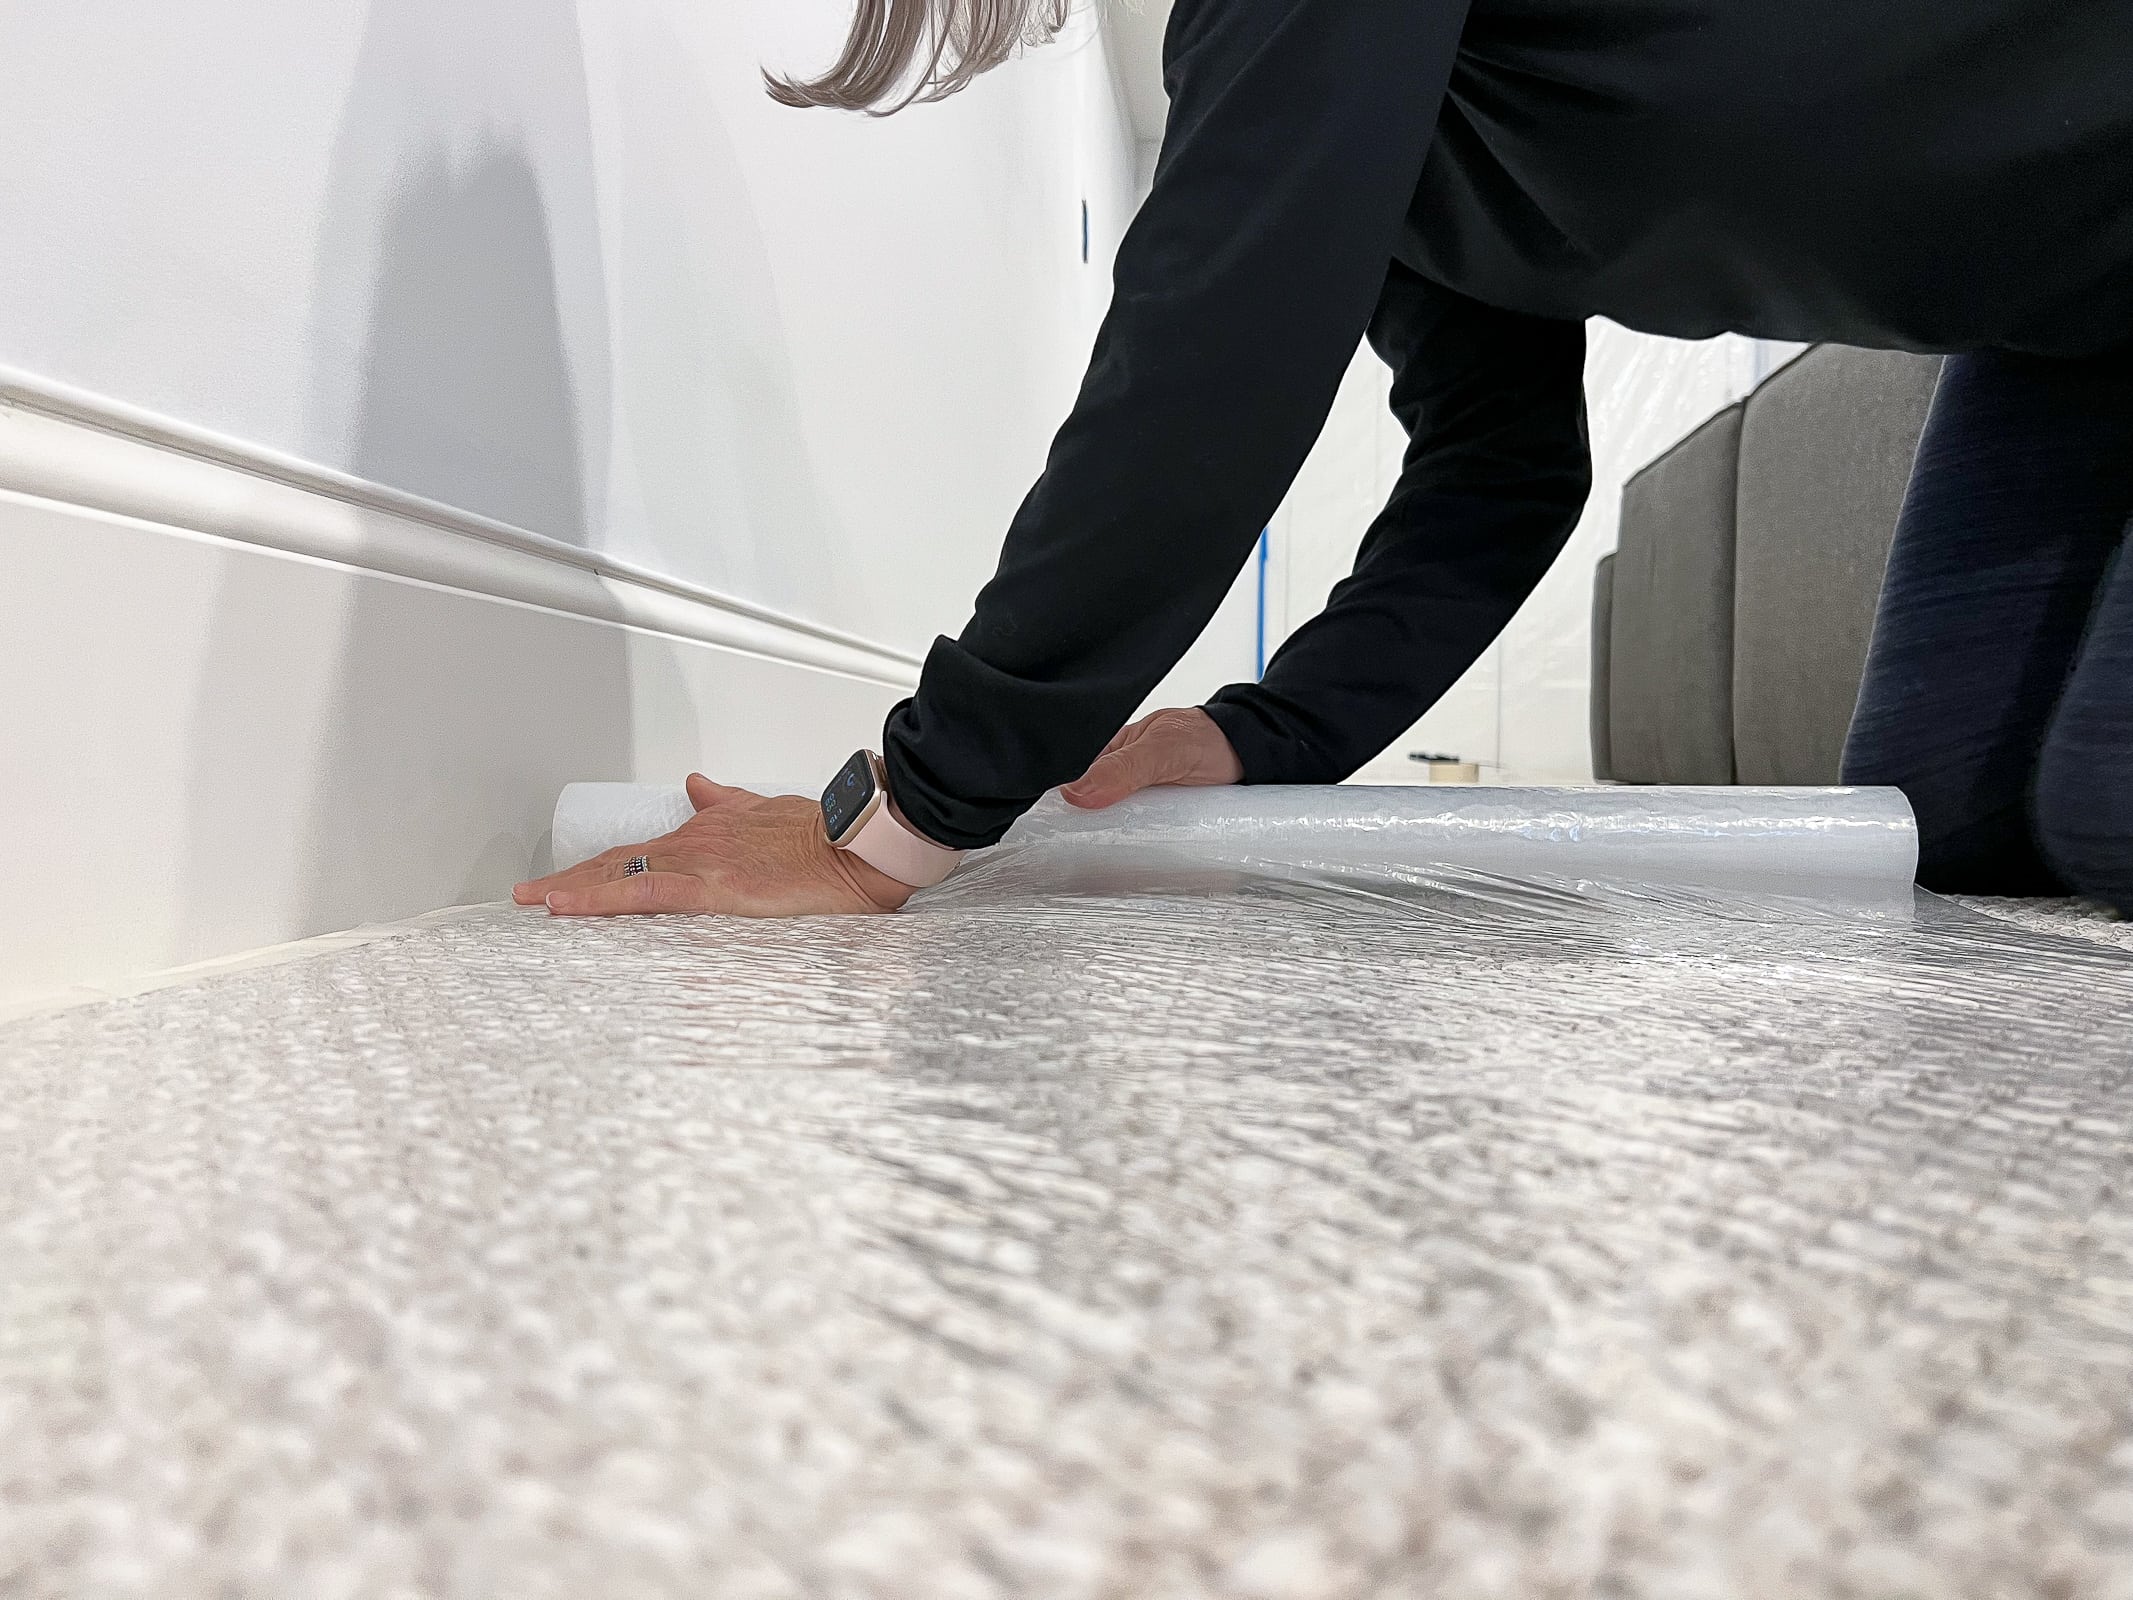
- Use this protective carpet film over the masking tape. It’s super sticky and goes right on top of the carpet. You can make a border all around your room with this plastic sheet. This is especially good for stairs.
- Spray paint your walls and baseboards, let everything dry, and then peel up the tape and carpet film.
Since my closet is teeny tiny, I knew that this method would be overkill. Instead, I decided it would be a good idea to simply paint the baseboards by hand.
Painting Supplies
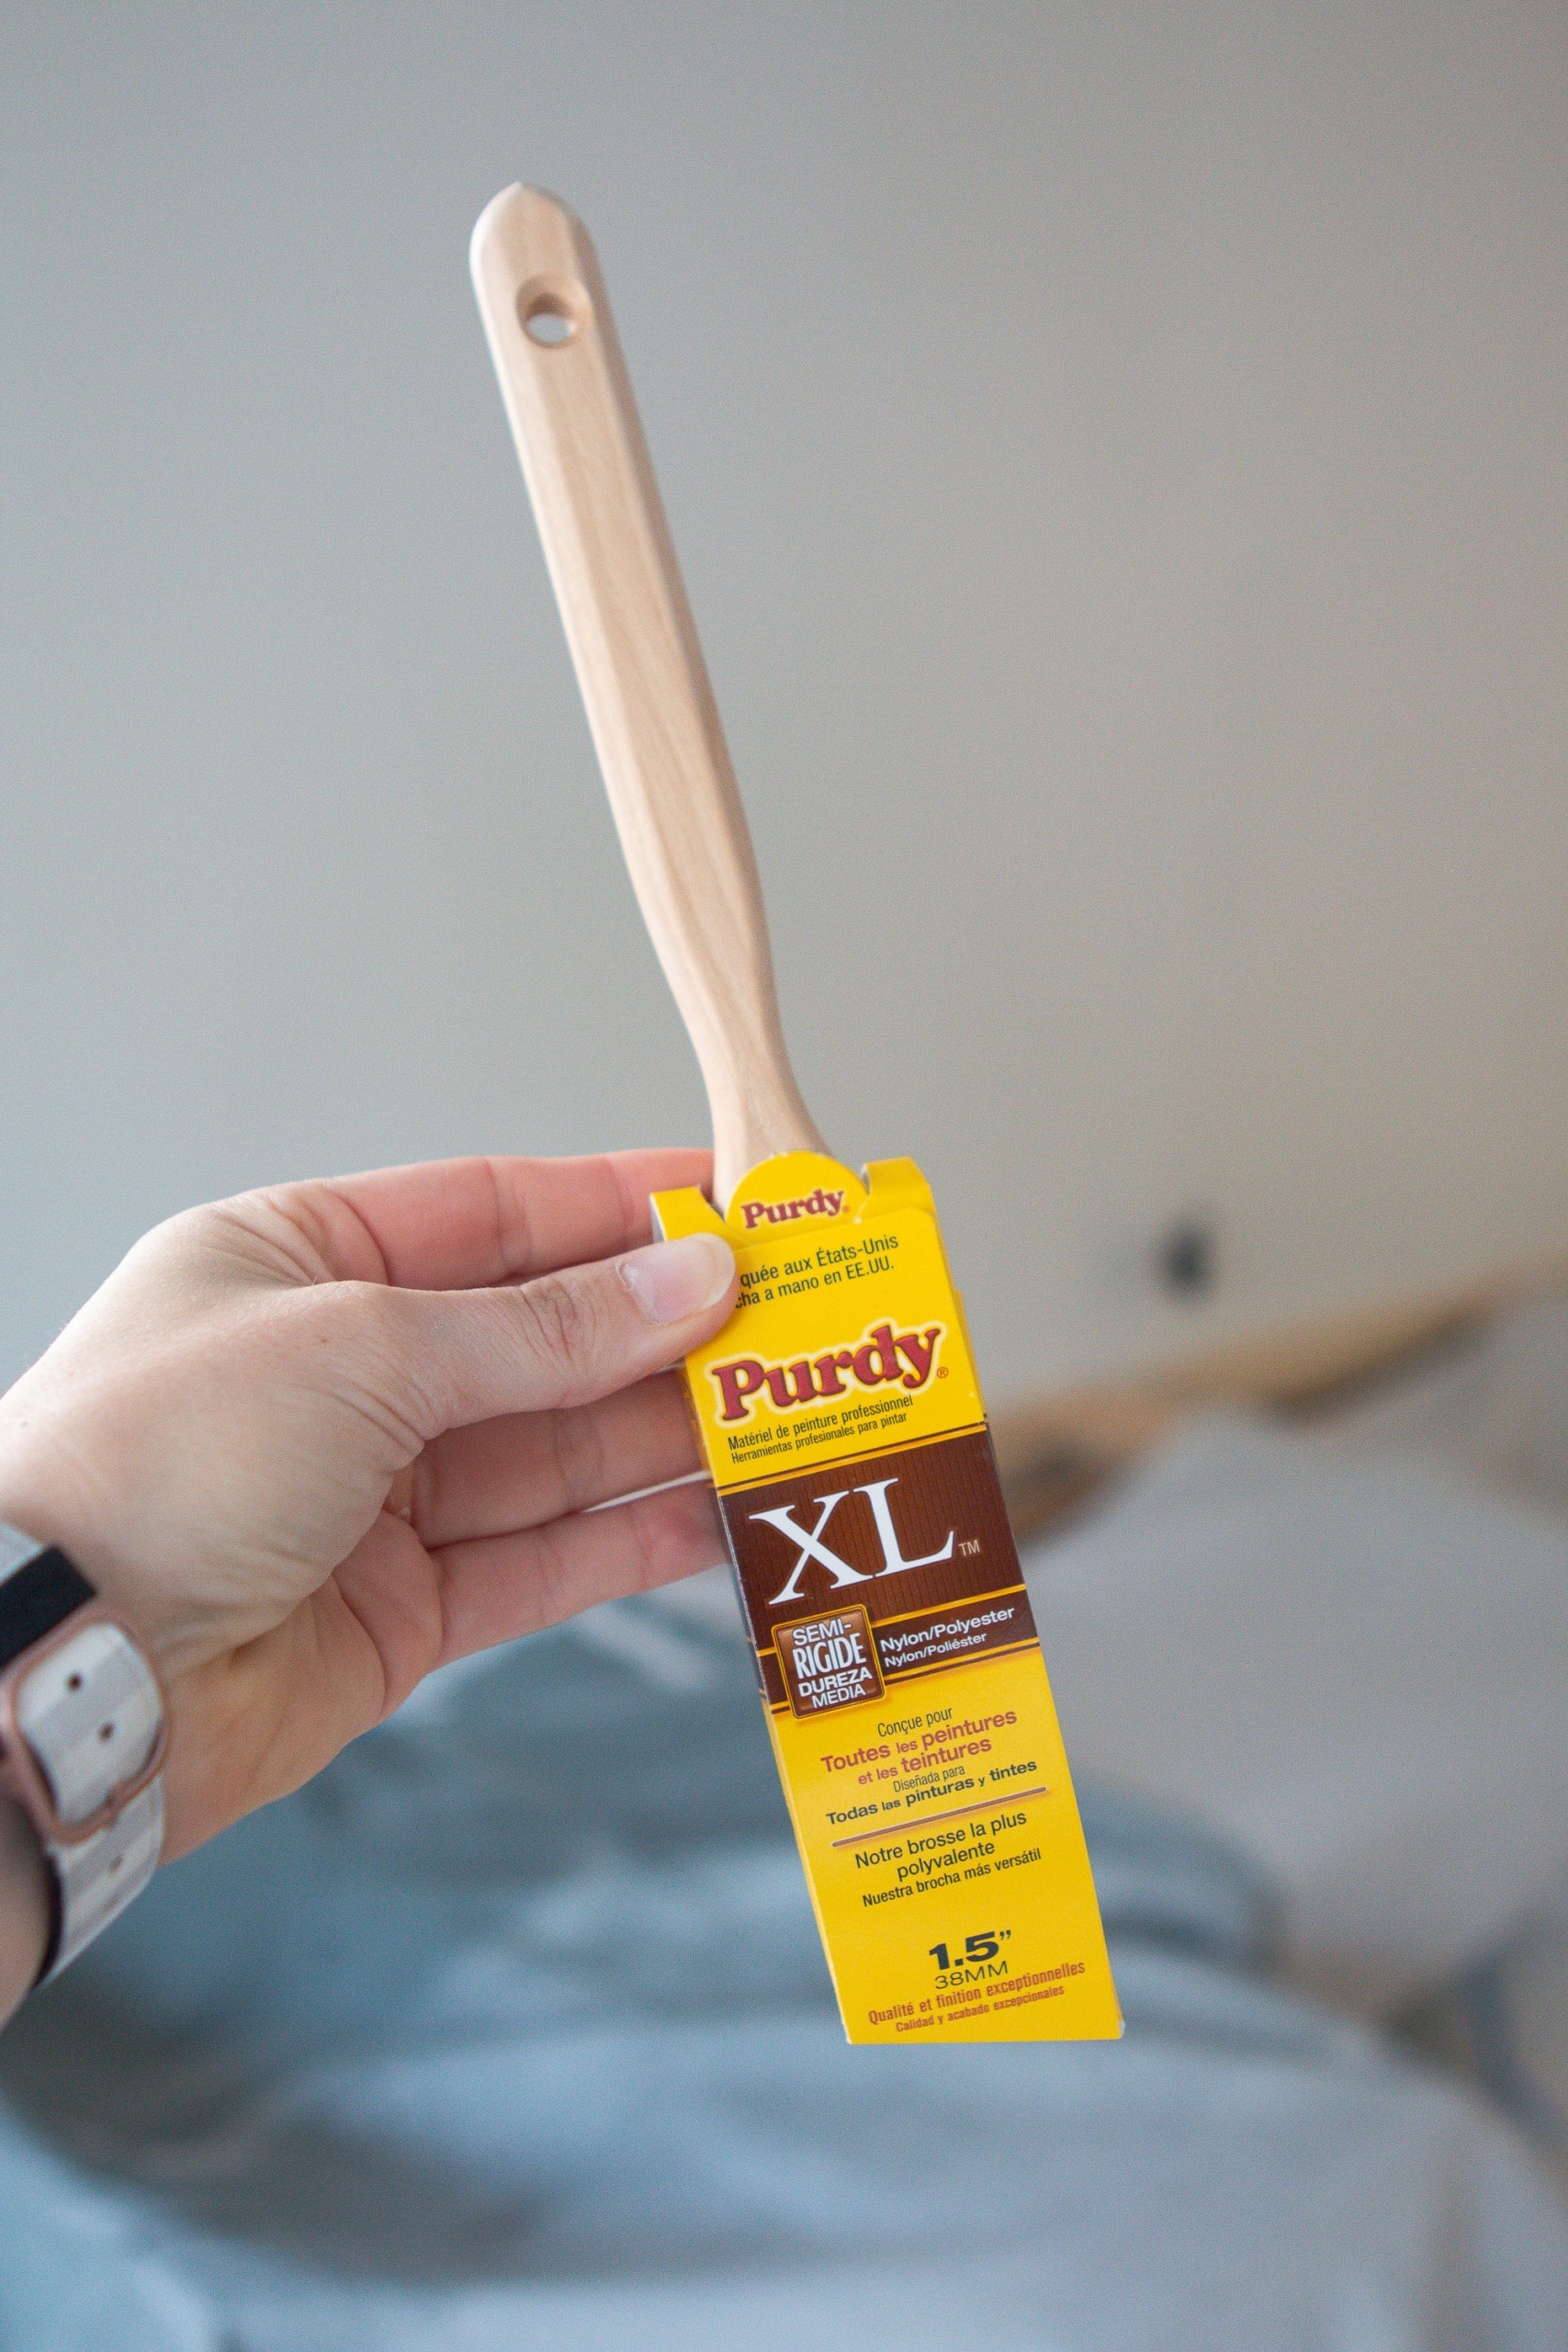
Here’s what you’ll want to have on hand when painting baseboards.
Because my closet is so small, I didn’t even use a paint tray or my go-to paint pail for this project. I simply dipped my brush into the paint can as I went.
The Best Paint For Baseboards
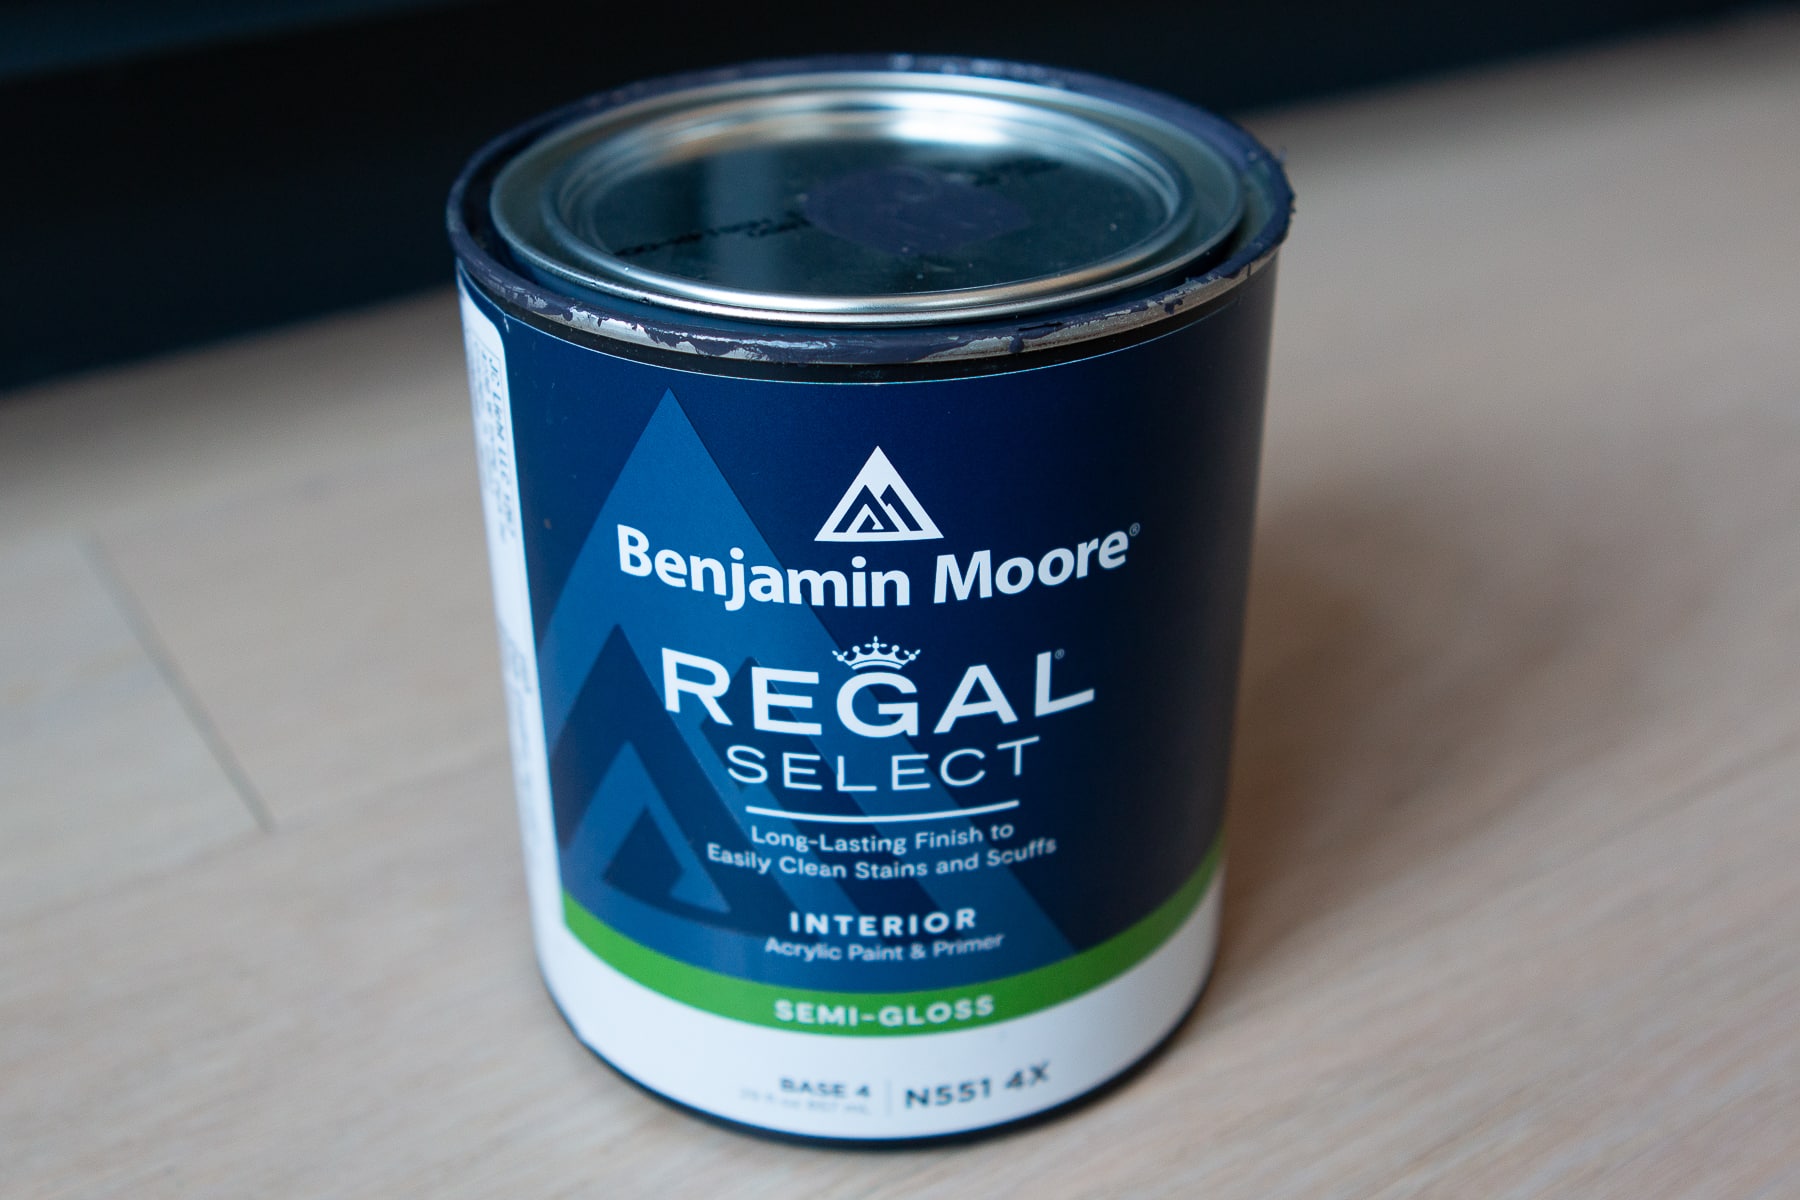
All of the doors and millwork in my home are painted with a semi-gloss sheen. I like semi-gloss because it’s very durable and I know that these areas will see a lot of fingerprints and hand touching. You can easily wipe semi-gloss paint and it’s easy to maintain. I knew that semi-gloss was a must for the kids’ playroom.
This is the exact product I chose from Benjamin Moore. Since I was painting such a small area, I got a small quart in the color “Galaxy.”
How To Paint Baseboards With Carpet (By Hand)

With my dark blue paint in tow, it was time to get rid of these stark white baseboards. I blocked off a few hours to get this project done. Here’s the full painting process.
Step 1 – Prep Baseboards & Tape Off Surrounding Surfaces
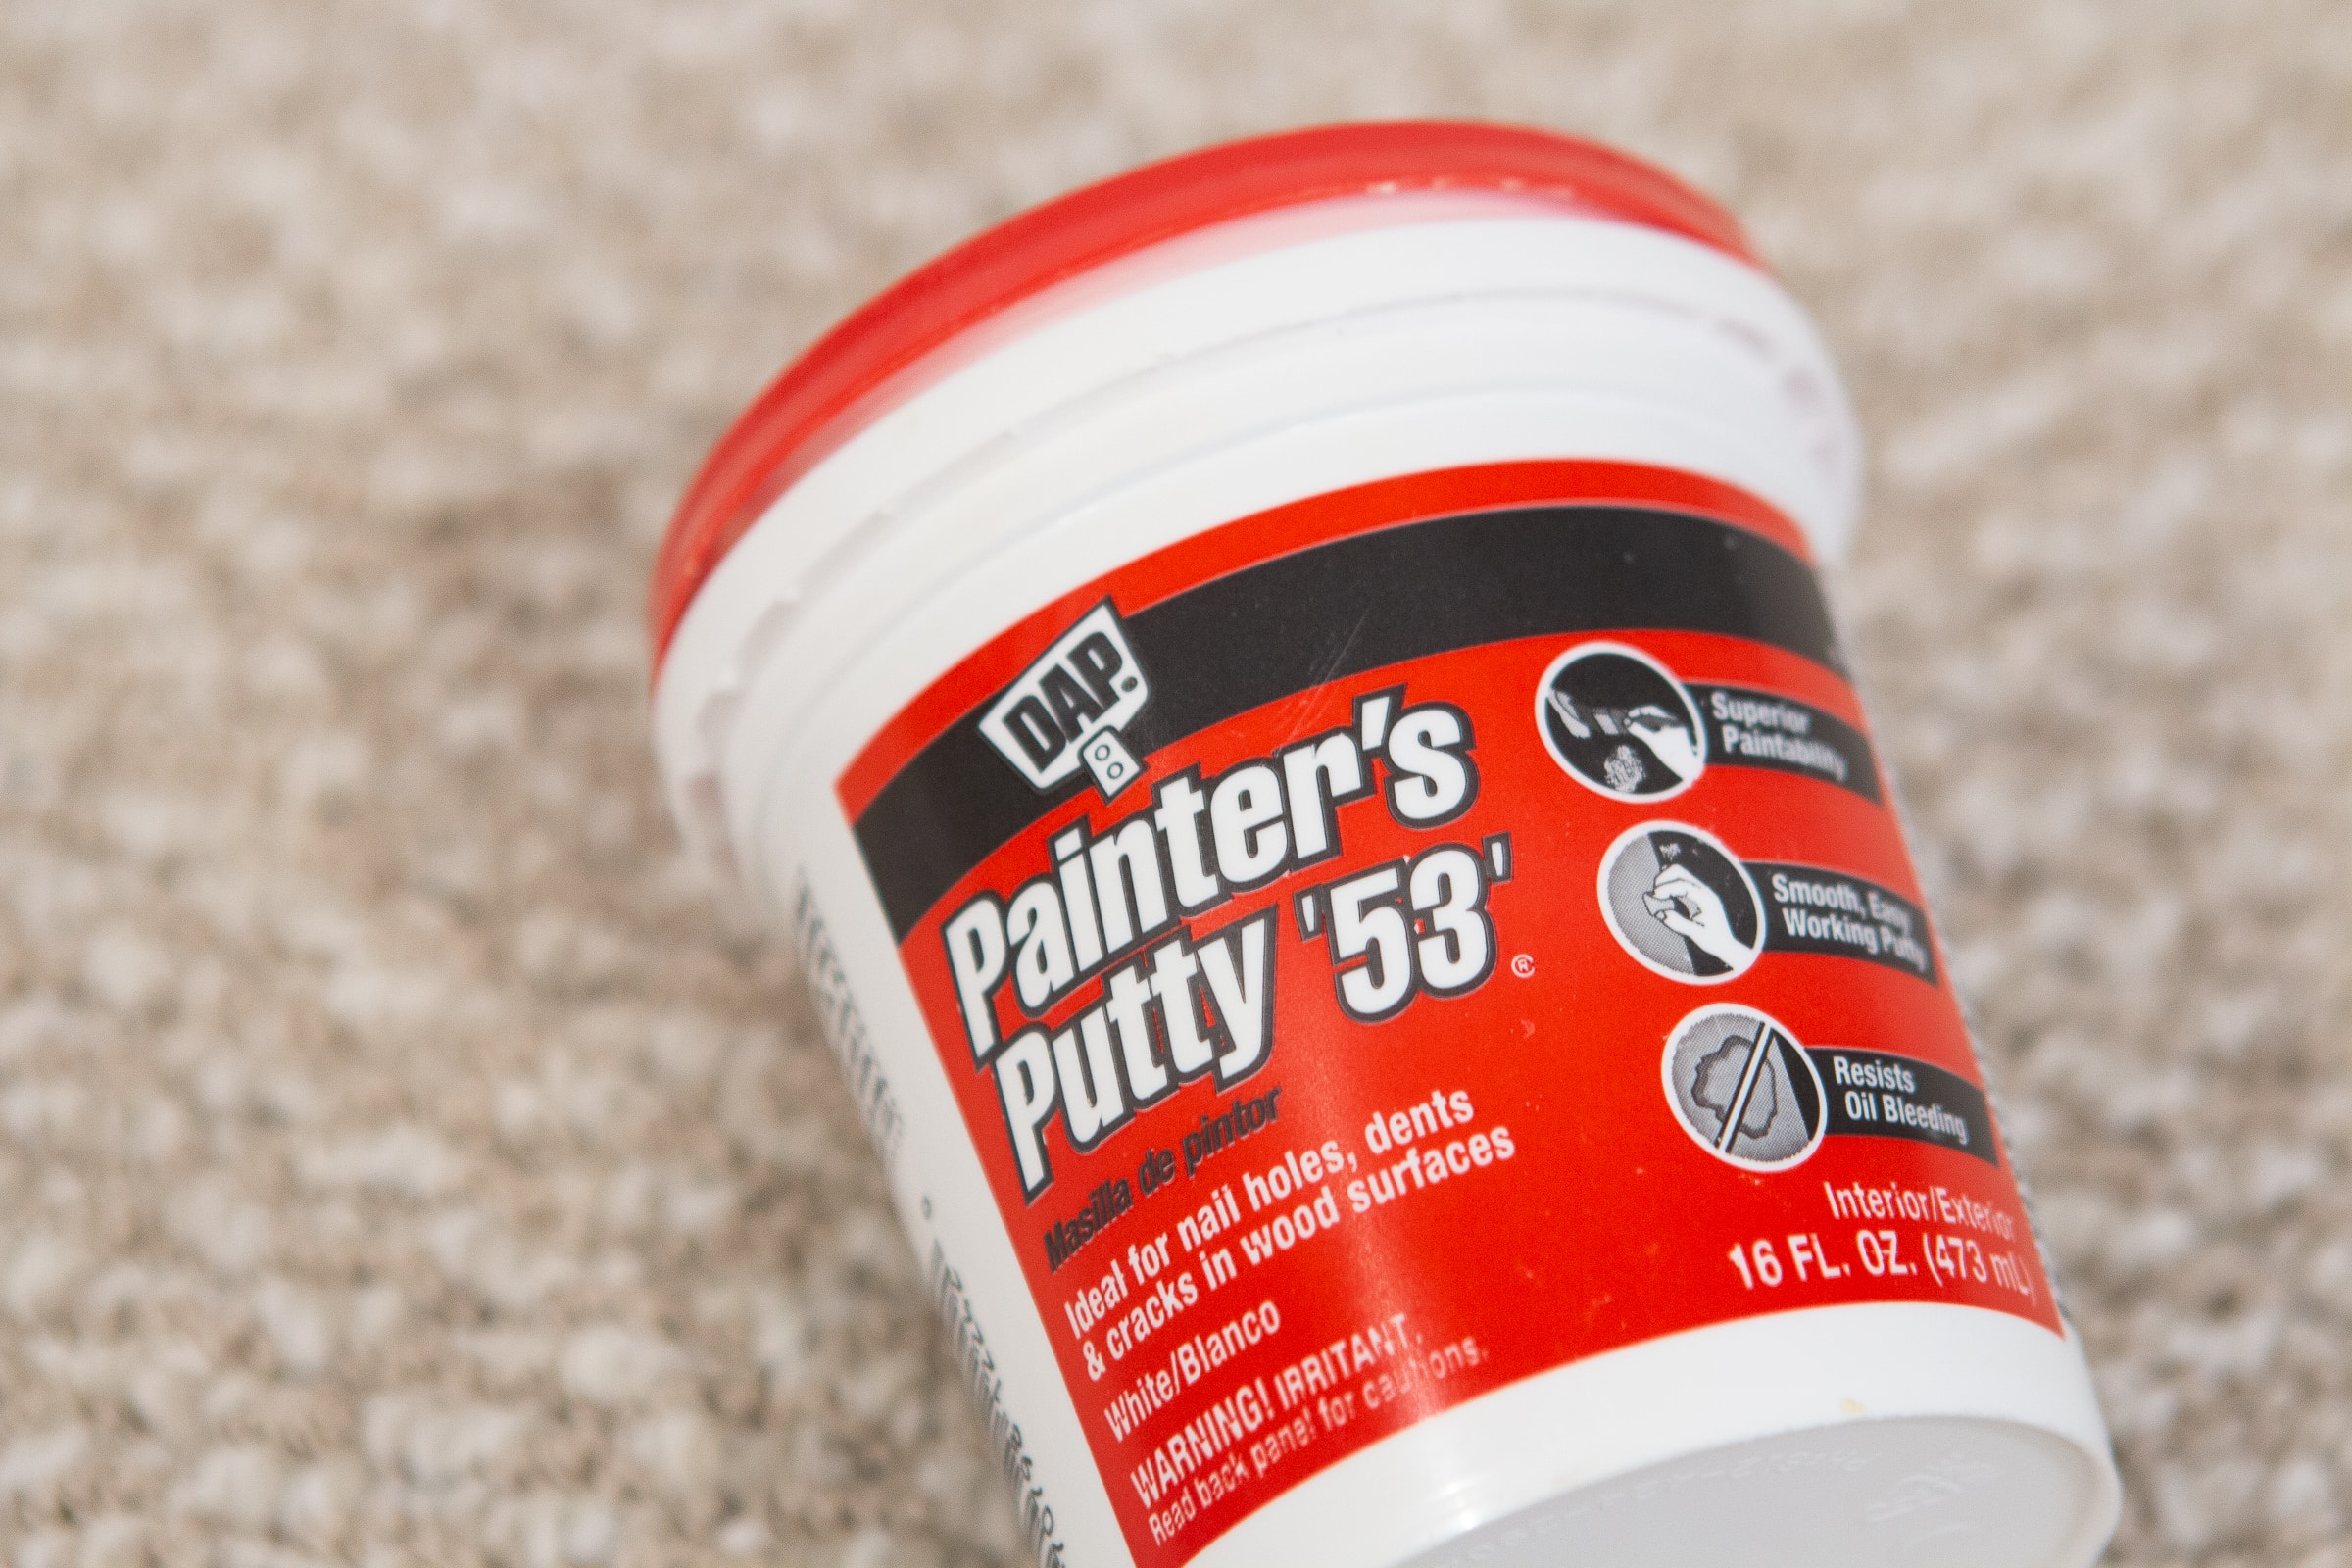
First, make sure you fill any scuffs or nail holes. For millwork, I prefer to use painter’s putty to fill any imperfections. Ball it up, and rub it back and forth into any nail holes. Let it dry and then sand it down. I always have this putty on hand when working on woodworking projects. Luckily, I already tackled this step back when the baseboards were installed last year.
I simply used a clean cloth to wipe down the baseboards to get rid of any dust or dirt. You don’t want them to be dirty when it comes time to paint. I then took some painter’s tape and taped off the doorway where I wanted the paint color to end.
Normally, you would also tape above the baseboard where it meets the wall. However, since I have wallpaper there, I didn’t want to take the chance that the painter’s tape might rip it.
At this time, put down some drop cloths too, to protect all of your carpet.
Step 2 – Use A Straight Edge
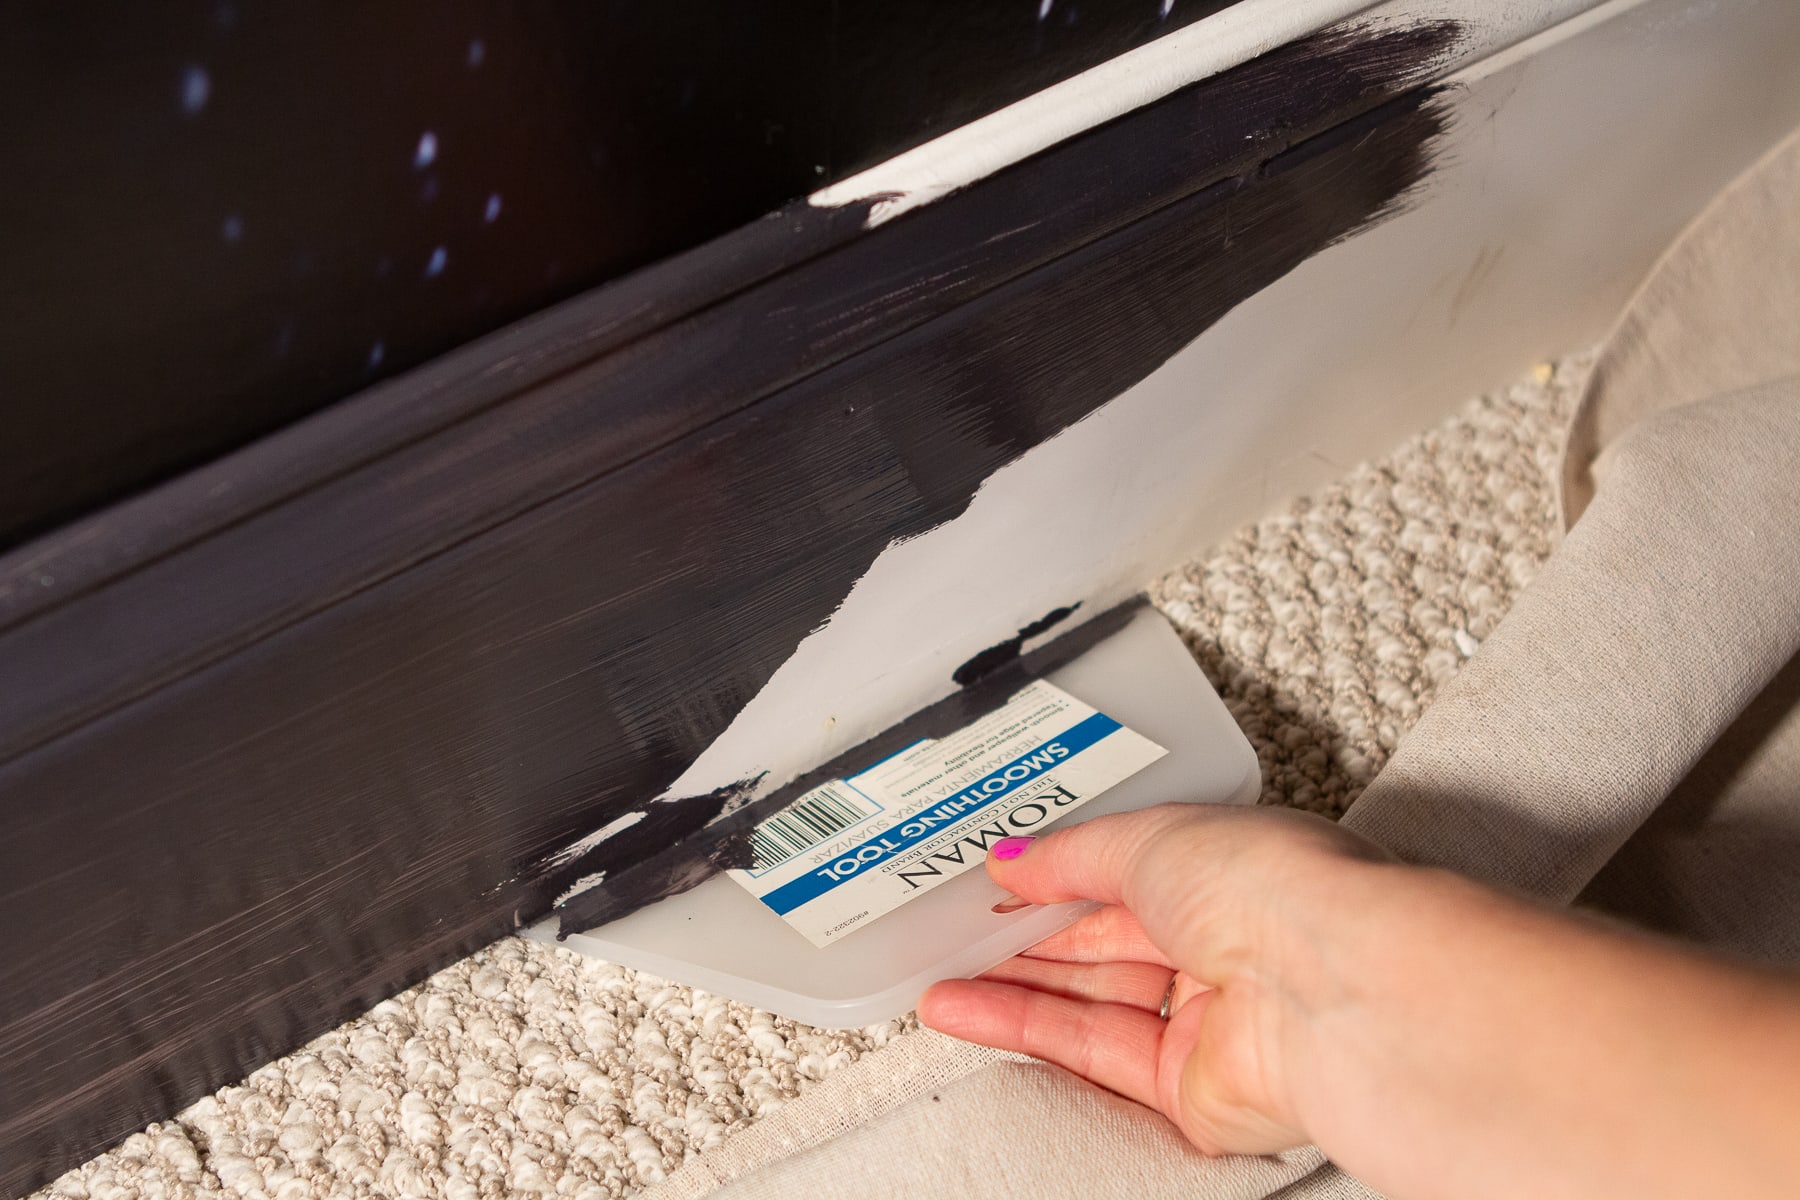
So here is my biggest trick…you need something flat that you can shove underneath the baseboard. I used a wallpaper smoothing tool, but usually, you would use a flat drywall knife. You can buy a long one (this one is 10 inches) and shove it directly underneath the baseboard.
Heck, you could even use a small piece of cardboard. Anything thin and flat that can get between the bottom of the baseboard and the edge of the carpet will work.
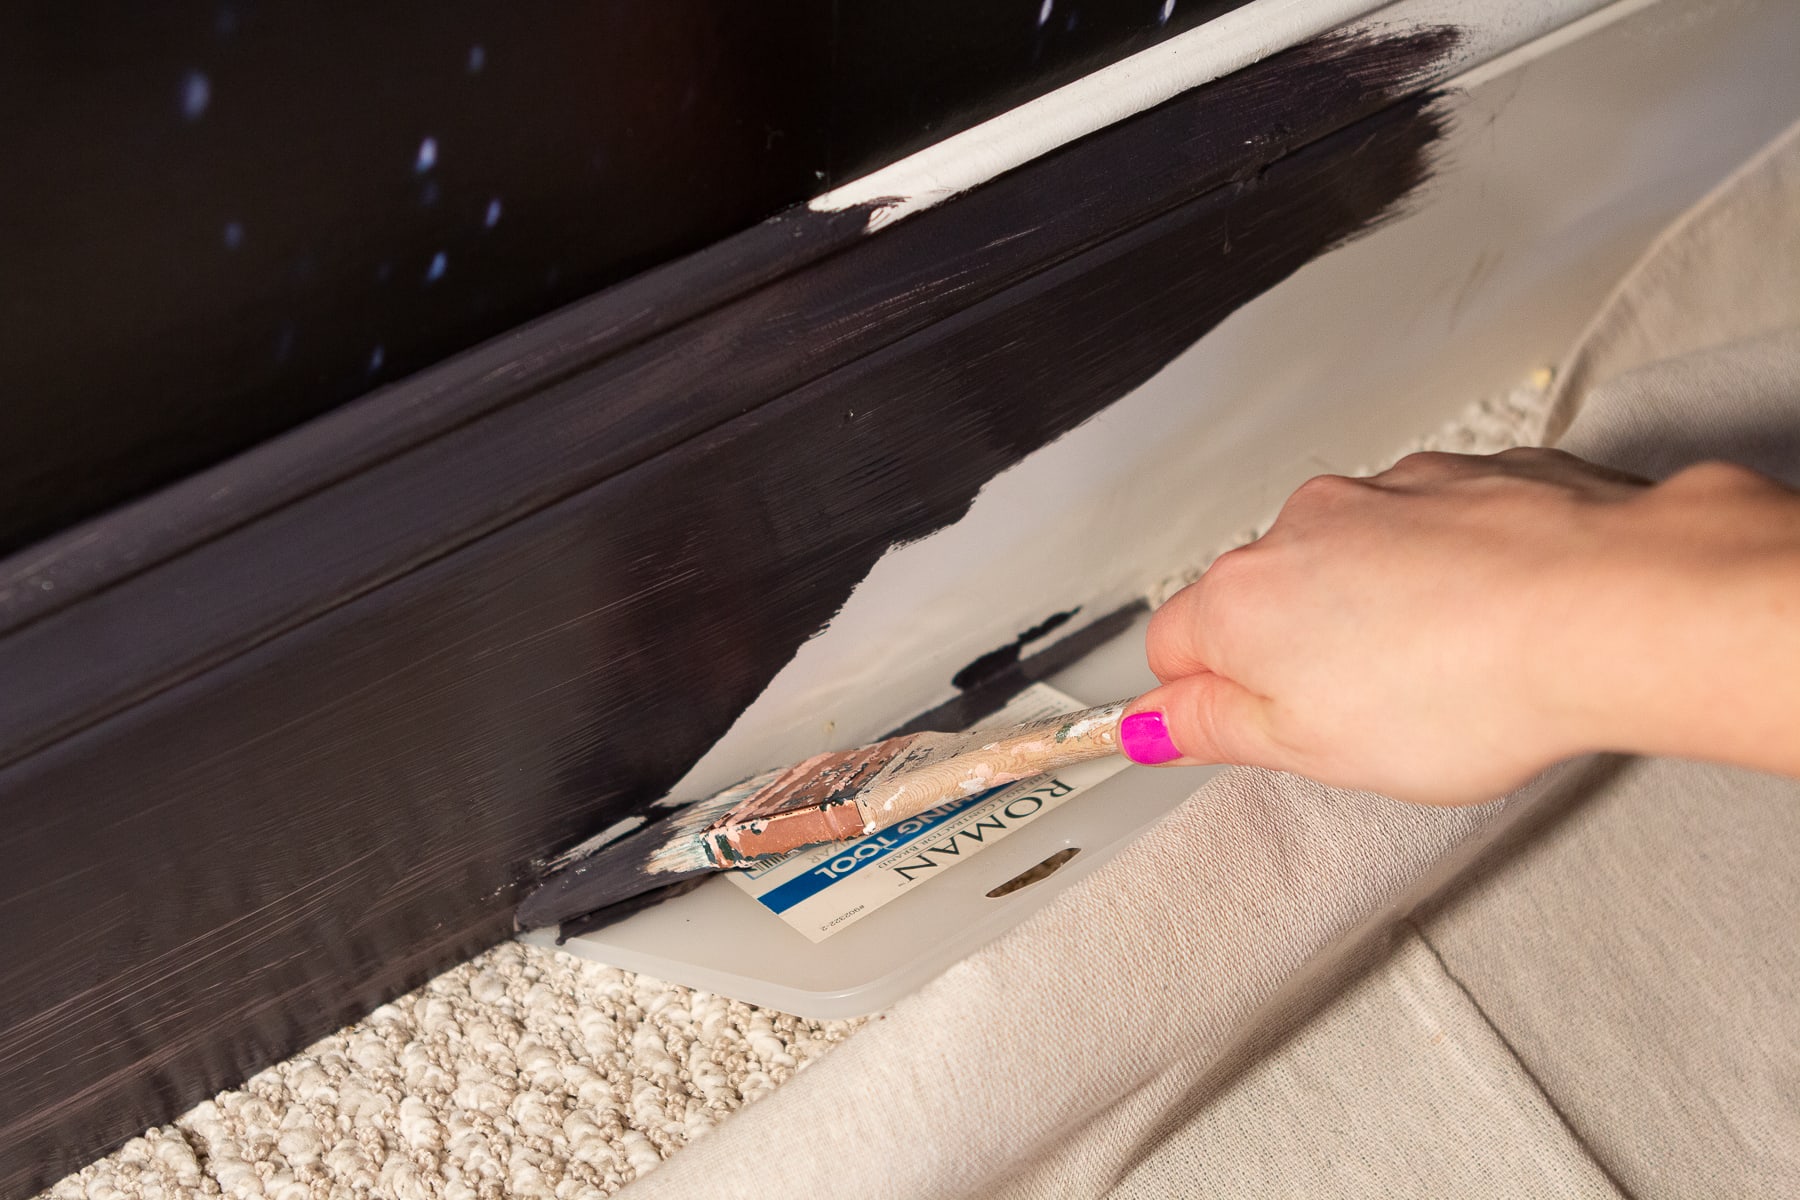
Then, take your paint brush and glide it across the top of the drywall knife. The knife will protect the carpet as you paint.
Now, this is key – try not to take the knife in and out as you move along the baseboard. Instead, glide it across as you go around the bottom of the entire baseboard. If you’re constantly taking it in and out, you run the risk of paint getting on the carpet as you reposition it.
If you do have to remove it, use a paper towel to keep the blade clean as you go.
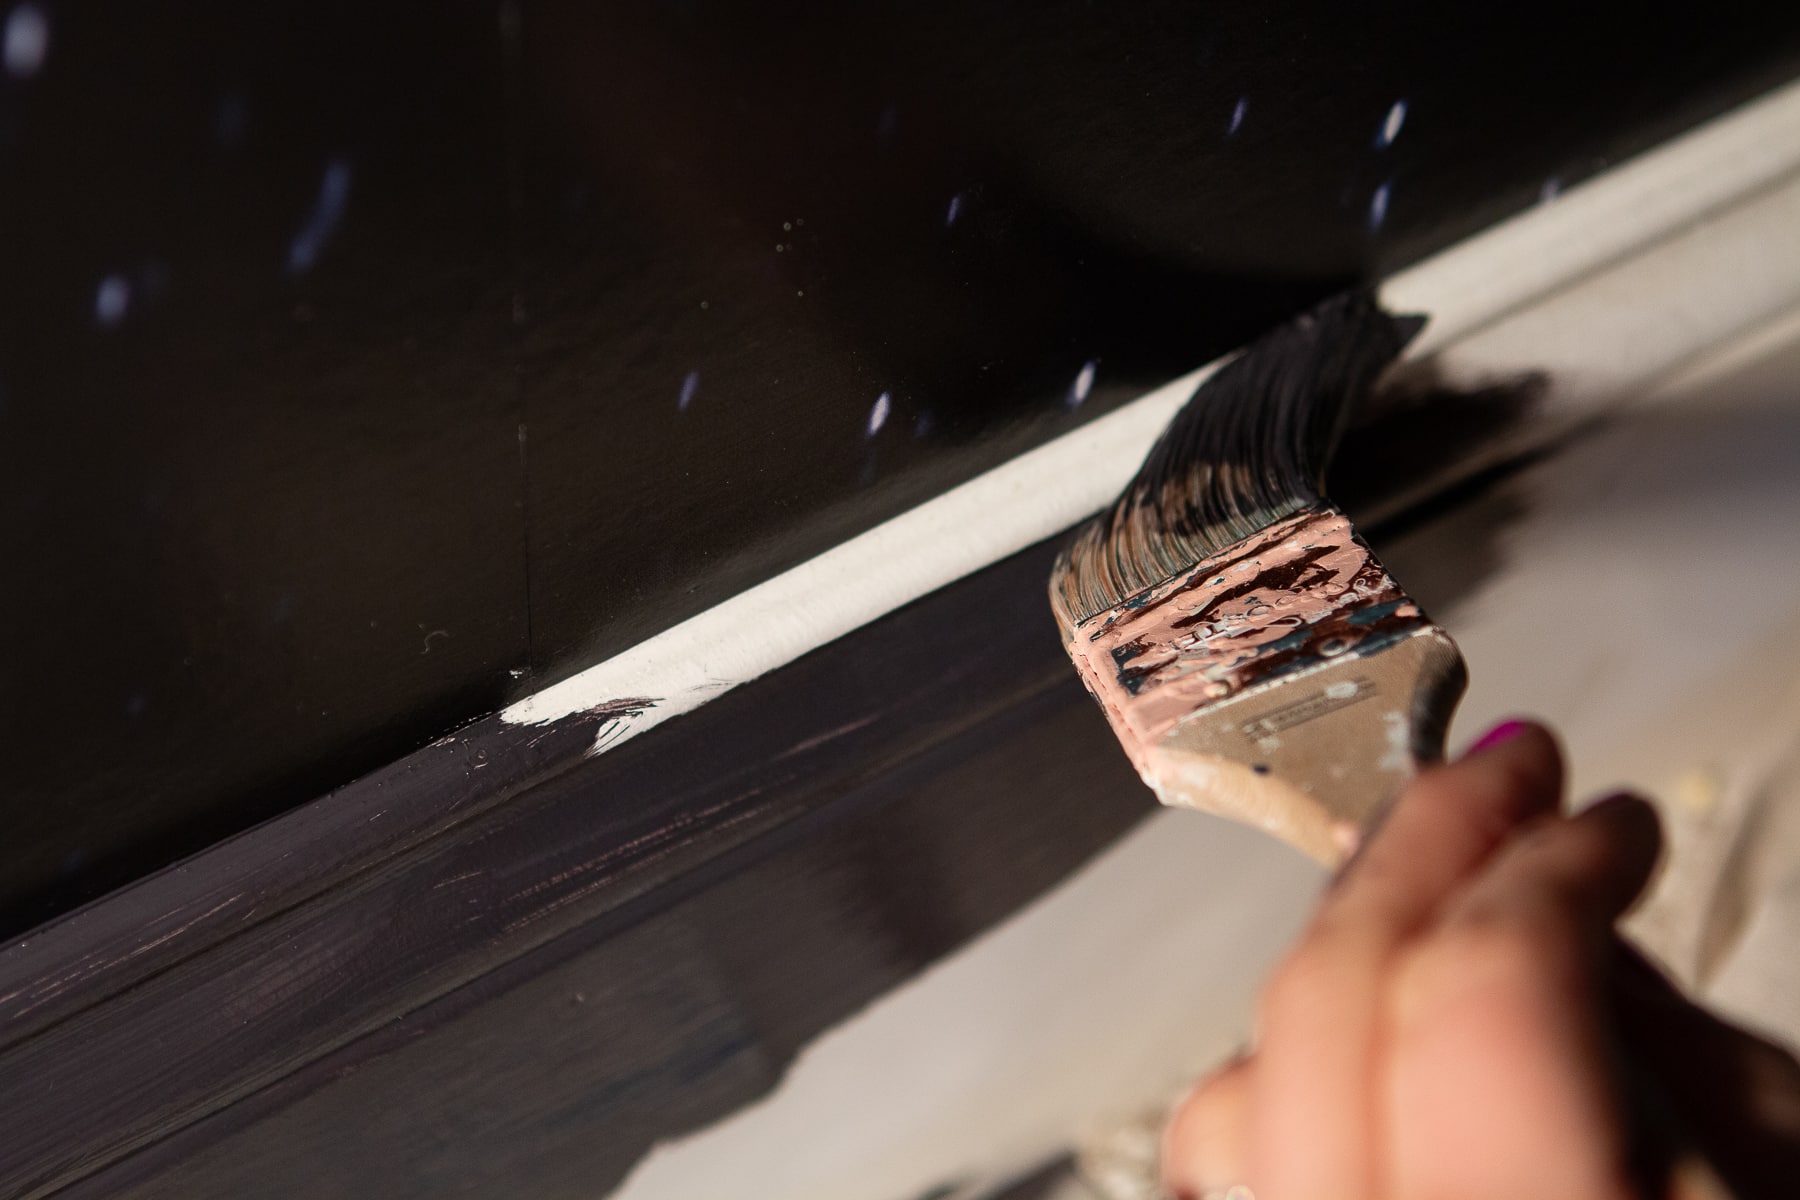
For the top of the baseboard, I had to cut in carefully along the wallpaper. I kept a damp cloth nearby in case I got any excess paint on the wallpaper surface.
Step 3 – Paint 2-3 Coats
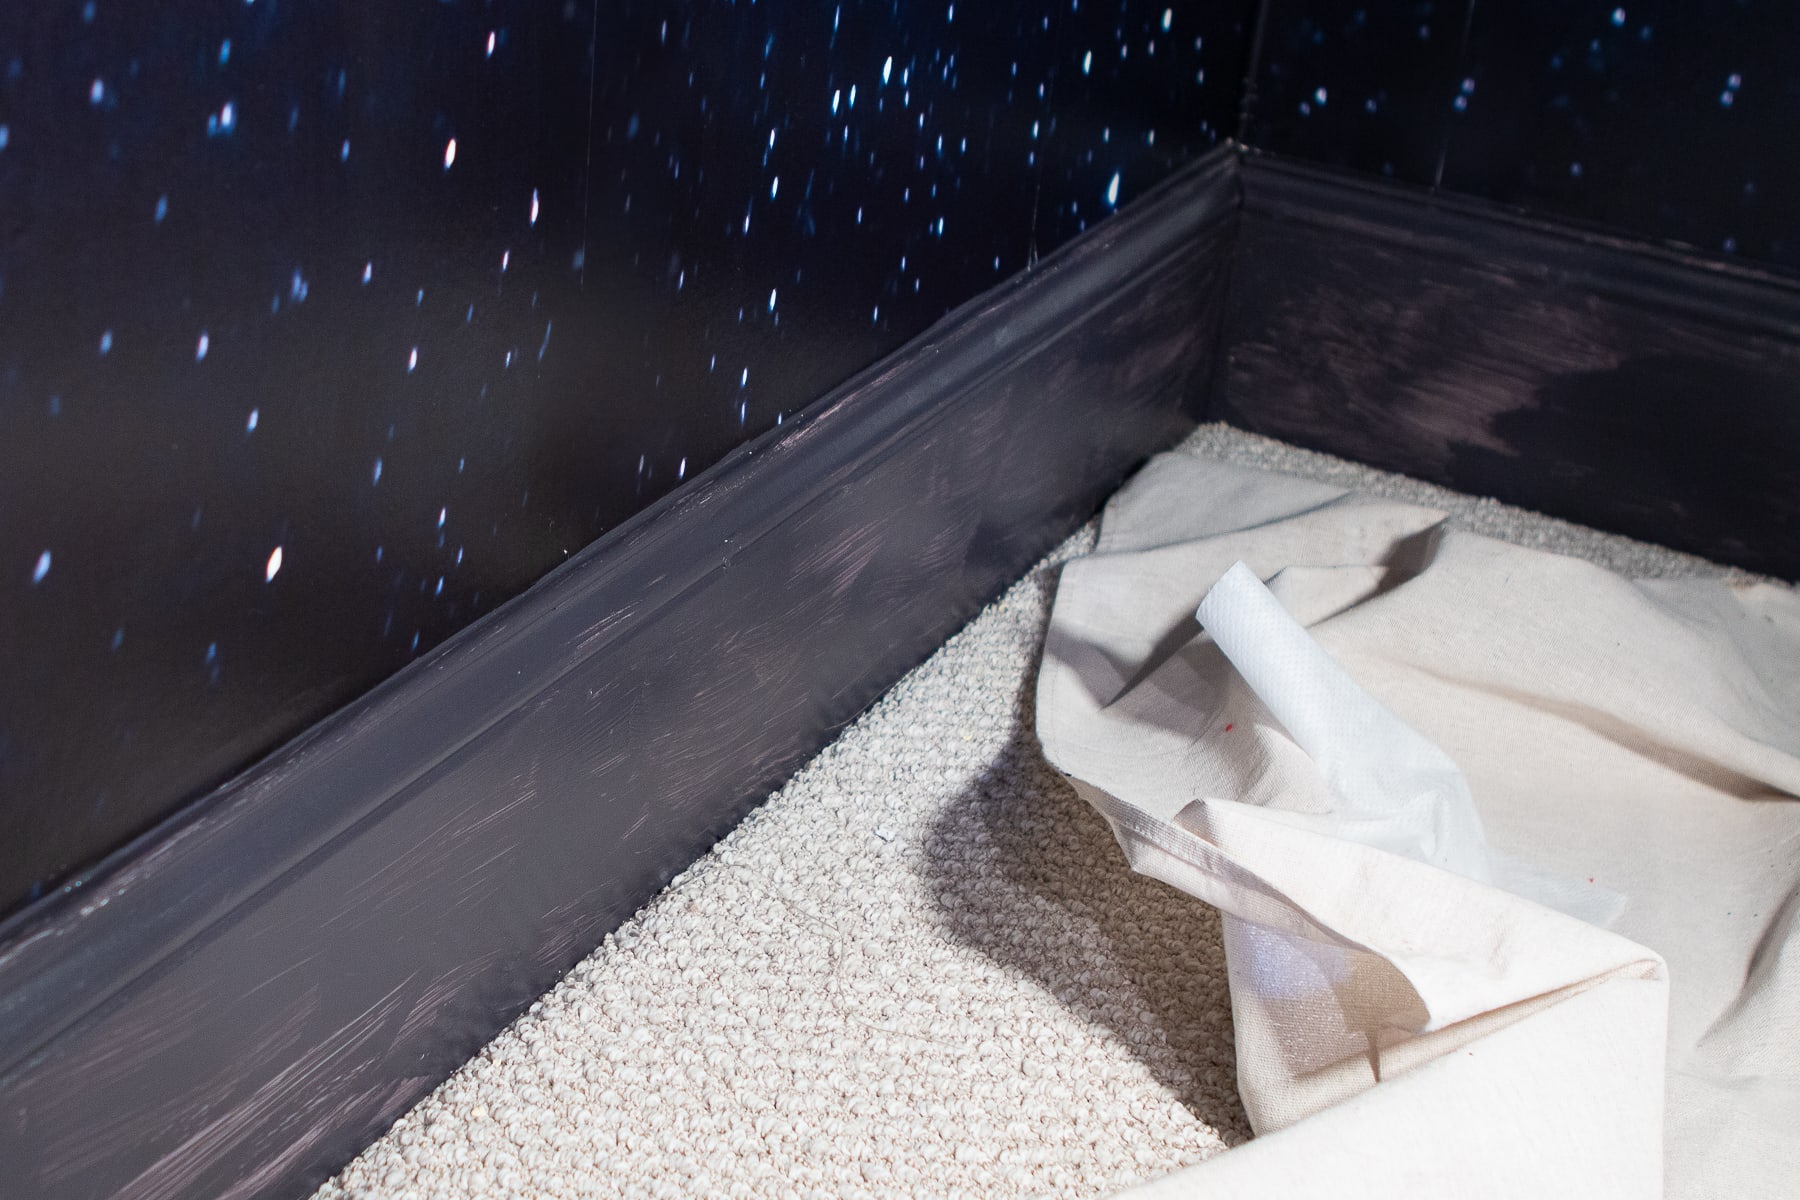
Repeat after me, “One coat is never enough.” I don’t care what the paint can promises, you will always need at least two coats. You can see the brush strokes after my first coat of paint (above). Those visible brush marks were gone by my second coat.
Wait until the paint is dry to the touch before adding your next coat. Because I was painting such a dark color, I ended up painting three coats on my baseboards for a flawless finish.
Step 4 – Remove Tape & Clean Up
The final step is cleanup. I always suggest removing the painter’s tape when it’s still wet. This prevents peeling and will leave you with a nicer finish. Just be careful not to get any wet paint on anything.
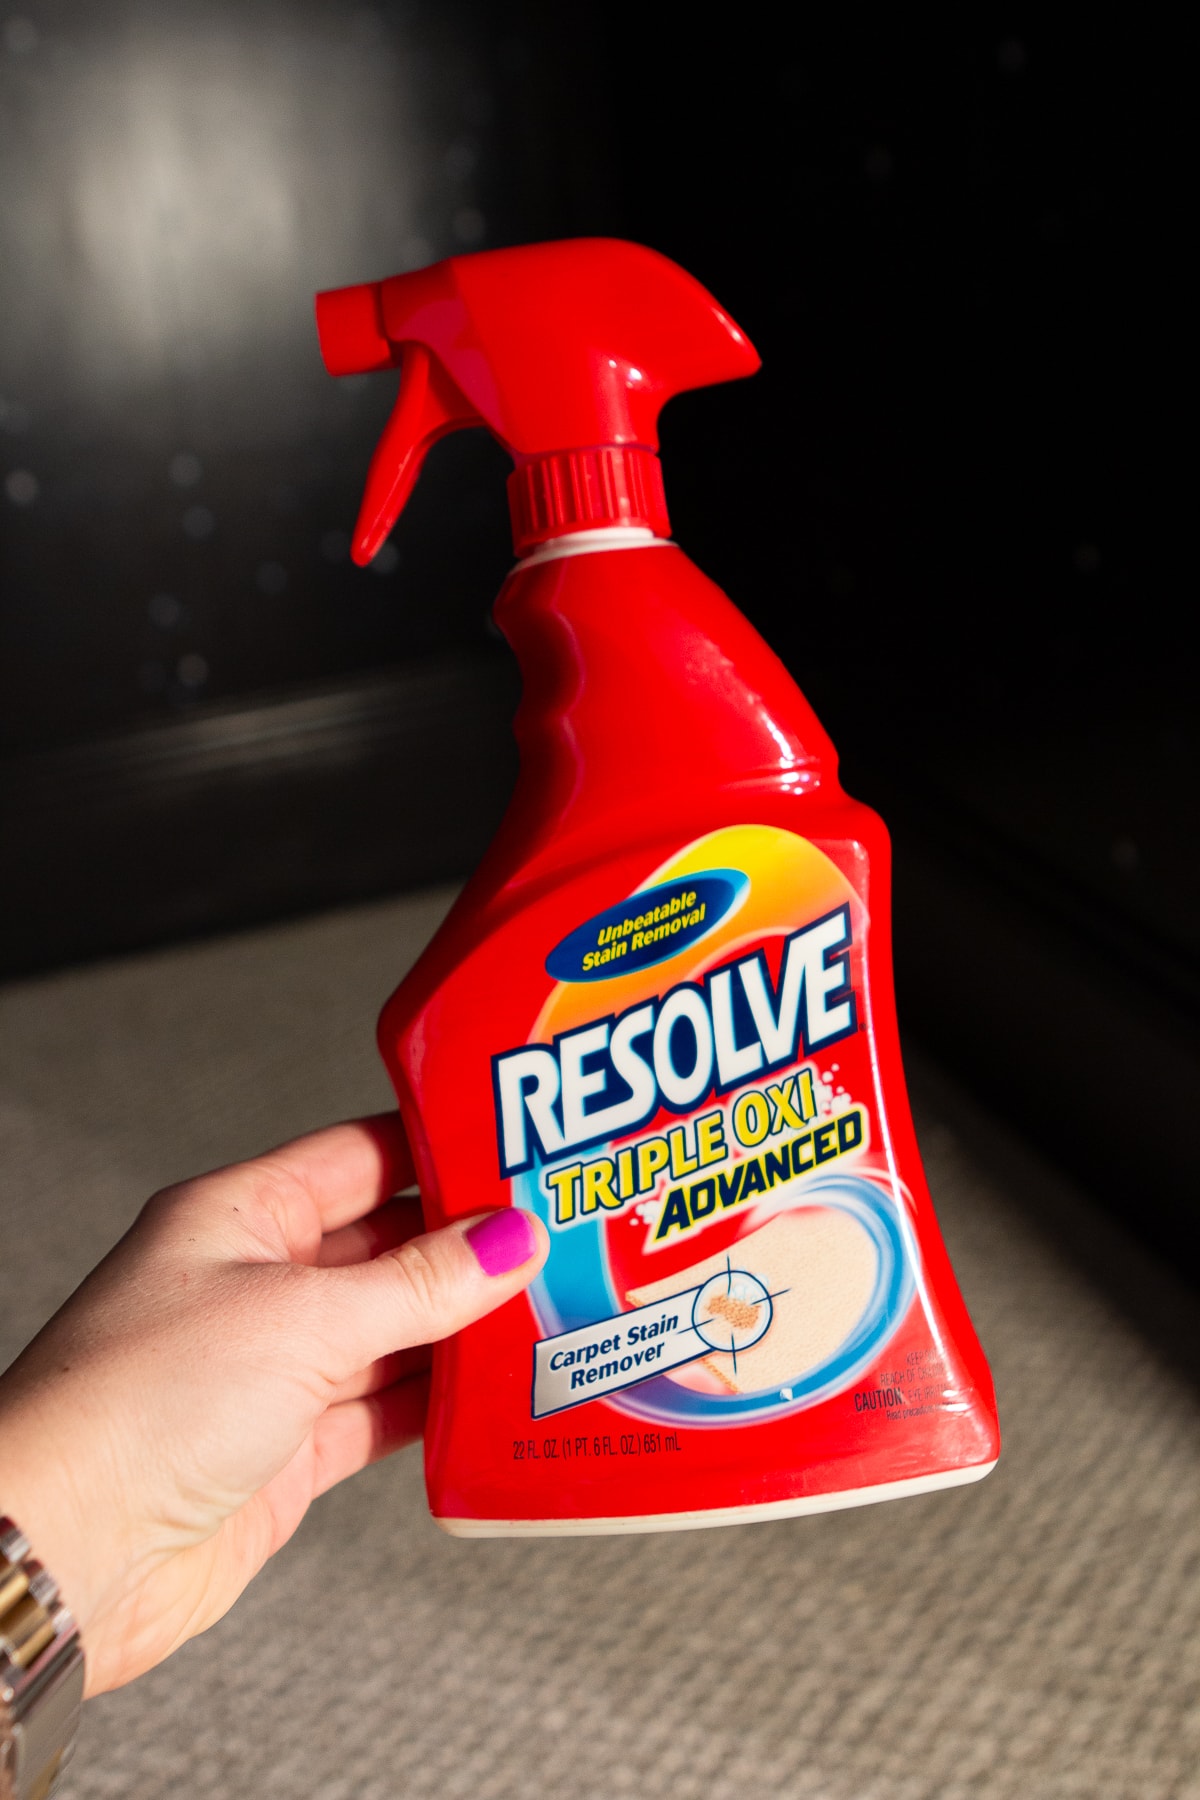
If you do get any paint drips on your carpet, don’t fret. I like to use this Resolve Carpet Cleaner to get out any spots. I know many people also swear by this Folex stain remover too.
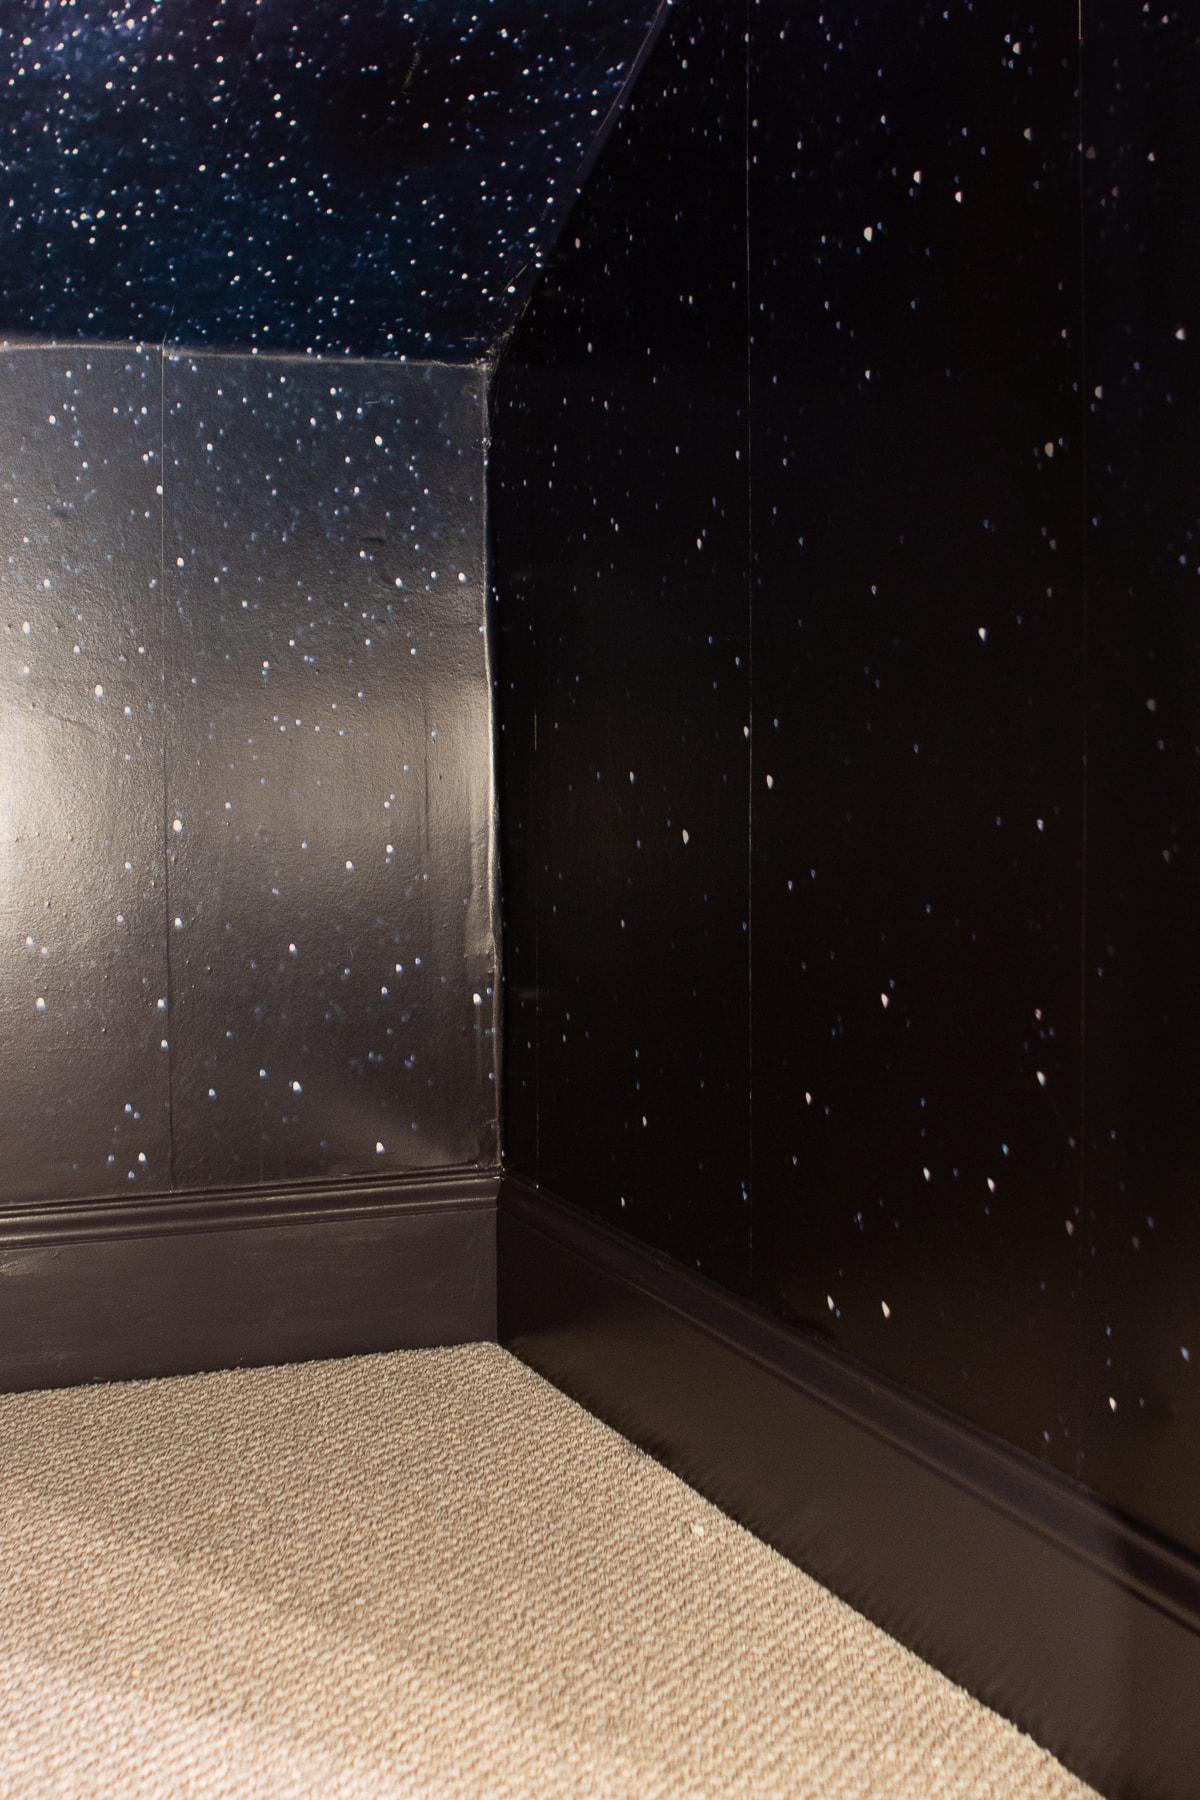
See, I told you painting baseboards wasn’t that tricky! Don’t be afraid to paint a carpeted room, my friends. The new paint looks so good in this fun little space closet.
The Space Closet – What’s Next?

Now that the walls and ceiling are done, it’s time to move on to the lighting. I purchased this moon light and these LED strips and will be adding them to the space. Then, I’m moving on to the best part…the mission control board. I need to start gathering supplies for that and can’t wait to get it together. This boring old closet already has a new look and I’m here for it.
The kids still have no idea what’s going on, so I can’t wait to surprise them when it’s all done!
Need More Painting Tips?

Here are other painting tutorials and DIY projects to peruse if you’re working on a painting project.
