This knot contraption looks difficult but is as the title already says, surprisingly easy. I’ve made small versions with my regular 4mm yarn. And I wanted to try to make a large macrame Pipa Knot wall hanging for my home. This knot is also known as a teardrop knot. I can’t wait to show you how easy it is.

Surprisingly easy macrame Pipa Knot wall hanging tutorial
This post may contain affiliate links from which I will earn a commission at no extra cost to you. View my full disclosure policy.
Where does the macrame Pipa Knot come from
The Pipa Knot is a unique Chinese knot that is based on the Figure 8 shape. The figure 8 is also the infinity symbol and not only in Chinese culture. It is universally known as a symbol of eternity because the two circles of the eight have no ending and no beginning. The pattern continues forever.
Also, the Pipa is a Chinese musical instrument similar to the Lute, which is pear-shaped like this unique knot. The Pipa is also occasionally called the “Chinese Lute”. The Pipa Knot is meant to bring Harmony into a home. So who wouldn’t like a unique piece of wall art that represents eternity and harmony for the home?
There are a lot of other different unique Chinese, Japanese, and Korean knots that would also make great wall hangings.
Video tutorial
I always recommend watching my videos to make sure you fully understand what my hands were doing. If the video doesn’t load for you then you can also watch it on my YouTube Channel instead.
Step-by-step macrame Pipa Knot tutorial
Having the right yarn is key for this knot. You must buy thick soft macrame yarn. I originally bought the same thick rope that I used for my macrame tassel on a rope garland and it was way too stiff and tightly wrapped. I was a bit annoyed because the rope for that tutorial was very soft and worked great. The one I bought after that and linked above in the supply list worked out much better.
In the video, I’m showing you a small version of the Pipa knot with 4mm macrame yarn first and then I move on to the thick rope just to show you the difference.
While forming the loops and leaving the end string, use my measurements as a guide. I have a 7-inch top loop, 10-inch bottom loop, and 28-inch end fringe which I’m showing exactly at the end of the steps.
Forming the Pipa Knot teardrop shape
Start by crossing the rope/yarn as pictured below with the right cord over the left, forming a twist. I left about 34-inch yarn from the crossing point for the piece that will only hang down in the back and that is not used as the continuous loop of the knot.
Then use the right cord aka working cord to form an eight shape.
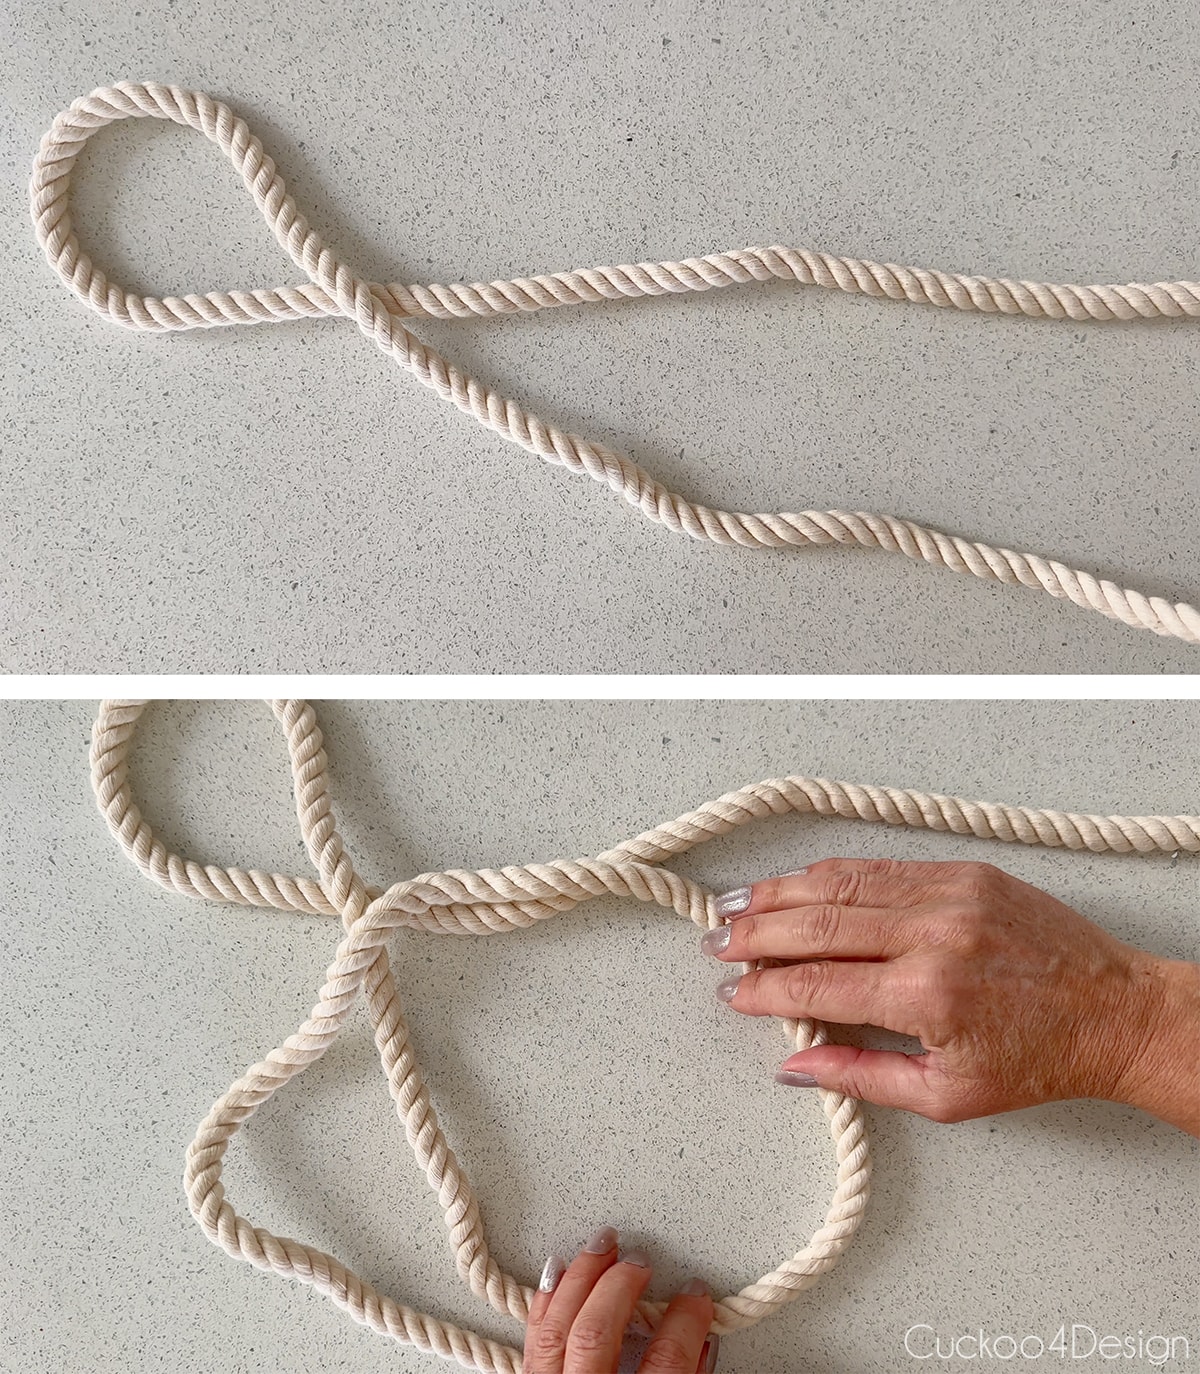
Looping the center of the teardrop shape
Take the rope/yarn and place it behind the top loop of the 8-shape. Then place it inside the previous bottom loop and then behind the top part of the 8-shape again. Keep repeating the same process over and over again.


Finishing the center of the Pipa Knot
When you have the entire shape of the knot filled with the rope/yarn, it is time to finish the knot’s center.
Take the end of your rope/yarn and insert it into the middle of your knot where the two lopped shapes meet. Pull on the end until it is pulled all the way through.
Then it’s time to smooth out, adjust, and tighten the shape of the Pipa knot to make it look even. You are all done with your macrame Pipa Knot but to turn it into a wall hanging you need some additional steps.


Adding teardrop-shaped cardboard backing (optional)
If you are having trouble keeping the teardrop shape, you can cut a piece of cardboard in a teardrop shape slightly smaller than your knot. You can hot glue it to the back of your Pipa Knot. Try sliding the tip of the teardrop shape under the top looped part of the knot. That is optional. Just be careful that you don’t get any hot glue on the front of your rope. You won’t be able to get it off.

How to make the hook/knob to hang the Pipa Knot wall hanging
You can use the rope to mark a section on the dowel rod to make sure it is wide enough for the top loop of the wall hanging. I used a handsaw to cut the section of the dowel rod and then I used a sanding block to sand the dowel rod pieces edges.
After that, find the center on the larger wooden disk and the dowel rod piece and screw holes into those pieces so you can screw them together with a screw. The part of the screw that is sticking out on the back side should be the right size to fit the plastic anchor.
Use the glue to attach the smaller wooden disk to the center of the screwed-together pieces to hide the screw head. Let the pieces dry. You can slightly hammer the plastic anchor into the wall where you want to hang your wall hanging and then screw in the anchor followed by the dried wooden knob. And you are done.

Photos of finished macrame Pipa Knot wall hanging
I really love this piece. I know I say that all the time but I mean it. There is something so satisfying about making something for your home that you truly love and that makes you happy when you look at it. That’s how it should be.
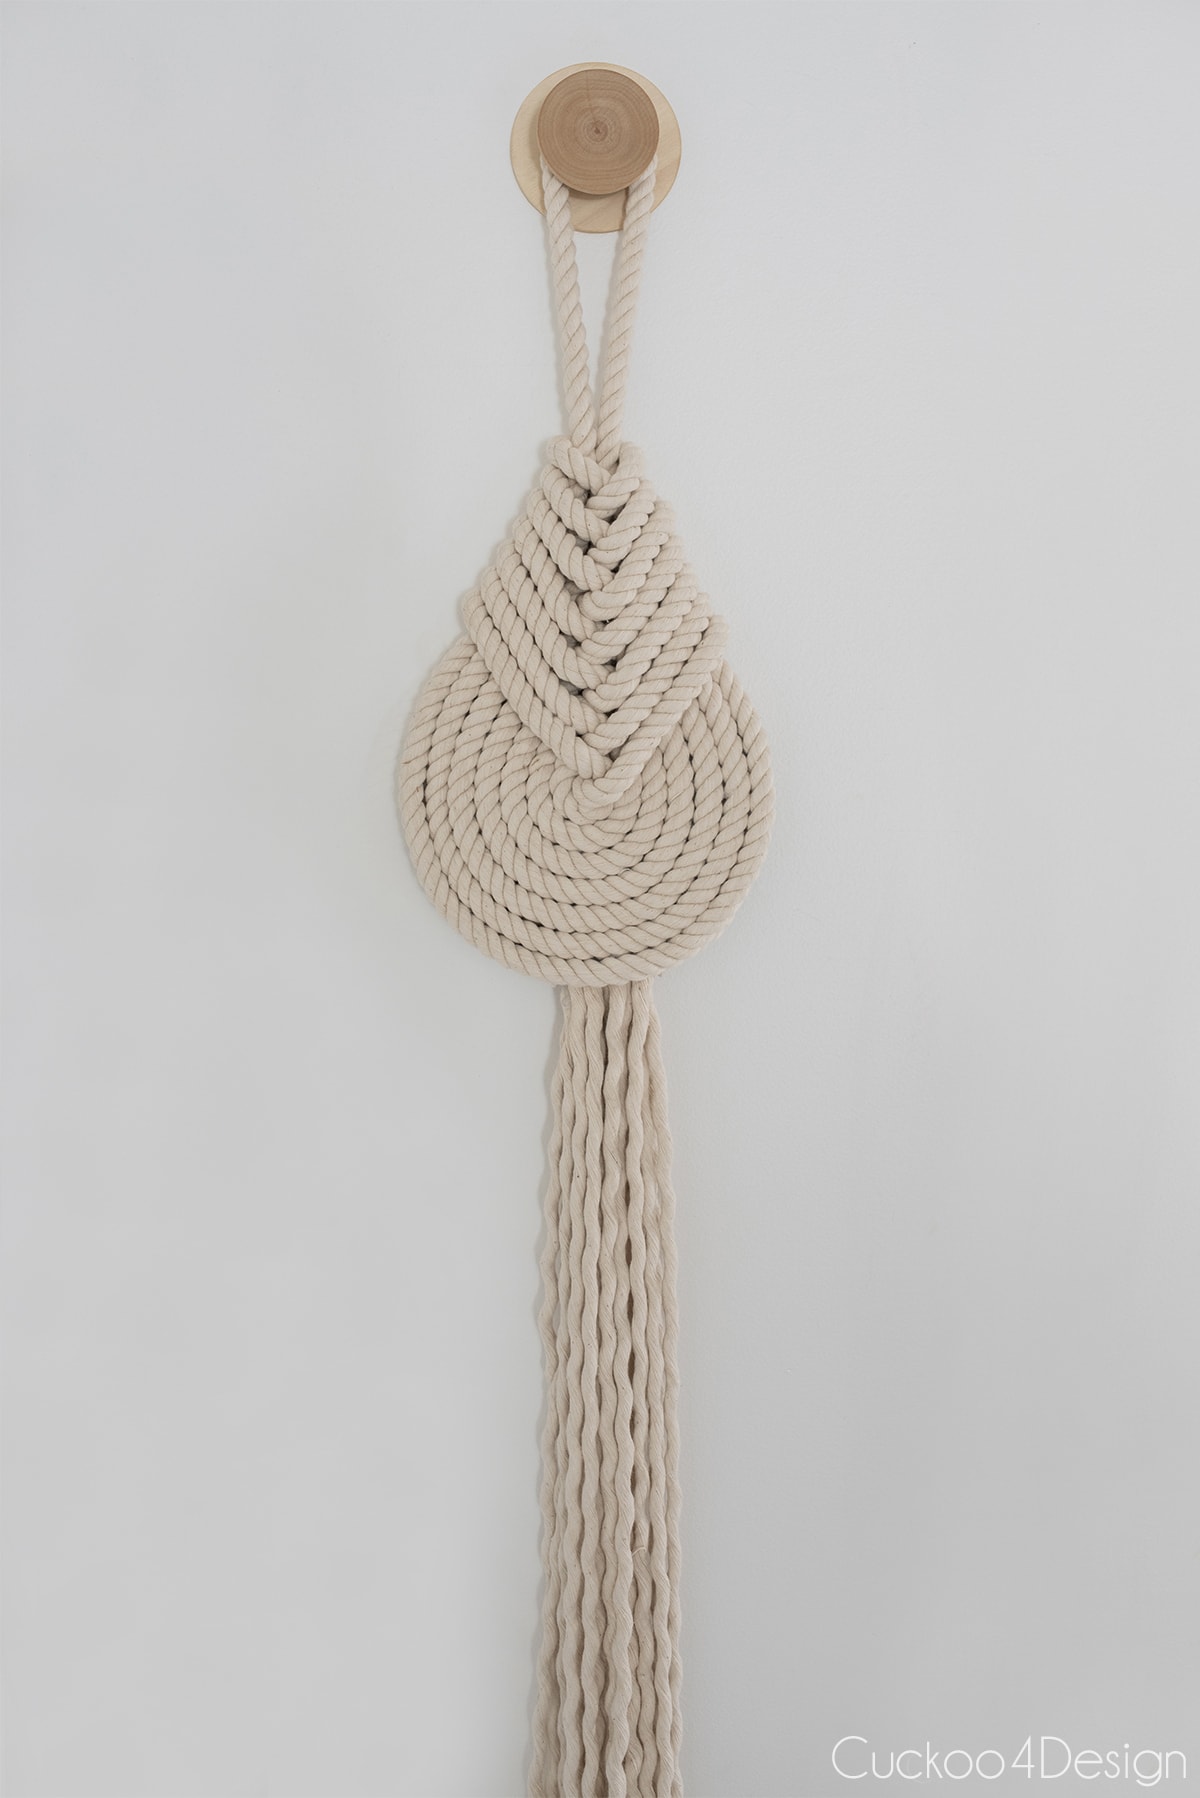

Below you can see me standing next to the macrame Pipa wall hanging for size comparison. The knot part is the size of my head but you can change the size by using thicker or thinner rope. As I mentioned before, make sure it is soft rope and not twisted too tightly.

RELATED: I always get a lot of questions about our white walls. I wrote a blog post about using an ultra pure white and other whites. If you keep scrolling to my living room you can see an off-white that I used versus the ultra white where the wall hanging is hanging now.
But my house isn’t all white. I used other colors like my favorite dark green paint colors and terracotta paint colors.


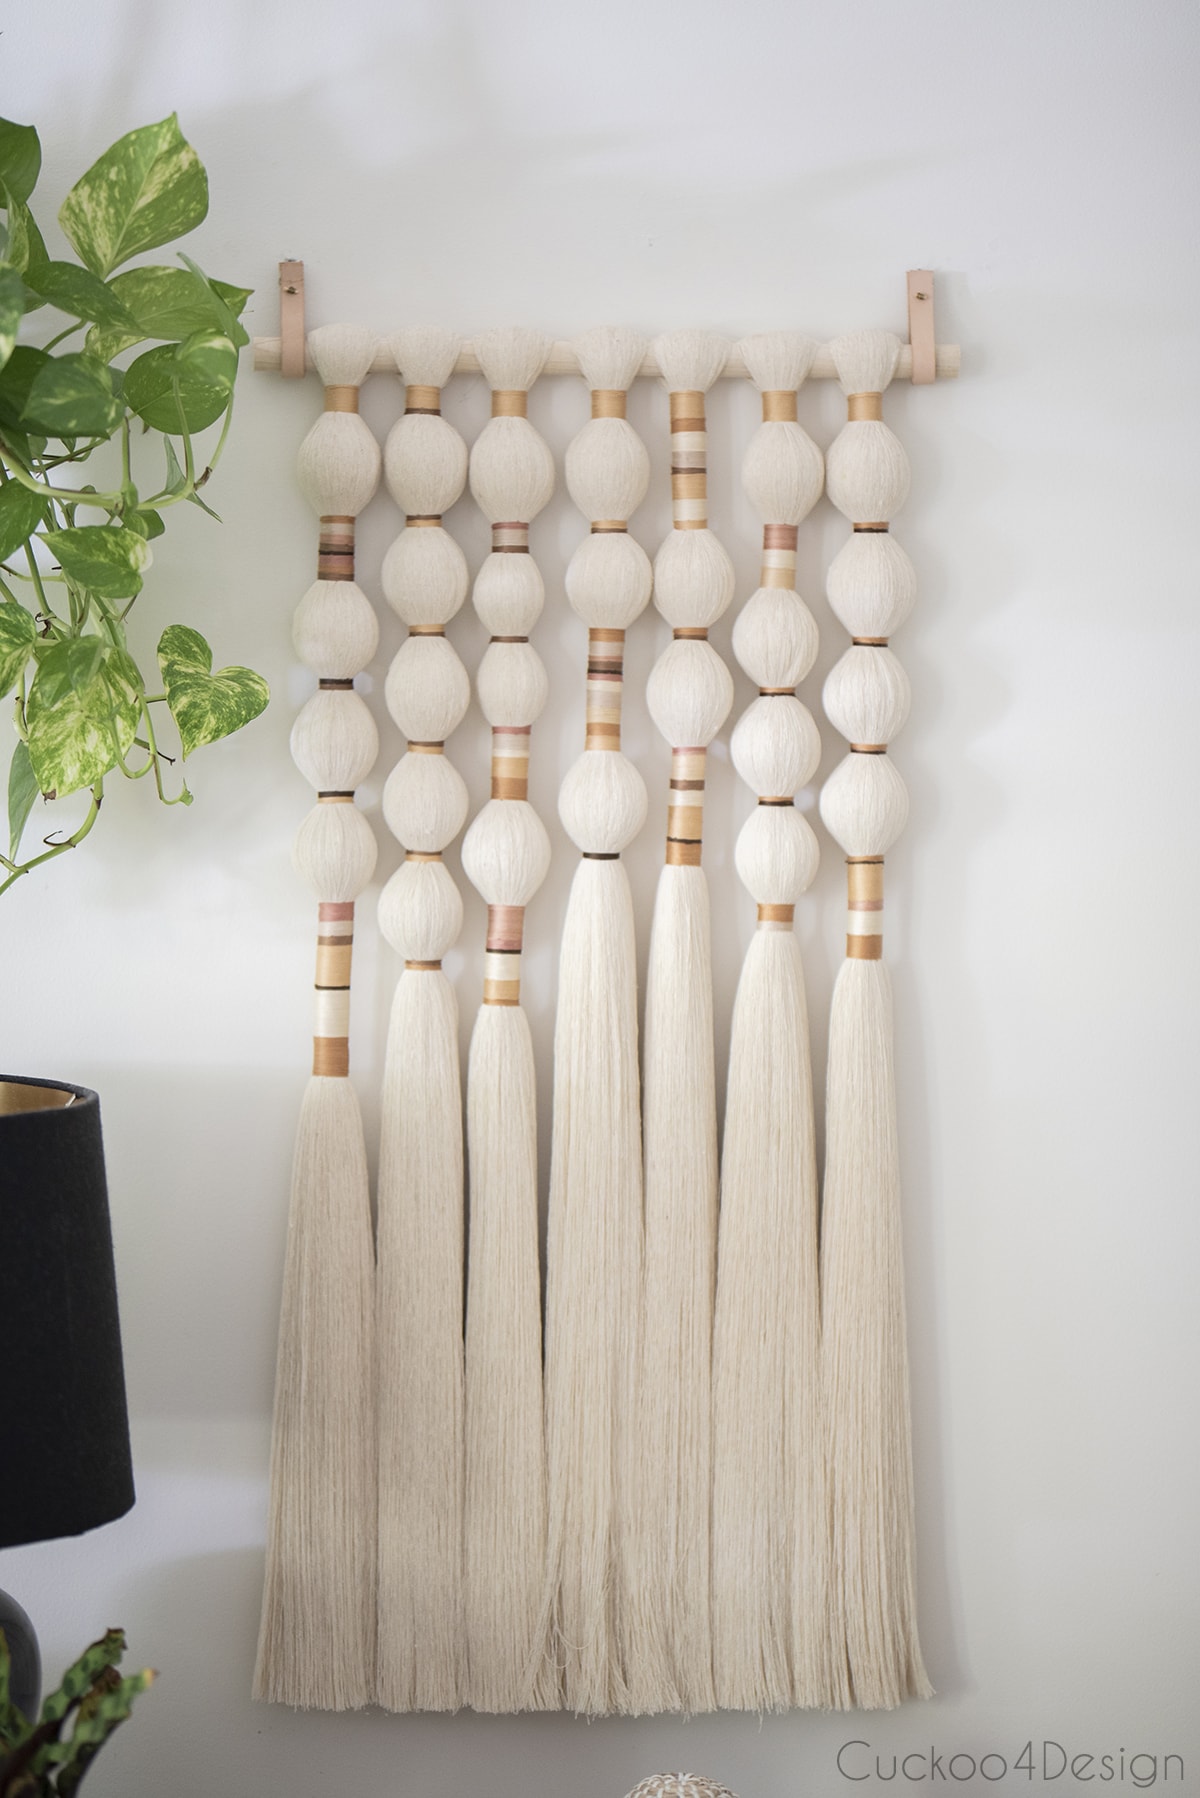
I had the below pictured combed macrame tassel hanging in this same spot before.

But since I made a larger piece with several combed macrame tassels to replicate a Lomas wall hanging for our living room, I wanted to have something else in that spot in the hallway.


Other projects pictured: The bleached cherry wood desk makeover where I am showing you how to make cherry wood furniture look modern with the boho drawer pulls that I made for the desk using more macrame yarn, as well as my macrame light fixture in the hallway, and the Karndean vinyl plank flooring that I love so much.

I made this rope wall hanging specifically for the narrow wall in our little hallway between the dining room and living room by the powder room. That didn’t keep me from trying it out in a different spot yet though too just to make sure.

I prefer the modern macrame wall hanging that I made for that spot though. I do like my new pleated lampshades better than the textured lampshades too for this spot. (The lamps were thrifted for $4 from Salvation Army). I also made the hoop hanger planter in the window.

Where to buy finished macrame Pipa knot wall hangings
Of course, I have to give you the option to buy a finished piece if you don’t feel like DIYing one yourself. As always Etsy has great options from small businesses even though this is a pretty easy piece to make. (the thumbnail images will take you to the specific shops)
Tschüß,


